Introduction
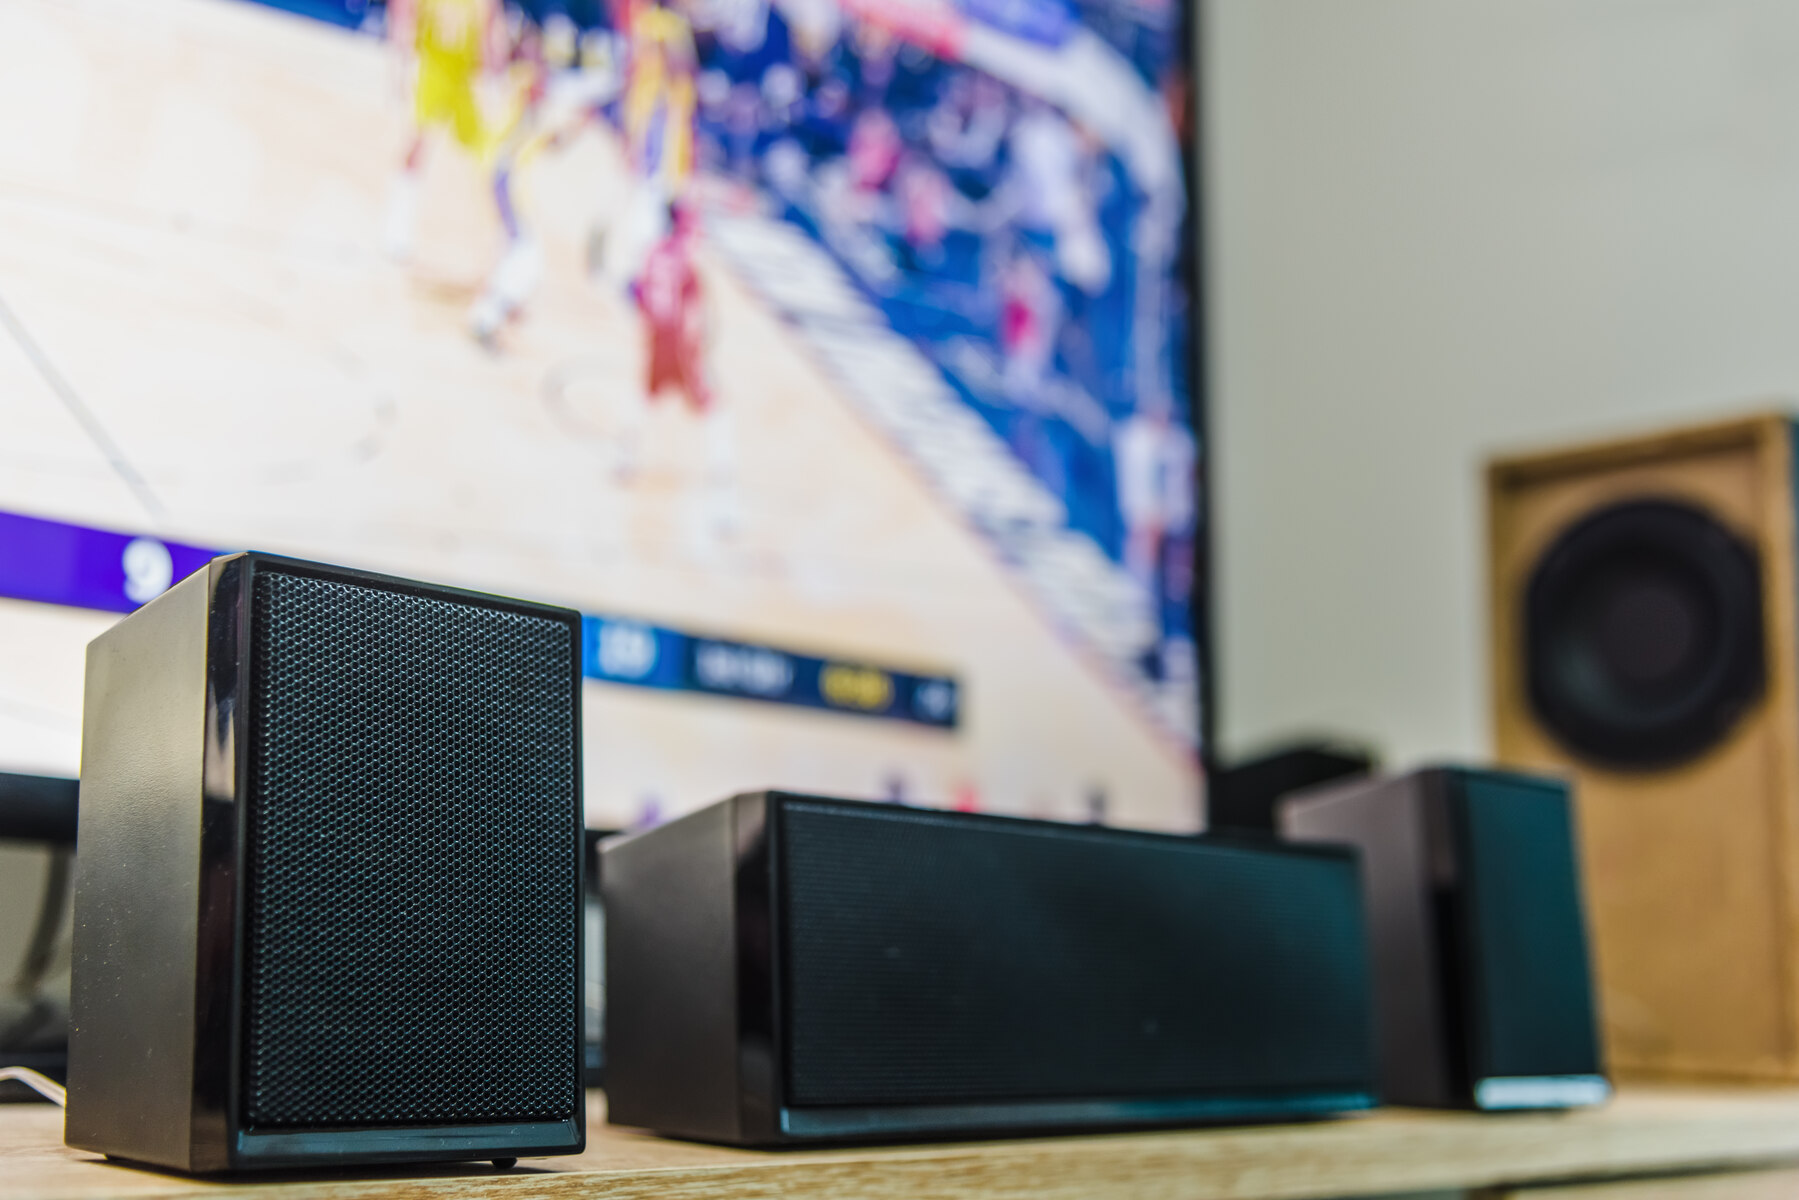
Connecting speakers to your TV using HDMI can greatly enhance your audio experience while enjoying your favorite movies, TV shows, or games. HDMI (High-Definition Multimedia Interface) offers high-quality digital audio transmission, providing better sound clarity and richer audio depth compared to other connection options.
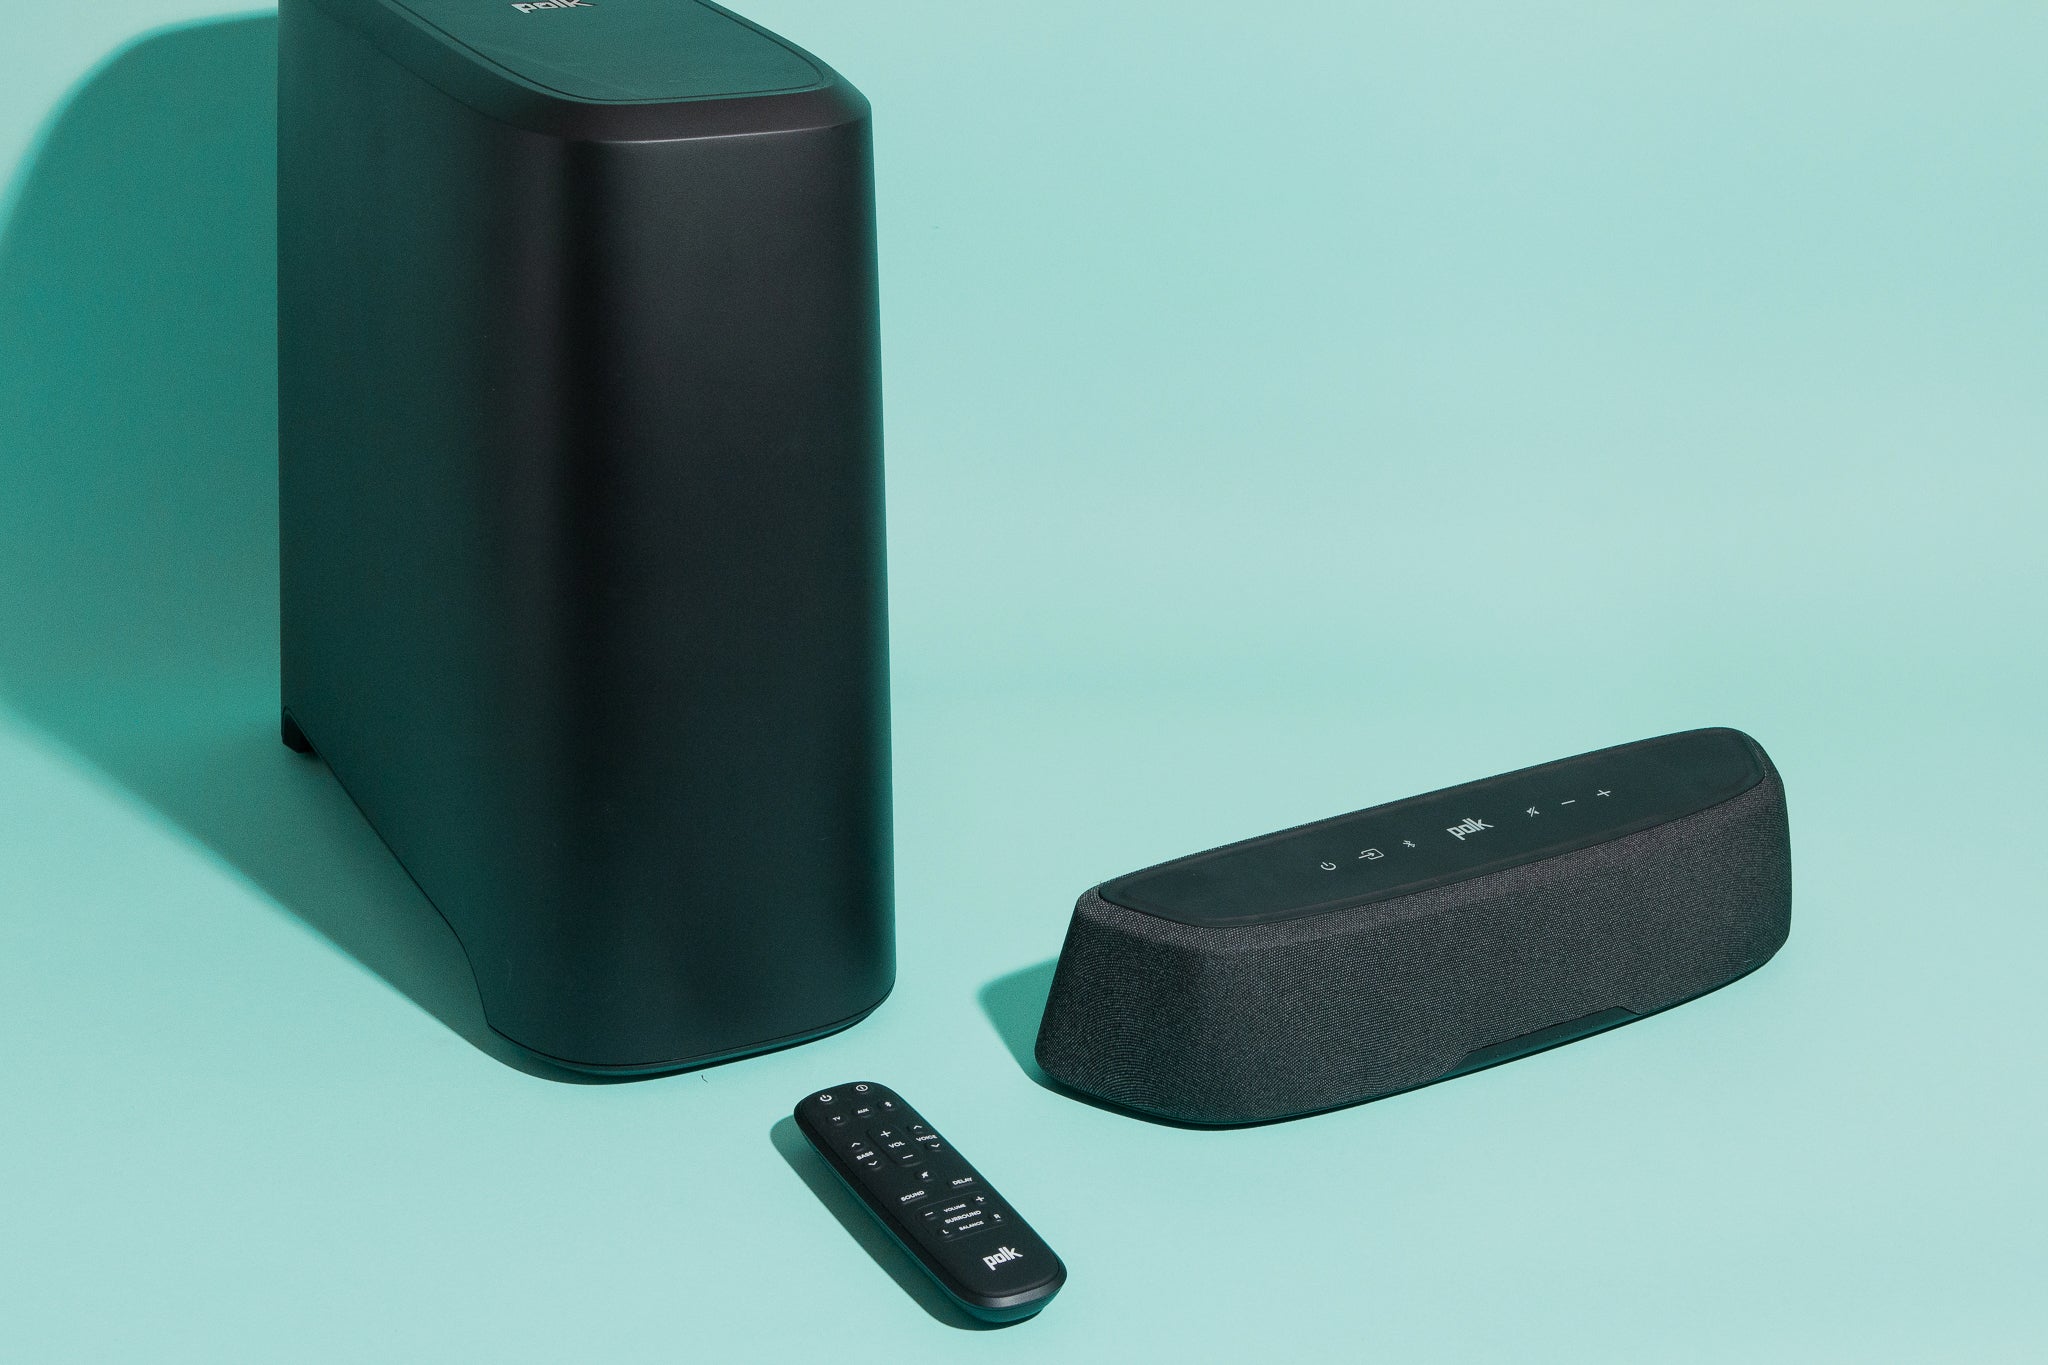
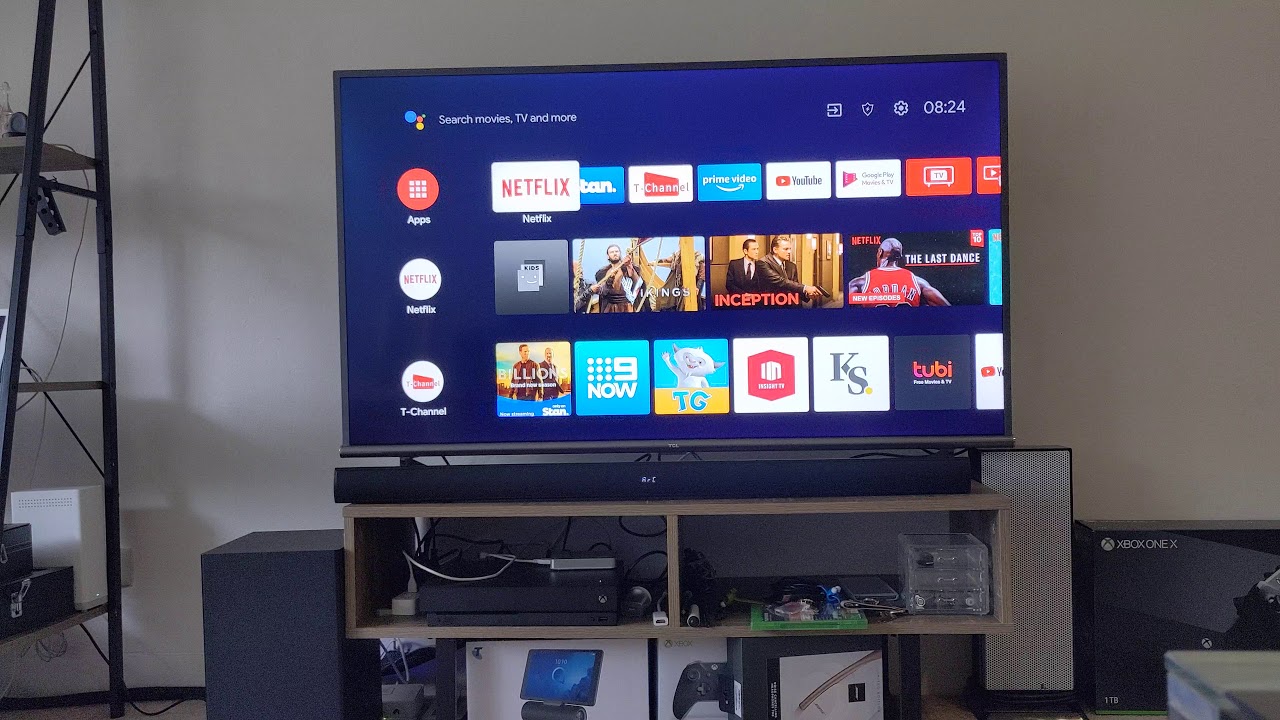
Whether you are using external speakers or a soundbar, the process of connecting them to your TV is relatively straightforward. In this guide, we will walk you through the steps to help you easily connect your speakers to your TV using an HDMI cable.
Before we proceed, it’s essential to check whether your TV and speakers have HDMI ports. Most modern TVs and speakers come with HDMI ports, but it’s still a good practice to verify this before starting the connection process.
By following the steps outlined in this guide, you’ll be able to enjoy high-quality sound from your TV speakers or external speakers connected via HDMI. So, let’s dive in and get your speakers connected to your TV with HDMI.
Step 1: Check the available HDMI ports
Before you begin connecting your speakers to the TV using an HDMI cable, it’s important to identify the available HDMI ports on both your TV and the speakers.
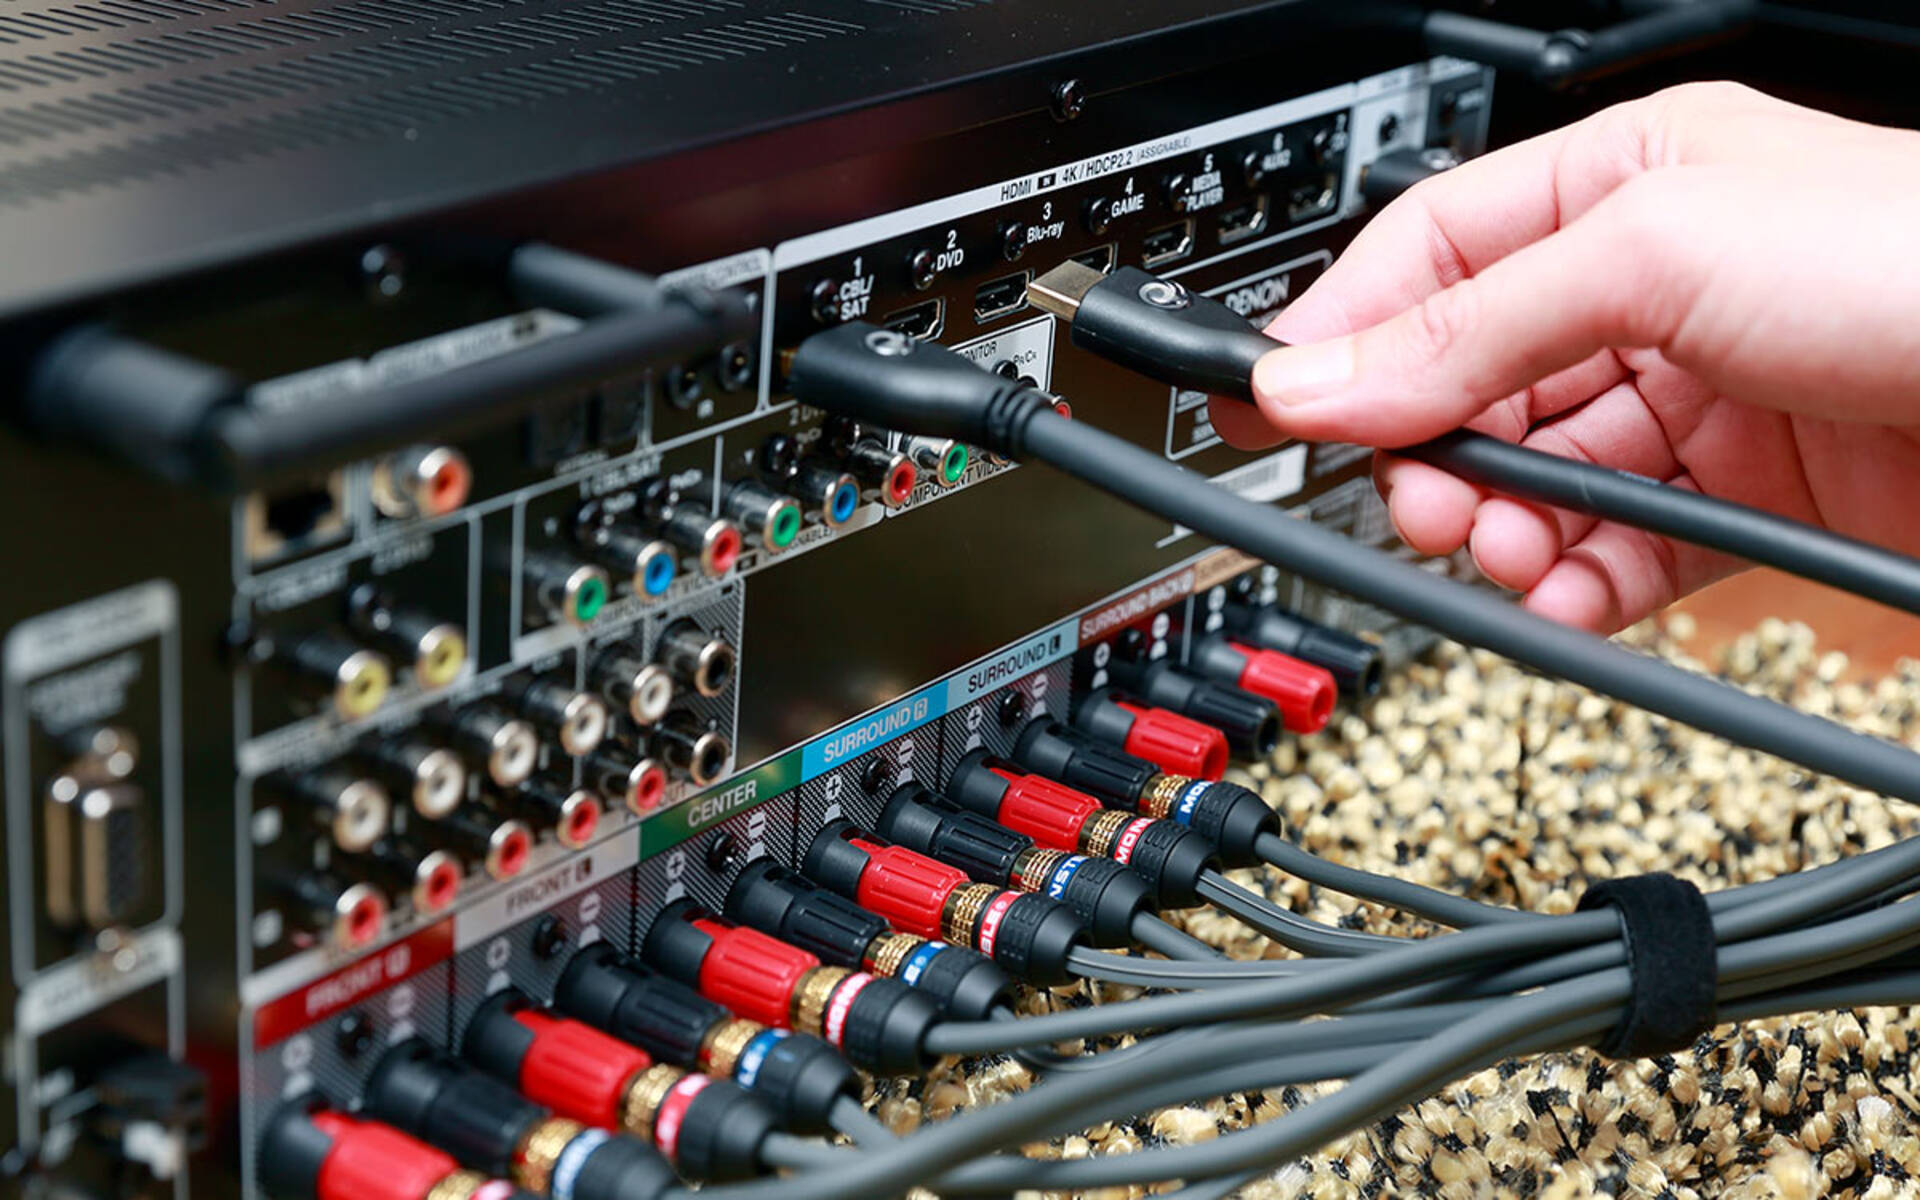
Start by examining your TV. Look for HDMI ports, which are typically located on the back or side panel of the TV. Depending on the model, your TV may have multiple HDMI ports. These ports are labeled as “HDMI 1,” “HDMI 2,” and so on.
Next, find the HDMI port on your speakers or soundbar. This can usually be found on the back or bottom of the device. Look for the label “HDMI Out,” “ARC” (Audio Return Channel), or “HDMI Output.”
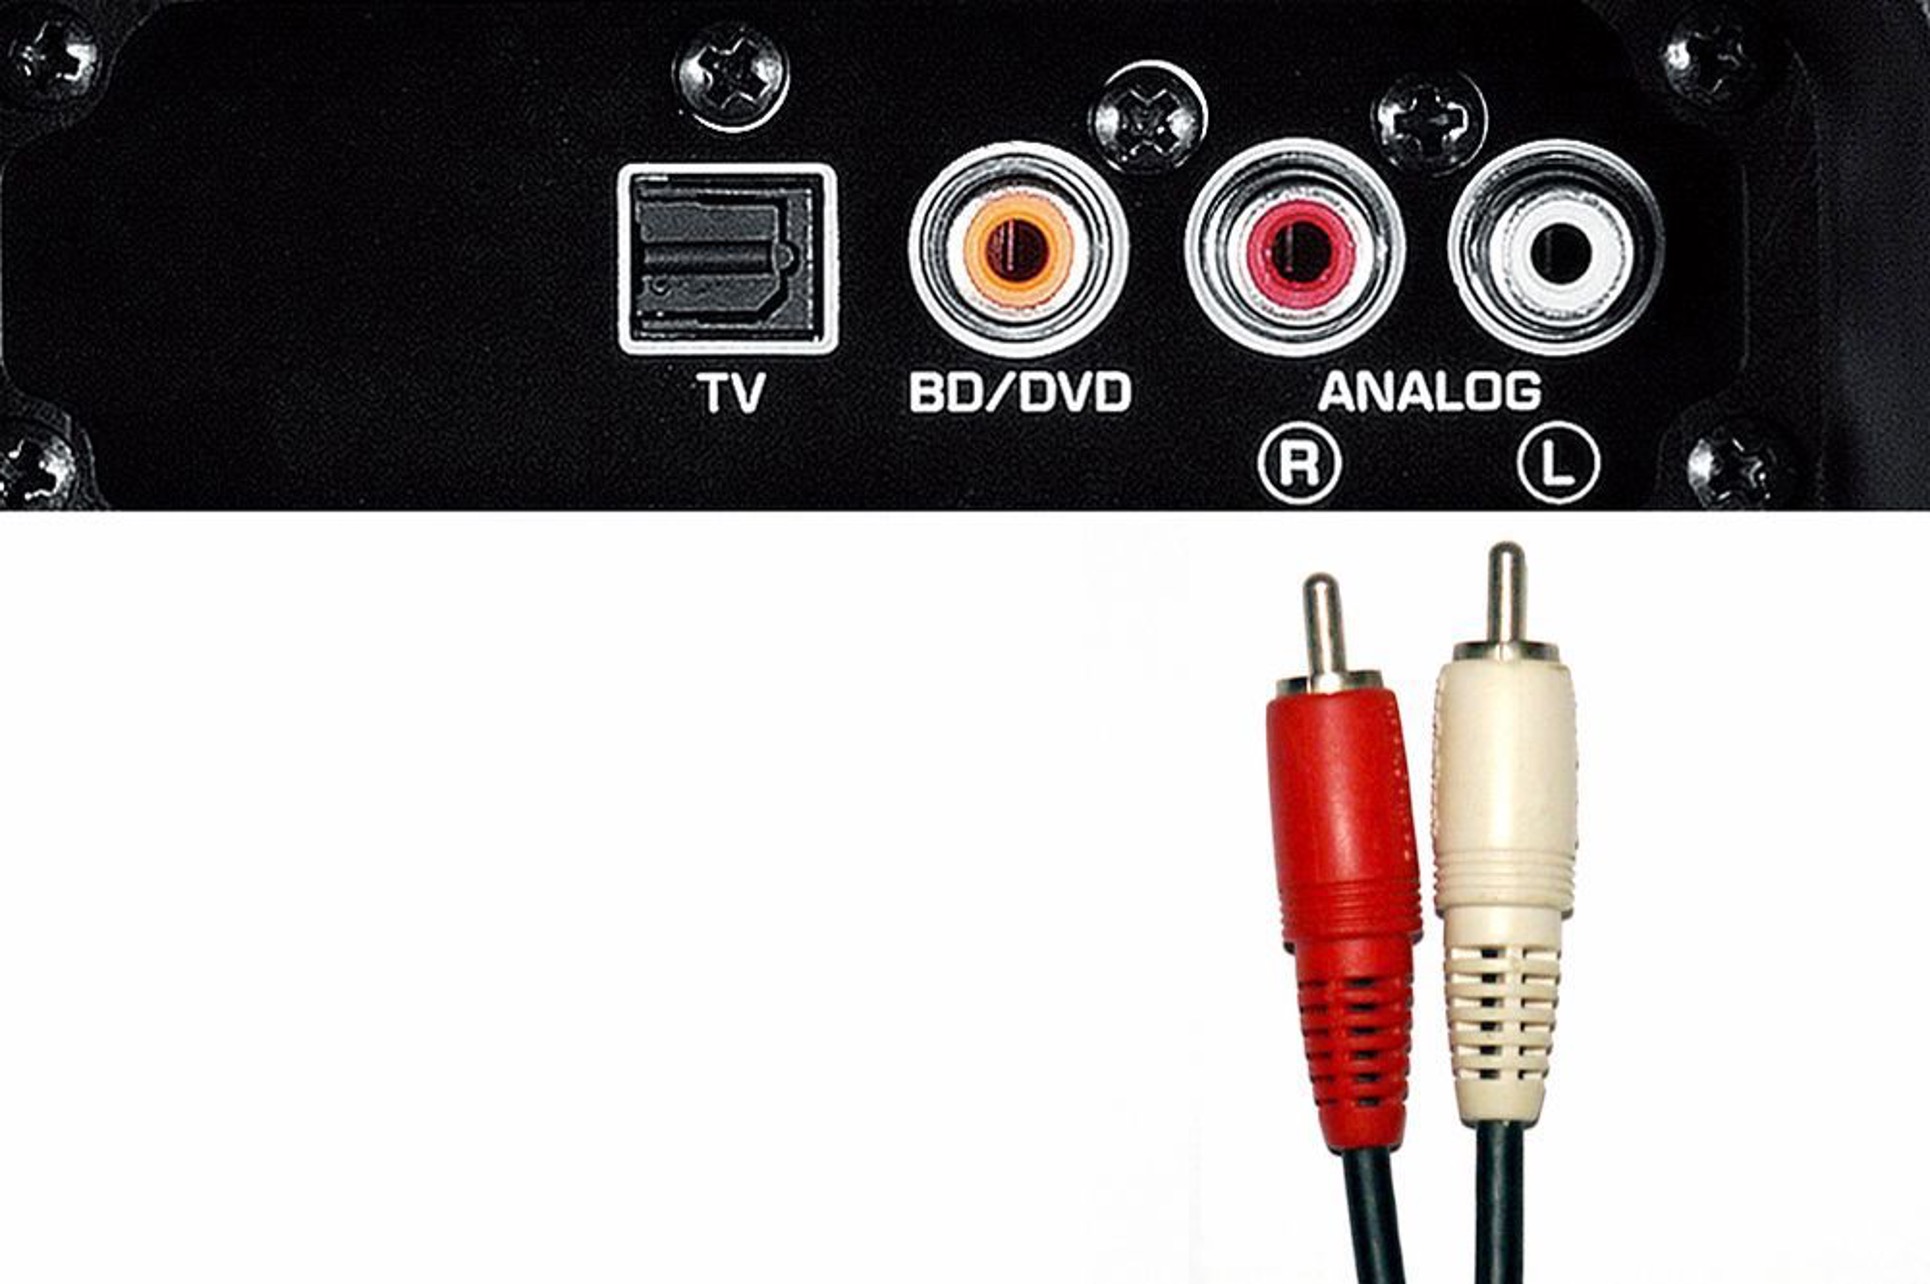
It’s worth noting that not all speakers or soundbars have HDMI ports. If your speakers do not have HDMI ports, you may need to explore alternative connection methods such as optical cables or aux cables.
Once you have identified the HDMI ports on both your TV and speakers, you can proceed to the next step, which is connecting the HDMI cable.
Remember, every TV and speaker model may have different port configurations, so it’s important to consult the user manual of your specific devices if you’re unsure about locating the HDMI ports.
Step 2: Connect the HDMI cable to the TV
With the HDMI ports identified on your TV and speakers, you’re ready to connect the HDMI cable to your TV. Follow these simple steps:
- Take one end of the HDMI cable and insert it securely into the HDMI port on your TV. Make sure to align the shape of the HDMI connector with the port on your TV. It should fit in snugly without any force.
- Once the HDMI cable is connected to the TV, locate the other end of the cable. This end will be connected to the speaker or soundbar.
- If you haven’t done so already, power off your TV and speakers.
- Gently plug the remaining end of the HDMI cable into the HDMI port of your speaker or soundbar. Ensure a secure connection.
At this point, the HDMI cable is successfully connected to both your TV and speaker. The HDMI cable will transmit both audio and video signals, allowing your TV to send audio to the connected external speakers.
Remember, if you’re using a soundbar or receiver, check the device’s user manual to identify any specific HDMI input or ARC (Audio Return Channel) ports that should be used for connecting to the TV.
Now that the HDMI cable is securely connected to your TV, let’s move on to the next step, which involves connecting the HDMI cable to your speaker or soundbar.
Step 3: Connect the HDMI cable to the speaker
Now that the HDMI cable is successfully connected to your TV, it’s time to connect the other end of the cable to your speaker or soundbar. Follow these steps:
- If you haven’t done so already, make sure that your speaker or soundbar is powered off.
- Locate the HDMI input port on your speaker or soundbar. This port is usually marked as “HDMI In” or “HDMI Input.”
- Gently plug the other end of the HDMI cable into the HDMI input port on your speaker or soundbar. Ensure a secure connection.
- If your soundbar or speaker has multiple HDMI input ports, take note of which port you’ve connected the cable to. You’ll need this information later when configuring the audio settings.
With the HDMI cable now connected to both the TV and the speaker, you’ve established the audio connection between the two devices. This means that the sound from your TV will be transmitted through the HDMI cable to your external speaker or soundbar.
Next, let’s move on to Step 4, where we’ll power on both the TV and the speaker in order to enable the HDMI connection.
Step 4: Power on the TV and the speaker
Now that the HDMI cable is securely connected between your TV and speaker, it’s time to power on both devices. Follow these steps:
- Ensure that both your TV and speaker are connected to a power source.
- Locate the power buttons on your TV and speaker. Press the power button on your TV to turn it on.
- Once the TV is powered on, locate the power button on your speaker or soundbar and press it to turn on the device.
- Wait for both the TV and speaker to finish booting up. This may take a few moments.
By powering on both the TV and speaker, you’re initializing the connection and allowing the HDMI transmission to take place. The TV will now send audio signals through the connected HDMI cable to your external speakers or soundbar.
It’s important to note that in some cases, your speaker or soundbar may not have a separate power button. Instead, they may automatically power on when they detect a signal from the TV through the HDMI connection. Consult the user manual of your specific speakers or soundbar for more information.
Now that both the TV and speaker are powered on, let’s move on to Step 5, where we’ll configure the TV’s audio output settings to ensure that the sound is directed to your external speakers.
Step 5: Set the TV’s audio output to the external speakers
After powering on both your TV and external speakers, it’s important to configure the audio output settings on your TV to ensure that the sound is directed to the connected external speakers. Follow these steps:
- Using your TV remote, navigate to the settings menu. The location of the settings menu may vary depending on the brand and model of your TV.
- Look for the “Sound” or “Audio” settings. This is where you can adjust the audio output options.
- Select the option for “Audio Output” or “Speaker Settings.”
- From the available audio output options, choose the one that corresponds to your connected external speakers. It may be labeled as “HDMI,” “External Speakers,” or “Audio Out.”
- Save the changes and exit the settings menu.
By setting the TV’s audio output to the external speakers, you’re ensuring that the sound from your TV is directed to the connected speakers or soundbar via the HDMI connection.
Keep in mind that the exact steps for changing the audio output settings may vary depending on your TV’s make and model. If you’re unsure about the specific steps, refer to the user manual of your TV or consult the manufacturer’s website for detailed instructions.
With the audio output now configured, you’re one step away from enjoying the enhanced sound experience. In the next step, we’ll test the audio connection to ensure everything is functioning properly.
Step 6: Test the audio connection
Before you fully settle in to enjoy your favorite content, it’s essential to test the audio connection between your TV and external speakers. Follow these steps to ensure everything is working as intended:
- Choose a media source to test the audio connection, such as a movie, TV show, or music.
- Play the selected media on your TV.
- Listen for the sound coming from the external speakers or soundbar connected via HDMI. Make sure the volume is at an appropriate level.
- If you’re not hearing any sound or experiencing any issues, double-check the HDMI connections and the audio output settings on your TV.
- Ensure that the volume settings on both your TV and external speakers are adjusted properly.
- If the audio connection is still not working, try rebooting both your TV and speakers or consult the user manual for troubleshooting tips specific to your devices.
By testing the audio connection, you can verify that the HDMI connection between your TV and external speakers is functioning correctly. Adjust the volume and audio settings as needed to achieve the desired sound output.
Remember, if you’ve connected your speakers or soundbar to a receiver, you may need to adjust the volume settings on both the receiver and the TV to ensure optimal performance.
Congratulations! You have successfully connected your speakers to your TV using HDMI. Sit back, relax, and enjoy the immersive audio experience while watching your favorite movies and TV shows.
Conclusion
Connecting your external speakers to your TV using HDMI can significantly enhance your audio experience, providing you with clear and immersive sound while watching your favorite content. By following the simple steps outlined in this guide, you can easily connect your speakers or soundbar to your TV and enjoy a richer audio experience.
We started by checking the available HDMI ports on both the TV and the speakers to ensure compatibility. Then, we connected the HDMI cable to the TV and the speaker, ensuring a secure connection. After powering on both devices, we configured the TV’s audio output settings to direct the sound to the external speakers. Finally, we tested the audio connection to ensure proper functionality.
It’s important to note that every TV and speaker model may have different connectivity options and settings. Therefore, it’s always recommended to consult the user manual of your specific devices for detailed instructions and troubleshooting tips.
Now that you’re equipped with the knowledge to connect your speakers to your TV using HDMI, you can maximize your home entertainment experience. Sit back, relax, and immerse yourself in the high-quality sound while enjoying your favorite movies, TV shows, or games.
Happy watching and listening!


