Introduction
Connecting your Smart TV to the internet opens up a world of endless entertainment possibilities, allowing you to stream your favorite shows, movies, and videos, as well as access apps, browse the web, and even connect with friends on social media. Whether you’re a tech-savvy individual or a newbie exploring the world of smart devices, this article will guide you through the process of connecting your Smart TV to the internet.
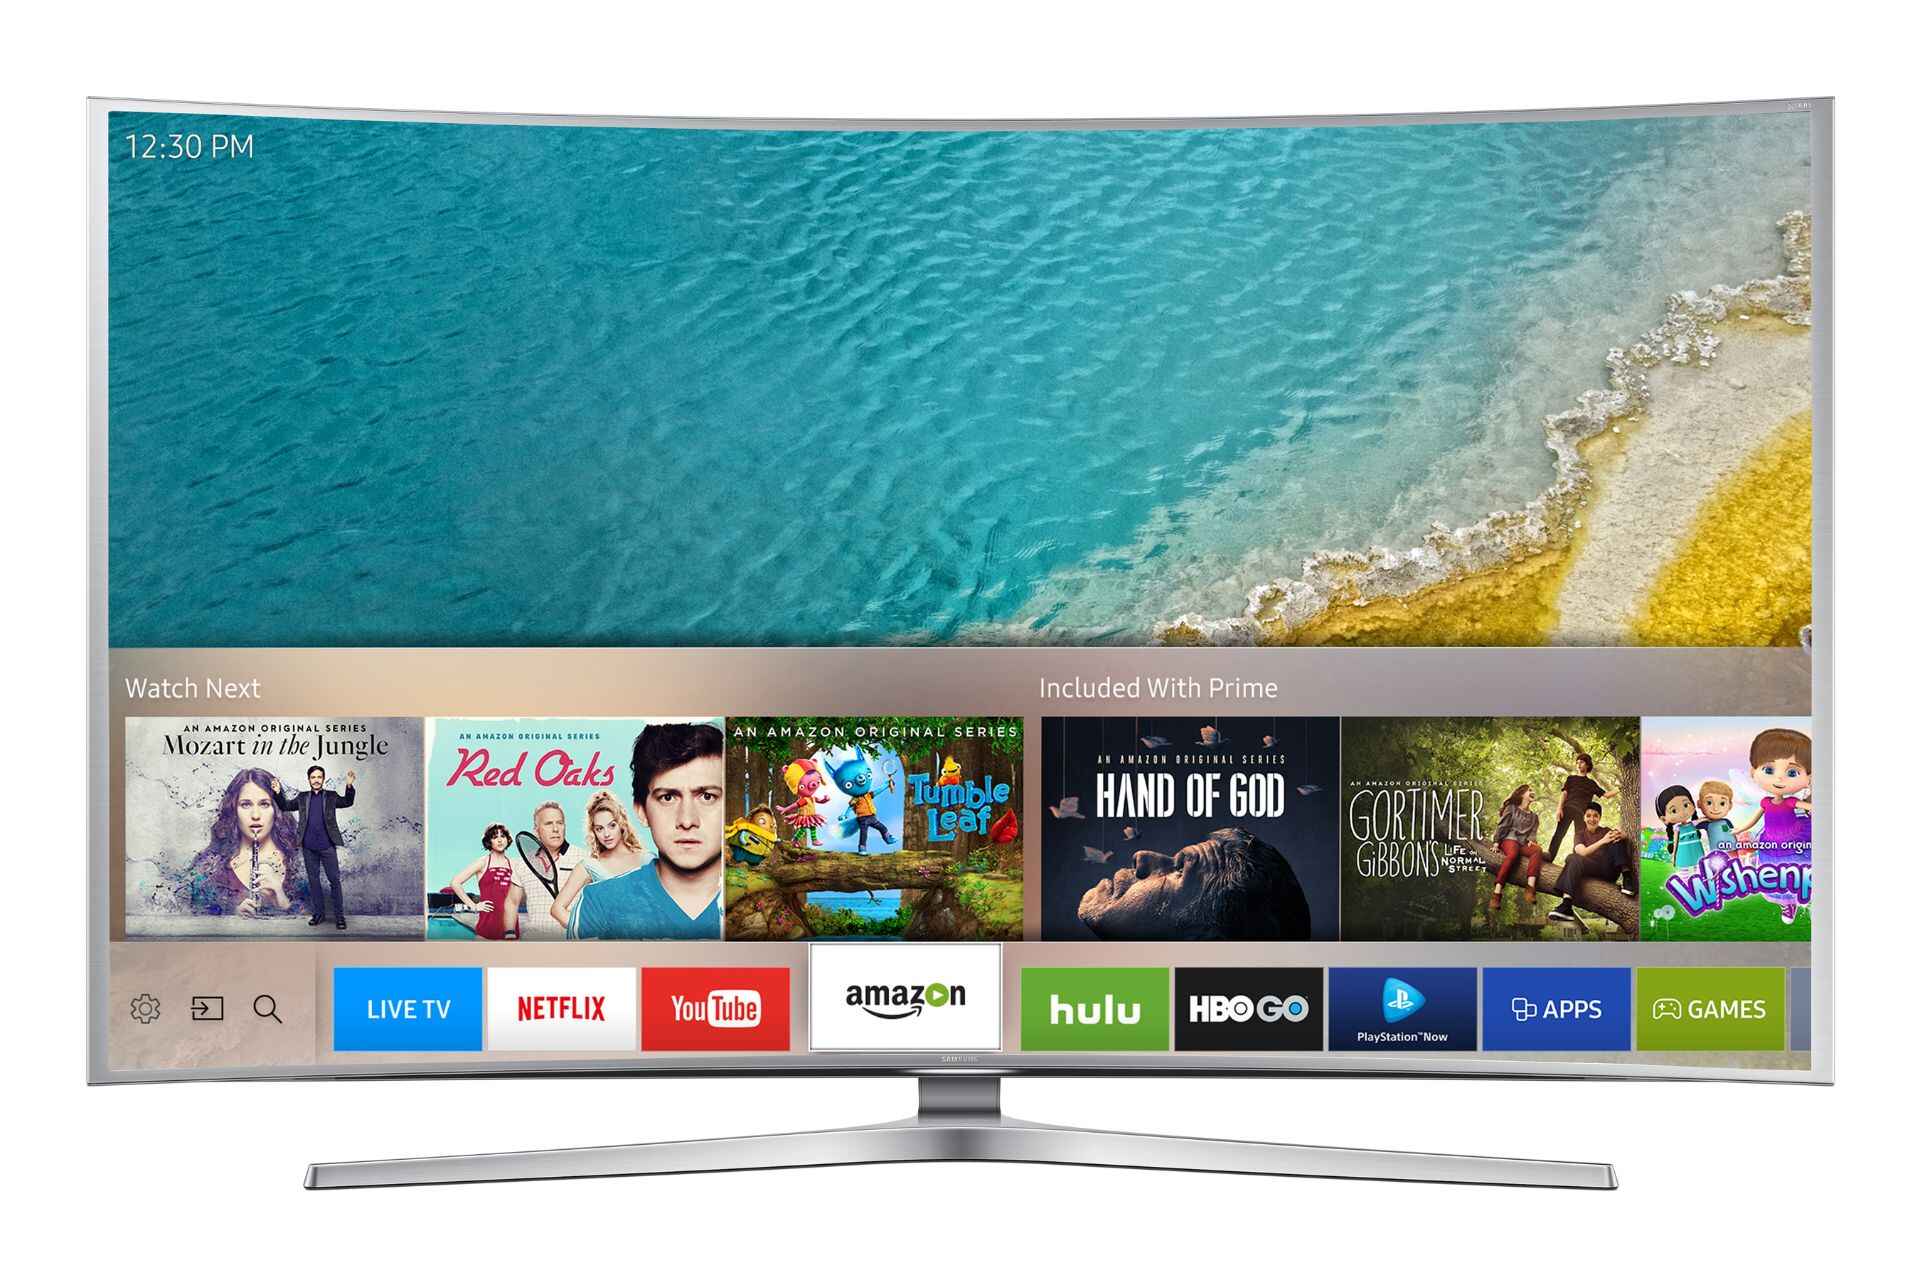
With an internet connection, your Smart TV can deliver an immersive and personalized viewing experience. You can access popular streaming platforms like Netflix, Hulu, Amazon Prime Video, and YouTube, gaining access to a wide variety of content ranging from movies and TV shows to documentaries and live events. Not only that, but many Smart TVs also offer built-in web browsers, allowing you to surf the internet right from the comfort of your couch.
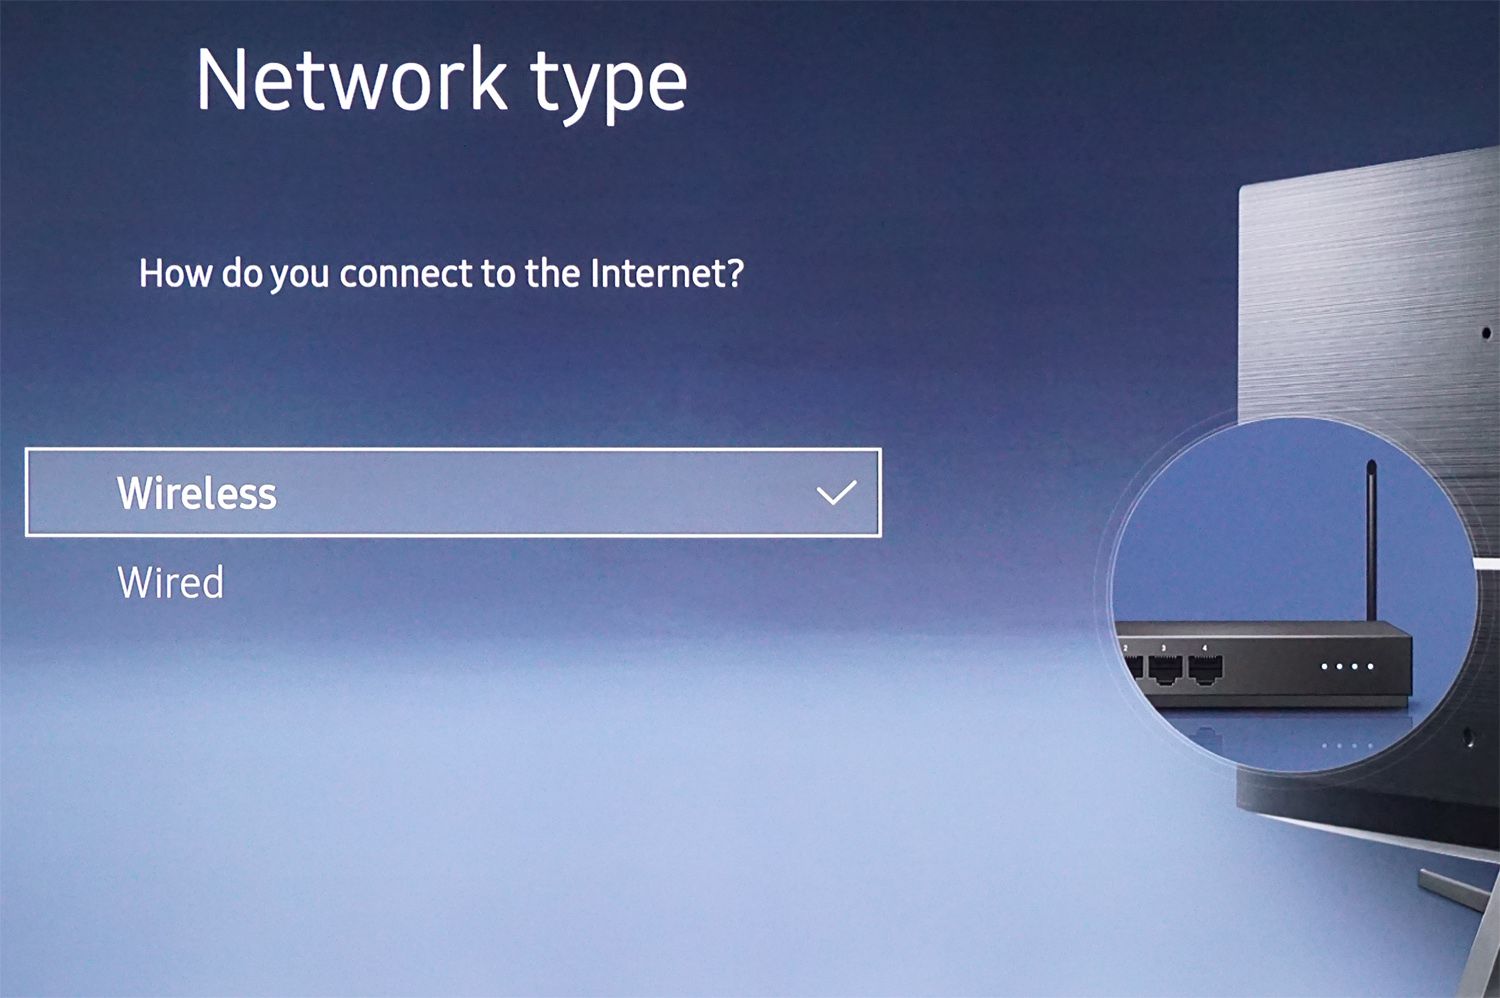
Before you begin the connection process, it’s essential to understand that there are different methods to connect your Smart TV to the internet. The most common methods include connecting via Wi-Fi or using an Ethernet cable. Additionally, some Smart TVs may require a wireless adapter for internet connectivity.
In the following sections, we’ll outline each step in detail, guiding you through the process of connecting your Smart TV to the internet. We’ll also provide troubleshooting tips in case you encounter any issues along the way. So, grab your remote control and let’s get started on transforming your Smart TV into a powerful entertainment hub!
Step 1: Check your TV’s Network Connection
Before you begin the process of connecting your Smart TV to the internet, it’s crucial to ensure that your TV is properly configured to access your home network. Here are the steps to check your TV’s network connection:
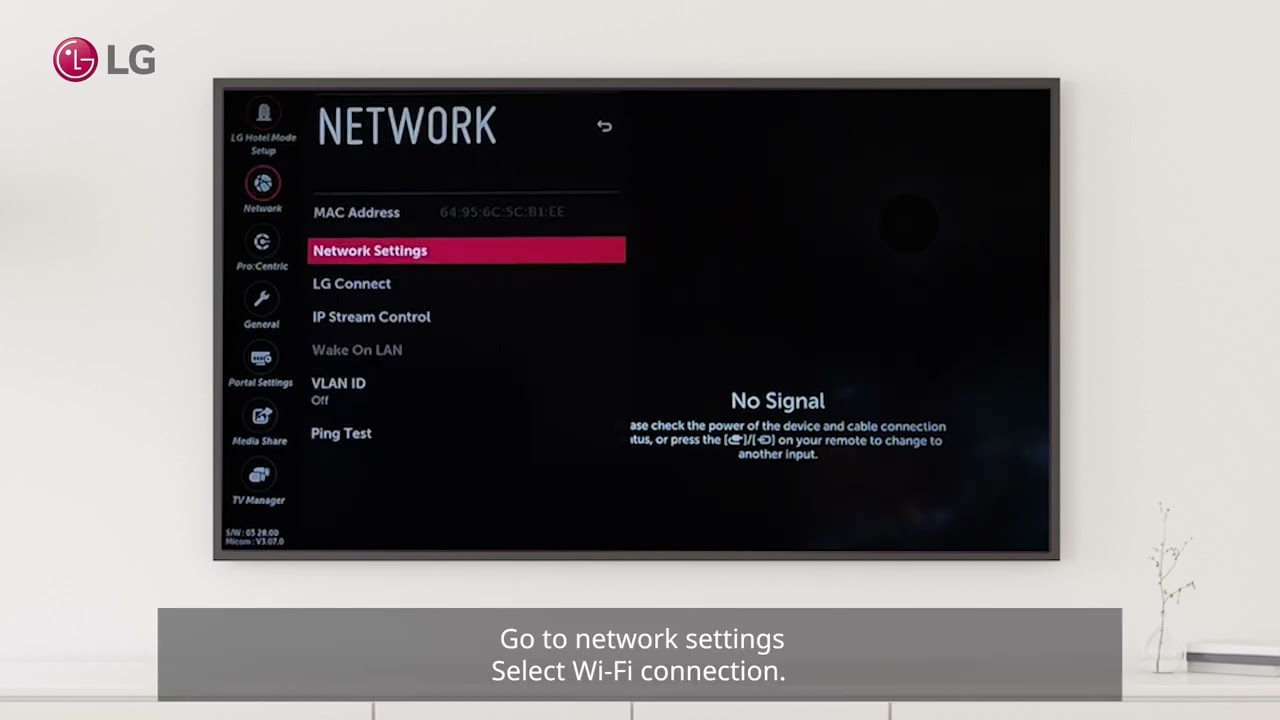
- Access the Settings menu on your Smart TV. This is usually done by pressing the Menu button on your remote control.
- Navigate to the Network or Network Settings option. The exact wording may vary slightly depending on your TV’s make and model.
- Select the Network Status or Network Connection option.
- Wait for the TV to scan for available networks and display the results.
- If your TV detects your home network, check the signal strength to ensure a strong and stable connection. It is recommended to have at least three bars or more for optimal performance.
If your TV does not detect any networks, try the following troubleshooting steps:
- Ensure that your home Wi-Fi network is functioning correctly and that other devices can connect to it.
- Check if your TV’s Wi-Fi adapter is enabled. You can usually find this option in the Network or Wireless settings menu.
- Move your Smart TV closer to the Wi-Fi router, minimizing any potential obstructions that may weaken the signal.
- Restart your router and try again.
Once you have confirmed that your TV can detect your home network and the signal strength is adequate, you are ready to proceed to the next step of connecting your Smart TV to the internet. This step ensures that your TV has a solid foundation for establishing a successful internet connection.
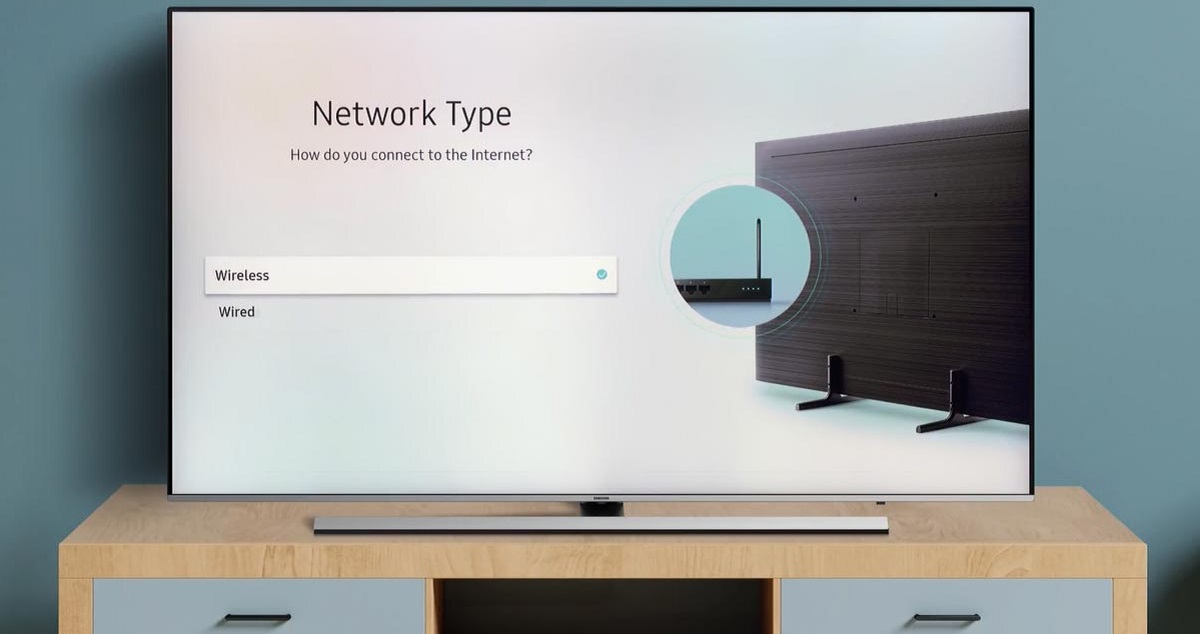
Step 2: Connect your Smart TV to Wi-Fi
Now that you have verified that your Smart TV can detect your home network, it’s time to connect it to Wi-Fi. Follow these steps to establish a wireless connection:
- Access the Settings or Network menu on your Smart TV.
- Select the Wi-Fi or Wireless option.
- A list of available Wi-Fi networks will be displayed. Select your home network from the list.
- If your home network is secured with a password, you will be prompted to enter it. Use your remote control or on-screen keyboard to input the correct password, being mindful of any uppercase or lowercase letters.
- After entering the password, select the Connect or Join option.
- Wait for your Smart TV to establish a connection with the Wi-Fi network. This may take a few moments.
- If the connection is successful, your Smart TV will display a confirmation message or an icon indicating a successful connection.
Ensure that the Wi-Fi signal strength is sufficient for uninterrupted streaming and browsing. If the connection is weak or unstable, consider moving your TV closer to the router or using Wi-Fi signal boosters to enhance the signal strength.
It’s important to note that the steps mentioned above are general guidelines, and the menu options may vary depending on your specific Smart TV model. Refer to your TV’s user manual or manufacturer’s website for detailed instructions tailored to your device.
Once your Smart TV is connected to Wi-Fi, you can begin exploring the myriad of online content and apps available at your fingertips. It’s time to sit back, relax, and enjoy a world of entertainment without any physical cables tying you down.
Step 3: Connect your Smart TV using Ethernet Cable
If you prefer a wired connection or if you’re experiencing connectivity issues with Wi-Fi, you can connect your Smart TV to the internet using an Ethernet cable. Follow these steps:
- Locate the Ethernet port on the back of your Smart TV. It is usually labeled as “LAN” or “Ethernet”.
- Connect one end of the Ethernet cable to the Ethernet port on your Smart TV.
- Connect the other end of the Ethernet cable to an available LAN port on your router. Make sure the cable is securely plugged in.
- Once the cable is connected, your Smart TV will automatically detect the wired connection and establish an internet connection.
- If the wired connection is successful, your Smart TV will display a confirmation message or an icon indicating a successful connection.
The advantage of using an Ethernet cable is that it provides a more stable and reliable connection compared to Wi-Fi. It is especially beneficial for streaming high-definition content or engaging in online gaming, as it minimizes buffering and latency issues.
Ensure that you use a high-quality Ethernet cable capable of supporting the maximum speed of your internet connection. Cat 6 or Cat 7 cables are recommended for optimal performance.
Keep in mind that connecting your Smart TV via Ethernet cable requires positioning your TV near your router or having a long enough cable to reach the desired location. If you want to position your TV in a different room or area, consider using a powerline adapter or a network switch to extend your wired connection.
Now that your Smart TV is connected via Ethernet, you can enjoy a stable and reliable internet connection, unlocking the full potential of your device’s online capabilities.
Step 4: Connect your Smart TV using a Wireless Adapter
If your Smart TV doesn’t have built-in Wi-Fi capabilities or if you’re experiencing difficulty connecting wirelessly, you can use a wireless adapter to establish an internet connection. Here’s how:
- Purchase a compatible wireless adapter for your Smart TV. Make sure it is specifically designed for your TV’s make and model.
- Power off your Smart TV before connecting the wireless adapter.
- Locate the USB port on your Smart TV. Most TVs have one or more USB ports on the rear or side panel.
- Insert the wireless adapter into the USB port on your Smart TV. Ensure it is firmly inserted.
- Power on your Smart TV.
- Access the Settings or Network menu on your TV.
- Select the Wi-Fi or Wireless option.
- Your Smart TV should detect the wireless adapter. Follow the on-screen instructions to complete the setup of the wireless adapter.
- Once the wireless adapter is installed and configured, your Smart TV will be able to connect to Wi-Fi networks wirelessly.
Wireless adapters provide a convenient solution for connecting your Smart TV to the internet without the need for Ethernet cables. They are particularly useful in situations where running cables is impractical or not aesthetically appealing.
When purchasing a wireless adapter, ensure that it supports the appropriate Wi-Fi standard (e.g., 802.11ac) and offers a stable and reliable connection. It’s advisable to choose a reputable brand and read customer reviews to ensure compatibility and performance.
Keep in mind that the specific steps for setting up a wireless adapter may vary depending on the manufacturer and model. Refer to the adapter’s user manual or follow the on-screen prompts during the installation process to ensure a successful connection.
Once your Smart TV is connected using a wireless adapter, you can enjoy the convenience of a wireless internet connection and access a wide range of online content and services.
Step 5: Perform Network Connection Test
After connecting your Smart TV to the internet, it’s crucial to verify the network connection to ensure a stable and reliable connection. Performing a network connection test allows you to assess the quality of your connection and identify any potential issues. Here’s how to perform a network connection test:
- Access the network settings menu on your Smart TV.
- Select the Network Test or Network Status option.
- Initiate the network connection test. Your Smart TV will perform a series of tests to check the connection speed, signal strength, and other network parameters.
- Wait for the test to complete. The duration may vary depending on your TV and network speed.
- Review the results of the network connection test. Look for indicators such as signal strength, download and upload speeds, and any potential warnings or errors.
If the network connection test reveals any issues, here are a few troubleshooting steps you can try:
- Restart your Smart TV and router. Power cycling the devices can often resolve temporary connectivity problems.
- Check the signal strength of your Wi-Fi network. If it is low, consider repositioning your router or installing Wi-Fi signal boosters.
- If you are using an Ethernet connection, ensure that the cable is securely plugged in at both ends.
- Update the firmware of your Smart TV and router. Manufacturers often release firmware updates to improve performance and address connectivity issues.
- Contact your internet service provider (ISP) to ensure there are no outages or service disruptions in your area.
By regularly performing network connection tests, you can stay informed about the health of your internet connection and take necessary steps to optimize its performance. This can greatly enhance your streaming and browsing experience on your Smart TV.
Step 6: Troubleshooting Tips for Smart TV Internet Connection
While connecting your Smart TV to the internet is usually a straightforward process, you may encounter occasional issues that disrupt the connection. Here are some troubleshooting tips to help you resolve common Smart TV internet connection problems:
- Restart your Smart TV: Sometimes, a simple reboot can fix connectivity issues. Power off your TV, unplug it from the power source, wait for a few minutes, and then plug it back in.
- Restart your router: Similar to restarting your TV, power cycling your router can resolve temporary network glitches. Unplug the router from the power source, wait for a few minutes, and then plug it back in.
- Check for firmware updates: Manufacturers regularly release updates to improve connectivity and fix bugs. Check for firmware updates for both your Smart TV and router, and ensure they are up to date.
- Check your network settings: Verify that your network settings on your Smart TV are correctly configured. Ensure that your TV is set to obtain IP addresses and DNS settings automatically (DHCP).
- Use the correct network password: If you’re connecting to Wi-Fi, make sure you have entered the correct password. Pay attention to uppercase and lowercase letters and confirm that the password is entered without any typos.
- Move your router closer: If your Smart TV is far from your router, it may experience a weak Wi-Fi signal. Try moving the TV closer to the router to improve the signal strength.
- Reset network settings: If all else fails, you can try resetting the network settings on your Smart TV. This will remove any saved network configurations, and you will need to set up your internet connection again from scratch.
- Contact your ISP: If you’ve tried all the troubleshooting steps and are still unable to establish a stable internet connection, it may be worth contacting your internet service provider (ISP) to check for any network issues or limitations.
Remember that the specific steps and options may vary depending on your Smart TV model. Consult the user manual or the manufacturer’s website for more detailed troubleshooting instructions tailored to your device.
By implementing these troubleshooting tips, you can enhance the connectivity of your Smart TV and ensure a smooth and uninterrupted online experience.
Conclusion
Connecting your Smart TV to the internet is an essential step in unlocking a world of entertainment and convenience. Whether you choose to go wireless with Wi-Fi, utilize a wired Ethernet connection, or opt for a wireless adapter, the process is relatively straightforward and can be done by following the steps outlined above.
By connecting your Smart TV to the internet, you gain access to a vast array of streaming platforms, apps, and online content, allowing you to enjoy your favorite movies, shows, videos, and more. You can also browse the web, connect with friends on social media, and even enhance your productivity with various smart features available on your Smart TV.
Remember to periodically check your network connection and perform network tests to ensure a stable and reliable connection. Troubleshooting tips can help you address any issues that may arise, ensuring that you can enjoy a seamless and uninterrupted streaming experience.
Whether you’re a tech enthusiast or a newbie, connecting your Smart TV to the internet doesn’t have to be daunting. Just follow the simple steps and troubleshooting tips provided in this guide, and you’ll be well on your way to transforming your Smart TV into a powerful entertainment hub.
So grab your remote, get connected, and immerse yourself in a world of limitless entertainment possibilities with your internet-connected Smart TV!