Introduction
Connecting your PlayStation to your TV is a simple yet essential step to unlock the world of gaming and entertainment at your fingertips. Whether you’re a seasoned gamer or new to the gaming world, this guide will help you seamlessly connect your PlayStation to your TV, ensuring you have an immersive gaming experience.
Gone are the days of tangled wires and complicated setups. The convenience of HDMI technology allows for easy and high-quality connections between your gaming console and TV. With just a few steps, you can unleash the power of your PlayStation and dive into the thrilling world of gaming.
In this guide, we will walk you through each step, ensuring a successful connection between your PlayStation and TV. By the end of this article, you’ll be ready to start playing your favorite games, binge-watching your favorite shows, or streaming content on a larger screen.
So, whether you have a PlayStation 4, PlayStation 5, or even an older version, let’s get started on connecting your PlayStation to your TV and take your gaming experience to the next level!
Step 1: Gather the necessary equipment
Before you begin the process of connecting your PlayStation to your TV, make sure you have all the required equipment. Here’s what you’ll need:
- PlayStation console: Whether you have a PlayStation 4, PlayStation 5, or any other model, ensure you have the console itself.
- HDMI cable: This is the key component that will establish the connection between your PlayStation and TV. Make sure you have an HDMI cable that is compatible with your PlayStation model.
- TV: Of course, you’ll need a TV that has HDMI ports. Most modern TVs have at least one HDMI port, but if you’re unsure, check your TV’s manual or specifications to confirm.
- Power cables: Ensure you have the necessary power cables for both your PlayStation console and TV to provide them with the required power supply.
- Controller: Don’t forget your PlayStation controller! This will allow you to navigate through the menus and control your gameplay.
Double-check and gather all these items before you proceed to the next step. Having everything ready will make the connection process smooth and hassle-free.
Step 2: Identify the available ports on your TV
Before connecting your PlayStation to your TV, it’s important to identify the available ports on your TV. Most modern TVs have multiple input ports, including HDMI, component, composite, and others. However, for the best gaming experience, we recommend using an HDMI port.
Look at the back or side of your TV for the HDMI ports. They typically have the word “HDMI” next to them, and the ports are usually labeled as HDMI 1, HDMI 2, and so on. Take note of which HDMI port you’ll use for connecting your PlayStation.
If your TV has multiple HDMI ports, you can choose any of them. However, it’s a good idea to select the one labeled “HDMI 1” or “HDMI ARC” for the primary connection. This will come in handy if you plan to connect other devices to your TV in the future.
In addition to identifying the HDMI ports, also make sure you have easy access to the area around the TV. Clear out any obstacles or cables that may hinder the connection process. This will ensure a smooth and trouble-free setup.
Once you’ve identified the available HDMI ports on your TV and cleared the space around it, you’re ready to move on to the next step of connecting your PlayStation to your TV.
Step 3: Connect the HDMI cable to your PlayStation
With the necessary equipment gathered and the HDMI port identified on your TV, it’s time to connect the HDMI cable to your PlayStation. Follow these steps:
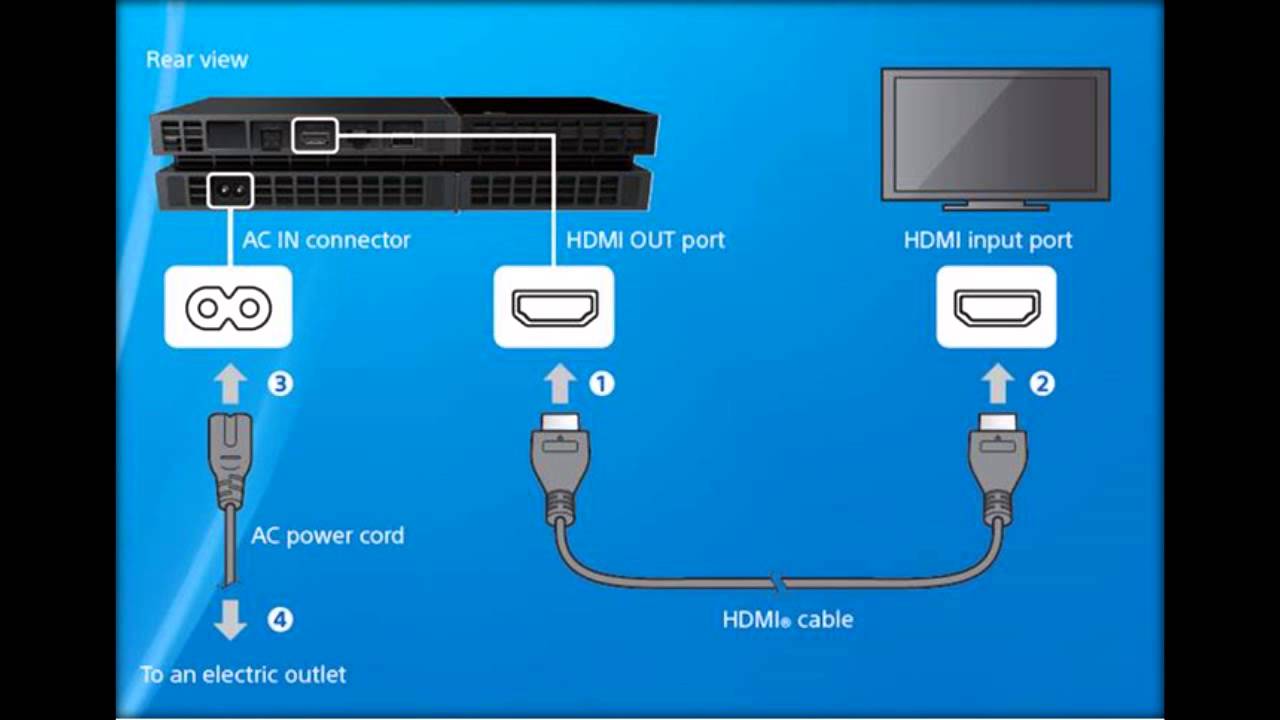
- Locate the HDMI Out port on the back of your PlayStation console. It is usually labeled as “HDMI Out” or has the HDMI icon next to it.
- Take one end of the HDMI cable and insert it firmly into the HDMI Out port on your PlayStation console. Make sure it is securely plugged in.
- If your HDMI cable has a locking mechanism, such as a latch or screw, ensure it is engaged to provide a secure connection.
- Once the HDMI cable is connected to your PlayStation, you can now move on to the next step of connecting it to your TV.
Connecting the HDMI cable to your PlayStation is a critical step in establishing the connection between your console and TV. Take care to ensure a snug and secure connection to avoid any connectivity issues.
Now that the HDMI cable is connected to your PlayStation, it’s time to connect the other end of the cable to your TV. This will be covered in the next step.
Step 4: Connect the other end of the HDMI cable to your TV
Now that you’ve connected one end of the HDMI cable to your PlayStation, it’s time to connect the other end to your TV. Follow these steps:
- Locate the HDMI port on your TV that you identified in Step 2. It is usually labeled as “HDMI” followed by a number.
- Take the other end of the HDMI cable and insert it firmly into the corresponding HDMI port on your TV. Ensure it is securely plugged in.
- If your HDMI cable has a locking mechanism, such as a latch or screw, make sure it is engaged to provide a secure connection.
- Repeat this step if you have multiple HDMI ports on your TV and plan to connect other devices in the future.
Connecting the other end of the HDMI cable to your TV completes the physical connection between your PlayStation and TV. The HDMI cable enables the transmission of audio and video signals from your console to the TV, ensuring a high-quality gaming and viewing experience.
Once the HDMI cable is securely connected to both your PlayStation and TV, you’re ready to proceed to the next step and power on your devices.
Step 5: Power on your PlayStation and TV
Now that you have successfully connected your PlayStation to your TV, it’s time to power on both devices. Follow these steps:
- Ensure that your TV and PlayStation console are plugged into a power source and turned off.
- Locate the power button on your TV and press it to turn on the TV.
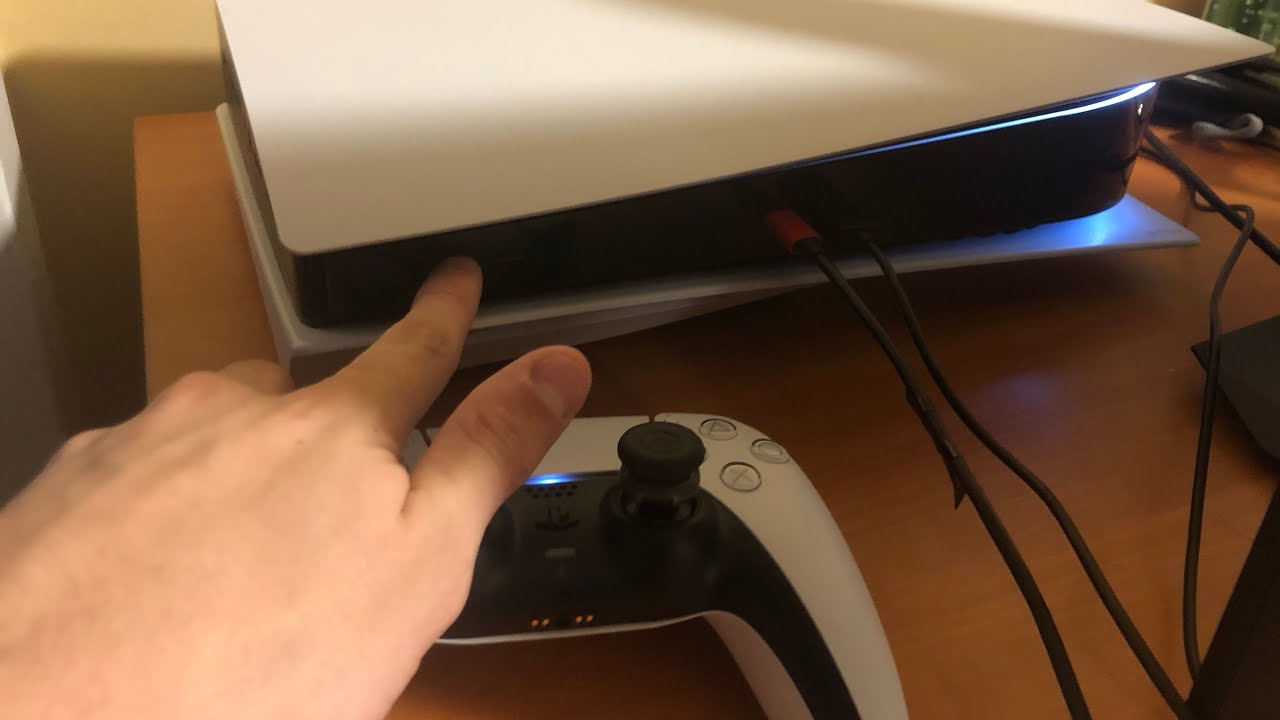
- Next, locate the power button on your PlayStation console. Press and hold the power button until you hear a beep or see the power indicator light up.
- Wait for a few moments as both the TV and PlayStation power up.
As the devices power on, you may see the TV display show the startup logo or a blank screen. This is normal during the system startup process.
It’s important to note that if you have any additional devices, such as a cable or satellite box, connected to your TV, ensure they are also powered on. This will allow the TV to detect the signal from your PlayStation correctly.
By powering on your TV and PlayStation, you’re one step closer to diving into the exciting world of gaming and entertainment. The next step will guide you in selecting the correct input/source on your TV for your PlayStation.
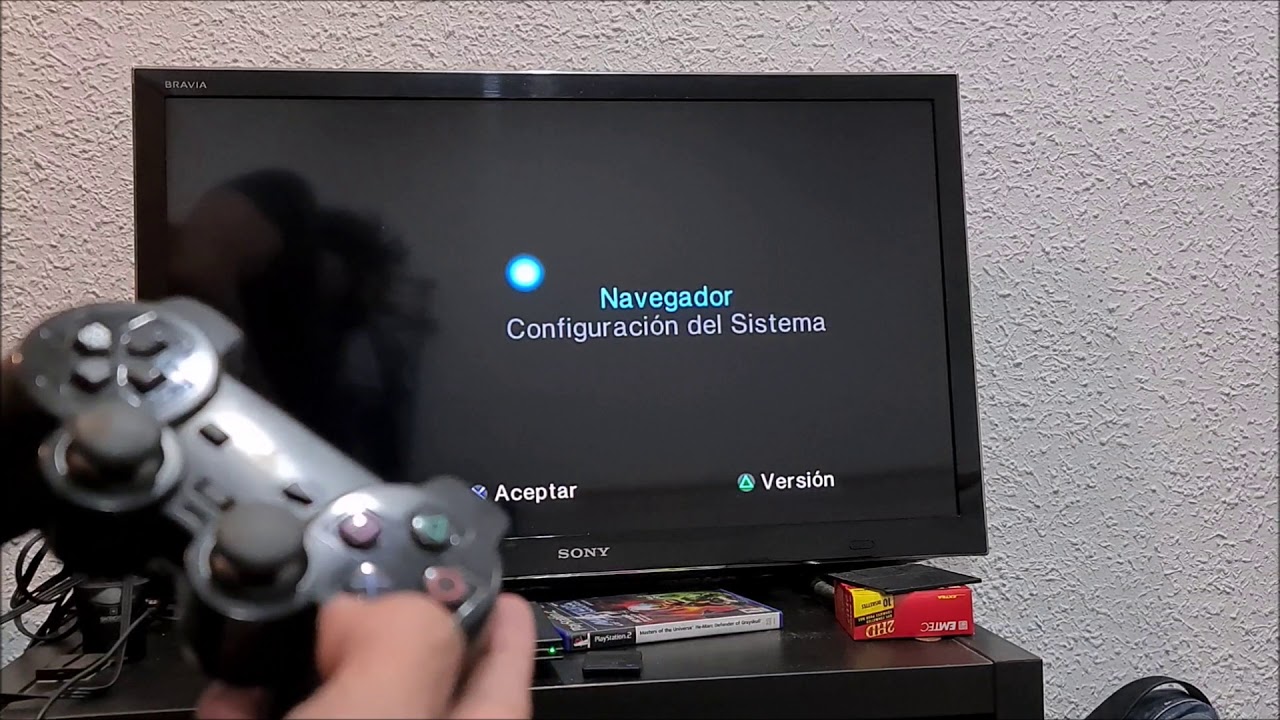
Step 6: Select the correct input/source on your TV
Once your TV and PlayStation are powered on, it’s time to select the correct input or source on your TV to display the output from your PlayStation. Follow these steps:
- Grab your TV remote control and locate the “Input” or “Source” button. This button may be labeled differently depending on your TV model.
- Press the “Input” or “Source” button to access the input/source menu on your TV.
- Using the arrow buttons on your remote, navigate through the input/source options until you find the HDMI port to which your PlayStation is connected.
- Once you’ve selected the correct HDMI port, press the “OK” or “Enter” button on your remote to confirm the selection.
After selecting the correct input/source, your TV will switch to the display output from your PlayStation. You should see the PlayStation’s home screen or any other content currently being played on your console.
If you don’t immediately see the PlayStation output on your TV, don’t panic. Some TVs may take a few moments to detect the input signal. Give it a few seconds, and if necessary, press the “Input” or “Source” button again to cycle through the inputs until you see the PlayStation output.
Now that you’ve successfully selected the correct input/source on your TV, you’re ready to proceed to the next step and set up your PlayStation display settings.
Step 7: Set up your PlayStation display settings
Now that your PlayStation is connected to the TV and the input/source is selected, it’s time to configure the display settings on your PlayStation. Follow these steps:
- On your PlayStation controller, press the PlayStation button located in the center. This will bring up the quick menu.
- Using the directional pad or analog stick on your controller, navigate to the “Settings” icon in the quick menu, which is represented by a toolbox or gear icon.
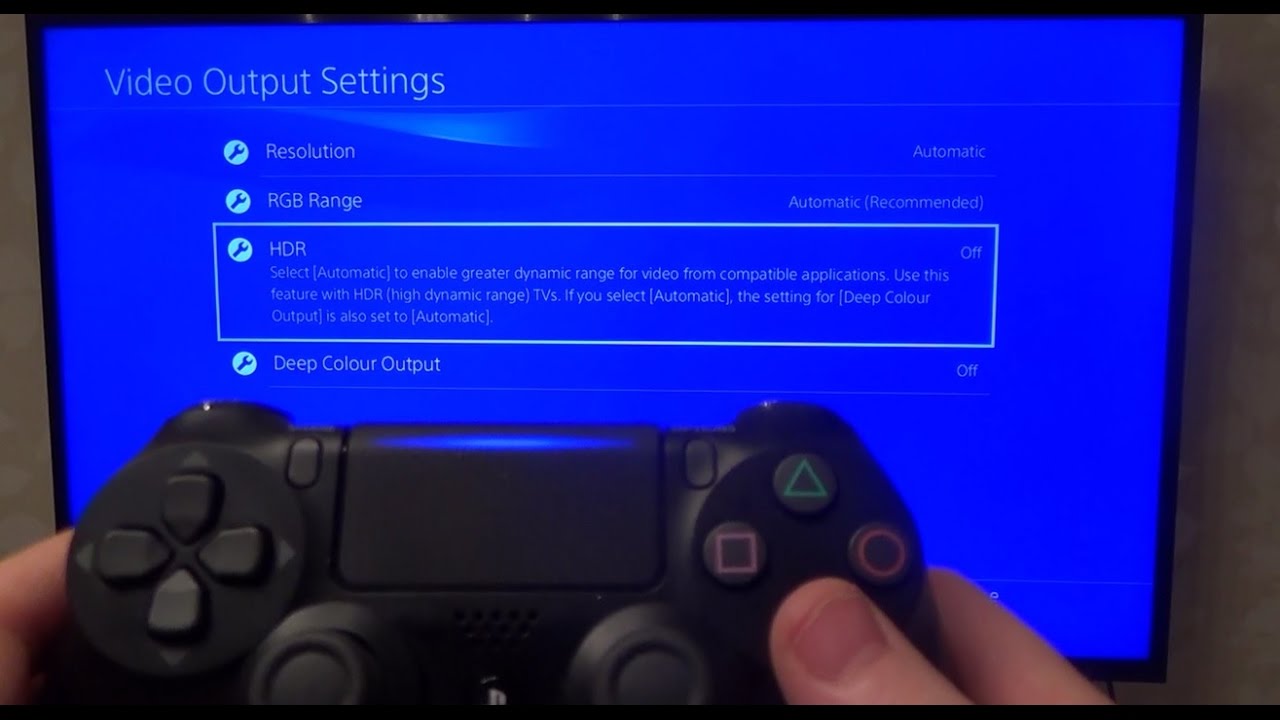
- Scroll down and select “Sound and Screen” from the settings menu.
- In the “Sound and Screen” menu, you’ll find various display settings, including resolution, screen size, HDR options, and more.
- Adjust the display settings according to your preferences. If you’re unsure about the ideal settings, you can stick with the default options or consult your TV’s manual for recommendations.
- Once you’ve configured the display settings, exit the settings menu and go back to the PlayStation home screen.
By setting up the display settings on your PlayStation, you can optimize the visual experience and ensure the best performance for your specific TV and gaming preferences.
It’s worth noting that these settings may vary depending on the PlayStation model and software version. If you’re experiencing any issues or have questions about specific display settings, refer to the PlayStation user manual or consult the official PlayStation support website.
Now that you’ve set up your PlayStation display settings, it’s time to proceed to the next step and test the connection to ensure everything is working correctly.
Step 8: Test the connection and adjust settings if needed
Once you’ve completed all the previous steps, it’s important to test the connection between your PlayStation and TV to ensure everything is working as expected. Follow these steps:
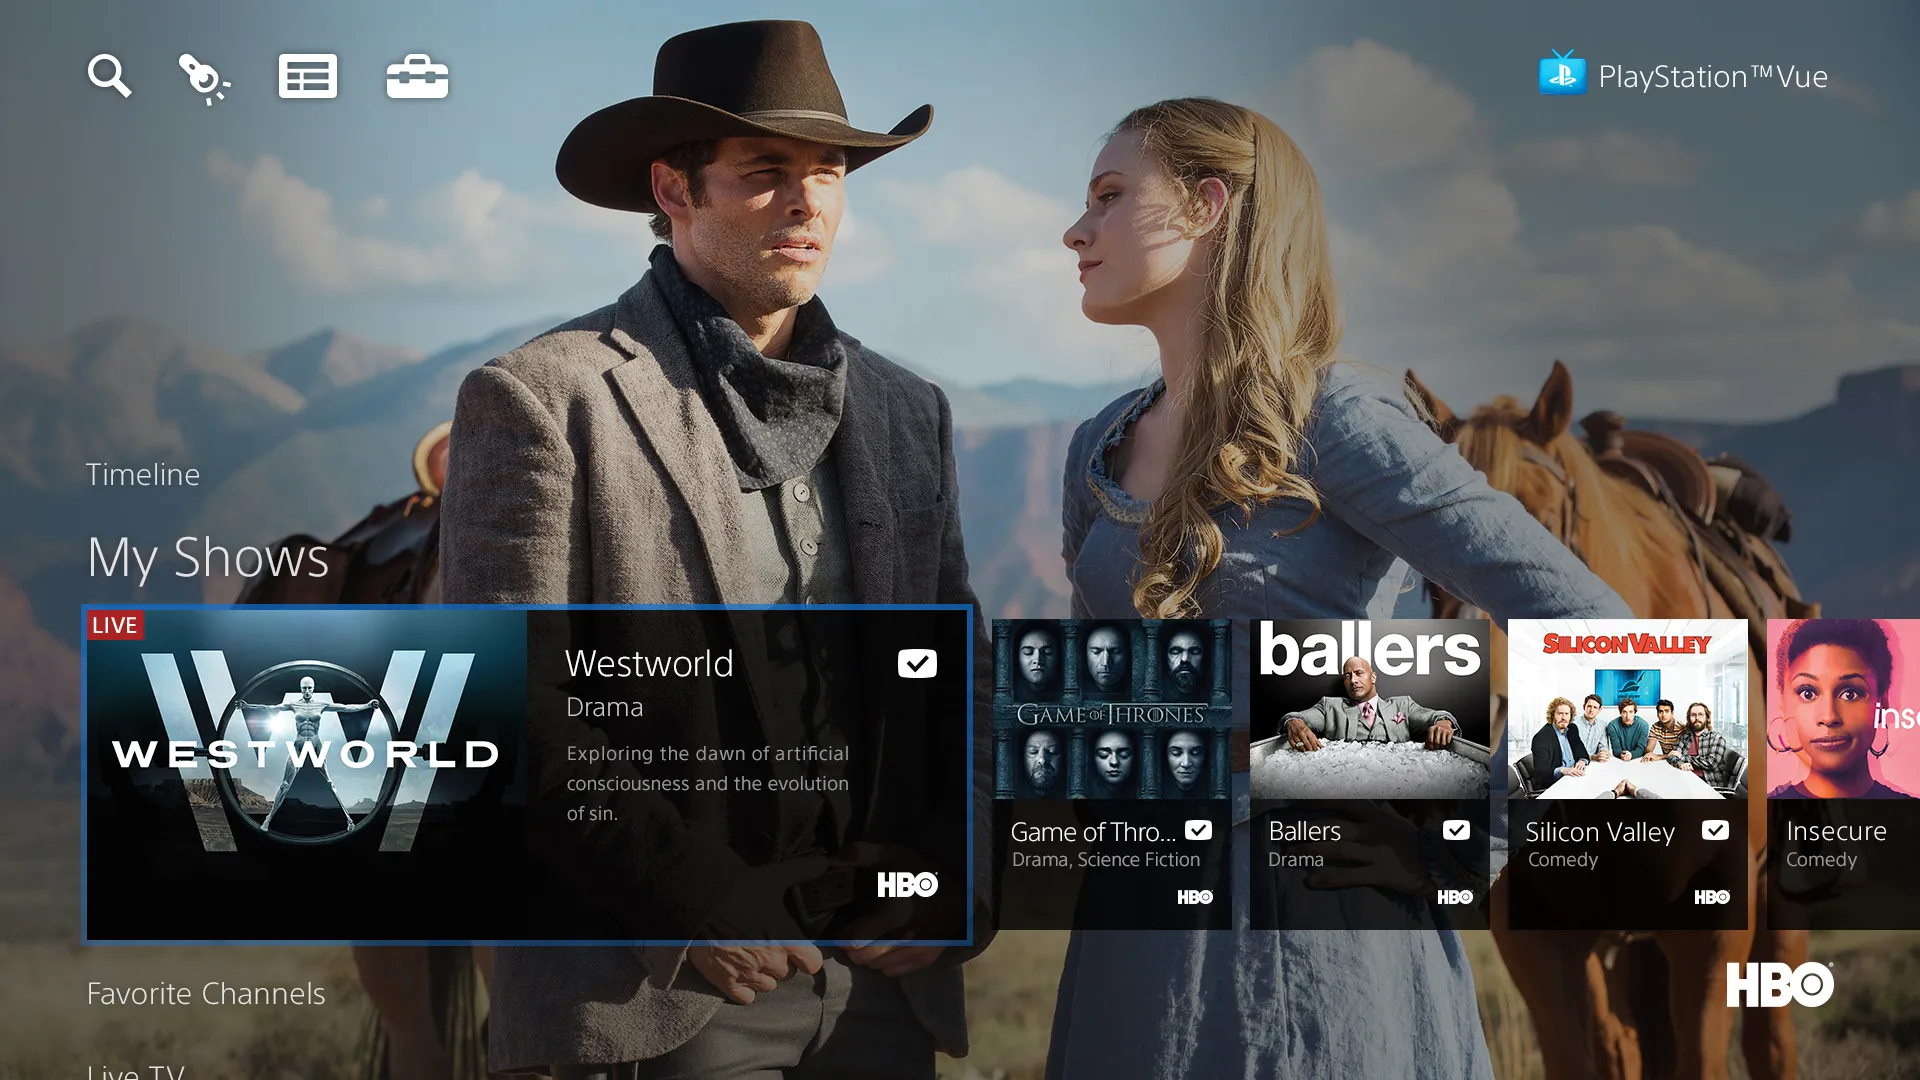
- On your PlayStation controller, navigate to the game library or any other media application, such as Netflix or YouTube.
- Select a game or media content to play and ensure it’s displayed on your TV.
- Pay attention to the audio and video quality. Check for any visual anomalies, such as screen flickering, lag, or distorted colors.
- If you’re satisfied with the connection and the display quality, congratulations! You’ve successfully connected your PlayStation to your TV. Enjoy your gaming or media experience!
- If you encounter any issues with the connection or notice any visual or audio problems, you may need to adjust the settings on your PlayStation or TV.
- Experiment with different display settings, such as resolution, HDR options, or color settings, to find the optimal configuration for your specific TV and preferences.
- If the issues persist, refer to the troubleshooting section in your PlayStation user manual or seek assistance from the official PlayStation support channels.
- Make sure to update your PlayStation system software regularly to benefit from any firmware updates or bug fixes that may improve the overall performance and compatibility with your TV.
Testing and adjusting the connection and settings is crucial to ensure a seamless and enjoyable gaming or media experience. Take the time to fine-tune the settings to your liking and resolve any issues that may arise.
With the connection tested and any necessary adjustments made, you’re now ready to fully immerse yourself in the world of gaming or enjoy your favorite movies and TV shows on the big screen.
Conclusion
Connecting your PlayStation to your TV is a fundamental step in unlocking the full potential of your gaming console. By following the steps outlined in this guide, you can seamlessly establish the connection and enjoy a captivating gaming experience or stream your favorite media content on a larger screen.
We started by gathering the necessary equipment, including the PlayStation console, HDMI cable, TV, power cables, and controller. Then, we identified the available ports on the TV, ensuring we select the HDMI port for the connection.
After connecting the HDMI cable to both the PlayStation and the TV, we powered on the devices and selected the correct input/source on the TV to display the PlayStation output. We then proceeded to set up the display settings on the PlayStation, optimizing the visuals to suit our preferences.
Finally, we tested the connection, adjusted settings if needed, and made sure everything was working smoothly. This ensured that we could fully enjoy our gaming sessions or media content on the big screen without any issues.
Remember to consult the user manuals for your specific PlayStation and TV models if you encounter any difficulties during the setup process. Additionally, staying up to date with firmware updates for your PlayStation system is essential for optimal performance and compatibility with your TV.
Now that you’ve successfully connected your PlayStation to your TV, it’s time to immerse yourself in the exciting world of gaming, movie marathons, and streaming adventures. Enjoy the enhanced experience and have fun exploring all that your PlayStation has to offer on the larger screen!