Introduction
Since its launch, the PlayStation controller has gained immense popularity among gamers for its comfortable design and precise controls. While it is primarily meant for use with the PlayStation console, many gamers are also interested in using it with their PC for an enhanced gaming experience. Fortunately, connecting a PlayStation controller to a PC is easier than you might think.
In this article, we will guide you through the process of connecting a PlayStation controller to your PC. Whether you want to play PC games with your favorite controller or use it for other applications, we’ve got you covered. By following a few simple steps, you’ll be able to enjoy the comfort and familiarity of your PlayStation controller on your PC.
Before we dive into the steps, it’s important to check the compatibility of your PlayStation controller with your PC. The recent models of PlayStation controllers, like the DualShock 4 and DualSense, are compatible with PCs running Windows 10. However, if you have an older model, you may need to use additional software or a Bluetooth adapter to connect it to your PC.
Now, let’s move on to the next section where we’ll discuss the necessary tools you’ll need to download and install before connecting your PlayStation controller to your PC.
Step 1: Check the compatibility
The first step in connecting your PlayStation controller to your PC is to ensure that it is compatible. While newer models like the DualShock 4 and DualSense controllers are plug-and-play compatible with Windows 10, older models may require additional steps or software.
To check the compatibility of your PlayStation controller, follow these simple steps:
- Start by connecting your PlayStation controller to your PC using a USB cable. Make sure the cable is in good condition and securely connected to both the controller and the PC.
- Once connected, check if your PC recognizes the controller. You can do this by opening the “Device Manager” on your PC. To do so, right-click on the Start button and select “Device Manager” from the context menu.
- In the Device Manager window, expand the “Human Interface Devices” category. Look for any entry related to your PlayStation controller. If you see an entry with a name like “Wireless Controller” or “USB Input Device,” it means your PC recognizes the controller.
- If your controller is not listed or you see an error symbol next to it, it may indicate compatibility issues. In this case, you can try the following solutions:
- For older PlayStation controllers, you may need to install additional drivers or software to make it compatible with your PC. Visit the official website of the controller manufacturer and search for the appropriate drivers or software for your model.
- If you have a wireless PlayStation controller, you can try connecting it to your PC using Bluetooth. Ensure that your PC has a Bluetooth adapter or use an external Bluetooth dongle if required. Refer to the controller’s user manual for specific instructions on how to enable Bluetooth pairing mode.
By checking the compatibility of your PlayStation controller with your PC, you can ensure a smooth connection process. Once you have confirmed that your controller is compatible, you can proceed to the next step, which involves downloading and installing the necessary tools required to connect your PlayStation controller to your PC.
Step 2: Download and install the necessary tools
Before you can connect your PlayStation controller to your PC, you’ll need to download and install the appropriate tools. These tools will allow your PC to recognize and communicate with the controller. Follow these steps to get started:
- For DualShock 4 controllers (Windows 10):
- Connect your DualShock 4 controller to your PC using a USB cable.
- Windows 10 should automatically install the necessary drivers for your controller. Wait for the installation to complete.
- If the controller is still not recognized, you can manually install the drivers by following these steps:
- Visit the official PlayStation website and download the “DS4Windows” software.
- Once downloaded, run the installer and follow the on-screen instructions to install the software.
- After installation, launch DS4Windows, and the software will automatically detect and configure your DualShock 4 controller.
- For DualSense controllers (Windows 10):
- Connect your DualSense controller to your PC using a USB cable.
- Windows 10 should automatically recognize the controller and install the necessary drivers. Wait for the installation to complete.
- If the automatic installation doesn’t work, you can manually install the drivers by following these steps:
- Visit the official Sony PlayStation website and download the “DualSense Windows Driver.”
- Run the downloaded driver installer and follow the on-screen instructions to complete the installation.
- For older PlayStation controllers:
- If you have an older PlayStation controller, like the DualShock 3, you’ll need additional software to connect it to your PC.
- Download and install the “SCP Toolkit,” which is a tool that allows older PlayStation controllers to work with the PC.
- Follow the instructions provided by the SCP Toolkit to configure and set up your controller. The software will guide you through the installation process.
By downloading and installing the necessary tools, you’ll be one step closer to connecting your PlayStation controller to your PC. Once the tools are installed, you can proceed to the next step, where we’ll walk you through the process of connecting the controller to your PC.
Step 3: Connect the PlayStation controller to the PC
Now that you have ensured compatibility and installed the required tools, it’s time to connect your PlayStation controller to your PC. Follow these steps to establish the connection:
- Start by ensuring that your controller is charged or connected to a power source via a USB cable.
- Connect your PlayStation controller to your PC using a USB cable. Make sure the cable is securely plugged into both the controller and a USB port on your PC.
- Once the controller is connected, your PC should automatically recognize it. You may hear a sound notification indicating the successful connection.
- If your controller is not recognized, try connecting it to a different USB port on your PC. Sometimes, a different port can establish a proper connection.
- If you have installed any additional software or drivers specific to your controller, ensure that they are running and active before attempting the connection.
Once your PlayStation controller is connected to your PC, it should be ready to use. However, you may need to configure and customize the controller settings to suit your preferences and the specific game or application you intend to use it with. Proceed to the next step to learn how to customize your PlayStation controller settings on your PC.
Step 4: Configure and customize controller settings
Once you have successfully connected your PlayStation controller to your PC, it’s time to configure and customize the settings to ensure optimal gameplay. Here are the steps to follow:
- If you are using a Windows 10 PC, you can access the controller settings by going to the “Settings” menu. Click on the “Start” button, followed by the “Settings” icon (shaped like a gear).
- In the “Settings” menu, navigate to the “Devices” section and click on “Bluetooth & other devices.”
- Under the “Devices” section, you should see your connected PlayStation controller listed. Click on it to access the settings.
- Within the controller settings, you can customize various options such as button mapping, sensitivity, vibration settings, and more. Explore the different tabs and menus to configure the controller settings according to your preferences.
- For specific games or applications, you may need to further customize the controller settings within the respective software. Look for the options or settings related to gamepad or controller configuration. You can usually find these settings in the in-game options menu.
It’s important to note that the customization options may vary depending on the software or game you are using. Some games may offer more extensive controller customization options, allowing you to fine-tune the controls to your liking.
By configuring and customizing the controller settings, you can optimize your gaming experience and ensure that the controls match your personal preferences and gameplay style.
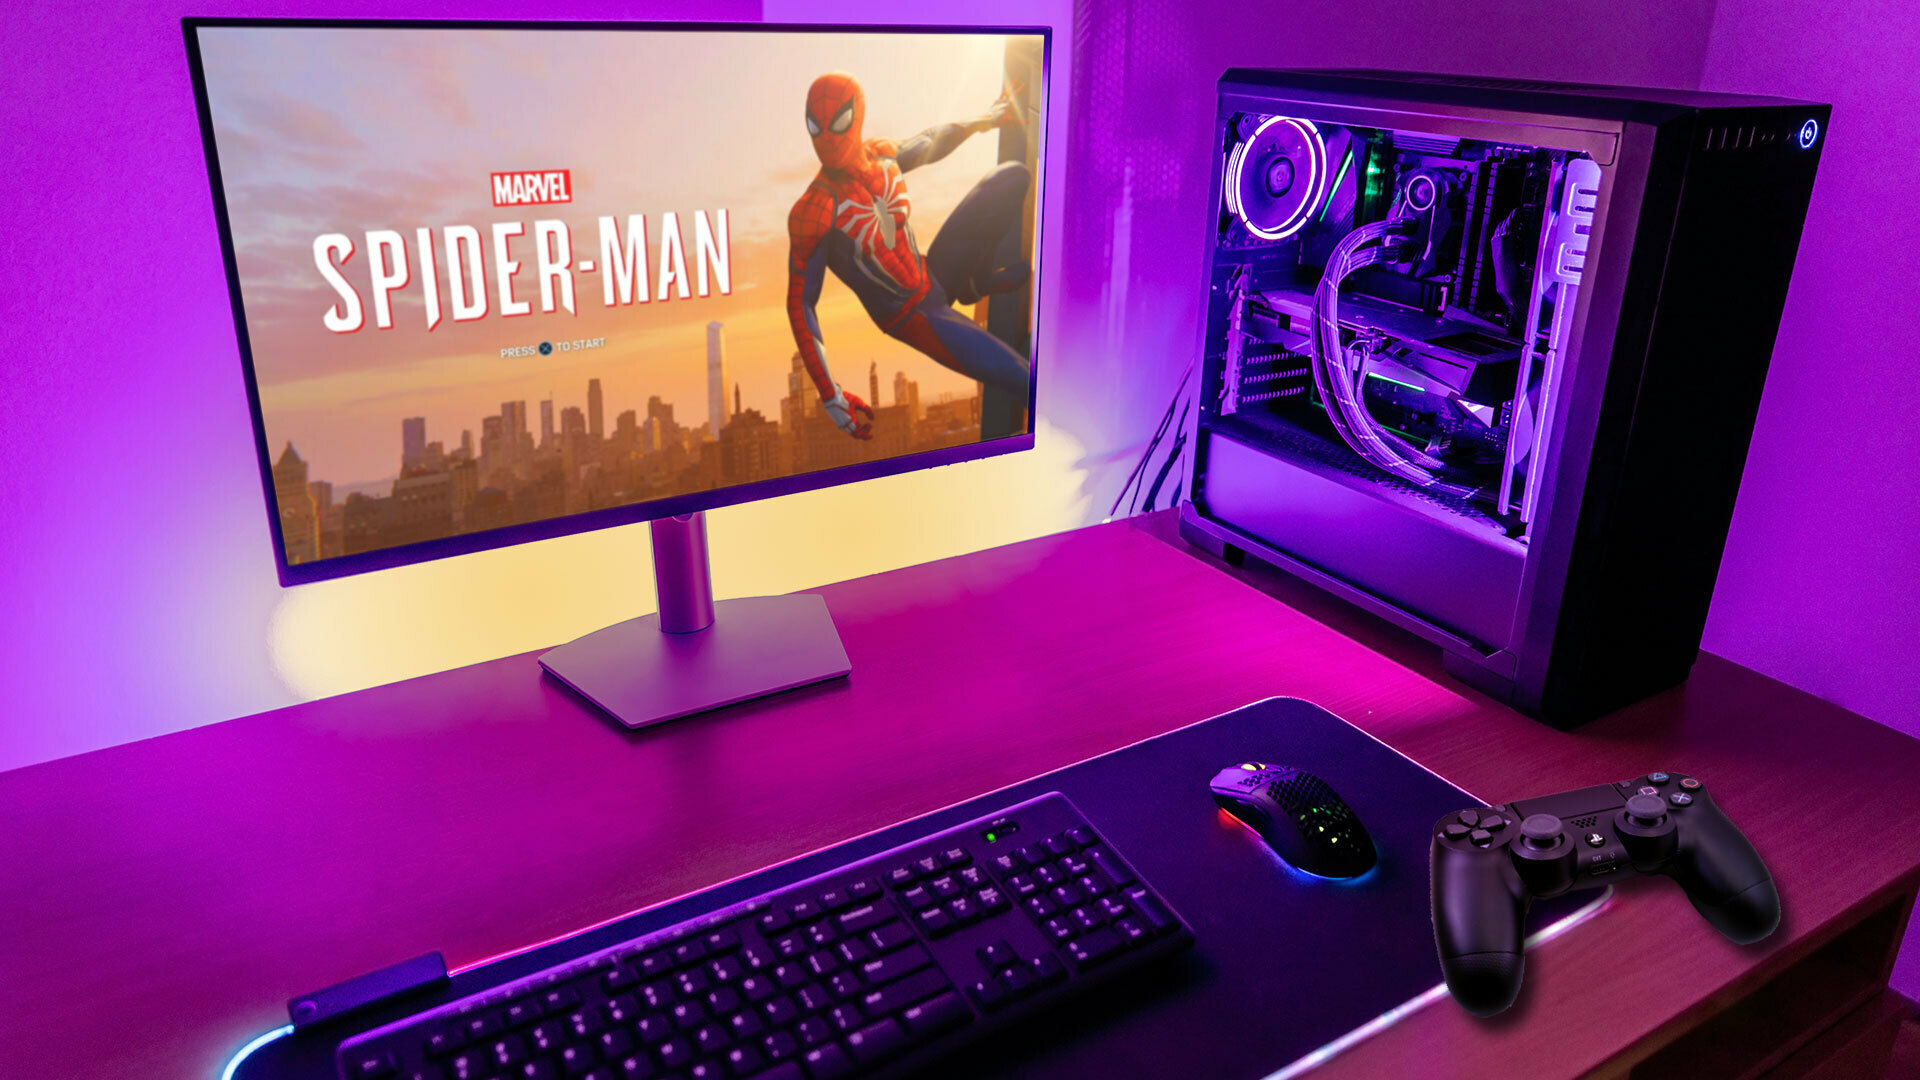
You are now all set to enjoy your favorite games on your PC with the comfort and familiarity of your PlayStation controller. Whether it’s battling enemies, exploring vast virtual worlds, or enjoying immersive adventures, the PlayStation controller will enhance your gaming experience on your PC.
Remember to keep your controller charged or connected to a power source during extended gaming sessions, and always disconnect the USB cable properly when you’re finished gaming.
Conclusion
Connecting your PlayStation controller to your PC opens up a world of possibilities for gaming and other applications. With the right tools and a few simple steps, you can enjoy the comfort and precision of your favorite controller on your PC.
In this article, we walked you through the process of connecting a PlayStation controller to your PC. We started by checking the compatibility of your controller and ensuring that you have the necessary tools installed. Then, we guided you through the steps to connect the controller to your PC using a USB cable. Finally, we discussed the importance of configuring and customizing the controller settings to optimize your gaming experience.
Remember, for newer PlayStation controllers like the DualShock 4 and DualSense, compatibility with Windows 10 is straightforward. However, older controllers may require additional software or drivers to establish a proper connection. The official websites of the controller manufacturers are valuable resources for finding the right tools.
Now that you’re familiar with the process, why not connect your PlayStation controller to your PC and start enjoying your favorite games? Whether you’re battling opponents in action-packed adventures or exploring immersive virtual worlds, the PlayStation controller will enhance your gaming experience on your PC.
So go ahead, connect, customize, and conquer!