Introduction
Are you looking to add a touch of style and personality to your PC case? LED lights are a fantastic option to consider. Not only do they add a visually stunning effect, but they can also create an immersive gaming or working environment. Connecting LED lights to your PC case is simpler than you might think, and in this guide, we will walk you through the step-by-step process.
Whether you are a tech-savvy enthusiast or a beginner, you can easily connect LED lights to your PC case with the right materials and a little creativity. Before we dive into the steps, let’s briefly discuss what LED lights are and why they are a popular choice for PC modding.
LED, which stands for Light-Emitting Diode, is a semiconductor device that emits light when an electric current passes through it. LED lights have gained immense popularity due to their energy efficiency, durability, and versatility. They come in different colors and can be customized to suit your personal style and preferences.
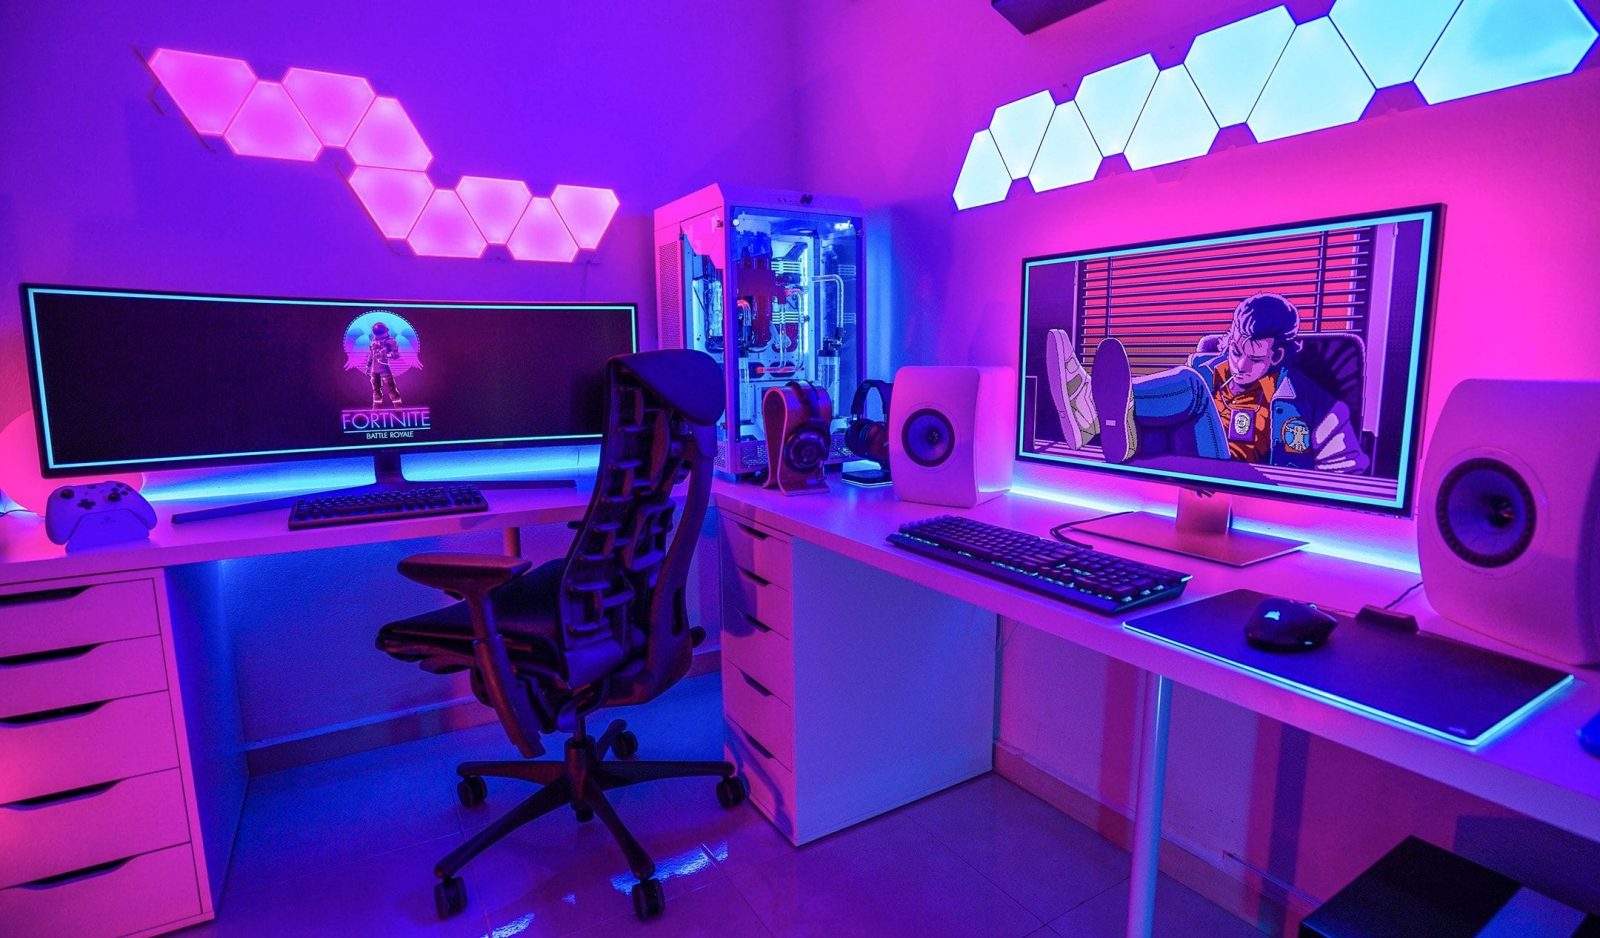
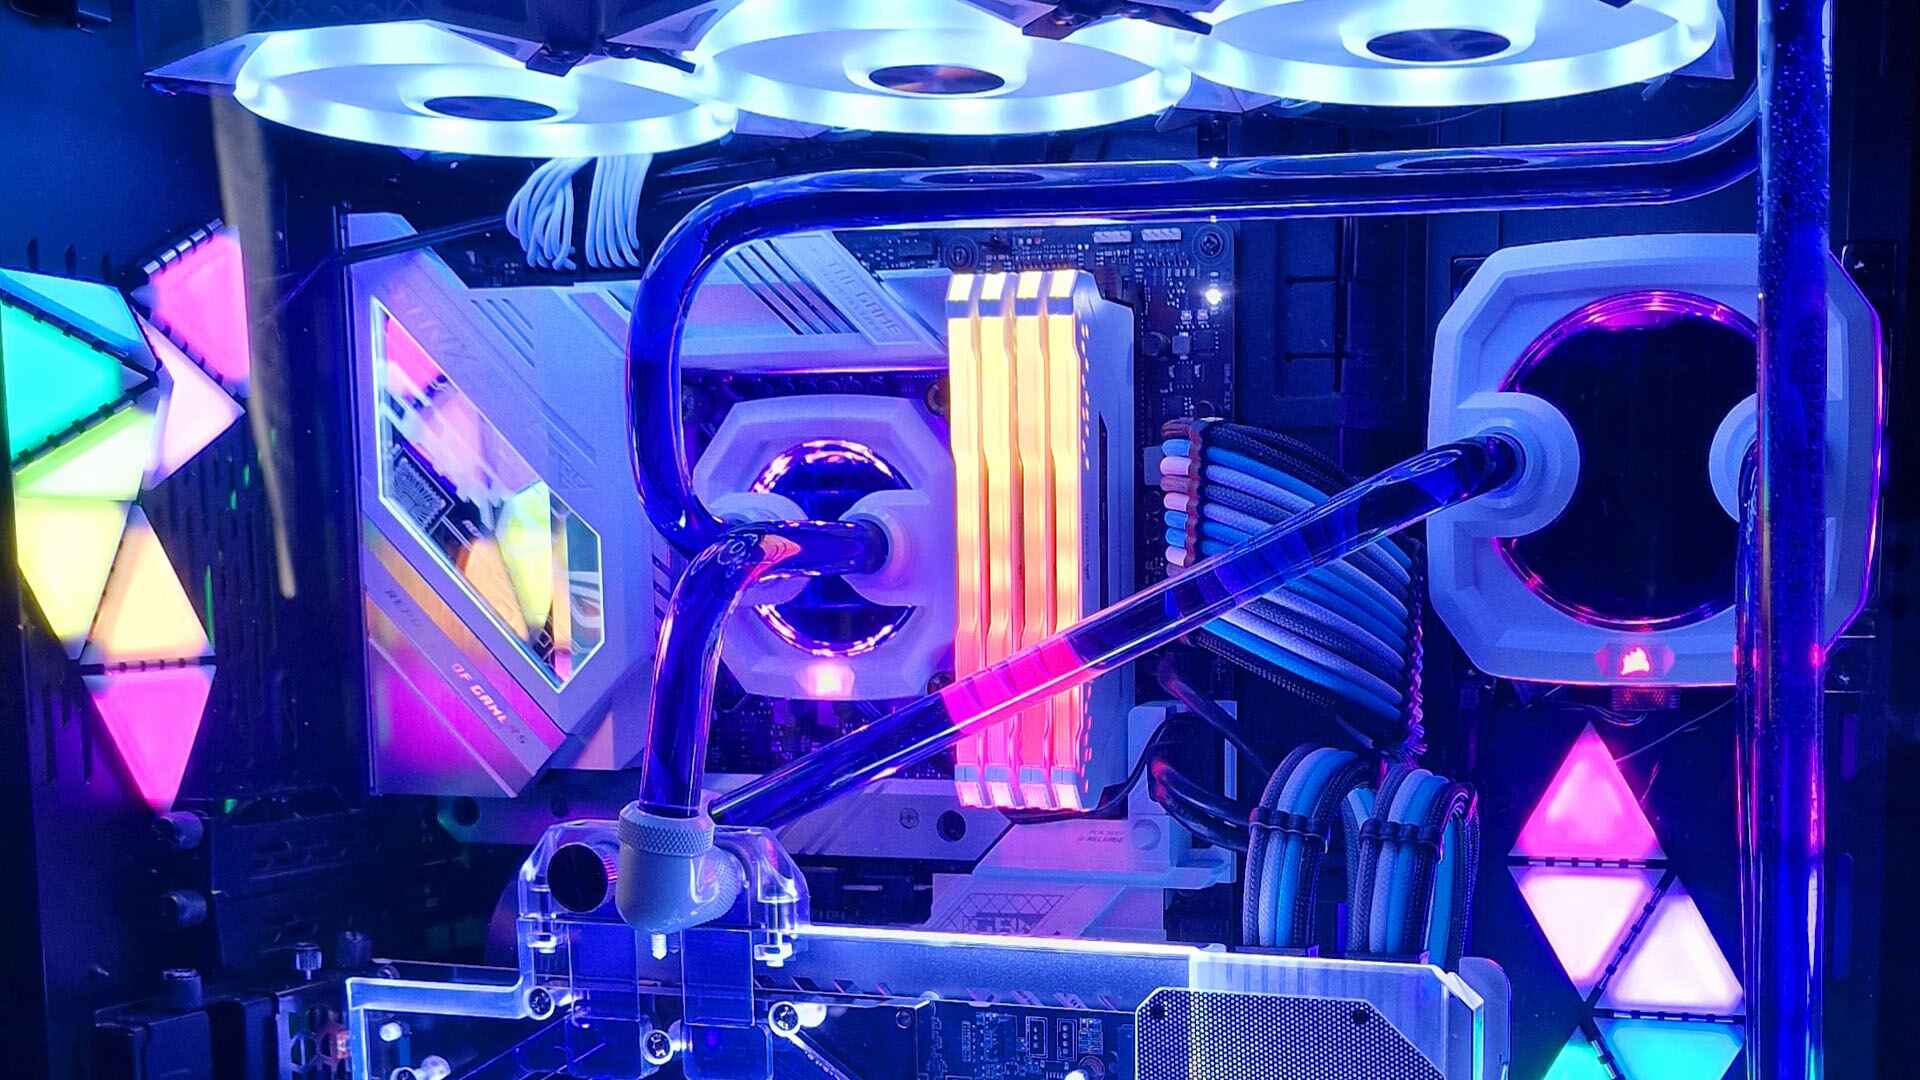
Adding LED lights to your PC case can take your computer setup to the next level. Whether you want to showcase your unique style or create an ambient lighting effect, LED lights provide a wide range of options. From subtle lighting accents to vibrant color displays, the possibilities are endless.
Now that we have a basic understanding of what LED lights are and their appeal, let’s move on to the step-by-step process of connecting them to your PC case. By following this guide, you will have your LED lights up and running in no time, creating a captivating visual experience every time you power up your computer.
Step 1: Gather the Necessary Materials
Before you begin connecting LED lights to your PC case, it’s important to gather all the necessary materials. This will ensure a smooth and successful installation process. Here’s a list of items you’ll need:
1. LED light strips: Choose LED light strips that are suitable for your PC case size. Consider the length and number of LEDs on the strip to ensure proper coverage.
2. Power supply: LED lights require a power source, so you’ll need a power supply unit (PSU) that can handle the current load of the LED strips. Make sure the PSU has the appropriate connectors for the LED lights.
3. Connectors/cables: Depending on the type of LED strips you have, you may need connectors or extension cables. These will help you connect the LED strips to the PSU and the PC case.
4. Adhesive tape or mounting brackets: To secure the LED light strips inside your PC case, you’ll need adhesive tape or mounting brackets. Make sure they are strong enough to hold the strips in place and won’t damage your PC components.
5. Screwdriver: You’ll need a screwdriver to open your PC case and secure the LED light strips, if necessary. Check the type of screws used in your case and ensure you have the corresponding screwdriver.
6. Optional: LED controller: If you want to control the brightness, color, and effects of your LED lights, consider getting an LED controller. This device allows you to adjust the settings easily.
Make sure to gather all the materials before you begin the installation process. It’ll save you time and ensure a hassle-free experience. Double-check the compatibility of the LED strips, connectors, and power supply to avoid any issues during the installation.
Now that you have all the materials ready, you can move on to the next step – identifying the type of LED lights you have.
Step 2: Identify the Type of LED Lights
Before you can proceed with connecting your LED lights to the PC case, it’s crucial to identify the type of LED lights you have. This step is essential because different LED lights may require different connection methods.
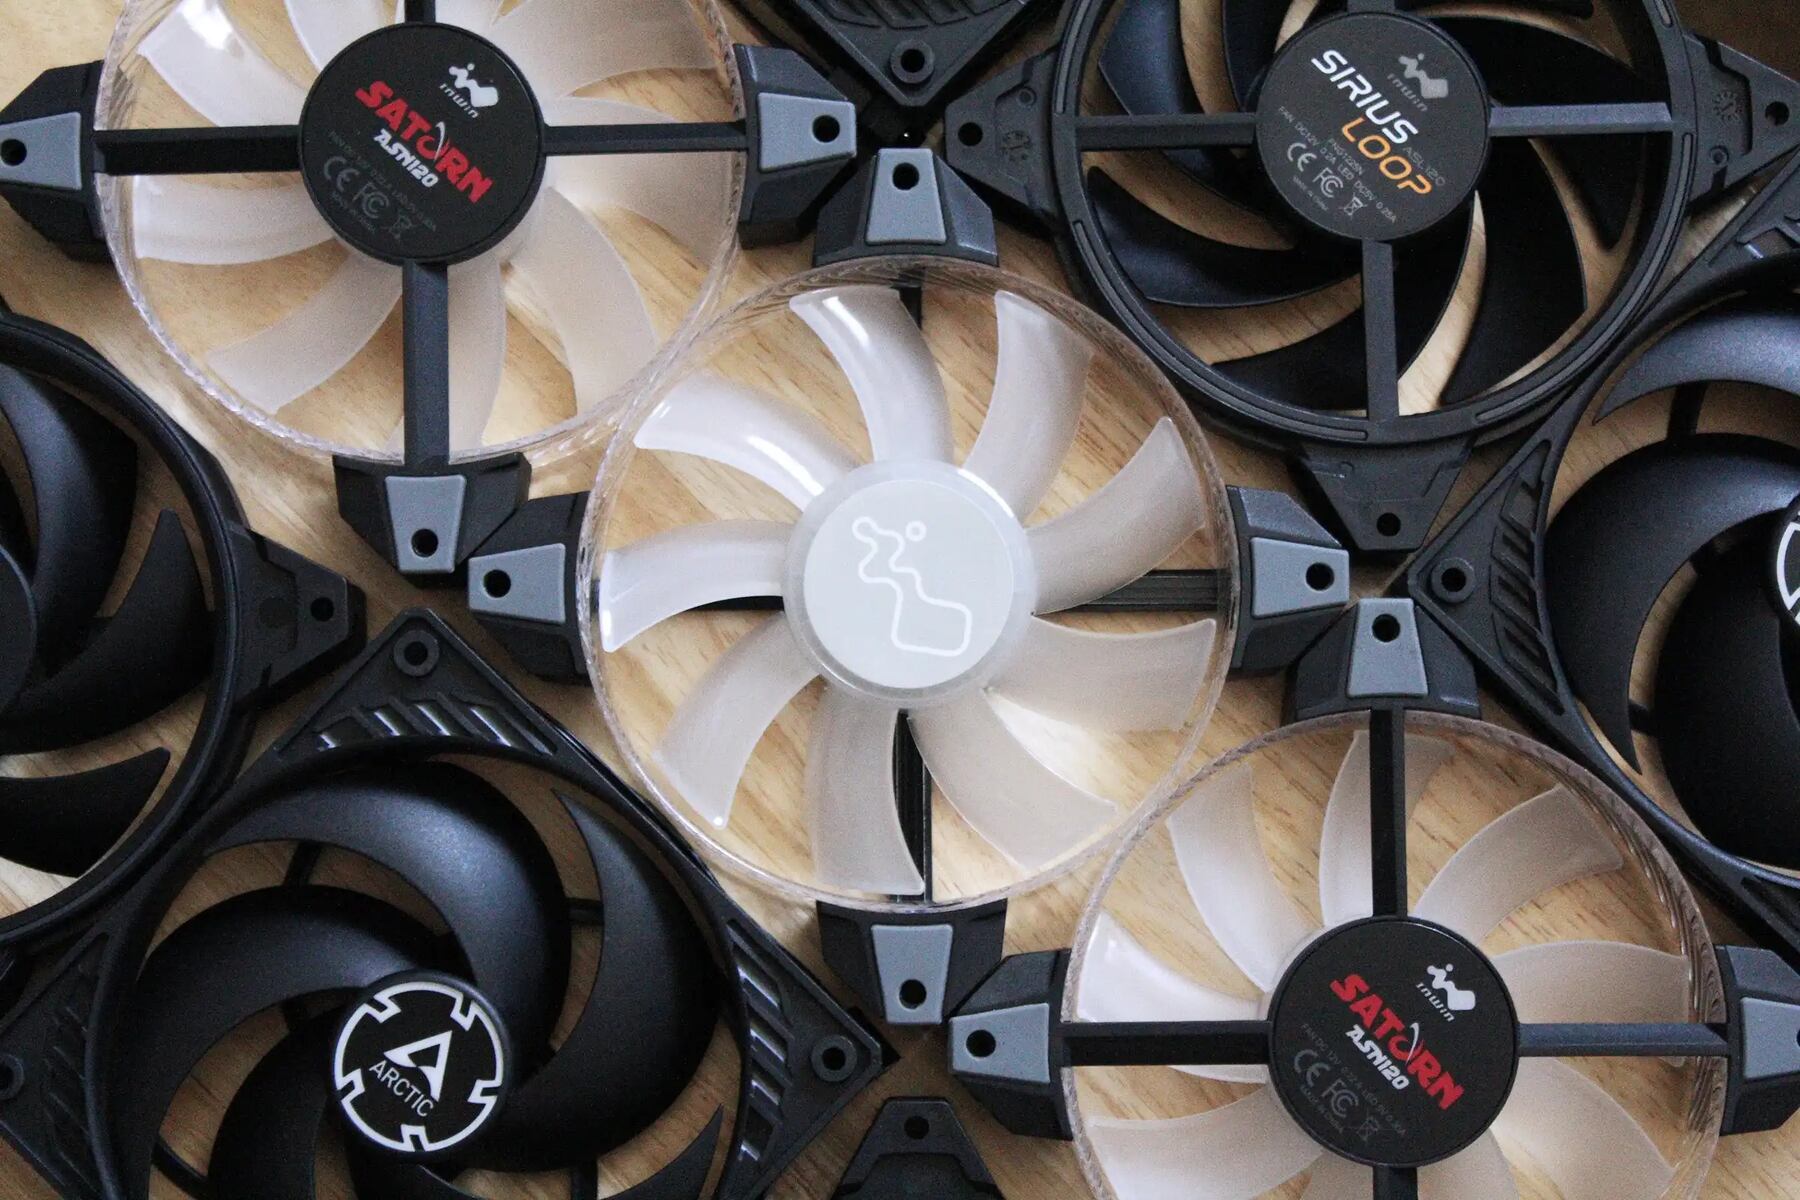
LED lights come in various forms, such as LED strips, LED fans, or individual LED modules. Each type may have specific connectors or cables that need to be used for proper installation.
To identify the type of LED lights you have, first check the packaging or any accompanying documentation. Look for any information that indicates the specific model or type of LED lights. This will help you determine the correct connection method and any additional accessories you may need.
If you are unable to find any documentation, visually inspect the LED lights. LED strips, for example, consist of a flexible strip with small LED bulbs embedded. LED fans have LEDs built into the fan blades, and individual LED modules are typically small, self-contained units.
Take note of the design and appearance of the LED lights. Look for any connectors or cables attached to the lights. These connectors may be used to link the LEDs to the power supply or other components.
Additionally, if you are unsure about the type of LED lights you have, you can try searching for the model name or number online. Often, manufacturers provide detailed specifications and documentation on their websites.
By accurately identifying the type of LED lights you have, you can ensure that you use the appropriate connection method and avoid any unnecessary complications during installation. With this information in hand, you are now ready to move on to the next step: determining the power source for your LED lights.
Step 3: Determine the Power Source
Determining the power source for your LED lights is a critical step in connecting them to your PC case. LED lights typically require a power supply to operate, so it’s important to ensure that you have an appropriate power source available. Here’s how you can determine the power source for your LED lights:
1. Check the LED light specifications: Refer to the documentation or packaging of your LED lights to find information about their power requirements. Look for details such as voltage (V) and current (A) ratings. These specifications will help you determine the power supply unit (PSU) you’ll need for your LED lights.
2. Assess your PC’s power supply: Take a look at the power supply inside your PC. Most PCs come with a built-in power supply unit that provides power to all the components, including the LED lights. Check the wattage and connectors available on your PC’s power supply to confirm if it can handle the additional load of the LED lights.
3. Calculate the power consumption: Use the specifications of your LED lights to calculate the power consumption. Multiply the voltage (V) by the current (A) to determine the wattage (W) required. Compare this wattage to the power supply capacity of your PC. If the LED lights’ power consumption is within the power supply’s capabilities, you can use it as the power source.
4. Consider an external power supply: If your PC’s power supply doesn’t have the necessary capacity or connectors for the LED lights, you may need to use an external power supply. Look for a dedicated LED power supply unit that matches the voltage and current requirements of your LED lights. Ensure that it has the appropriate connectors to connect to the LED lights and the PC case.
Remember, safety is paramount when working with electricity. Always choose a power source that meets the power requirements of your LED lights without overloading the circuit. If you are unsure about dealing with power connections, it’s recommended to seek assistance from a qualified professional.
Once you have determined the power source for your LED lights, you are ready to move on to the next step: preparing the LED lights for installation.
Step 4: Prepare the LED Lights
Now that you have identified the power source, it’s time to prepare the LED lights for installation. Proper preparation will ensure that the LED lights function correctly and are ready to be connected to your PC case. Follow these steps to prepare the LED lights:
1. Unpack the LED lights: Carefully open the packaging of your LED lights, ensuring that you don’t damage the strips or any accompanying accessories. Take a moment to inspect the LED lights for any visible defects or damage.
2. Clean the installation area: Before attaching the LED lights to your PC case, clean the surface where you plan to mount them. Use a mild cleaning solution and a lint-free cloth to remove any dust or debris. This will ensure a secure and smooth installation.
3. Cut or customize the LED strip: If necessary, you may need to cut or customize the length of the LED strip to fit your PC case properly. LED strips usually have designated cutting points marked along the strip. Use sharp scissors or a cutting tool to trim the strip to the desired length, following the manufacturer’s instructions.
4. Attach any additional accessories: Depending on the LED lights you have, you may need to attach additional accessories or connectors. Carefully follow the manufacturer’s instructions to connect any extension cables, splitters, or adapters that may be required for your specific LED light setup.
5. Test the LED lights: Before proceeding with the installation, it’s a good practice to test the LED lights to ensure they are functioning correctly. Connect the LED strip to the power supply (either the PC’s power supply or an external one) and turn on your PC. Check if the LEDs light up and if the desired lighting effect is achieved. If there are any issues, double-check the connections and troubleshoot accordingly.
By properly preparing the LED lights, you ensure that they are in optimum condition for installation. This step also allows you to customize the LED strip to fit your specific PC case size and validate that the lights are working as intended. With the LED lights prepared, you are now ready to move on to the next step: locating the appropriate connectors on your PC.
Step 5: Locate the Appropriate Connectors on the PC
To successfully connect the LED lights to your PC case, you need to locate the appropriate connectors on your PC. These connectors will allow you to establish the electrical connection between the LED lights and the power supply. Follow these steps to find the right connectors:
1. Consult the PC manual: If you have the manual for your PC, refer to it for information on the internal components and their corresponding connectors. Look for documentation related to the motherboard and the available headers or connectors.
2. Identify the RGB header: RGB headers are the primary connectors used for connecting LED lights to a PC. Check your motherboard for any labeled RGB headers, which are usually 4-pin or 3-pin connectors. The RGB header may be specifically labeled as “RGB,” “LED,” or “Addressable RGB.”
3. Check the motherboard layout: If you don’t have the PC manual, visually inspect the motherboard layout. Look for any connectors labeled with RGB symbols or connectors that have multiple pins in a linear or rectangular shape. These are likely RGB headers that you can use to connect the LED lights.
4. Review the motherboard specifications: If you can’t identify the connectors by visual inspection, search for the motherboard’s specifications online. The manufacturer’s website or the motherboard’s user manual should provide detailed information about the connectors available on the board.
5. Consider using an RGB controller: If your motherboard doesn’t have compatible RGB headers, or if you want more control over the LED lighting effects, you can use an RGB controller. An RGB controller connects to a USB header on the motherboard and allows you to control the lighting using software or physical controls.
Remember, the availability and type of connectors may vary depending on your specific motherboard model. It’s important to consult the documentation or the manufacturer’s website for accurate information.
Once you have identified the appropriate connectors for your LED lights, you are ready to proceed with connecting the lights to your PC case. In the next step, we will guide you through the process of connecting the LED lights.
Step 6: Connect the LED Lights to the PC Case
Now that you have located the appropriate connectors, it’s time to connect the LED lights to your PC case. The specific steps may vary depending on the type of LED lights you have and the connectors available on your PC. Follow these general guidelines to connect the LED lights:
1. Align the connectors: Take the LED strip or the LED module and locate the connector on the strip. Align the connector with the corresponding RGB header or connector on the PC.
2. Make the connection: Gently insert the LED strip connector into the RGB header or connector on the PC. Ensure that the pins on the connector match the slots on the header. Be careful not to force the connection. It should fit snugly but without excessive pressure.
3. Secure the connection: Once the connector is properly inserted, use the locking mechanism provided by the header or connector, if available. This may include a latch, clip, or screw to secure the connection and prevent it from coming loose during operation.
4. Repeat for additional LED strips/modules: If you have multiple LED strips or modules to connect, repeat the process for each one. Connect them in the desired order, following the manufacturer’s instructions if applicable.
5. Route the cables: Once the LED lights are connected, carefully route the cables along the PC case to minimize any interference with other components. Use cable management techniques such as zip ties or cable clips to keep the cables organized and secure.
6. Optional: Connect the RGB controller: If you are using an RGB controller, follow the manufacturer’s instructions to connect it to a USB header on the motherboard. The RGB controller will enable you to control the lighting effects and customize the LED lights according to your preferences.
Remember to be gentle and patient while making the connections to avoid any accidental damage. Double-check the connections to ensure they are secure and that there are no loose or disconnected cables.
With the LED lights successfully connected to your PC case, you are only a few steps away from enjoying the vibrant illumination. In the next step, we will guide you through testing the LED lights to ensure they are functioning properly.
Step 7: Test the Connection
After connecting the LED lights to your PC case, it’s crucial to test the connection to ensure everything is working as intended. Testing the connection will help you identify any issues early on and allows you to make any necessary adjustments. Here’s how you can test the LED lights:
1. Power on your PC: Start by powering on your PC and allowing it to boot up completely. Ensure that all the components, including the LED lights, receive power.
2. Check the LED lights: Take a close look at the LED lights to see if they are lit up. Verify that the lights are displaying the desired color or lighting effect. If the LED lights are not turning on, or if the lighting effect is not as expected, there may be a connection issue or a problem with the power supply.
3. Software control (if applicable): If you are using an RGB controller or software to control the LED lights, launch the appropriate software and verify that it recognizes the connected LED lights. Use the software to adjust the brightness, color, or lighting effects to see if they are being applied correctly.
4. Inspect for loose connections: While the LED lights are turned on, inspect the connections on the PC to ensure there are no loose or disconnected cables. Gently wiggle the connectors to check for any flickering or loss of connection. If you notice any issues, make sure the connectors are securely fastened.
5. Test different lighting effects (if applicable): If your LED lights have various pre-set lighting effects, such as color cycling or pulsating patterns, test each effect to ensure they are functioning correctly. Use the software or controller to switch between different lighting modes and observe the changes in the LED lights.
If everything appears to be working correctly during the testing phase, congratulations! You have successfully connected and tested your LED lights. However, if you encounter any issues, double-check the connections, ensure the power supply is sufficient, and consult the manufacturer’s documentation for troubleshooting tips.
Now that you have ensured that the LED lights are functioning properly, it’s time to move on to securing the LED lights in place to ensure they remain stable and properly aligned within your PC case. In the next step, we will guide you through securing the LED lights.
Step 8: Secure the LED Lights
Securing the LED lights in your PC case is the final step in the installation process. By properly securing the LED lights, you ensure that they remain stable and properly aligned, providing a visually appealing and long-lasting lighting effect. Follow these steps to secure the LED lights:
1. Choose a mounting method: Determine the best method for mounting the LED lights in your PC case. There are generally two options: adhesive tape or mounting brackets. Adhesive tape is a common and convenient option. It allows for easy installation and is suitable for most PC cases. However, if your LED lights are heavier or if you prefer a more secure mounting, mounting brackets may be a better choice.
2. Clean the mounting area: Before attaching the LED lights, clean the area within your PC case where you plan to mount them. Use a mild cleaning solution and a lint-free cloth to remove any dust or debris. This will ensure a clean and secure attachment.
3. Attach using adhesive tape: If you’re using adhesive tape, carefully remove the backing from the tape and apply it to the back of the LED strip. Position the LED strip in the desired location within the PC case and press it firmly against the surface. Make sure the adhesive tape is firmly affixed to the case.
4. Attach using mounting brackets: If you’re using mounting brackets, follow the manufacturer’s instructions to attach them to the LED strip. Align the brackets with the mounting holes on the LED strip and secure them in place using the provided screws. Once the brackets are attached, position the LED strip in the desired location within the PC case and secure it using the mounting brackets.
5. Route the cables: After securing the LED lights, carefully route the cables along the PC case, ensuring they do not obstruct other components or impede airflow. Use cable management techniques such as zip ties or cable clips to keep the cables organized and prevent them from interfering with other parts of the PC.
6. Double-check the alignment: Before finalizing the installation, step back and double-check the alignment of the LED lights. Ensure that they are straight and evenly distributed within the PC case. Make any necessary adjustments to achieve the desired look.
7. Close the PC case: After securing the LED lights and confirming their alignment, close the PC case by reattaching the side panels and tightening any screws or latches. Ensure that the case is secure to prevent any accidental damage or movement of the LED lights.
By taking the time to properly secure the LED lights, you ensure that they stay in place and maintain their intended appearance. With the LED lights securely installed, you can now sit back, power on your PC, and enjoy the stunning illumination that enhances your gaming or working experience.
Conclusion
Congratulations! You have successfully connected LED lights to your PC case. By following the step-by-step process outlined in this guide, you have added a touch of style and personality to your computer setup. LED lights not only provide visual appeal but also create an immersive and captivating environment.
Throughout the process, you gathered the necessary materials, identified the type of LED lights, determined the power source, prepared the LED lights, located the appropriate connectors on your PC, connected the LED lights, tested the connection, and secured the LED lights in place. Each step was crucial in ensuring a seamless and successful installation.
Now that your LED lights are fully operational, take some time to explore the various lighting effects and customization options available. Experiment with different colors, brightness levels, and lighting patterns to find the perfect ambiance for your PC setup. Whether you want a vibrant and energetic atmosphere or a calm and soothing tone, LED lights allow you to tailor your lighting to suit your preferences.
Remember, safety is essential when working with electrical components. Before making any adjustments to the LED lights or modifying your PC case, ensure that the power is turned off and that you handle the components with care. If you encounter any issues or have questions along the way, don’t hesitate to consult the manufacturer’s documentation or seek assistance from a professional.
Enjoy the stunning illumination and immerse yourself in a visually captivating experience every time you power on your PC. LED lights add a whole new dimension to your computing experience and can transform an ordinary setup into a remarkable one. Embrace the creativity and personalized touch that LED lights bring to your PC case.
Now it’s time to sit back, power on your PC, and let the LED lights shine!