Introduction
Welcome to our guide on how to connect an iPhone to a Wi-Fi network without a password. It can be quite frustrating when you need to connect to a network but don’t have the necessary password. Fortunately, there are a few ways you can work around this issue and get your iPhone connected to Wi-Fi in no time.
Before we get started, please note that attempting to connect to a password-protected network without permission is considered unethical and could potentially be illegal. The methods we will be discussing involve connecting to open networks or using alternative methods that are within the boundaries of ethical and legal practices.
In this guide, we will walk you through the steps to connect your iPhone to a Wi-Fi network without a password. Keep in mind that the success of these methods may vary depending on the specific circumstances and devices involved. It’s always a good idea to request permission from the network owner before trying any of these methods.
Now, let’s dive into the different methods you can try to connect your iPhone to Wi-Fi without a password.
Step 1: Check if the Wi-Fi network is open
The first step in connecting your iPhone to a Wi-Fi network without a password is to check if the network you want to connect to is open. An “open” network refers to a network that doesn’t require a password for access.
To check if a Wi-Fi network is open on your iPhone, follow these simple steps:
- Go to the Settings app on your iPhone by tapping on the gear icon on your home screen.
- Scroll down and tap on “Wi-Fi”.
- You’ll see a list of available Wi-Fi networks. Look for one that has “Open” or “Unsecured” next to its name. These networks do not require a password.
- If you find an open network that you want to connect to, simply tap on its name and your iPhone will automatically connect to it.
It’s important to note that connecting to an open network may pose some security risks, as your data may be more vulnerable to interception. Use caution when connecting to open networks, especially when accessing sensitive information or performing online transactions.
Keep in mind that not all networks will be open, especially in public places or private residences. If the Wi-Fi network you want to connect to is password-protected, proceed to the next step.
Step 2: Use the WPS feature of the router
If the Wi-Fi network you want to connect to is protected by a password, you can try using the Wi-Fi Protected Setup (WPS) feature of the router. This method allows you to establish a connection between your iPhone and the router without manually entering the password.
Here’s how you can use the WPS feature to connect your iPhone to a Wi-Fi network:
- Ensure that your iPhone is within range of the router.
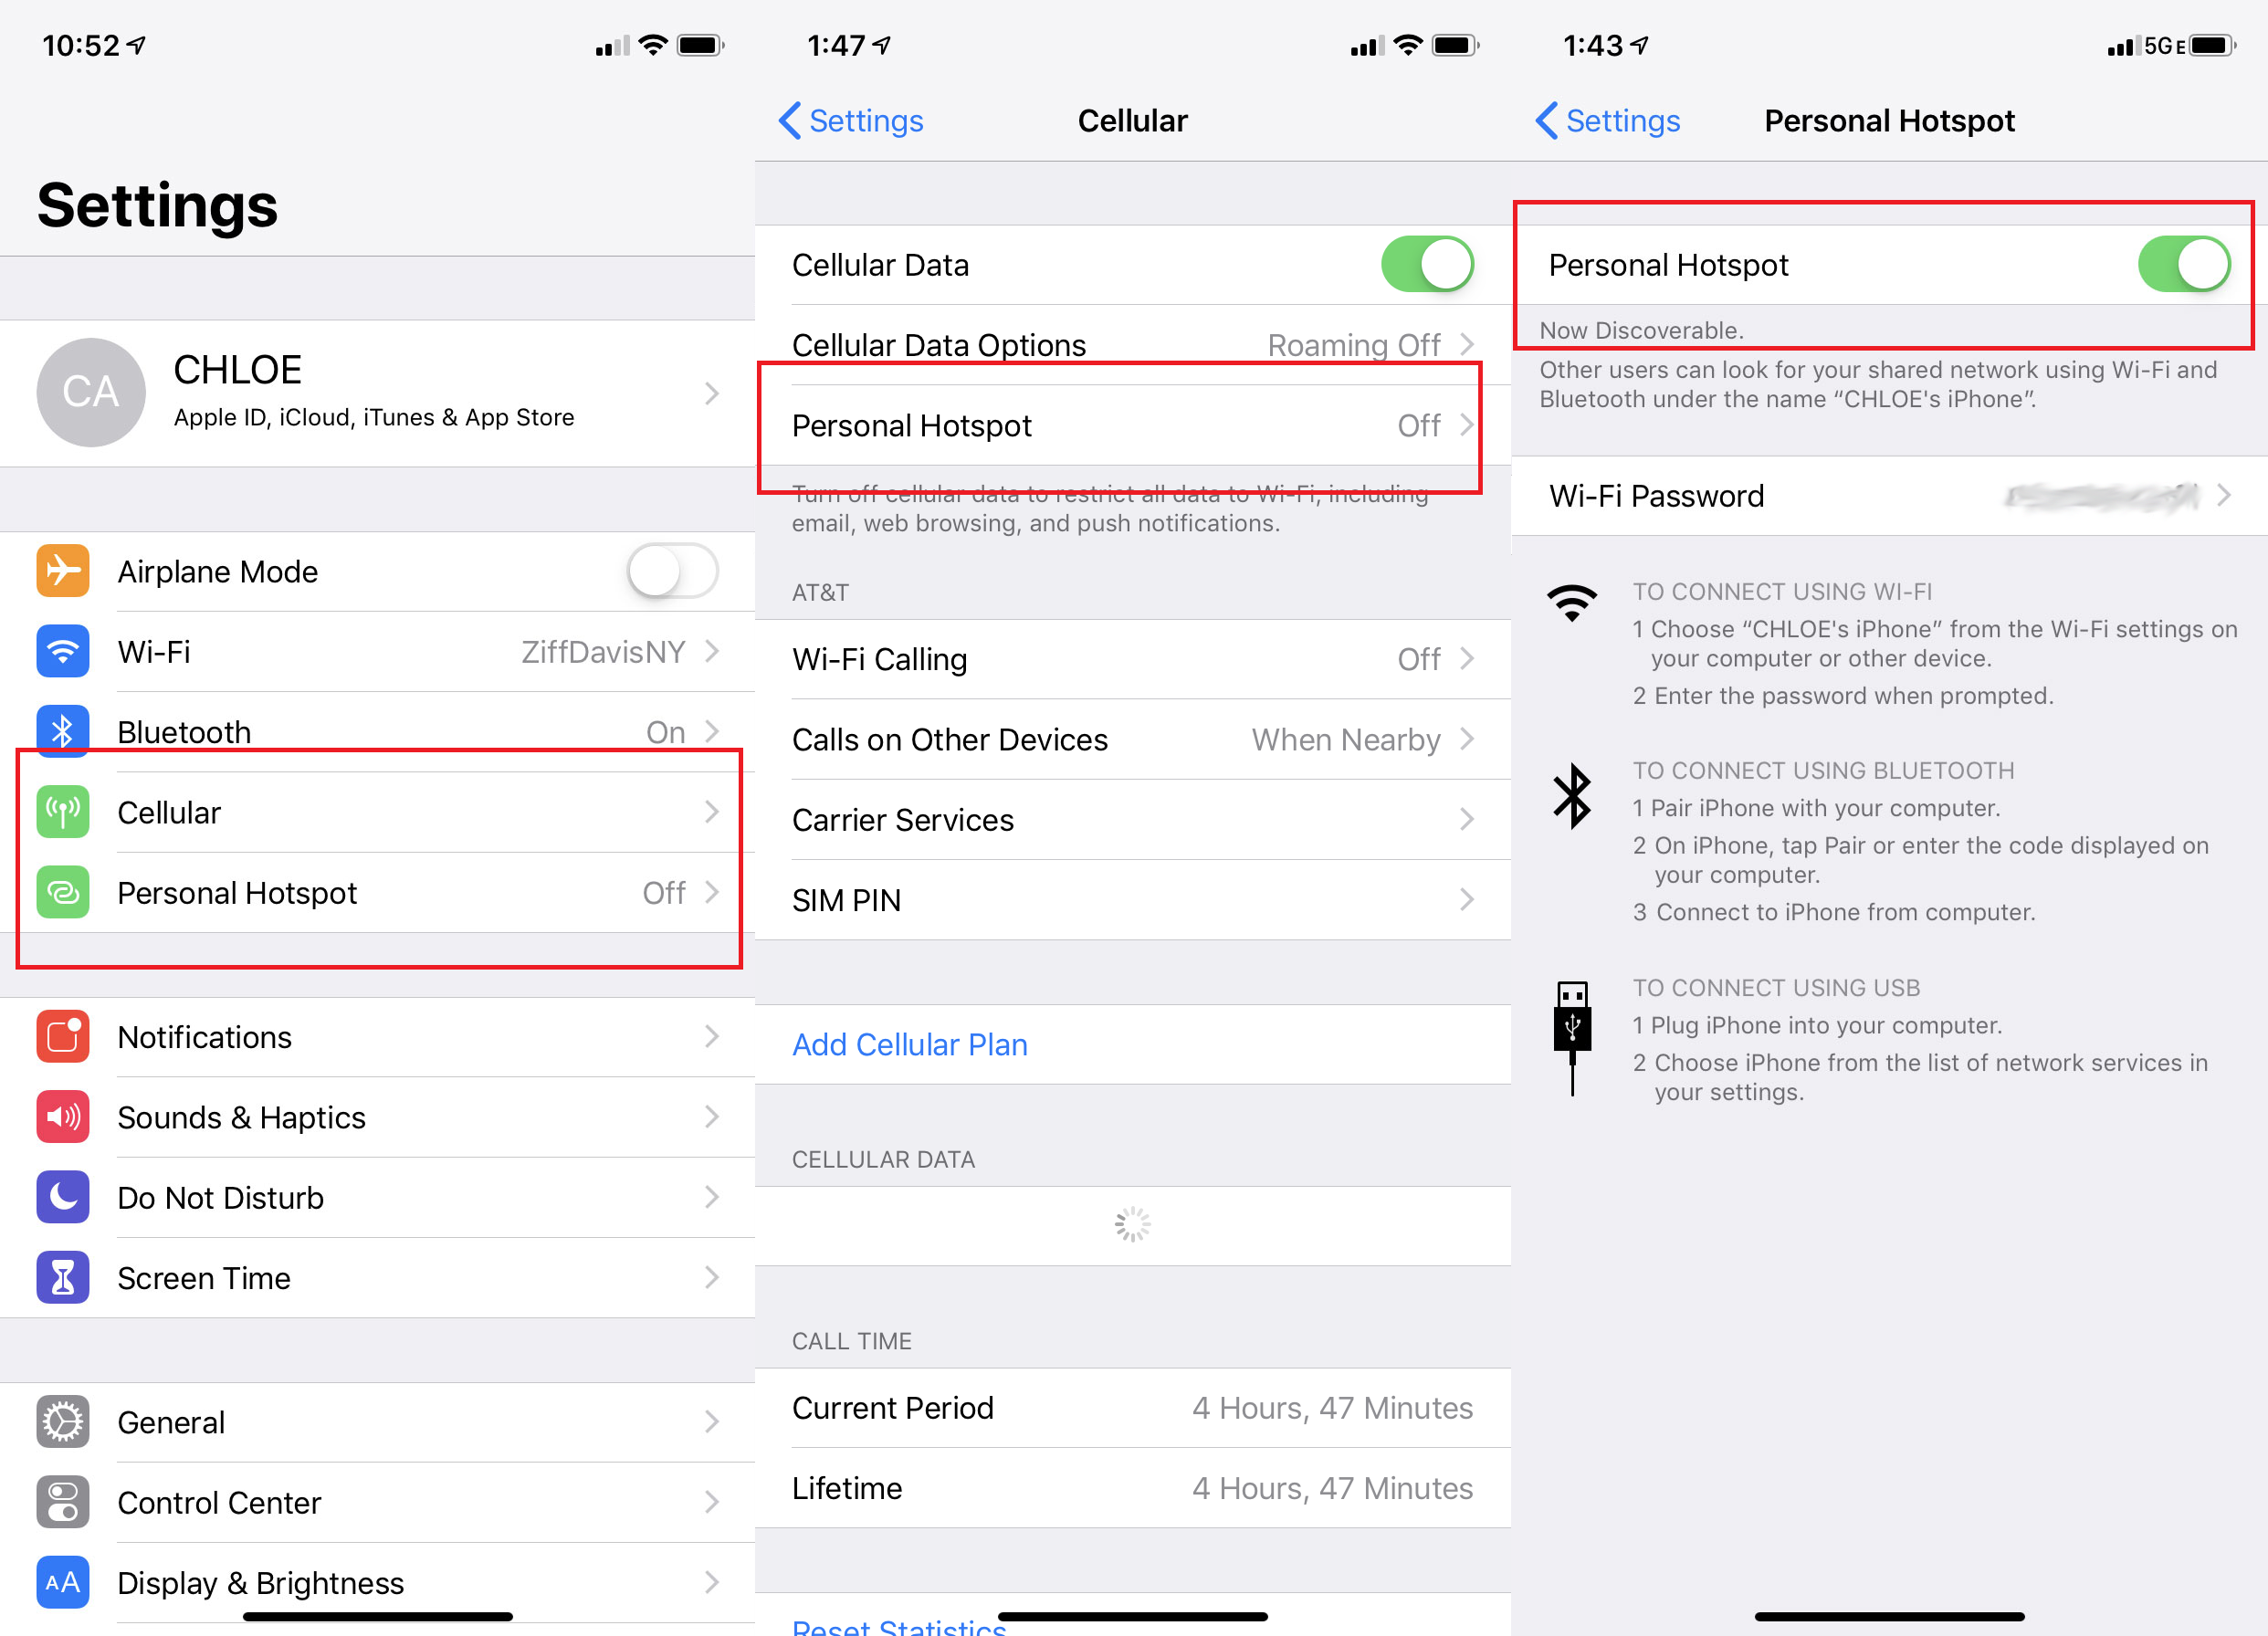
- On your iPhone, go to the Settings app and tap on “Wi-Fi”.
- Look for the WPS button on your router. It is usually located on the back or side of the device.
- Press and hold the WPS button on your router for a few seconds until the WPS light starts flashing.
- On your iPhone, tap on the Wi-Fi network you want to connect to from the list of available networks.
- A pop-up window may appear asking for the WPS PIN. Look for the PIN on the router or in its documentation.
- Enter the WPS PIN on your iPhone and tap “Join”.
If the WPS method is successful, your iPhone will establish a secure connection with the Wi-Fi network without the need to enter the password manually. It’s important to note that not all routers support the WPS feature, so this method may not be available for all networks.
If the router doesn’t have a WPS button or you are unable to locate the WPS PIN, move on to the next step to explore alternative methods of connecting your iPhone to the Wi-Fi network.
Step 3: Connect to a public Wi-Fi network
If you are unable to connect to a password-protected network using the previous methods, you can consider connecting to a public Wi-Fi network. Public Wi-Fi networks are typically found in places like cafes, restaurants, libraries, or airports, and they generally don’t require a password for access.
To connect your iPhone to a public Wi-Fi network, follow these steps:
- Open the Settings app on your iPhone and tap on “Wi-Fi”.
- Look for the list of available Wi-Fi networks and locate the public network you want to connect to.
- Tap on the public network’s name.
- Your iPhone will attempt to connect to the network automatically. In some cases, you may need to accept terms and conditions or perform additional steps to gain access to the network.
- Once connected, you can enjoy internet access on your iPhone without needing to input a password.
While connecting to public Wi-Fi networks can be convenient, it’s important to exercise caution when using them. Public networks may not have the same level of security as private networks, making your personal data more vulnerable to cyber threats.
To protect your privacy and data, avoid accessing sensitive information or making online transactions while connected to public Wi-Fi networks. Consider using a virtual private network (VPN) or other security measures to enhance your online safety.
If connecting to a public Wi-Fi network isn’t an option or doesn’t meet your needs, we’ll explore another method in the next step for connecting your iPhone to a password-protected Wi-Fi network.
Step 4: Use an app to access a password-protected network
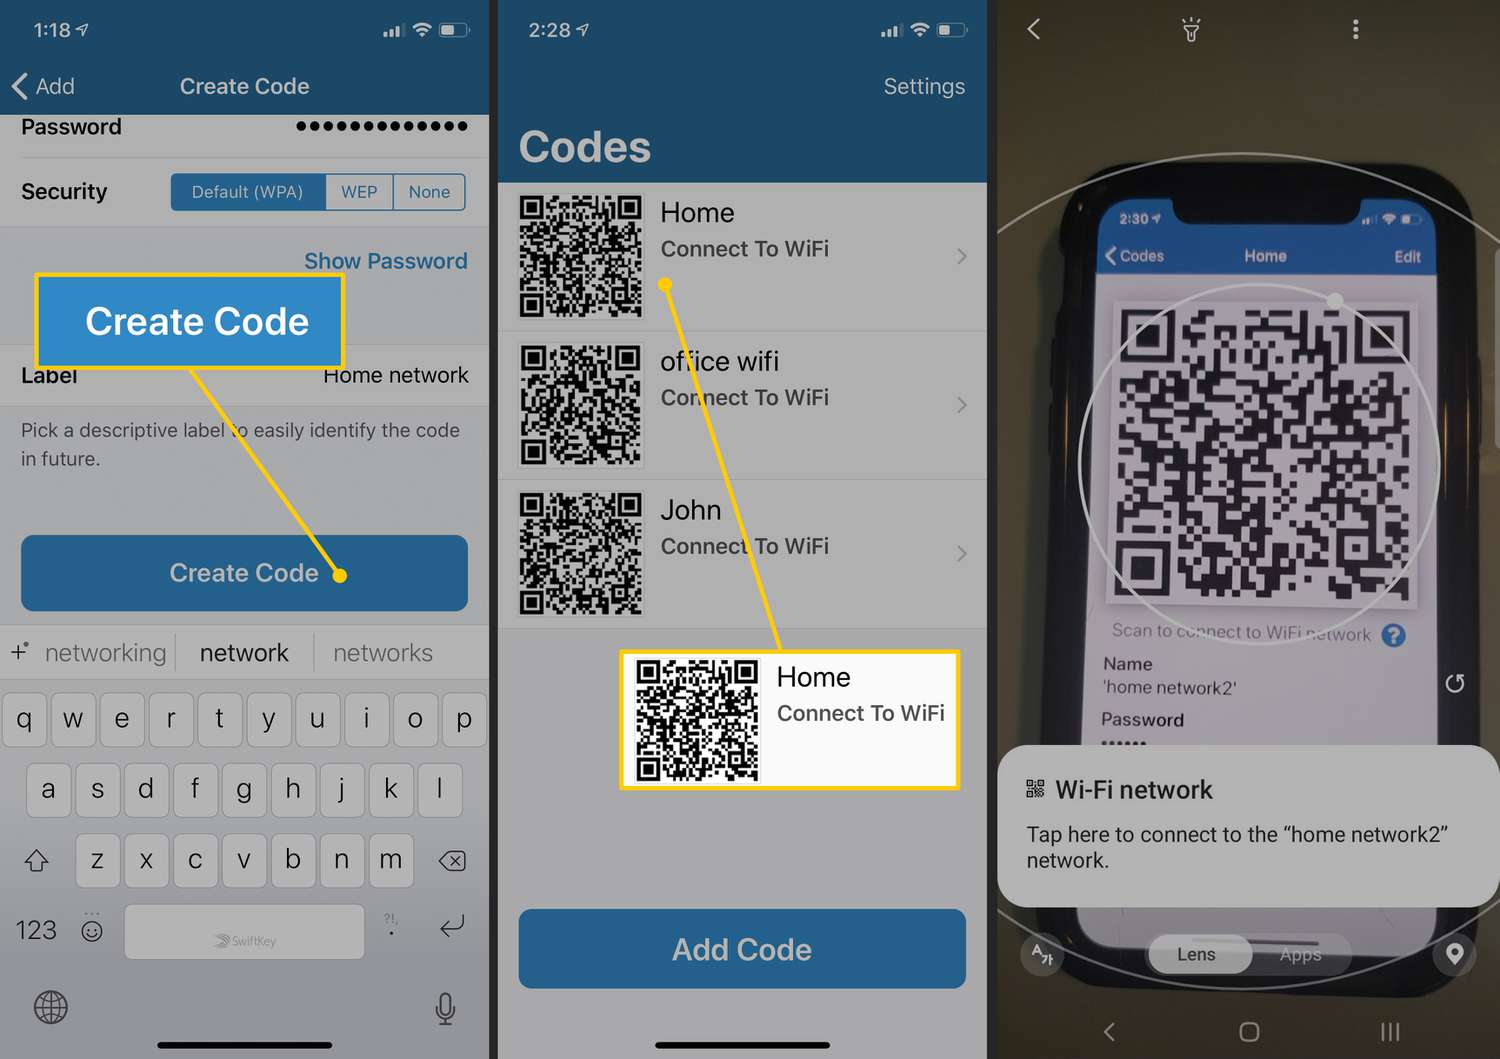
If you’re unable to connect your iPhone to a password-protected Wi-Fi network using the previous methods, you can try using an app specifically designed to access these networks. These apps use different techniques to retrieve and share Wi-Fi passwords, allowing you to connect to password-protected networks without manually entering the password.
Here are the steps to follow when using an app to access a password-protected network:
- Open the App Store on your iPhone and search for Wi-Fi password apps.
- Choose a reputable app with good reviews and download it.
- Launch the app on your iPhone.
- The app will scan the nearby Wi-Fi networks and detect password-protected networks.
- Select the password-protected network you want to connect to from the list.
- The app will attempt to retrieve the password for the selected network using its database or community-shared passwords.
- If the app successfully finds the password, it will display it on your iPhone.
- Manually select and copy the password provided by the app.
- Go to the Settings app on your iPhone and tap on “Wi-Fi”.
- Select the password-protected network from the list of available networks.
- Paste the copied password into the password field.
- Tap “Join” to connect your iPhone to the password-protected network.
Keep in mind that using these apps may not guarantee success for every password-protected network. The effectiveness of these apps depends on various factors, including the database of passwords and the security measures implemented on the network you’re trying to connect to.
Be cautious when using Wi-Fi password apps and ensure that you only use them for networks where you have proper authorization. Remember to always respect the privacy and security of others when accessing Wi-Fi networks using any method.
If none of these methods are suitable or successful, we’ll explore another option in the next step to help you connect your iPhone to a Wi-Fi network without a password.
Step 5: Reset network settings on your iPhone
If all previous methods have failed to connect your iPhone to a Wi-Fi network without a password, you can try resetting the network settings on your device. This step will remove all saved Wi-Fi networks and their corresponding passwords, allowing you to start fresh and potentially resolve any connectivity issues.
Here’s how you can reset the network settings on your iPhone:
- Open the Settings app on your iPhone.
- Scroll down and tap on “General”.
- Scroll down again and tap on “Reset”.
- Select “Reset Network Settings”.
- You may be prompted to enter your passcode for confirmation.
- Confirm the action by tapping on “Reset Network Settings” again.
- Your iPhone will then restart and the network settings will be reset to their default values.
After the reset, you will need to manually reconnect to Wi-Fi networks and input their respective passwords. Start by going to the Settings app, selecting “Wi-Fi”, and tapping on the network you want to connect to. Enter the password when prompted, and your iPhone should establish a connection.
Resetting network settings can resolve common network-related issues, but keep in mind that it will remove all saved Wi-Fi networks, Bluetooth pairings, and VPN settings. You may need to reconfigure any other network-related settings or re-pair Bluetooth devices after performing this reset.
If you’ve tried all of these methods and still can’t connect your iPhone to a Wi-Fi network, it’s recommended to seek further assistance from a professional or contact the network administrator for the network you’re trying to connect to.
Remember to respect the privacy and security of others while attempting to connect your iPhone to Wi-Fi networks without passwords, and make sure to obtain proper authorization before accessing any protected networks.
Conclusion
Connecting an iPhone to a Wi-Fi network without a password can be challenging, but there are several methods you can try. In this guide, we covered five different approaches to help you connect your iPhone to Wi-Fi without needing the password.
First, we explored the option of checking if the Wi-Fi network is open, which allows for a password-free connection. If that wasn’t possible, we discussed using the WPS feature of the router to establish a secure connection without manually entering the password.
If neither of those methods worked, we suggested connecting to a public Wi-Fi network, which generally doesn’t require a password. However, it’s important to exercise caution when using public networks, as they may pose security risks.
If you still couldn’t connect to a password-protected network, we recommended using apps specifically designed to uncover and share Wi-Fi passwords. These apps can retrieve passwords from their database or through community-shared passwords.
Lastly, if all else fails, you may try resetting the network settings on your iPhone to resolve connectivity issues. This step removes all saved Wi-Fi networks and their passwords, allowing you to start fresh.
It’s essential to note that while these methods can be helpful, they should always be conducted ethically and within the boundaries of the law. Obtaining proper authorization and respecting the privacy and security of others are vital aspects when attempting to connect to Wi-Fi networks without passwords.
If you encounter persistent issues or none of the methods mentioned work for you, it’s recommended to seek further assistance from a professional or contact the network administrator for the network you’re trying to connect to.
We hope this guide has provided you with useful information and helped you in your quest to connect your iPhone to Wi-Fi without a password. Enjoy uninterrupted internet access and make the most out of your device’s wireless capabilities!