Introduction
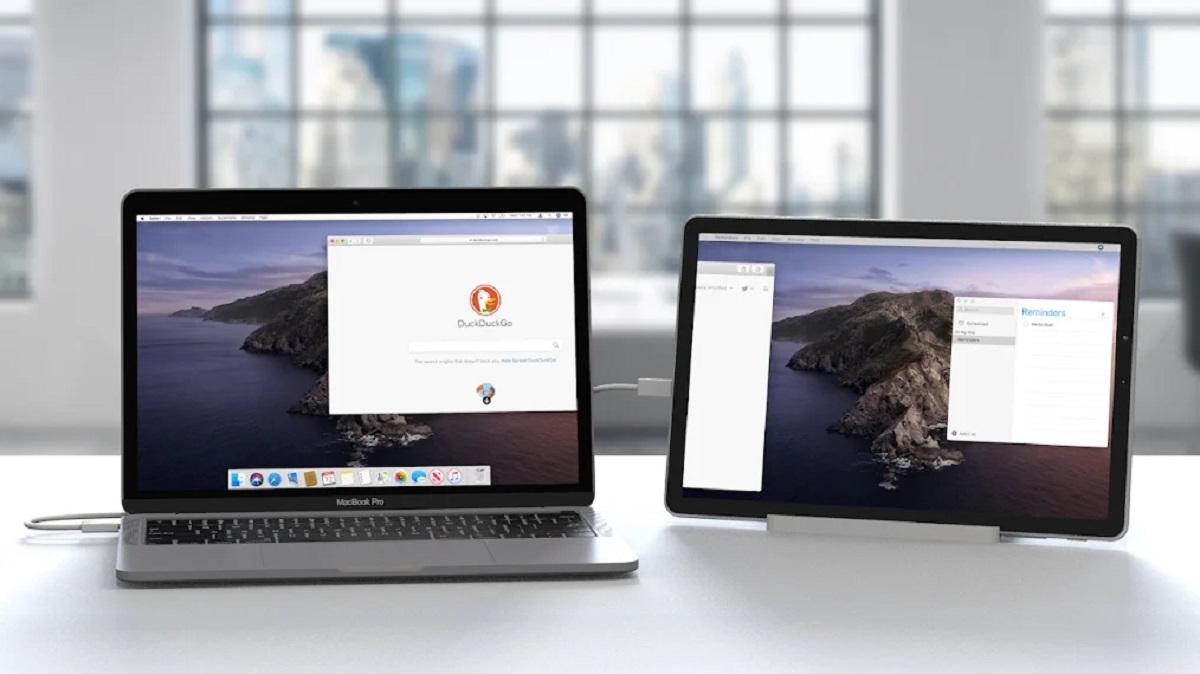
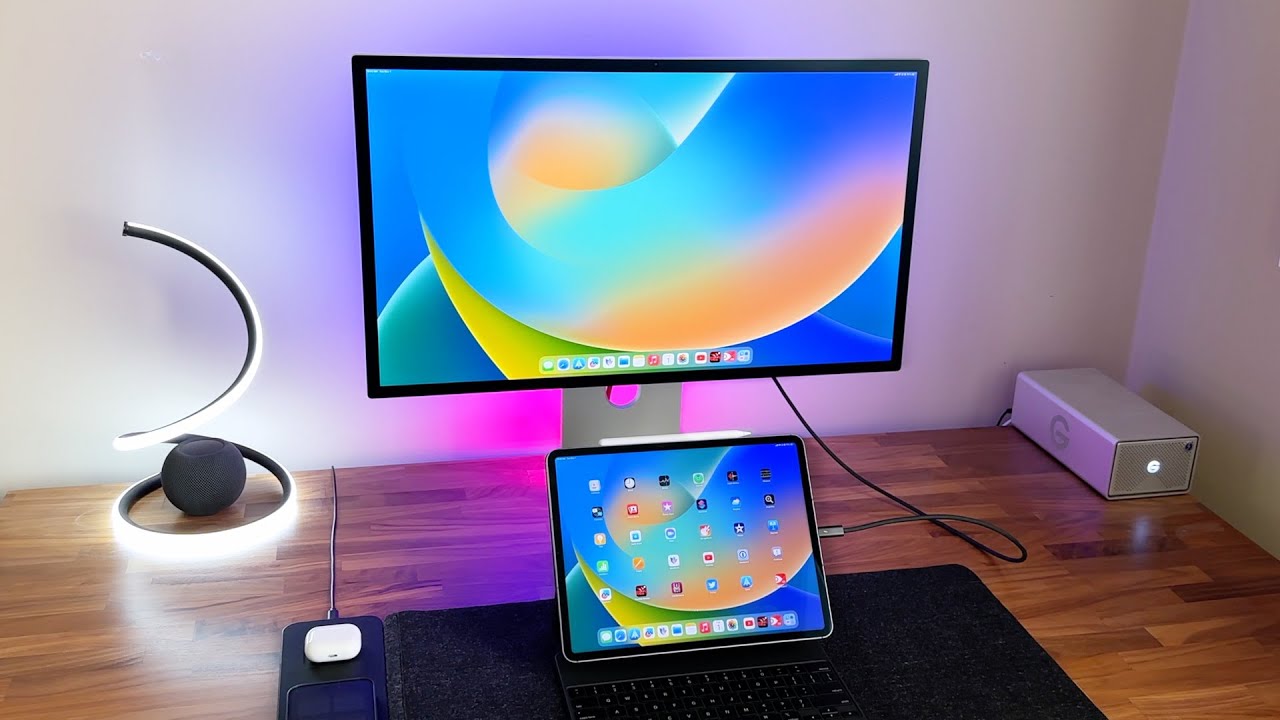
Connecting your iPad to a monitor can greatly enhance your productivity and entertainment experience. Whether you want to use your iPad for presentations, gaming, or multimedia purposes, having a larger screen can make a world of difference. This guide will walk you through the process of connecting your iPad to a monitor, step by step.
One of the key advantages of connecting your iPad to a monitor is the ability to enjoy a bigger display. This is especially useful if you’re working on a project that requires multitasking or if you want to showcase your content to a larger audience. Additionally, connecting your iPad to a monitor can improve your viewing experience for movies, videos, and games, providing a more immersive and visually satisfying experience.
Another important benefit of connecting your iPad to a monitor is the ability to extend your screen or mirror it. This means that you can either use the monitor as a second display, giving you more screen real estate to work with, or mirror your iPad’s screen onto the monitor to share your content with others.
Before we dive into the steps of connecting your iPad to a monitor, it’s important to note that you will need the right adapter to make the connection. The type of adapter you need depends on the model of your iPad and the inputs available on your monitor. In the next section, we will explore how to choose the right adapter for your setup.
Choosing the right adapter
When it comes to connecting your iPad to a monitor, choosing the right adapter is crucial. The type of adapter you need depends on the model of your iPad and the inputs available on your monitor. Here are some common types of adapters:
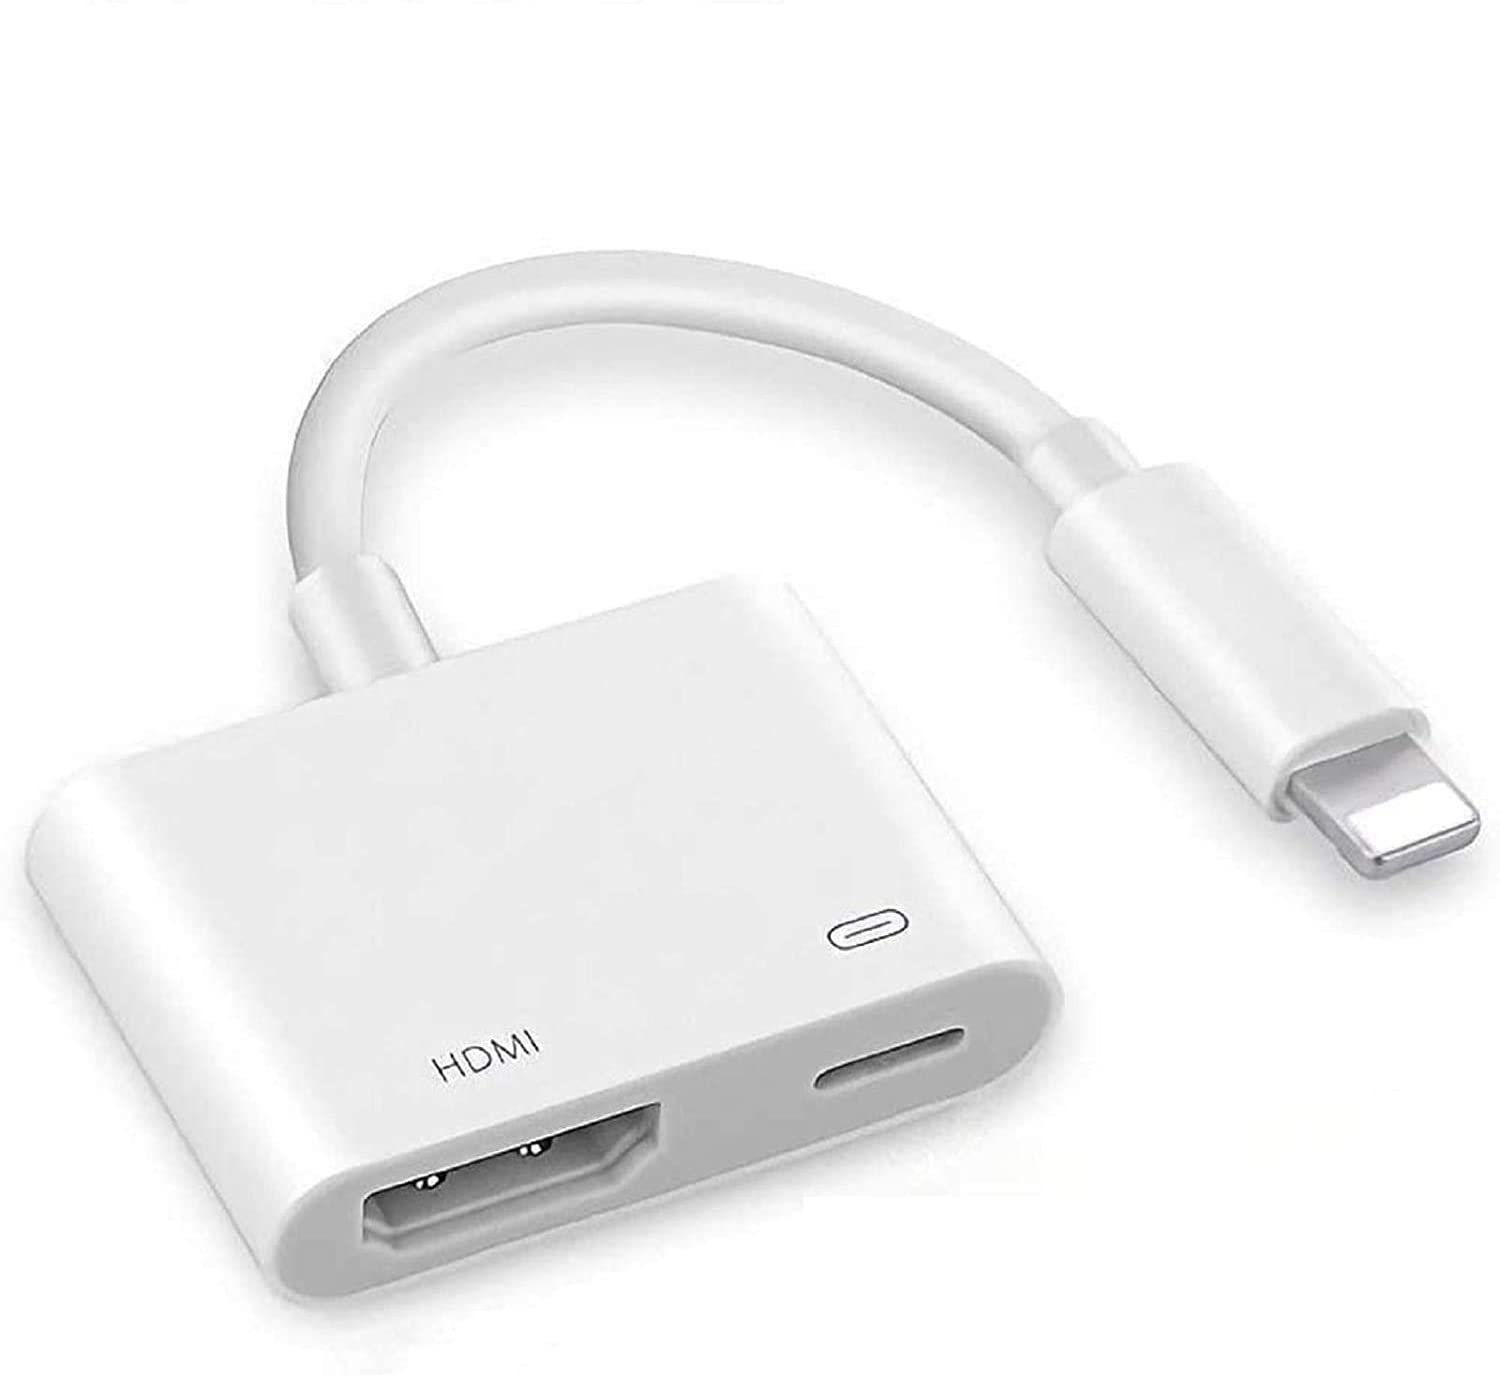
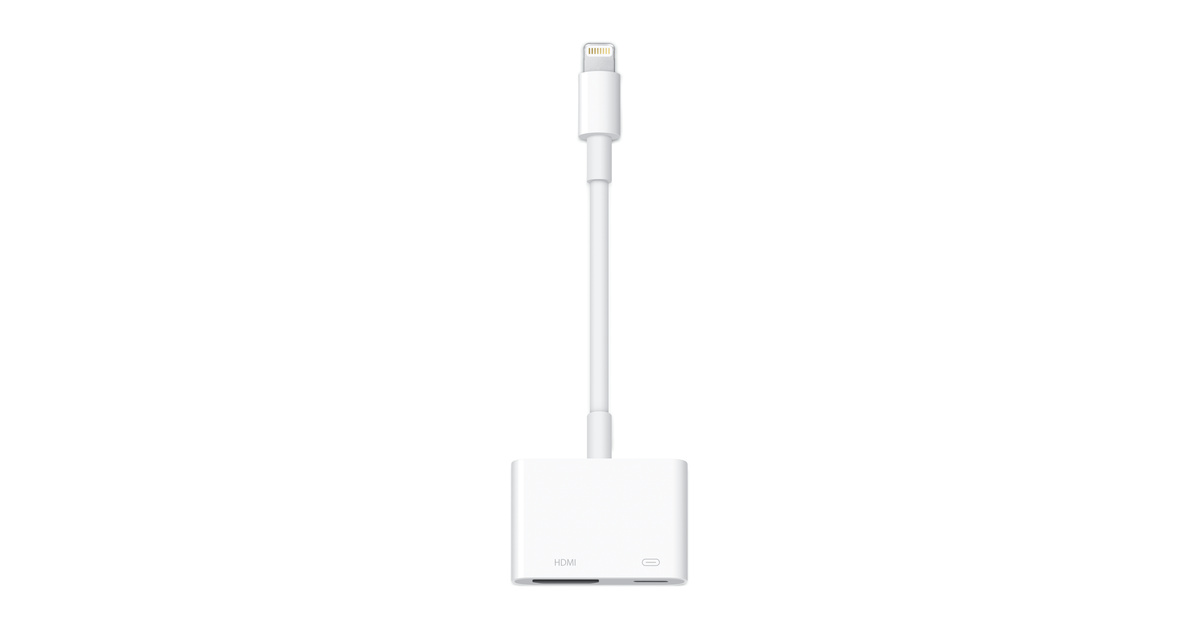
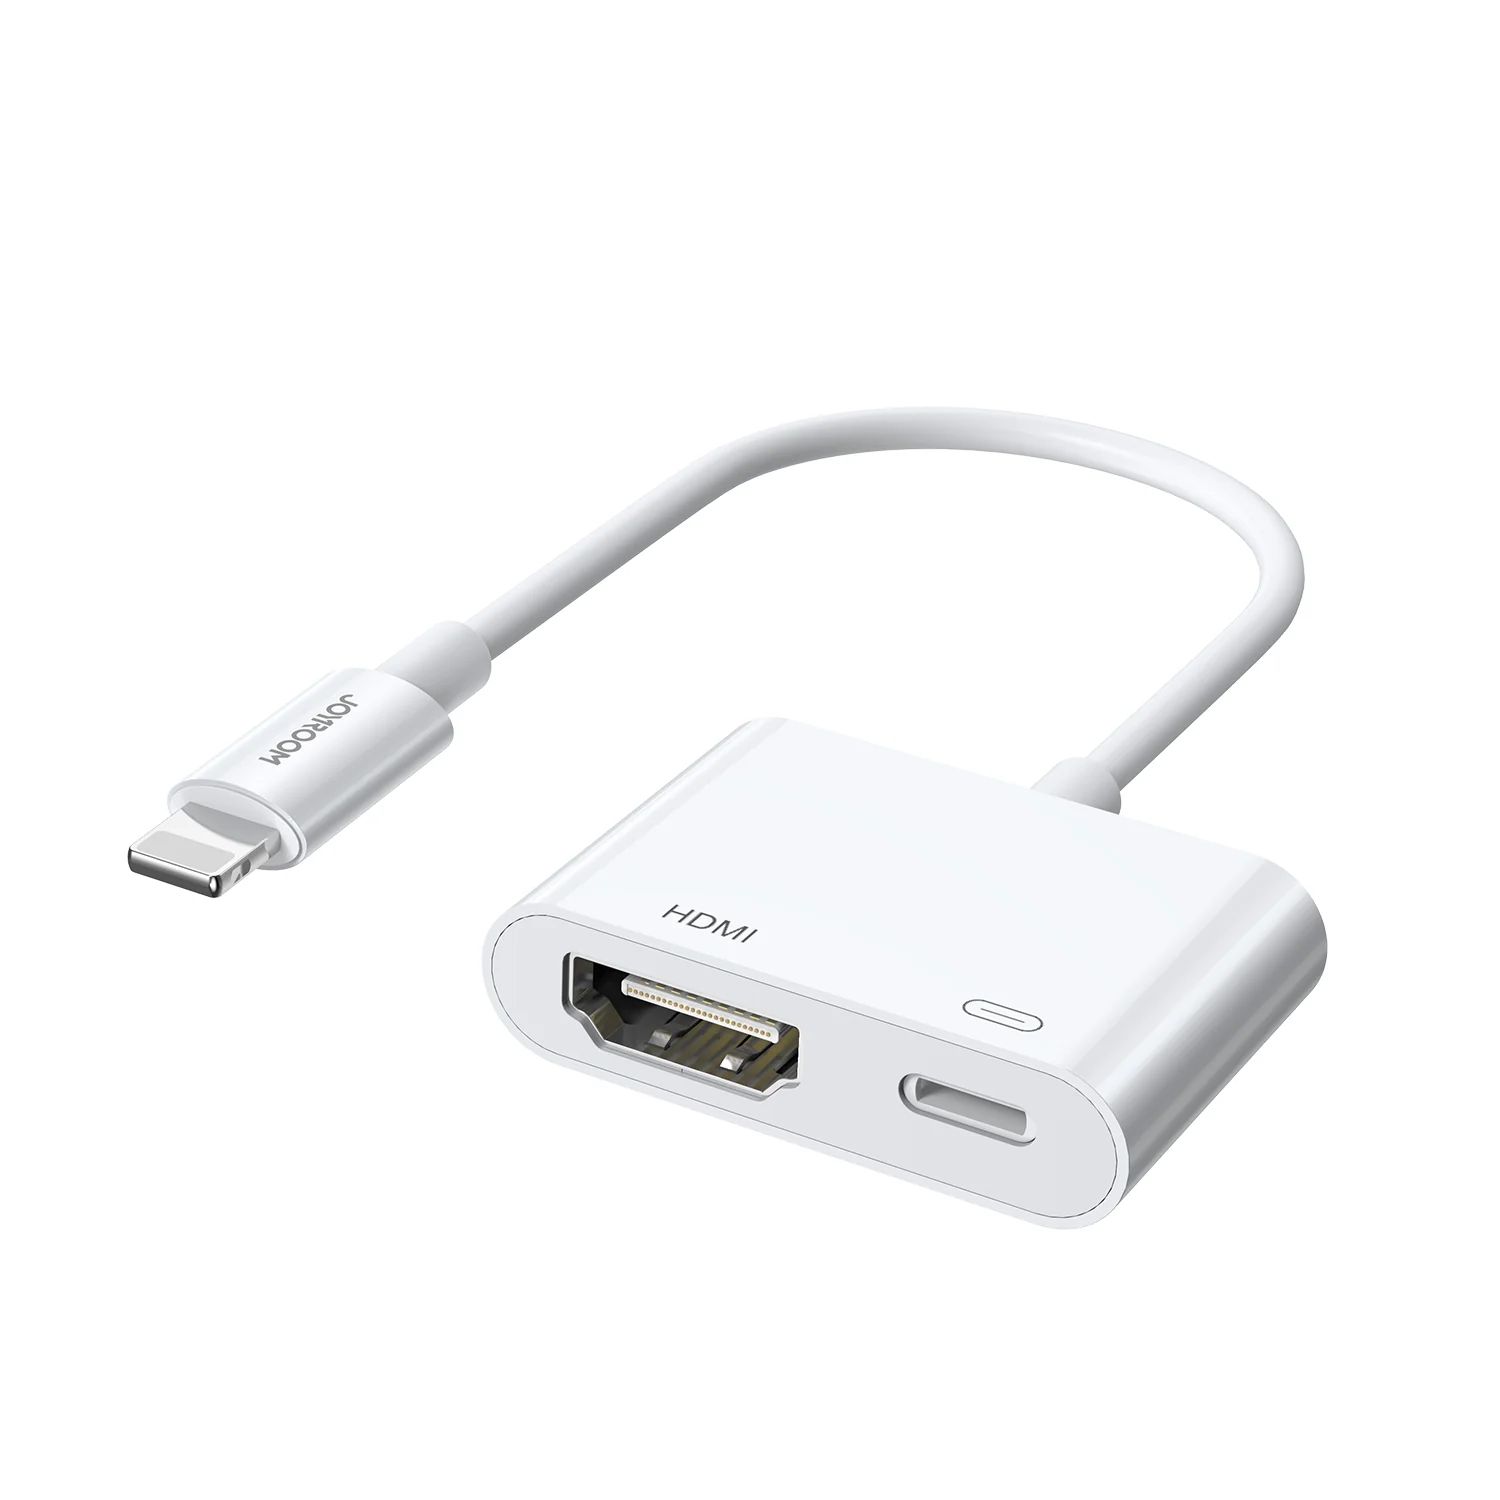
- Lightning to HDMI Adapter: This is the most common type of adapter for newer iPad models with Lightning ports. It allows you to connect your iPad to an HDMI input on your monitor.
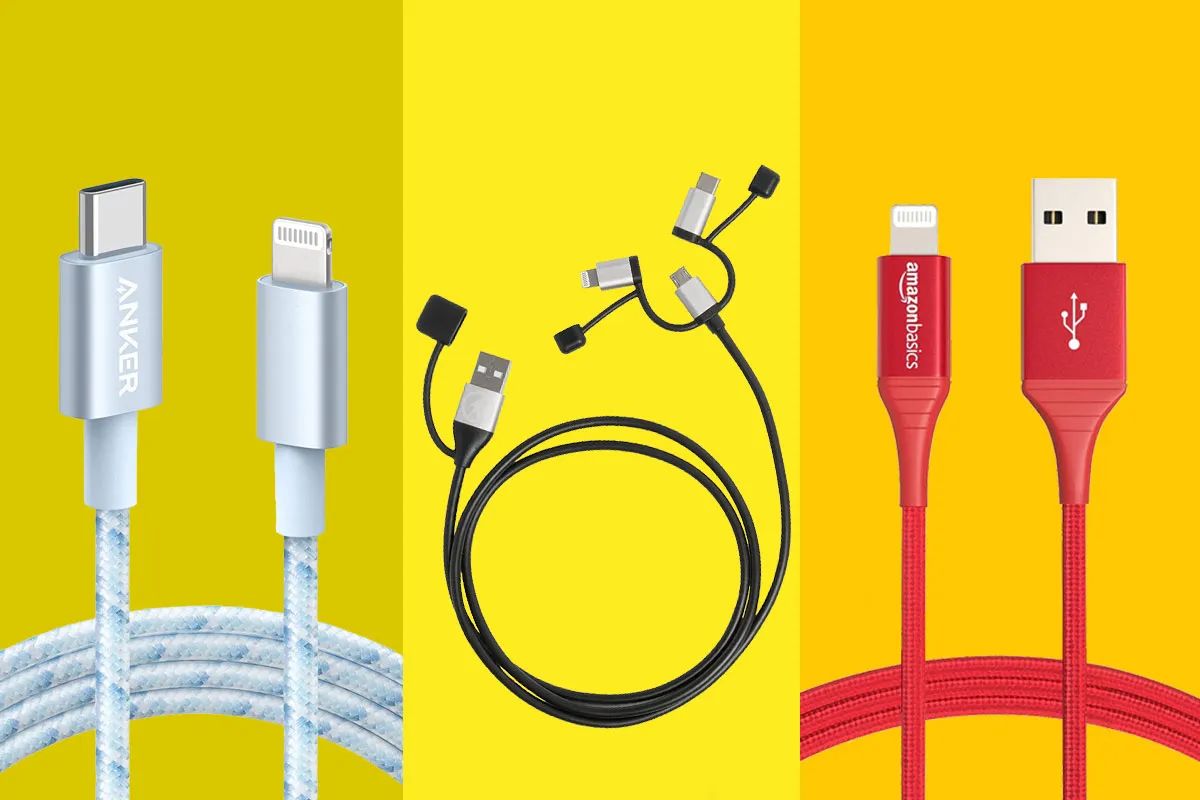
- USB-C to HDMI Adapter: If you have a newer iPad with a USB-C port, you will need a USB-C to HDMI adapter. This adapter allows you to connect your iPad to an HDMI input on your monitor.
- VGA Adapter: If your monitor only has a VGA input, you will need a VGA adapter. This type of adapter converts the digital signal from your iPad to an analog signal that can be used by VGA inputs.
- DVI Adapter: If your monitor has a DVI input, you can use a DVI adapter to connect your iPad. Similar to the VGA adapter, the DVI adapter converts the digital signal from your iPad to an analog signal for DVI inputs.
Before purchasing an adapter, it’s important to check the compatibility of your iPad and monitor to ensure they have the necessary ports for the adapter you choose. Additionally, consider the length of the adapter cable to ensure it reaches from your iPad to the monitor comfortably.
It’s worth noting that some adapters may require additional cables, such as an HDMI or VGA cable, to connect your iPad to the monitor. Make sure to check the requirements of the adapter you choose, and ensure you have all the necessary cables for a successful connection.
If you’re unsure which adapter to choose, consult the user manual of your iPad or seek assistance from Apple support or a knowledgeable retailer. The right adapter will ensure a seamless connection between your iPad and monitor, allowing you to fully utilize the benefits of a larger display.
Connecting your iPad to the monitor
Once you have chosen the right adapter for your iPad and monitor setup, you can proceed with connecting your iPad to the monitor. Follow these steps to ensure a successful connection:
- Start by turning off your iPad and monitor. This is important to prevent any potential damage to your devices when connecting or disconnecting cables.
- Plug one end of the adapter into the charging port (Lightning or USB-C) on your iPad.
- If your adapter requires additional cables, connect them to the appropriate ports on the adapter and the monitor. For example, if you are using an HDMI adapter, connect one end of the HDMI cable to the HDMI port on the adapter and the other end to the HDMI input on your monitor.
- Power on your monitor and set it to the correct input source. This may vary depending on your monitor model. Refer to the manual or on-screen instructions for guidance.
- Turn on your iPad. It should automatically detect the connected monitor and display its screen on the monitor.
If your iPad does not automatically mirror or extend the screen to the monitor, you may need to adjust the display settings on your iPad. Proceed to the next section for instructions on how to do this.
It’s important to note that some adapters may require additional setup steps, such as downloading and installing specific apps or drivers on your iPad. Check the instructions that came with your adapter for any additional requirements or steps specific to your adapter model.
Once you have successfully connected your iPad to the monitor, you can enjoy the benefits of a larger display and explore the possibilities of using your iPad for a variety of tasks, from productivity to entertainment.
Adjusting display settings
After connecting your iPad to the monitor, you may need to adjust the display settings to ensure the best viewing experience. Here are some settings you can consider tweaking:
- Brightness: Depending on the lighting conditions around you, you may want to adjust the brightness of both the iPad screen and the monitor to a comfortable level. This can be done in the Display & Brightness settings on your iPad, as well as through the monitor’s own settings.
- Resolution: Your monitor may have a specific resolution that it supports. To maximize the display quality, you can adjust the resolution settings on your iPad to match the native resolution of the monitor. This can be found in the Settings app under the Display & Brightness section.
- Overscan: Some monitors may crop the edges of the display, cutting off a portion of the content. If you notice that the edges of the screen are cut off, check the monitor’s settings for an overscan or auto-adjust option and disable it.
- Orientation: By default, the iPad’s screen will be mirrored on the monitor. However, you can change the orientation to extend the screen, effectively giving you dual-monitor functionality. This can be done in the Display & Brightness settings on your iPad.
Experiment with different settings to find the configuration that suits your preferences and needs. Remember to save any changes you make in the settings to apply them to the connected monitor.
If you’re experiencing any issues with the display, such as flickering, blurriness, or incorrect aspect ratios, double-check the cable connections and ensure that you’re using a high-quality adapter and cable. Faulty cables or adapters can negatively impact the display quality.
Keep in mind that not all apps or content may be optimized for display on a larger screen. Some apps may only show a mirrored version of the iPad’s screen, while others may take advantage of the extended display feature. Explore the capabilities of your favorite apps to make the most out of the larger screen real estate.
With the display settings adjusted to your liking, you’re now ready to make the most of your iPad connected to a monitor. Whether you’re using it for work, entertainment, or both, the larger screen size opens up a world of possibilities for enhanced productivity and immersive experiences.
Extending your screen or mirroring your iPad
When connecting your iPad to a monitor, you have the option to either extend your screen or mirror your iPad’s display on the monitor. Here’s a breakdown of each option:
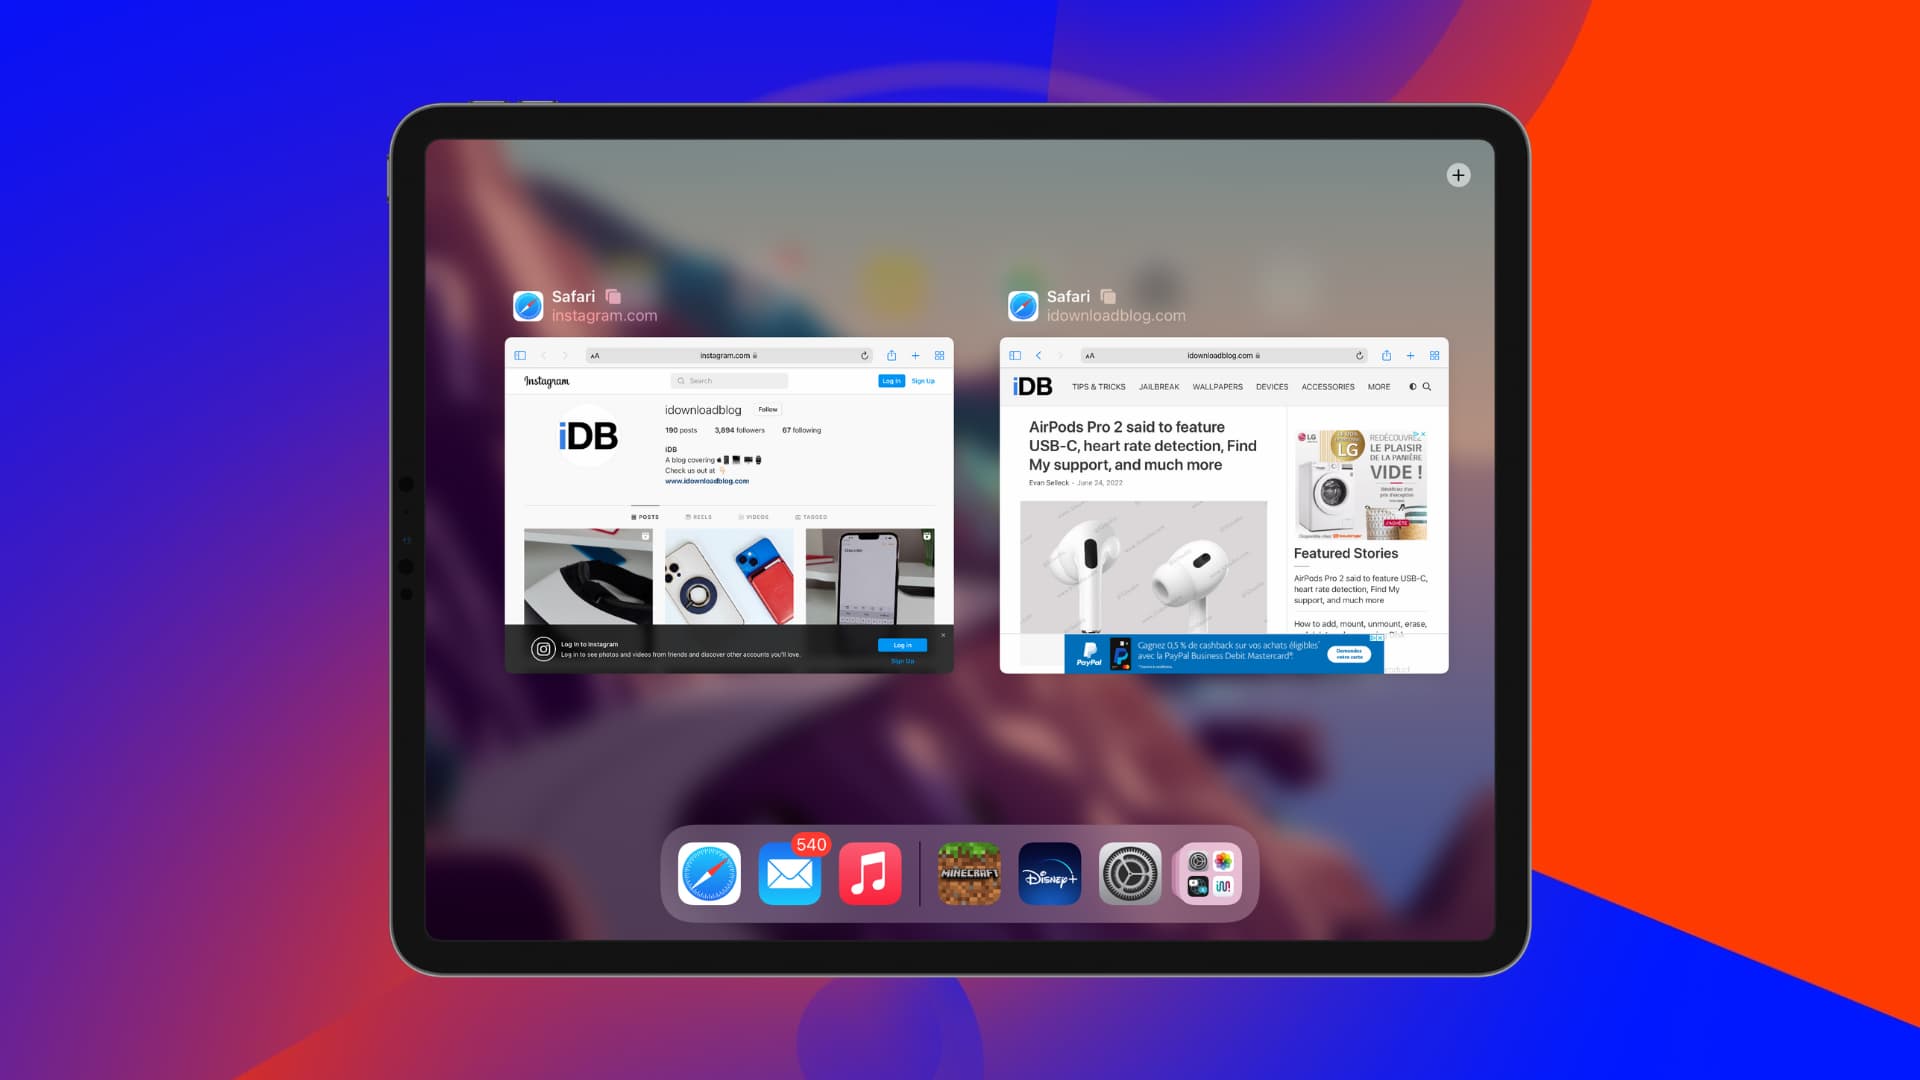
Extended Display: By choosing the extended display mode, you can use the monitor as a second screen, effectively doubling your workspace. This is particularly useful for multitasking or working on projects that require multiple windows or applications to be open simultaneously. To enable extended display, go to the Display & Brightness settings on your iPad and select the “Extended Display” option. You can then drag windows or apps from your iPad’s screen to the monitor, giving you more screen real estate to work with.
Mirrored Display: In mirrored display mode, the content on your iPad’s screen is duplicated on the connected monitor. This is ideal for presentations, demonstrations, or simply mirroring your iPad’s content on a larger screen for better visibility. To enable mirrored display, go to the Display & Brightness settings on your iPad and select the “Mirrored Display” option. Whatever you see on your iPad will be replicated on the monitor.
Switching between extended and mirrored display modes is simple. Just go back to the Display & Brightness settings on your iPad and choose the desired mode. Experiment with both options to see which one suits your needs best based on the task at hand.
It’s worth noting that not all apps may support extended display or mirroring. Some apps, especially those designed for specific purposes such as presentations or video playback, may have customizable display options to optimize their performance on the connected monitor. Check the app’s settings or documentation for any specific instructions on using the app with an external display.
With the ability to extend or mirror your iPad’s screen, you can enjoy a more versatile and immersive experience. Whether you’re giving a presentation, working on multiple tasks, or enjoying multimedia content, the extended display feature allows you to make the most of the larger screen real estate offered by the connected monitor.
Troubleshooting common issues
While connecting your iPad to a monitor is generally a straightforward process, you may encounter some common issues along the way. Here are some troubleshooting steps to help you resolve them:
- No display on the monitor: Check the cable connections between your iPad, adapter, and monitor. Ensure they are securely plugged in. Restart both your iPad and monitor, then try again. If the issue persists, try using a different cable or adapter to rule out any potential hardware problems.
- Display not filling the screen: If you notice black bars around the content on the monitor, it may be due to the aspect ratio mismatch between your iPad and the monitor. Adjust the display settings on your iPad to match the resolution and aspect ratio of the monitor for a proper fit.
- Audio not playing through the monitor: Some adapters may not support audio output through the monitor. In such cases, you can use the iPad’s built-in speakers or connect external speakers directly to the iPad’s audio output, if available.
- App compatibility issues: Not all apps may be fully optimized for external displays. If you encounter compatibility issues, check the app’s documentation or contact the app developer for any recommendations or updates that may enhance the display performance on an external monitor.
- Limited functionality in extended display mode: While using the extended display mode, some apps may have limited functionality or may not fully utilize the additional screen space. This is because app developers need to specifically enable support for extended displays. Consider reaching out to the app developer with any feedback or inquiries regarding extended display compatibility.
If you have tried the troubleshooting steps above and are still experiencing issues, consider seeking assistance from Apple support or consulting with a knowledgeable technician or retailer who specializes in Apple products. They may be able to provide additional guidance or diagnose any underlying issues with your specific setup.
Remember, patience and persistence are key when troubleshooting technical issues. It’s important to approach the process calmly and methodically, ruling out potential causes one by one until a resolution is found.
By addressing common issues and taking the necessary troubleshooting steps, you can ensure a smooth and trouble-free experience when connecting your iPad to a monitor.
Conclusion
Connecting your iPad to a monitor opens up a world of possibilities for enhanced productivity and entertainment. Whether you’re using it for work, presentations, gaming, or simply enjoying multimedia content, the larger screen can greatly enhance your experience.
By choosing the right adapter, connecting your iPad to the monitor, adjusting display settings, and exploring the options for extended display or mirroring, you can fully utilize the benefits of a larger screen real estate.
While troubleshooting common issues may be necessary at times, with patience and persistence, you can overcome any obstacles and enjoy a seamless connection between your iPad and the monitor.
Remember to check the compatibility of your iPad and monitor, as well as any additional cables or adapters required for the connection. Take the time to experiment with different settings and explore the capabilities of your favorite apps to make the most out of the connected setup.
Whether you’re using your iPad for professional purposes or leisure, connecting it to a monitor can take your iPad experience to the next level. Embrace the power of a larger screen, extended display, and enhanced visual experience to unlock your iPad’s full potential.