Introduction
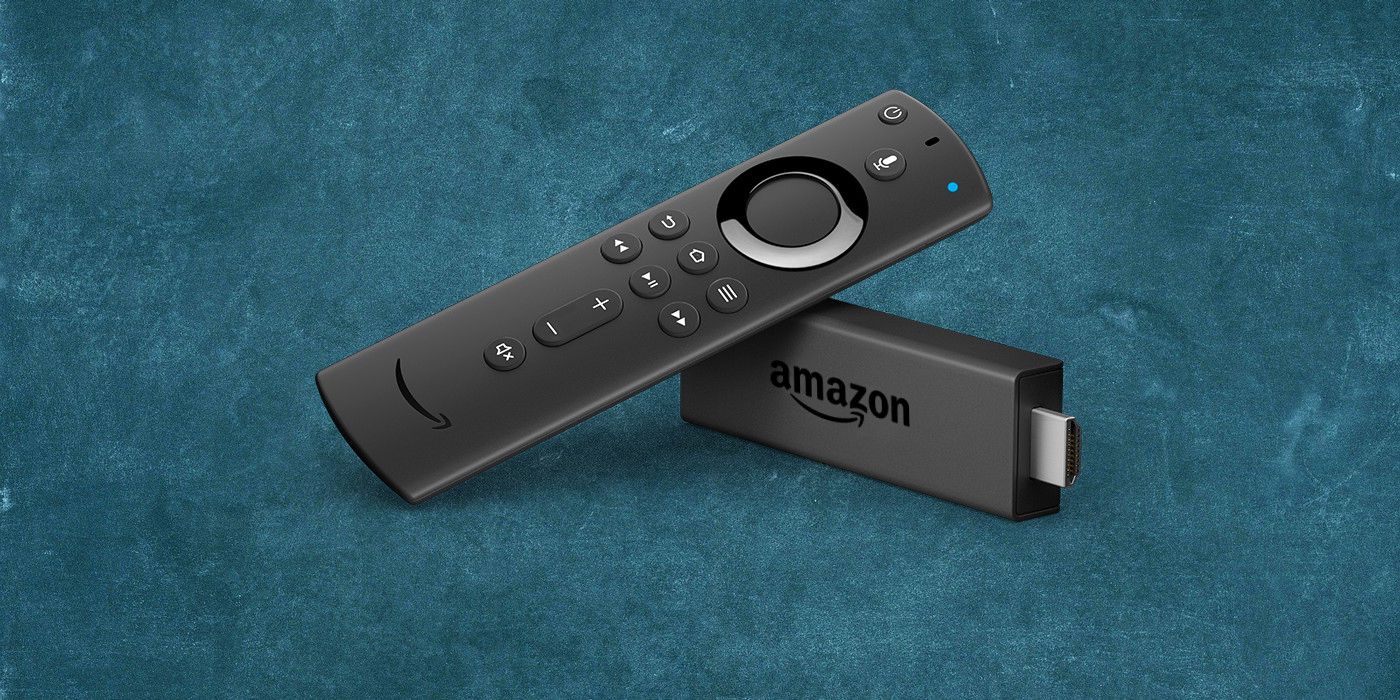
Welcome to the world of streaming entertainment with the Amazon Fire Stick! With its compact size, affordability, and impressive selection of apps and content, the Fire Stick has become a popular choice for turning any non-smart TV into a smart TV. Whether you have an older TV model or simply want to enhance your viewing experience, this guide will show you how to connect your Fire Stick to a non-smart TV easily.
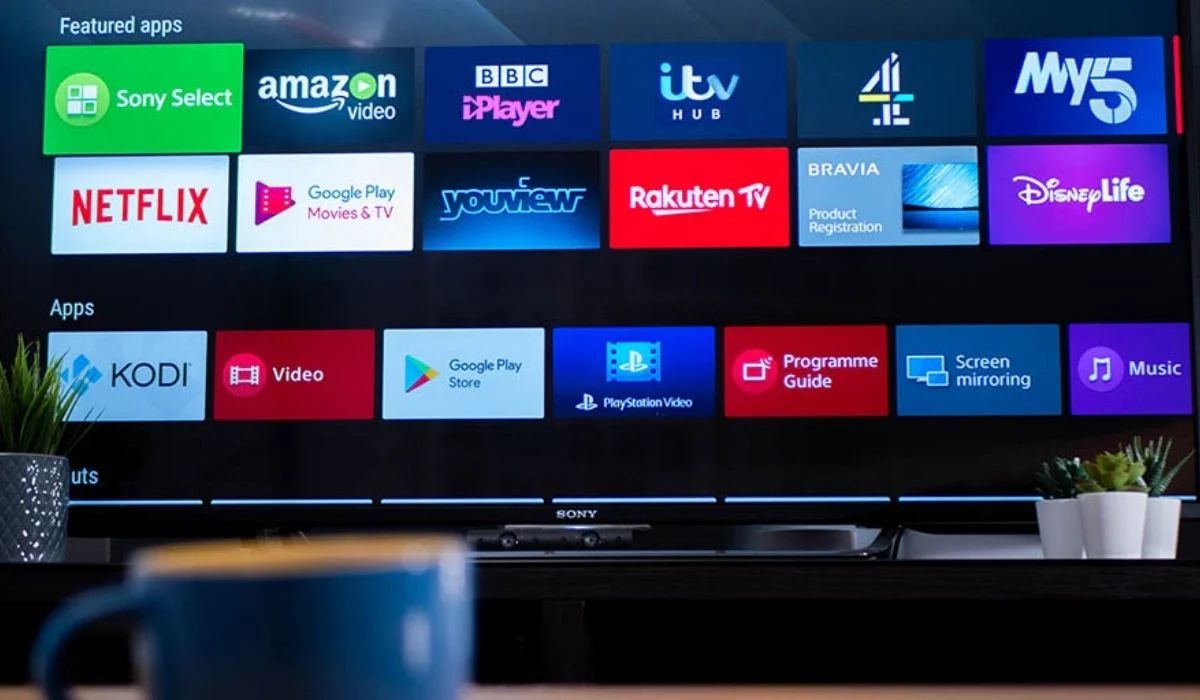
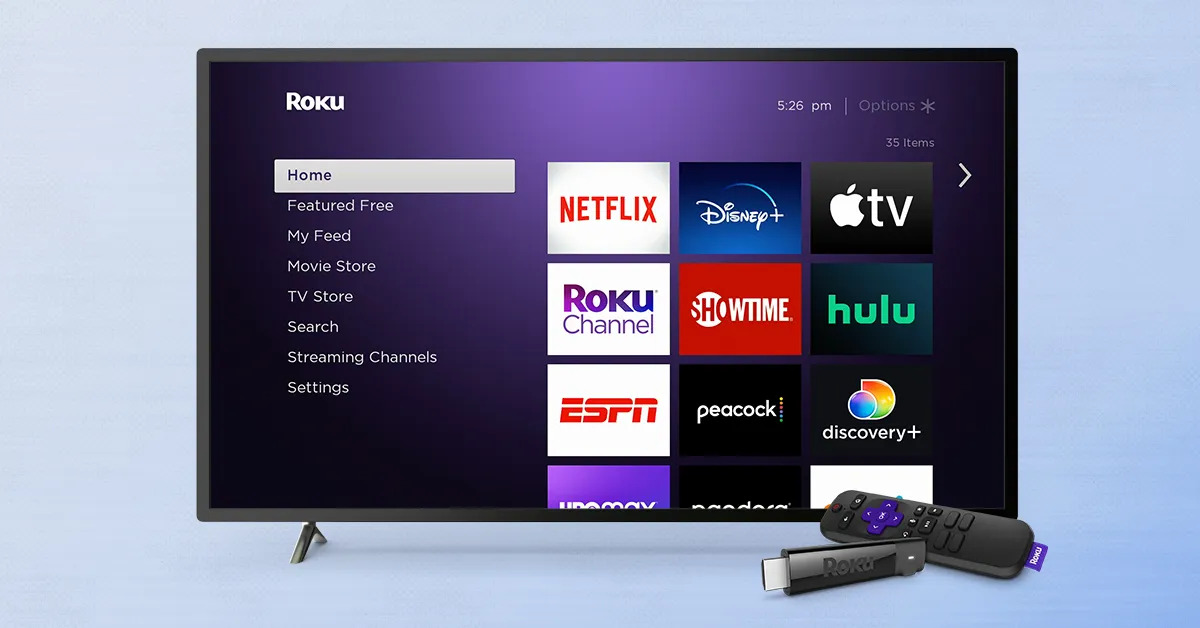
Streaming devices like the Fire Stick allow you to access a wide range of streaming platforms, including popular services like Netflix, Hulu, Amazon Prime Video, and more. You’ll be able to enjoy your favorite movies, TV shows, music, and even games right from the comfort of your living room.
Connecting your Fire Stick to a non-smart TV may seem like a daunting task, but fear not! We’ve broken down the process into simple, easy-to-follow steps that anyone can follow. So, let’s get started on transforming your TV into a smart entertainment hub!
Note: Before you begin, ensure that you have the necessary equipment: an Amazon Fire Stick, an HDMI cable, a power outlet, and a Wi-Fi network.
Step 1: Gather the necessary equipment
Before you begin the setup process, it’s important to gather all the necessary equipment. Here’s what you’ll need:
- Amazon Fire Stick: This is the main device that will connect to your TV and provide access to various streaming apps.
- HDMI cable: You’ll need an HDMI cable to connect the Fire Stick to your TV. If you don’t have one, you can easily purchase one online or at a local electronics store.
- Power outlet: The Fire Stick requires power to function, so make sure you have a power outlet nearby or an extension cord if needed.
- Wi-Fi network: To start streaming content on your Fire Stick, you’ll need to connect it to your home Wi-Fi network. Make sure you have your network name (SSID) and password handy.
Once you have all the necessary equipment, you’re ready to move on to the next steps of connecting your Fire Stick to a non-smart TV. With these items in hand, you’ll be well-prepared to enjoy a world of entertainment without the need to upgrade to a smart TV.
Step 2: Connect the Fire Stick to the power source
The next step in setting up your Fire Stick is to connect it to the power source. Here’s what you need to do:
- Take the micro-USB end of the power cable and plug it into the micro-USB port on the Fire Stick.
- Connect the other end of the power cable to a power source, such as a wall outlet or a USB port on your TV. If using a USB port on your TV, make sure it provides enough power to adequately power the Fire Stick. If not, use a wall outlet instead.
- Once the Fire Stick is connected to the power source, it will automatically power on. You’ll notice the Amazon logo appearing on your TV screen.
- Make sure to use the power cable specifically designed for the Fire Stick to ensure optimal performance and avoid any power-related issues.
By connecting the Fire Stick to the power source, you’re ensuring that it has the necessary power to operate and provide you with a seamless streaming experience. Now that your Fire Stick is powered on, you can move on to the next step of connecting it to the HDMI port on your non-smart TV.
Step 3: Connect the Fire Stick to the HDMI port
Now that your Fire Stick is powered on, it’s time to connect it to the HDMI port on your non-smart TV. Follow these simple steps:
- Locate the HDMI port on your TV. It’s usually located on the back or side of the TV and labeled as “HDMI”.
- Take the other end of the HDMI cable and plug it into the HDMI port on the Fire Stick.
- Make sure to firmly insert the HDMI cable into both the Fire Stick and the HDMI port on your TV to ensure a secure connection.
- Remember the HDMI port number to which you have connected the Fire Stick. This will be important in the following steps.
Connecting the Fire Stick to the HDMI port allows for the transmission of audio and video signals from the Fire Stick to your non-smart TV. This connection will enable you to enjoy high-quality streaming and access a wide range of entertainment options. With the HDMI connection in place, let’s move on to the next step of turning on your TV and selecting the correct input.
Step 4: Turn on your TV and select the correct input
With the Fire Stick connected to the HDMI port, it’s time to turn on your TV and select the correct input to display the Fire Stick content. Here’s what you need to do:
- Using your TV remote, power on your non-smart TV.
- Using the “Input” or “Source” button on your TV remote, navigate through the available input options.
- Select the input corresponding to the HDMI port where you connected the Fire Stick. Refer to the HDMI port number you noted earlier in Step 3.
- Once you select the correct input, you should see the Fire Stick home screen appear on your TV.
By turning on your TV and selecting the correct input, you’re ensuring that the HDMI signal from the Fire Stick is properly displayed on your non-smart TV. You’re now one step closer to enjoying a vast array of streaming options. Let’s move on to the next step of setting up your Fire Stick.
Step 5: Set up your Fire Stick
Now that your TV is displaying the Fire Stick home screen, it’s time to set up your Fire Stick. The setup process is straightforward and user-friendly. Just follow these steps:
- Use the Fire Stick remote to navigate through the on-screen prompts.
- Select your preferred language and click “Next”.
- Connect your Fire Stick to your Wi-Fi network. Select your network from the list of available networks and enter the password when prompted.
- Once connected to Wi-Fi, your Fire Stick will automatically download and install any necessary updates. This may take a few minutes.
- After the updates are installed, you’ll be prompted to sign in with your Amazon account credentials. If you don’t have an Amazon account, you’ll need to create one.
- Follow the on-screen instructions to sign in or create your Amazon account.
- Once signed in, you can customize your Fire Stick settings, such as enabling parental controls and setting up your display preferences.
Setting up your Fire Stick allows you to personalize your streaming experience and access additional features. Take your time to explore the various options and customize them according to your preferences. When you’re finished with the setup process, you’re ready to start streaming your favorite content!
Step 6: Connect to your Wi-Fi network
Now that your Fire Stick is set up, the next step is to connect it to your Wi-Fi network. Here’s how to do it:
- On the Fire Stick home screen, navigate to the top menu and select “Settings”.
- In the settings menu, scroll right and select “Network”.
- Choose “Wi-Fi” and select your network from the list of available networks.
- If your network is password protected, enter your Wi-Fi password using the on-screen keyboard.
- Once entered, select “Connect” to establish a connection to your Wi-Fi network.
- Your Fire Stick will attempt to connect to the network, and once successful, you’ll see a confirmation message.
Connecting your Fire Stick to your Wi-Fi network is essential for accessing and streaming content. It ensures a stable internet connection and allows you to enjoy a seamless streaming experience without interruptions. Make sure to have your Wi-Fi network name (SSID) and password readily available for a smooth setup process.
Congratulations! Your Fire Stick is now connected to your Wi-Fi network. You’re almost ready to embark on a streaming adventure. The next step is to customize your Fire Stick settings to enhance your viewing experience further.
Step 7: Customize your Fire Stick settings
Now that your Fire Stick is connected to your Wi-Fi network, it’s time to customize the settings to enhance your streaming experience. Here’s what you can do:
- Access the settings menu by navigating to the top menu on the Fire Stick home screen and selecting “Settings”.
- Explore the various options available, such as Display & Sounds, Preferences, Applications, and more.
- Customize your display settings by adjusting the resolution, screen mirroring, and sleep mode preferences.
- Set up parental controls to manage your children’s access to content and ensure a safe viewing environment.
- Explore the Applications settings to manage and organize your installed apps.
- Enable Alexa voice control for a hands-free streaming experience by connecting your Fire Stick to an Amazon Echo device.
- Consider exploring other available features, such as Alexa skills and third-party app installations, to expand your streaming options.
Customizing your Fire Stick settings allows you to tailor the device to your preferences and make the most out of your streaming experience. Take the time to explore the various options and adjust them accordingly to enhance your viewing pleasure.
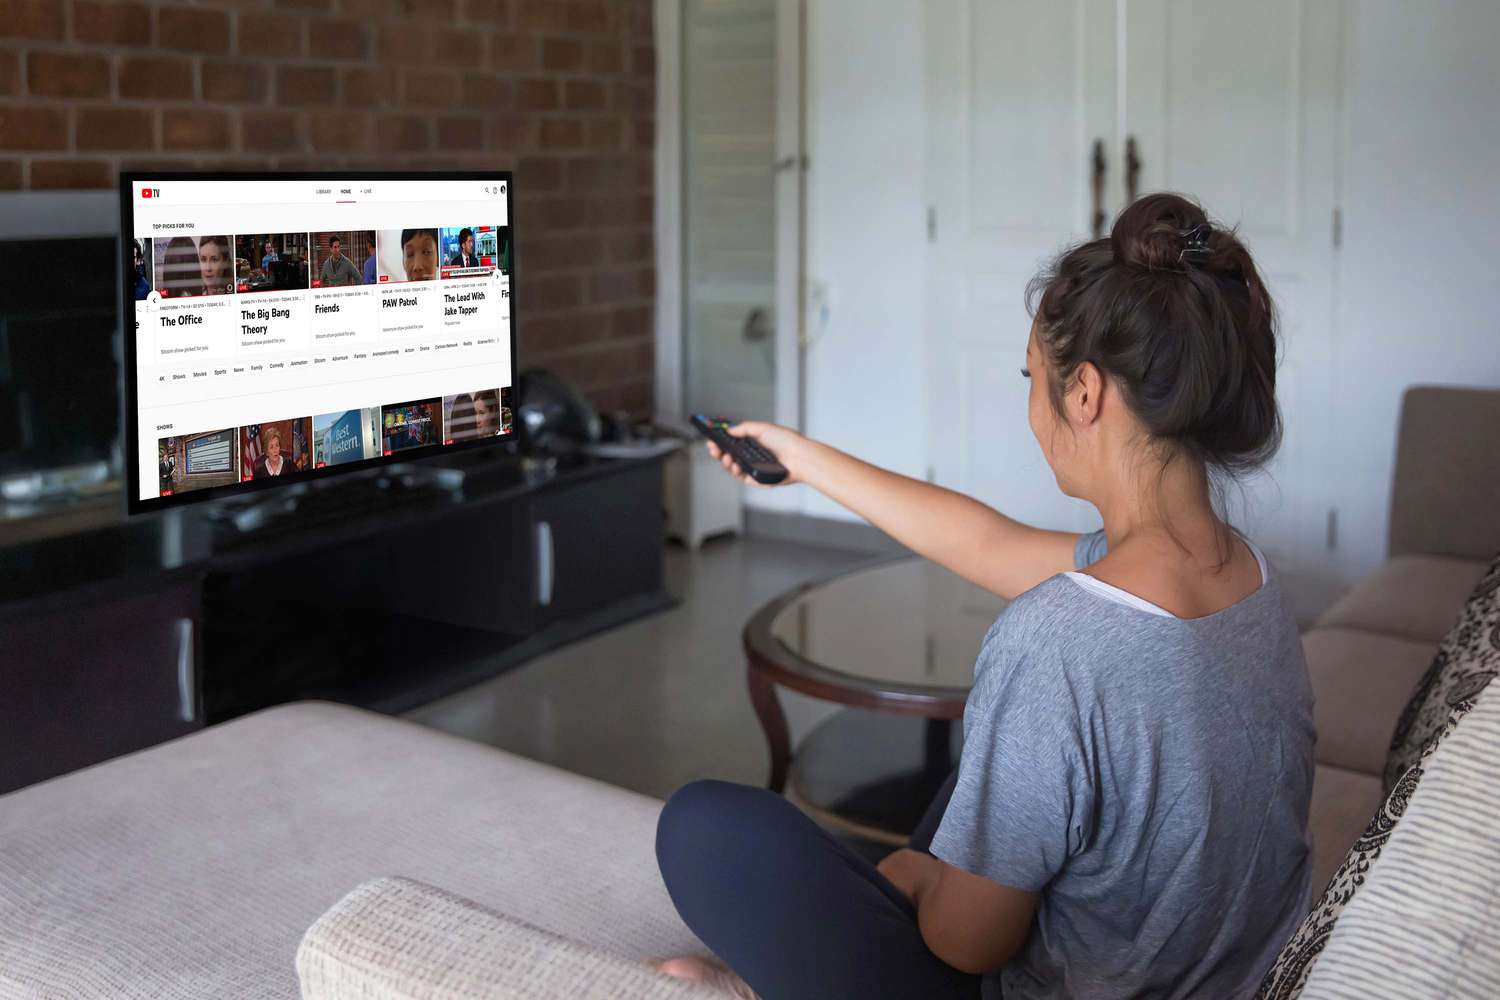
With your Fire Stick set up and customized, you’re ready to enjoy a world of entertainment at your fingertips. Sit back, relax, and dive into the vast collection of movies, TV shows, music, and games available on your Fire Stick.
Conclusion
Congratulations on successfully connecting your Amazon Fire Stick to your non-smart TV! By following the step-by-step guide in this article, you’ve transformed your ordinary TV into a smart entertainment hub that offers a wide range of streaming options.
With the Fire Stick connected to your TV’s HDMI port and powered on, you can now enjoy access to popular streaming platforms like Netflix, Hulu, Amazon Prime Video, and more. Watch your favorite movies, binge-watch TV shows, listen to music, and even play games – all on the big screen of your non-smart TV.
Remember, during the setup process, connecting your Fire Stick to the power source, selecting the correct input on your TV, and setting up your Wi-Fi network are vital steps to establish a smooth and uninterrupted streaming experience. Additionally, customizing your Fire Stick settings enables you to tailor the device to your preferences and enhance your viewing pleasure.
So get comfortable, grab your Fire Stick remote, and explore the vast world of entertainment that awaits you. Whether you’re a movie enthusiast, TV show addict, or avid gamer, the Fire Stick has something for everyone.
Enjoy your newfound streaming capabilities and make the most out of your non-smart TV with the Amazon Fire Stick!