Introduction
Welcome to our guide on how to connect an Epson projector to a laptop using a USB cable. Epson projectors are a popular choice for individuals who want to enhance their viewing experience, whether it’s for presentations, movies, or gaming. By connecting your laptop to an Epson projector, you can easily display your laptop’s screen on a larger surface, making it ideal for sharing content with a larger audience or enjoying a cinematic experience in the comfort of your own home.
Connecting an Epson projector to your laptop through a USB cable is a convenient and straightforward method, eliminating the need for additional video cables or adapters. In this guide, we will walk you through the step-by-step process of setting up the connection, ensuring that you can seamlessly share your laptop’s display on the Epson projector.
Before we dive into the steps, there are a few things you’ll need to get started. First and foremost, you’ll need an Epson projector and a laptop equipped with USB ports. Ensure that your laptop meets the system requirements for the Epson USB Display software, as this software enables the connection between your laptop and the projector. Additionally, make sure you have a USB cable compatible with both your laptop and the Epson projector model you’re using. Once you have these essentials, you’re ready to proceed with the setup.
Connecting your Epson projector to your laptop using a USB cable offers several advantages. It provides a reliable and stable connection, allowing for high-quality transmission of video and audio signals. Furthermore, it simplifies the setup process, eliminating the need for multiple cables and confusing configurations. With just a single USB cable, you can achieve a seamless connection and enjoy an immersive viewing experience with your Epson projector.
In the following sections, we will guide you through the necessary steps to successfully connect your Epson projector to your laptop using a USB cable. Whether you’re a business professional needing to deliver a compelling presentation or a movie enthusiast seeking a larger screen experience, this guide will help you make the most out of your Epson projector and laptop combination.
What You’ll Need
Before getting started with the process of connecting your Epson projector to your laptop using a USB cable, there are a few essential items you’ll need. These items will ensure a smooth and successful setup, allowing you to enjoy the benefits of a larger screen display.
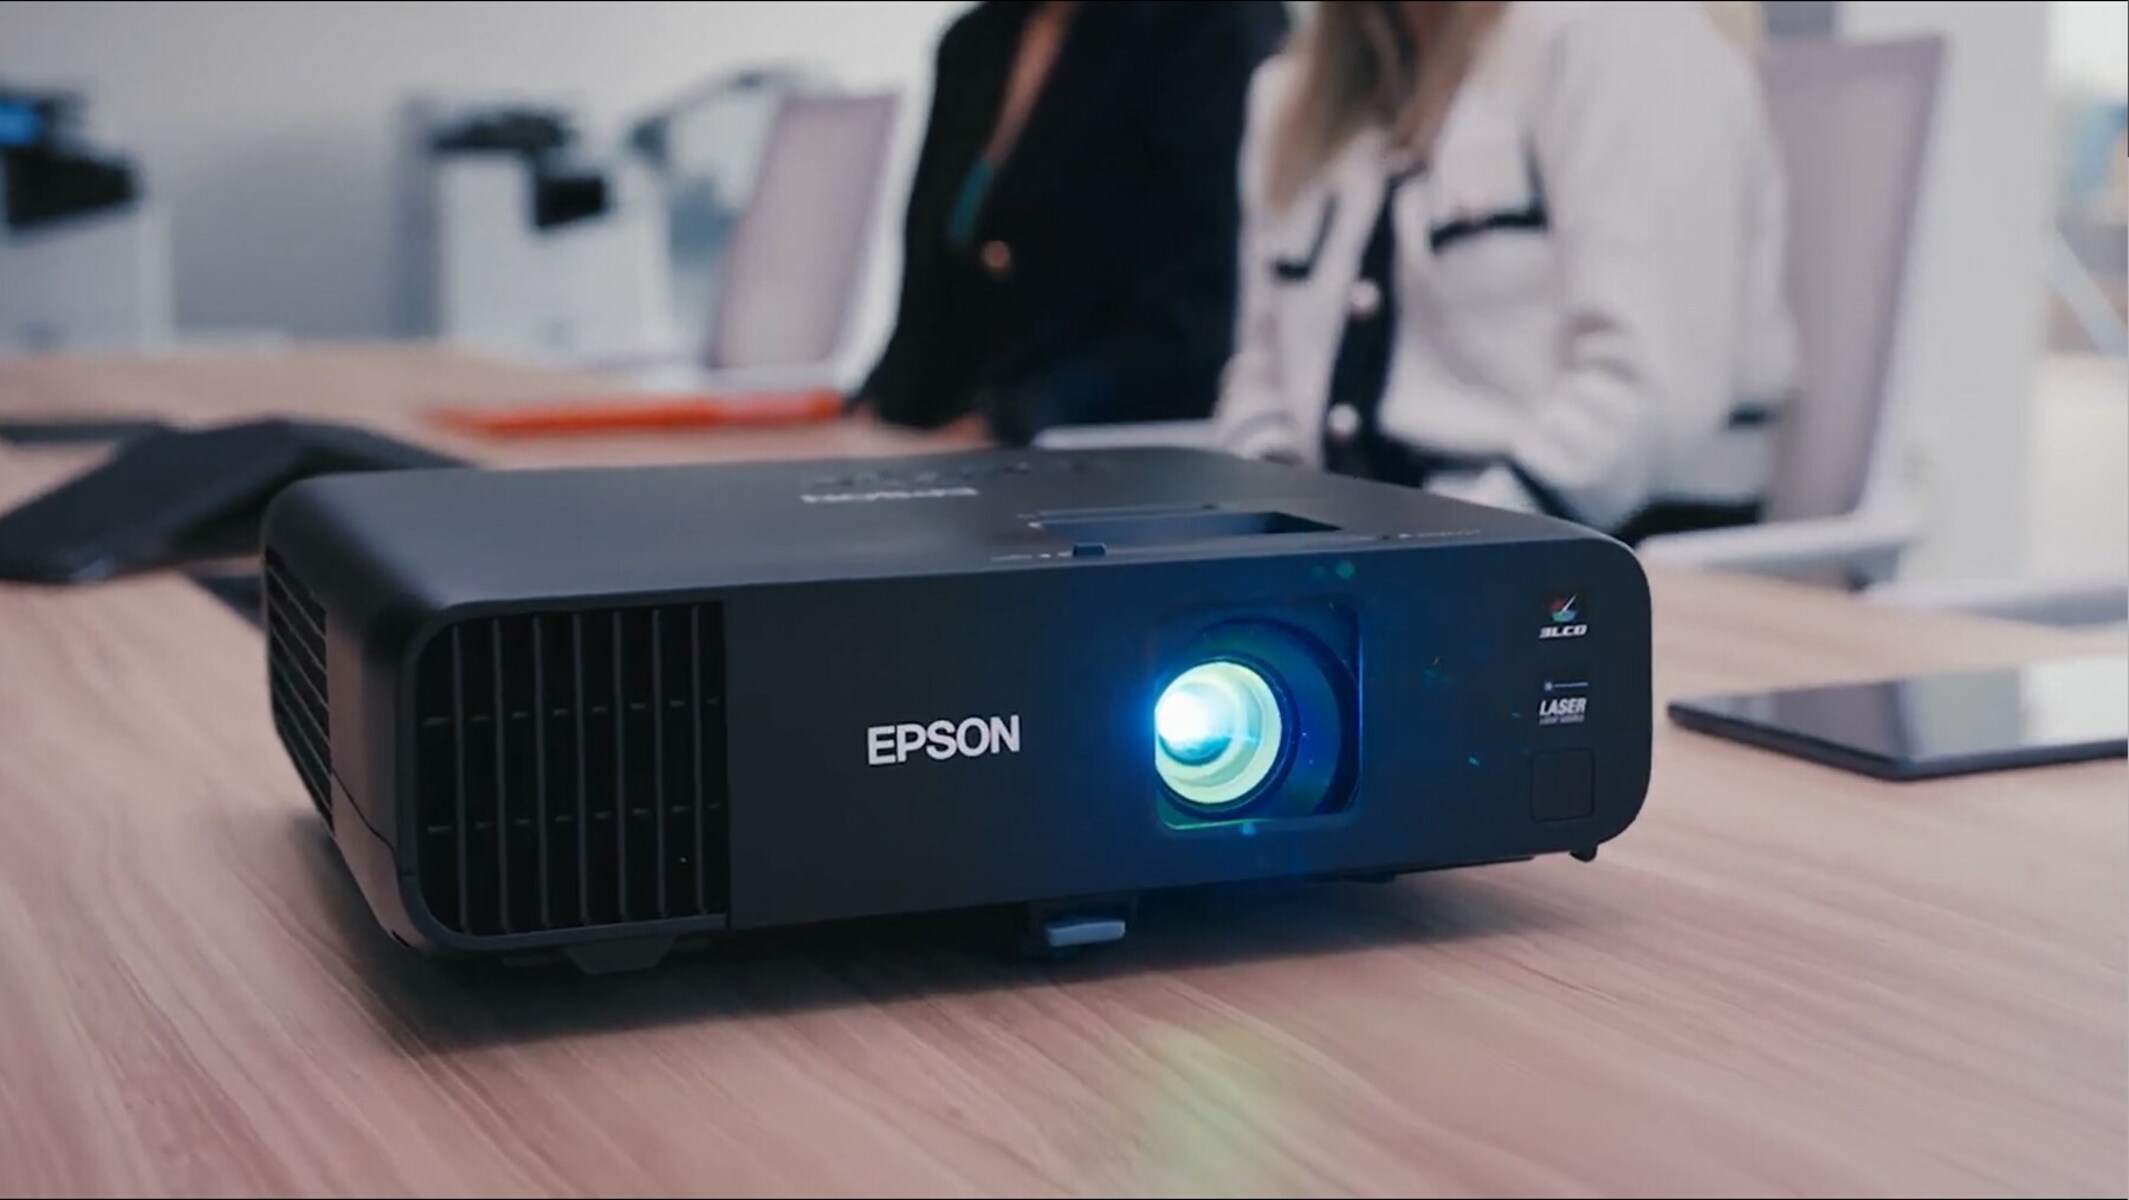
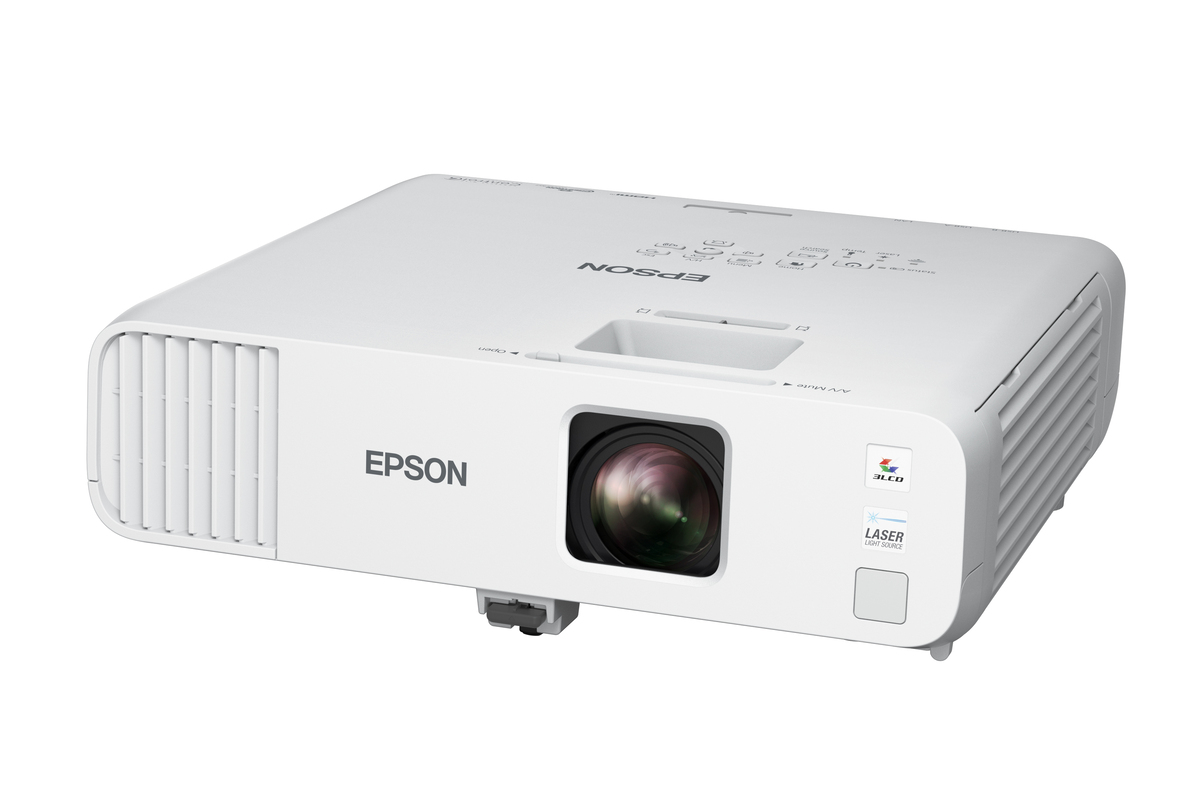
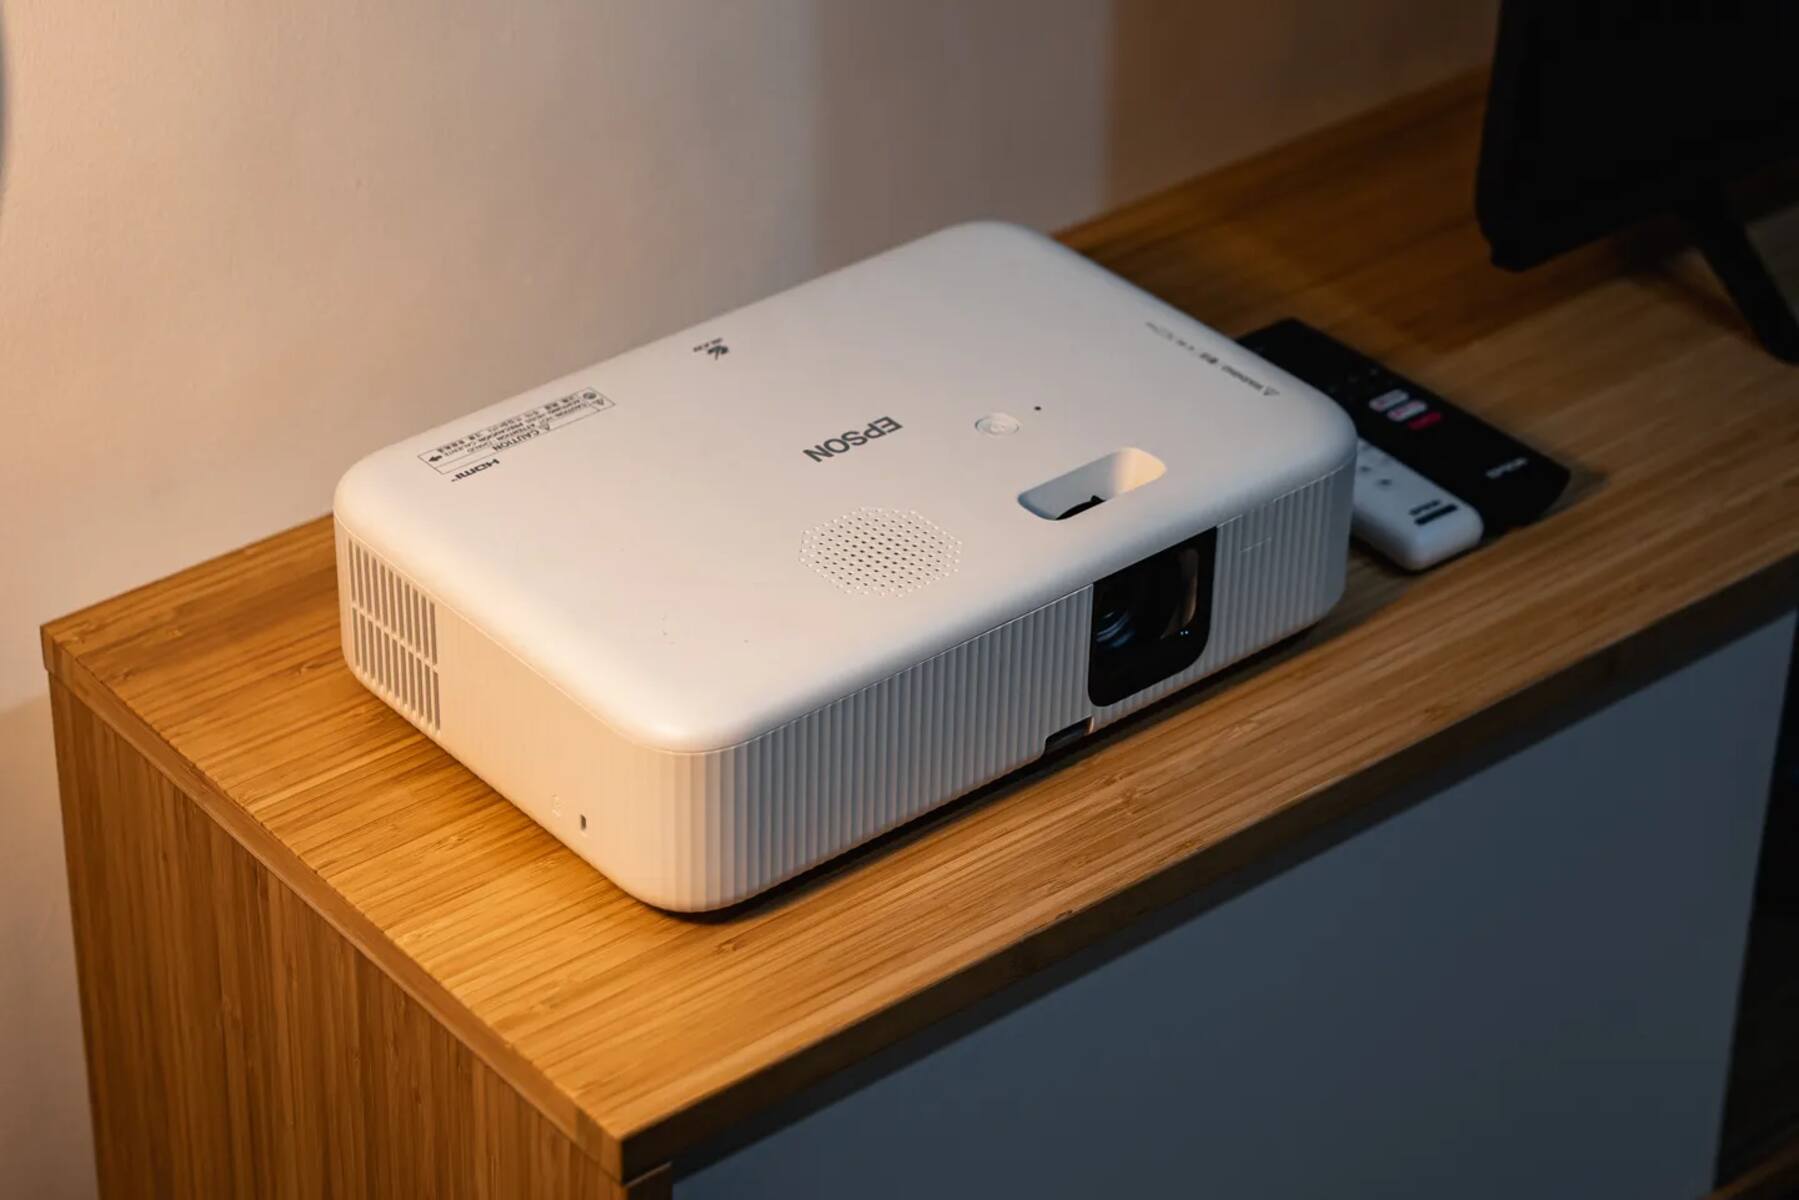
1. Epson Projector: You will need an Epson projector that is compatible with USB connectivity. Epson offers a wide range of projectors, so make sure to check the specifications to ensure USB compatibility.
2. Laptop: You will need a laptop equipped with USB ports. Most modern laptops come with multiple USB ports, so make sure you have at least one available for the connection.
3. USB Cable: You will need a USB cable to establish the connection between your laptop and the Epson projector. The type of USB cable you need may depend on the specific model of the Epson projector, so refer to the user manual or the Epson website for the recommended cable.
4. Epson USB Display Software: To facilitate the connection between your laptop and the Epson projector, you will need to install the Epson USB Display software. This software allows your laptop’s screen to be displayed on the projector. You can download the software from the Epson support website or use the installation CD provided with your projector.
5. Power Source: Ensure that both your laptop and the Epson projector are connected to a power source. This is important to avoid any interruptions during the setup process or while using the projector.
By gathering these necessary items, you will have everything you need to establish a connection between your Epson projector and laptop using a USB cable. Having the correct equipment guarantees a trouble-free setup and ensures that you can fully utilize the features and functionalities of your Epson projector for an enhanced viewing experience.
Step 1: Check Compatibility
Before proceeding with the connection process, it is crucial to ensure that your laptop and Epson projector are compatible with each other. Checking compatibility will save you from encountering any setbacks or frustrations during the setup.
To begin, refer to the user manuals for both your laptop and the Epson projector. Look for information regarding USB connectivity and compatibility. Verify that your laptop has USB ports available for connecting the projector. It is also important to check the type of USB ports supported by your laptop, such as USB 2.0 or USB 3.0.
Next, identify the USB cable required for the connection. Different Epson projector models may have specific USB cable recommendations. Refer to the user manual or visit the Epson website to find the appropriate cable for your projector model. Ensure that you have the correct cable on hand.
With compatibility checks complete, you can proceed with confidence knowing that your laptop and Epson projector are ready for the connection process. By ensuring compatibility, you can avoid any potential issues or limitations that may arise and enjoy a seamless connection experience.
Please note that if your laptop or Epson projector does not support USB connectivity or the required USB cable is not available, you may need to consider alternative connection methods such as HDMI or VGA. However, in this guide, we will focus specifically on connecting via USB for the best convenience and ease of use.
Now that you’ve confirmed compatibility, let’s move on to the next step of installing the Epson USB Display software to establish the connection between your laptop and the Epson projector.
Step 2: Install Epson USB Display Software
Once you have verified the compatibility between your laptop and Epson projector, the next step is to install the Epson USB Display software on your laptop. This software enables the seamless connection between your laptop and the projector, allowing you to display your laptop’s screen on the larger projector screen.
To install the Epson USB Display software, follow these steps:
- Check that your Epson projector is turned on and properly connected to a power source.
- On your laptop, open a web browser and navigate to the Epson support website.
- Find the support page for your specific Epson projector model.
- Locate the “Downloads” or “Drivers and Software” section on the support page.
- Search for the Epson USB Display software and click on the download link.
- Once the download is complete, locate the downloaded file on your laptop and double-click on it to start the installation process.
- Follow the on-screen instructions to complete the installation of the Epson USB Display software.
- After the installation is finished, restart your laptop to ensure that the software is properly integrated.
It’s important to note that if you have an installation CD that came with your Epson projector, you can also use that to install the USB Display software by following the instructions provided on the CD.
Once the software is installed and your laptop has restarted, you are now ready to establish the connection between your laptop and the Epson projector using the USB cable. Proceed to the next step to learn how to connect the two devices.
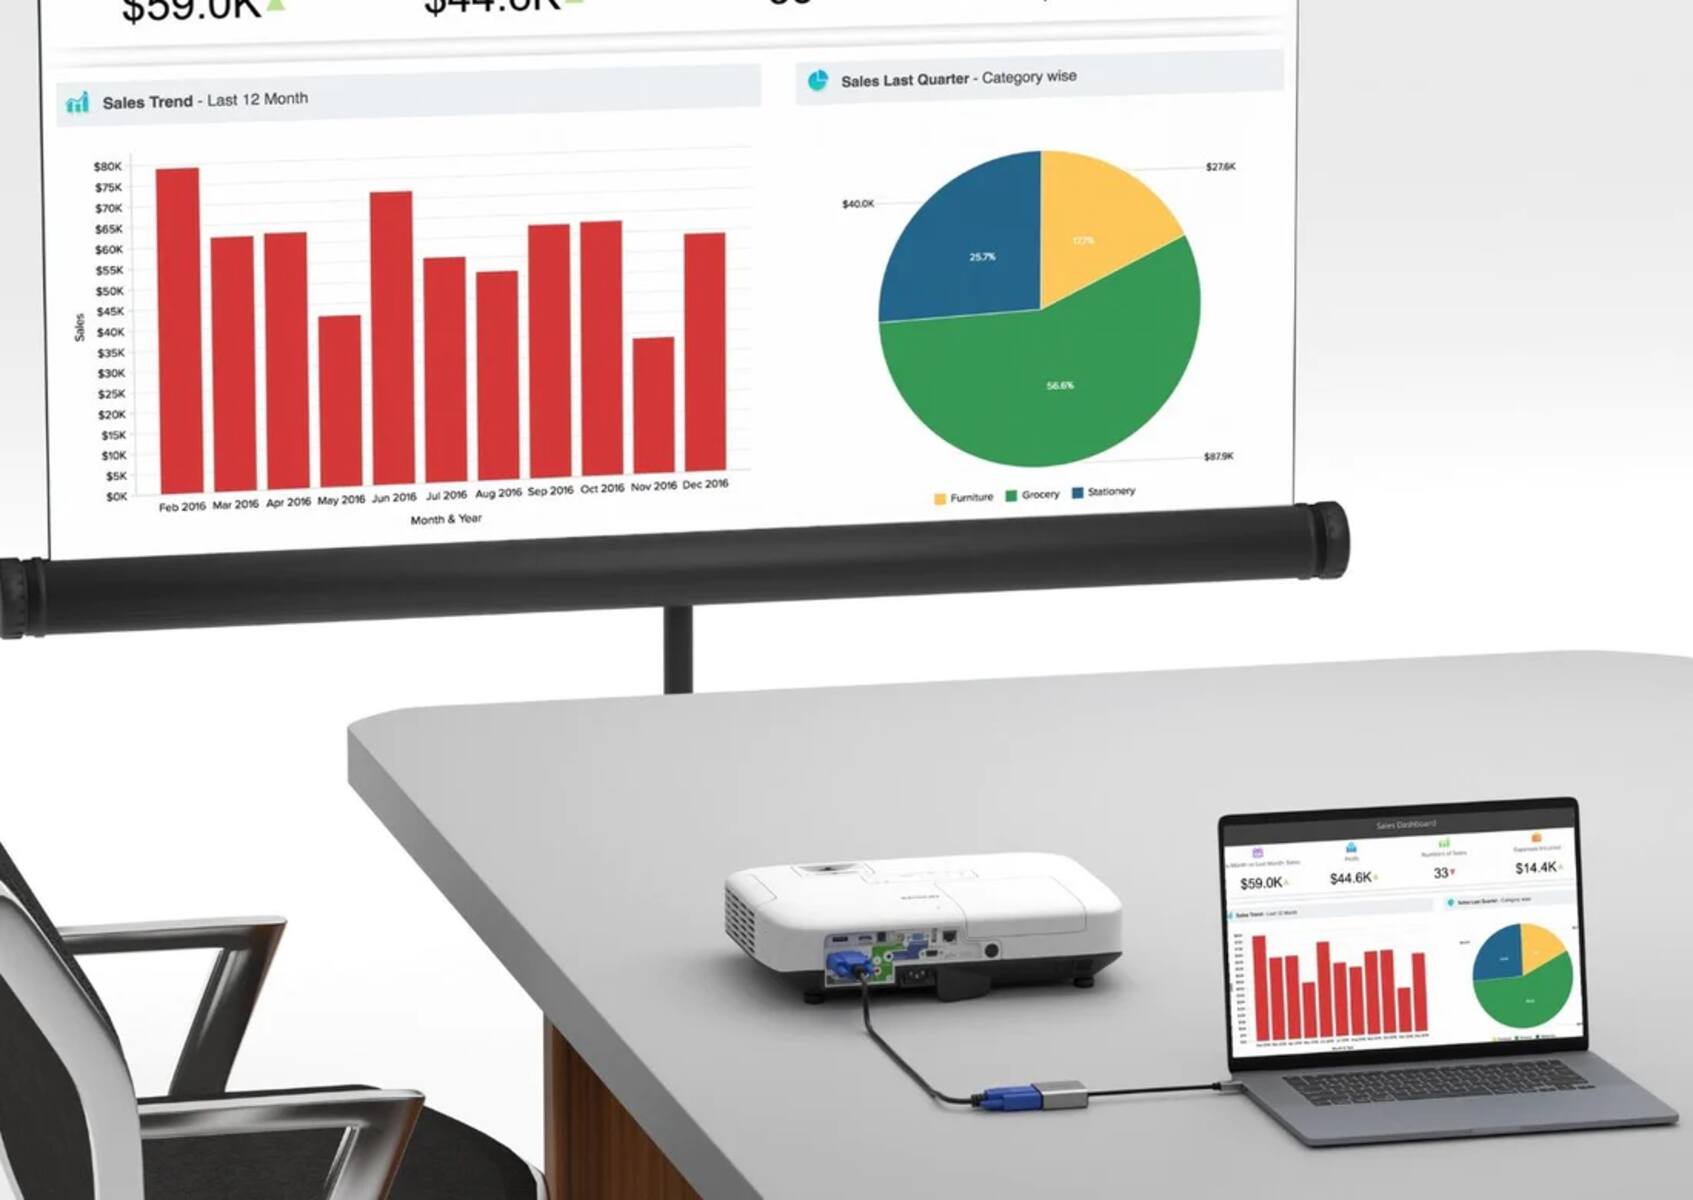
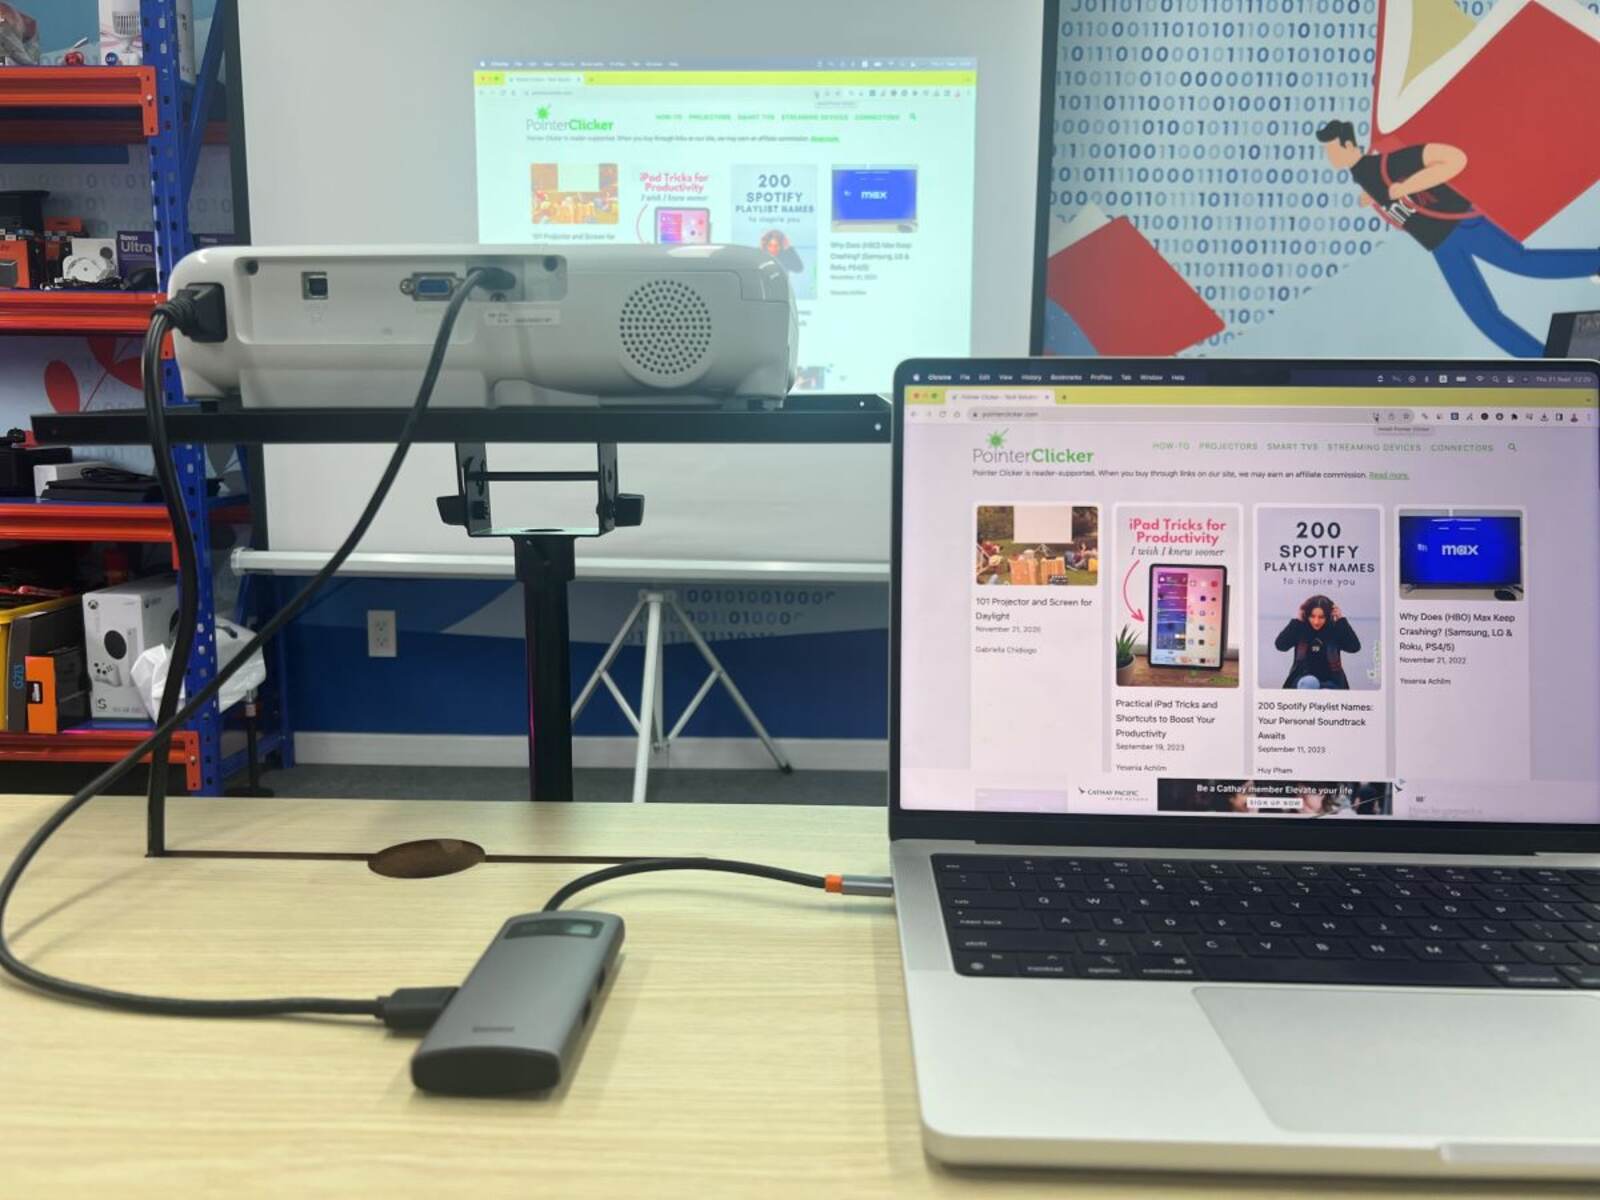
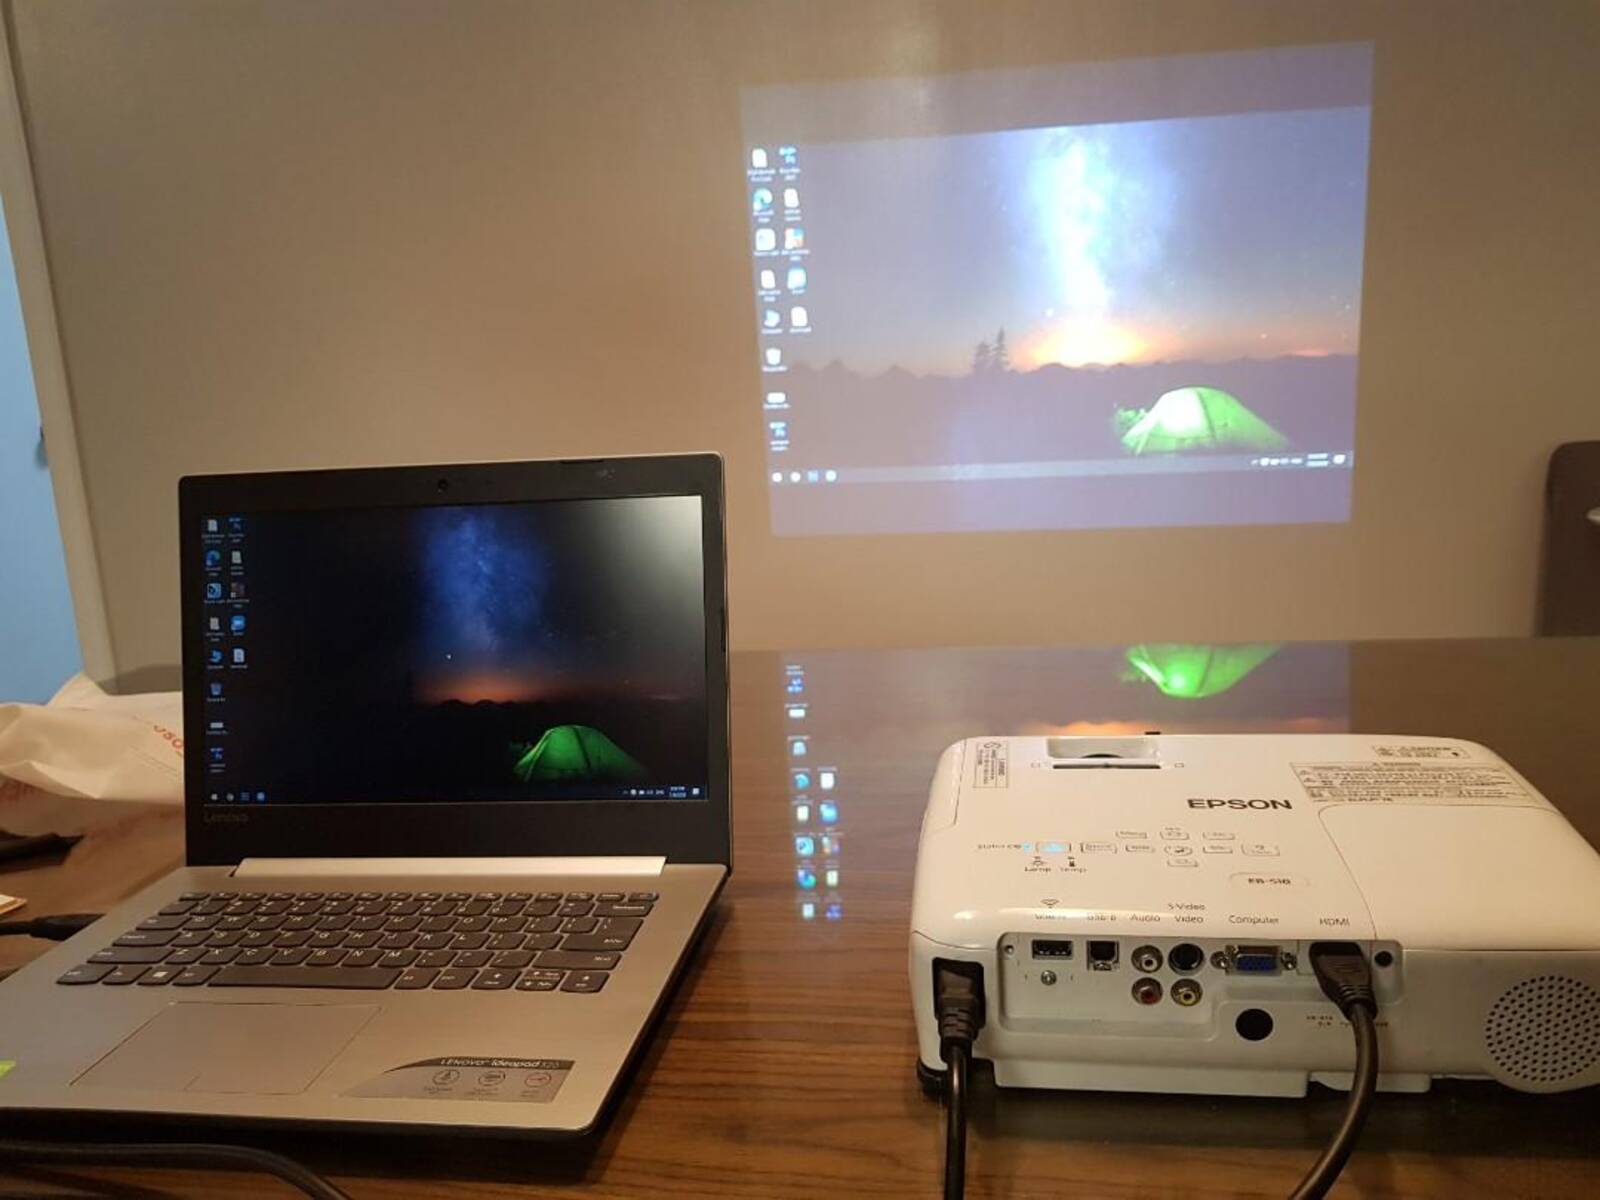
Step 3: Connect the USB Cable
Now that you have successfully installed the Epson USB Display software on your laptop, it’s time to connect the USB cable between your laptop and the Epson projector. This step will establish the physical connection necessary for transmitting the display from your laptop to the projector.
Follow these simple steps to connect the USB cable:
- Make sure that both your laptop and the Epson projector are powered off.
- Locate the USB port on your laptop and the corresponding USB port on the Epson projector.
- Take one end of the USB cable and insert it into the USB port on your laptop.
- Take the other end of the USB cable and insert it into the USB port on the Epson projector.
- Tighten the connectors gently to ensure a secure connection.
Once the USB cable is connected, you can proceed to the next step to configure the display settings on your laptop for a successful projection.
It’s important to note that some Epson projectors may have multiple USB ports. In such cases, ensure that you connect the USB cable to the appropriate USB port specified in the projector’s user manual or indicated on the projector itself. This ensures that the display is transmitted correctly and avoids any potential compatibility issues.
With the USB cable securely connected between your laptop and the Epson projector, you have established the physical link required for the transmission of the display. Now, it’s time to configure the display settings on your laptop to ensure that the projector properly mirrors your laptop’s screen. Proceed to the next step to learn how to adjust these settings.
Step 4: Configure Display Settings on Your Laptop
Once you have connected the USB cable between your laptop and the Epson projector, it’s time to configure the display settings on your laptop. By adjusting these settings, you can ensure that the projector properly mirrors your laptop’s screen and that the content is displayed correctly.
To configure the display settings on your laptop, follow these steps:
- Power on both your laptop and the Epson projector.
- On your laptop, press the Windows key and the P key simultaneously. This will open the display options menu.
- In the display options menu, select the Duplicate or Mirror option. This will ensure that your laptop screen is mirrored on the Epson projector.
- Wait for a few seconds while your laptop establishes the connection with the projector.
- Once the connection is established, your laptop’s screen should be mirrored on the Epson projector. Adjust the resolution and display settings on your laptop if needed to optimize the projection quality.
It’s worth noting that the display options menu and the specific steps to adjust display settings may vary slightly depending on the operating system of your laptop. If you’re unable to find the display options menu or encounter any difficulties, refer to your laptop’s user manual or consult the manufacturer’s support website for guidance.
With the display settings properly configured on your laptop, you’re one step closer to enjoying a seamless projection on your Epson projector. However, before you start enjoying your content, it’s important to ensure that the Epson projector settings are adjusted correctly to optimize the projection. Proceed to the next step to learn how to adjust the Epson projector settings.
Step 5: Adjust Epson Projector Settings
Now that you have configured the display settings on your laptop, it’s time to adjust the settings on your Epson projector to optimize the projection. By making these adjustments, you can ensure that the projected image is clear, vibrant, and properly aligned on the projection surface.
To adjust the Epson projector settings, follow these steps:
- Using the remote control or the control panel on the Epson projector, access the projector’s menu.
- Navigate to the Settings or Options menu.
- Adjust the Brightness, Contrast, and Sharpness settings to obtain the desired image quality.
- Check the Keystone Correction settings to ensure that the projected image is properly aligned on the projection surface. Make adjustments if necessary to correct any distortion caused by the projector’s position.
- Explore any additional settings that your Epson projector offers, such as color modes, aspect ratio, or image enhancement features. Adjust these settings according to your preferences.
It’s important to note that the specific settings and menu options on your Epson projector may vary depending on the model and version. Refer to your projector’s user manual for detailed instructions specific to your model.
Once you have adjusted the settings on your Epson projector, take a moment to test the projection and ensure that both the laptop and the projector are working seamlessly together. Play a video, display a presentation, or open any content on your laptop to see it projected on the Epson projector.
If you encounter any issues with the projection, double-check the connections and settings. If necessary, refer to the troubleshooting section in your projector’s user manual or contact Epson customer support for further assistance.
Congratulations! You have successfully connected your Epson projector to your laptop using a USB cable and adjusted the necessary settings to optimize the projection. Now you can enjoy a larger screen experience and share your content with a wider audience in a simple and convenient manner.
Before concluding, let’s go over some common issues and possible solutions that you may encounter during the setup process or while using your Epson projector and laptop combination.
Troubleshooting: Common Issues and Solutions
While setting up and using your Epson projector with your laptop, you may come across a few common issues. Here, we’ll discuss some of these issues and provide possible solutions to help you troubleshoot and overcome them.
1. No Display on the Projector:
– Ensure that the USB cable is securely connected to both your laptop and the Epson projector.
– Check that the Epson USB Display software is installed and running on your laptop.
– Press the Windows key + P on your laptop and select the Duplicate or Mirror option to enable the display on the projector.
– If the issue persists, try restarting both your laptop and the Epson projector.
2. Poor Image Quality:
– Adjust the brightness, contrast, and sharpness settings on both your laptop and the Epson projector to enhance the image quality.
– Ensure that you are projecting onto a suitable surface and that the projector is positioned correctly.
– Check the keystone correction settings and make adjustments to align the projection properly.
3. No Sound from the Projector:
– Verify that the audio is not muted on both your laptop and the projector.
– Ensure that the audio output settings on your laptop are correctly configured to use the projector as the audio output device.
– Check the audio cable connection between your laptop and the projector, ensuring it is securely plugged in.
4. Compatibility Issues:
– Double-check that both your laptop and the Epson projector are compatible with USB connectivity.
– Ensure that your laptop meets the system requirements for the Epson USB Display software.
– If your laptop or projector is not compatible with USB, consider using alternative connection methods such as HDMI or VGA.
5. Software or Driver Issues:
– Make sure that you have installed the latest version of the Epson USB Display software on your laptop.
– Check for any updates or driver downloads available from the Epson support website specific to your projector model.
– Ensure that your operating system is up to date with the latest updates and patches.
If you encounter any other issues or need further assistance, refer to the user manual for your Epson projector or contact Epson customer support for additional guidance. They can provide personalized solutions based on your specific setup and requirements.
By troubleshooting common issues and finding appropriate solutions, you can ensure a smooth and trouble-free experience while using your Epson projector with your laptop. Now that you’re equipped with the troubleshooting knowledge, you’re ready to enjoy the full capabilities of your Epson projector and create unforgettable visual experiences.
Conclusion
Congratulations! You have successfully learned how to connect your Epson projector to your laptop using a USB cable. By following the step-by-step guide and troubleshooting any issues that may arise, you can now enjoy an enhanced viewing experience on a larger screen.
Connecting your Epson projector to your laptop via USB offers the convenience of a simplified setup process and a stable, high-quality connection. With the Epson USB Display software and the correct USB cable, you can seamlessly display your laptop’s screen content on the projector, making it ideal for presentations, movies, gaming, and more.
Remember, before starting the setup process, check the compatibility between your laptop and the Epson projector. Ensure that you have the necessary equipment, including the Epson USB Display software, a compatible USB cable, and a power source for both your laptop and the projector.
Throughout the setup process, it is important to adjust the display settings on your laptop and the projector to optimize the projection quality. Always refer to the user manuals or manufacturer’s support websites for specific instructions tailored to your devices.
In case you encounter any common issues like a lack of display, poor image quality, or sound problems, refer to the troubleshooting section to find possible solutions. Additionally, contact Epson customer support for personalized assistance, especially for device-specific or complex issues.
With the ability to connect your Epson projector to your laptop, you can now enjoy a larger screen experience and share your content with a wider audience. Whether it’s for work or leisure, this connection method allows you to showcase presentations, watch movies, play games, and more, all with the stunning visuals and superior audio that Epson projectors provide.
Now that you have the know-how to connect your Epson projector to your laptop using a USB cable, explore the possibilities and make the most of your projector’s features. Create memorable presentations, elevate movie nights, and immerse yourself in extraordinary visual experiences with ease.