Introduction
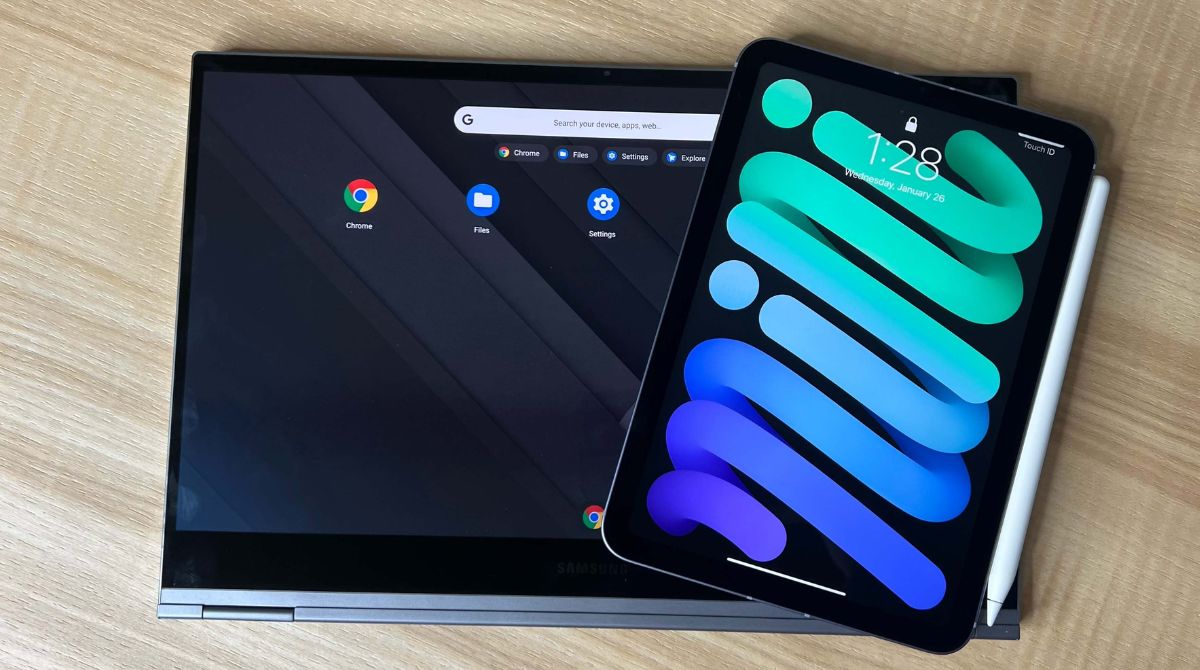
Connecting a drawing tablet to a Chromebook can open up a world of creative possibilities. Whether you are an aspiring artist, a graphic designer, or simply enjoy doodling in your spare time, using a drawing tablet can greatly enhance your digital art experience. However, before you can start unleashing your creativity, you’ll need to ensure that your drawing tablet is compatible with your Chromebook and follow the necessary steps to establish a connection.
In this article, we will guide you through the process of connecting a drawing tablet to your Chromebook. We will provide you with a step-by-step tutorial, troubleshooting tips, and recommendations for drawing apps that work seamlessly with Chrome OS. By the end of this guide, you’ll be well-equipped to embark on your digital art journey with your Chromebook and drawing tablet in sync.
Before we dive into the details, it’s important to note that not all drawing tablets are compatible with Chromebooks. Therefore, the first step is to check the compatibility of your drawing tablet with Chrome OS. This can usually be done by referring to the manufacturer’s website or product specifications. Once you have confirmed compatibility, you can proceed with the following steps to connect your drawing tablet to your Chromebook.
Step 1: Check Compatibility
The first step in connecting your drawing tablet to your Chromebook is to ensure compatibility between the two devices. Not all drawing tablets are designed to work seamlessly with Chrome OS, so it’s important to confirm compatibility before proceeding.
To check compatibility, start by visiting the manufacturer’s website of your drawing tablet. Look for information regarding compatibility with Chrome OS or Chromebooks. Many manufacturers provide a list of supported operating systems, so be sure to check if Chrome OS is included.
If you cannot find the information on the website, try contacting the manufacturer’s customer support for further assistance. They will be able to provide you with specific details about the compatibility of your drawing tablet with Chromebooks.
It’s worth noting that some drawing tablets may require additional drivers to connect with Chrome OS. In such cases, you should check if the manufacturer provides specific drivers for Chrome OS or if there are any workarounds available.
Remember, every drawing tablet is different, so be sure to double-check the compatibility requirements for your specific model. Once you have confirmed that your drawing tablet is compatible with Chromebooks, you can move on to the next step.
Step 2: Install Chrome OS Update
After confirming the compatibility between your drawing tablet and Chrome OS, it’s important to ensure that your Chromebook is running the latest version of Chrome OS. Older versions of the operating system may not have the necessary drivers or features to support your drawing tablet.
To check for updates and install the latest version of Chrome OS, follow these steps:
1. Click on the clock in the bottom-right corner of your Chromebook’s screen. This will open the quick settings menu.
2. Click on the gear icon to access the settings menu.
3. In the settings menu, scroll down and click on “About Chrome OS”.
4. Click on “Check for updates”. If an update is available, your Chromebook will begin downloading and installing it.
5. Once the update is installed, restart your Chromebook to apply the changes.
It’s important to ensure a stable internet connection during the update process, as interrupted downloads may cause issues with the installation.
After restarting your Chromebook, check for any additional updates and install them if necessary. Keeping your Chrome OS up to date ensures that you have the latest features and improvements, as well as any necessary drivers for your drawing tablet.
Once your Chromebook has been updated to the latest version of Chrome OS, you can proceed to connect your drawing tablet to your Chromebook. This will be covered in the next step.
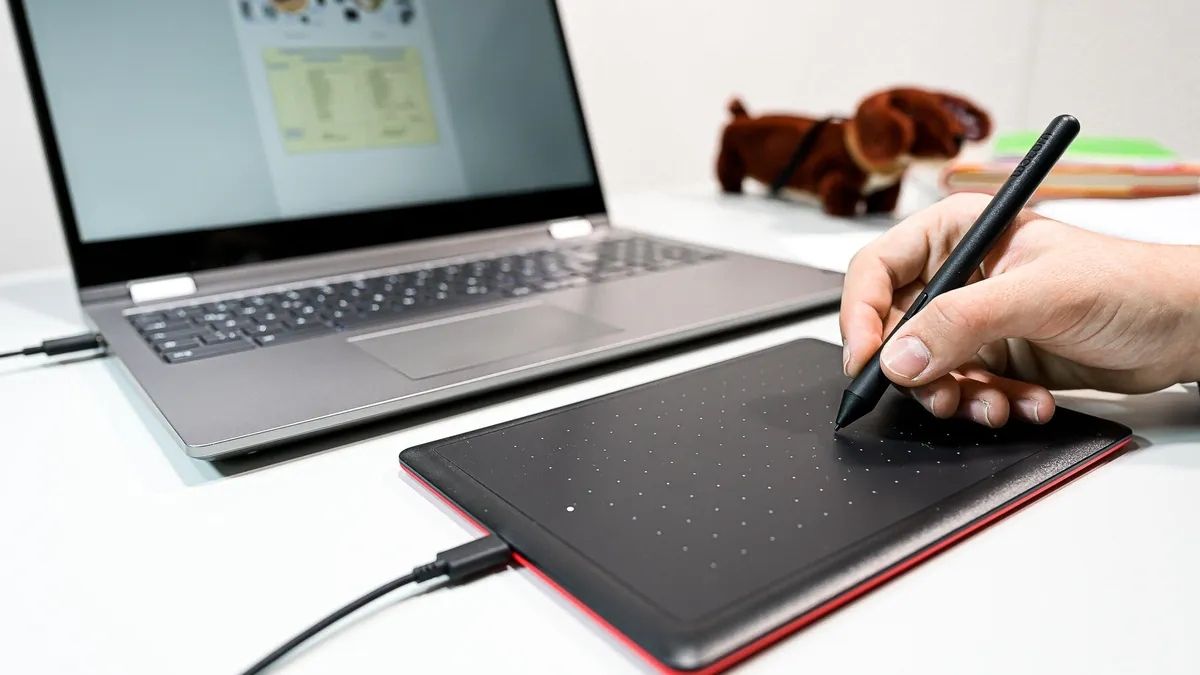
Step 3: Connect the Drawing Tablet
Now that your Chromebook is up to date, it’s time to connect your drawing tablet. Follow these steps to establish a connection between the two devices:
1. Start by locating the USB port on your Chromebook. Most Chromebooks have at least one USB-A or USB-C port.
2. Next, locate the USB cable that came with your drawing tablet. Plug one end of the USB cable into the USB port on your Chromebook.
3. Take the other end of the USB cable and connect it to the corresponding port on your drawing tablet. Some drawing tablets may have an additional power cable that needs to be connected as well. Make sure to connect all necessary cables securely.
4. Once the drawing tablet is connected, your Chromebook should recognize it automatically. You may see a notification on your Chromebook’s screen indicating that a new device has been connected.
5. Depending on your drawing tablet’s model, you may need to switch it on or press a button to activate it. Refer to the manufacturer’s instructions for your specific drawing tablet.
6. After turning on your drawing tablet, you should be able to see the cursor on the screen of your Chromebook moving in sync with your drawing tablet’s pen or stylus.
If your Chromebook doesn’t recognize the drawing tablet or if you encounter any issues during the connection process, refer to the troubleshooting tips provided in the next section.
Once the drawing tablet is successfully connected and recognized by your Chromebook, you can proceed to configure the tablet settings for optimal performance. This will be covered in the next step.
Step 4: Configure Tablet Settings
After successfully connecting your drawing tablet to your Chromebook, it’s important to configure the tablet settings to ensure optimal performance and functionality. Here’s how you can do it:
1. Go to the settings menu on your Chromebook by clicking on the clock in the bottom-right corner and then clicking on the gear icon.
2. In the settings menu, scroll down and click on “Devices” or “Advanced” to access additional settings.
3. Look for the option that corresponds to your drawing tablet. It may be listed as “Stylus” or “Pen” under the “Devices” section.
4. Click on the drawing tablet option to open the settings for your device. Here, you will find various customization options such as pressure sensitivity, pen button configurations, and palm rejection.
5. Adjust the settings according to your preferences. You can experiment with the pressure sensitivity to achieve the desired level of responsiveness in your drawing tablet. Configure the pen buttons to perform specific actions such as erasing or zooming in/out.
6. Additionally, make sure to enable or adjust the palm rejection feature to prevent accidental touches while using the drawing tablet. This will help you focus on your artwork without any interruptions.
7. Once you have configured the settings, test them out using a drawing app or software. Check if the pressure sensitivity, pen buttons, and palm rejection are working properly. Make any necessary adjustments until you are satisfied with the performance.
Remember to save your settings, as they may reset if you disconnect the drawing tablet or restart your Chromebook.
Now that you have configured the tablet settings, you are ready to explore the world of digital art on your Chromebook. The next step is to install drawing apps that are compatible with Chrome OS, which will be covered in the following section.
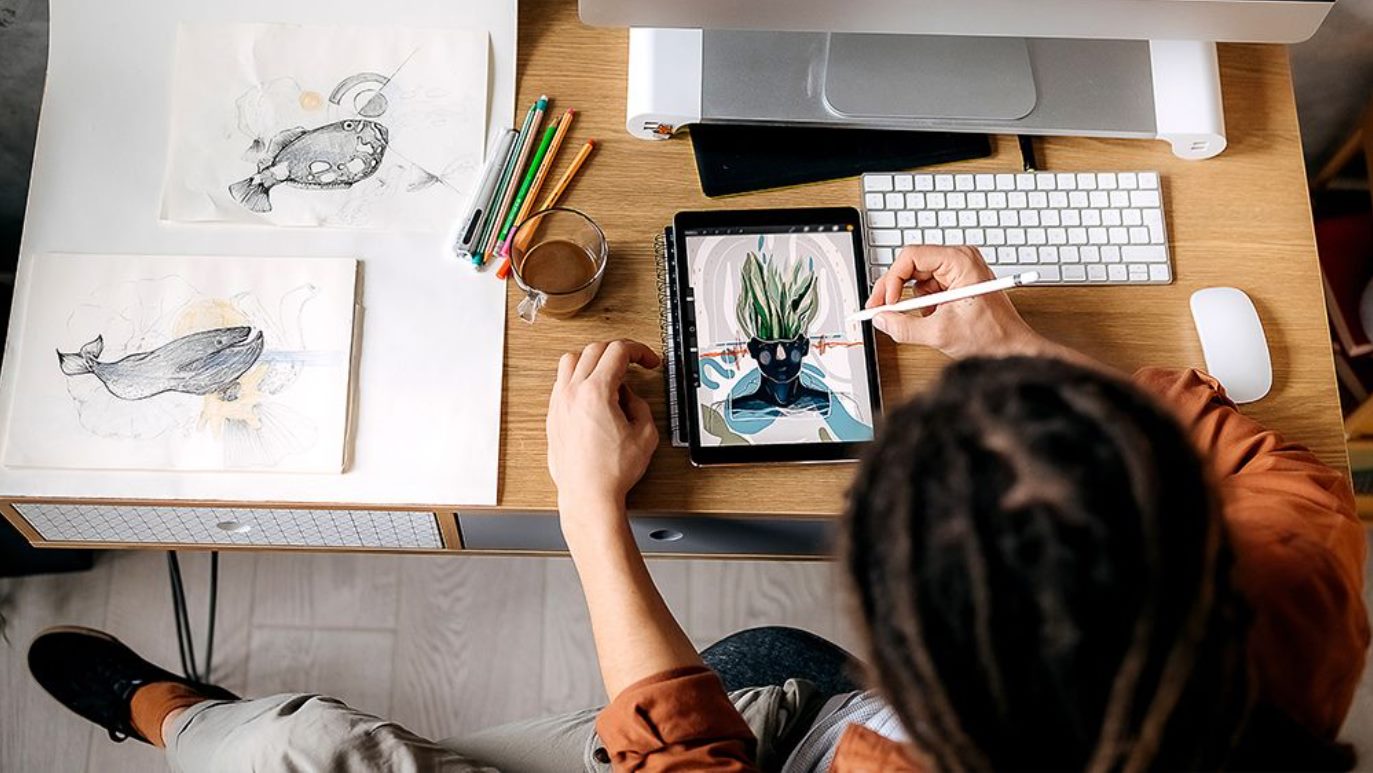
Step 5: Install Drawing Apps
To fully utilize your drawing tablet and unleash your creativity on your Chromebook, it’s essential to install drawing apps that are compatible with Chrome OS. These apps provide a wide range of tools and features to help you create stunning digital art. Here’s how you can install drawing apps on your Chromebook:
1. Open the Chrome Web Store on your Chromebook by clicking on the app launcher in the bottom-left corner of the screen and selecting “Web Store.”
2. In the search bar of the Chrome Web Store, type in keywords like “drawing apps,” “art apps,” or the specific name of the drawing app you want to install.
3. Browse through the search results and select the drawing app that suits your preferences. Look for apps with positive reviews, a user-friendly interface, and a good range of drawing tools.
4. Click on the app to open its page, and then click on the “Add to Chrome” or “Install” button to initiate the installation process. Follow any on-screen instructions, if prompted.
5. Once the app is installed, you can find it in your app launcher or on your Chromebook’s shelf. Simply click on the app icon to launch the drawing app.
6. Before you start using the drawing app, take some time to explore its features and familiarize yourself with its interface. Experiment with different brushes, colors, and layers to get a feel for the app’s capabilities.
It’s also worth mentioning that several popular drawing apps, such as Adobe Photoshop and Autodesk Sketchbook, have dedicated versions available for Chrome OS. These professional-grade drawing apps offer advanced features and functionality for more experienced digital artists.
Remember to regularly update your drawing apps to access the latest features and bug fixes. You can do this by going to the Chrome Web Store and navigating to “My Apps” to check for updates.
With your drawing app installed and ready, you can now let your imagination run wild and create amazing digital artwork on your Chromebook using your drawing tablet.
Step 6: Troubleshooting Tips
While connecting a drawing tablet to your Chromebook is usually a smooth process, you may encounter some issues along the way. Here are some troubleshooting tips to help you overcome common problems:
1. Check the cables: Ensure that the USB cable and any additional power cables are securely connected to both your drawing tablet and your Chromebook. Loose connections can result in a poor or non-existent connection.
2. Restart your devices: Sometimes, a simple restart can resolve connectivity issues. Turn off your Chromebook and drawing tablet, then turn them back on again. This can help refresh the device connections and clear any temporary glitches.
3. Update drivers: If your drawing tablet requires specific drivers, ensure that they are up to date. Visit the manufacturer’s website and download the latest drivers for your device. Follow the instructions provided to install the drivers on your Chromebook.
4. Test on another device: If possible, try connecting your drawing tablet to another device, such as a different Chromebook or a computer running a different operating system. This can help determine if the issue lies with the tablet or the Chromebook.
5. Troubleshoot software conflicts: If you experience issues with specific drawing apps, try using different apps to see if the problem persists. If the problem is isolated to a particular app, it may be a compatibility issue or a bug within the app itself. Contact the app’s support team or seek alternative drawing apps.
6. Reset your Chromebook’s settings: As a last resort, you can perform a factory reset on your Chromebook to resolve any persistent issues. Keep in mind that this will erase all data on your Chromebook, so be sure to back up any important files before proceeding.
If none of the troubleshooting tips resolve the issue, it may be necessary to reach out to the manufacturer’s customer support for further assistance. They can provide specific guidance based on your drawing tablet model and Chromebook configuration.
Remember, patience and persistence are key when troubleshooting any technical issues. With some troubleshooting, most problems can be resolved, ensuring a smooth and enjoyable drawing experience on your Chromebook with your connected drawing tablet.
Conclusion
Connecting a drawing tablet to your Chromebook opens up a whole new world of artistic possibilities. By following the steps outlined in this guide, you can seamlessly connect your drawing tablet to your Chromebook and begin creating amazing digital art.
We started by emphasizing the importance of checking the compatibility of your drawing tablet with Chrome OS. Checking the manufacturer’s website and contacting customer support can clarify any compatibility concerns.
Next, we walked you through the process of updating your Chrome OS to ensure you have the latest features and drivers necessary for your drawing tablet to function properly.
We then provided a step-by-step guide on connecting your drawing tablet to your Chromebook. By simply plugging in the USB cable, activating the tablet, and configuring the settings, you can start using your drawing tablet in no time.
To enhance your drawing experience, we recommended exploring and installing compatible drawing apps from the Chrome Web Store. These apps offer a range of tools and features to help bring your artistic visions to life.
Finally, we offered troubleshooting tips for common issues that may arise during the connection process. By checking cables, updating drivers, and troubleshooting software conflicts, you can overcome any challenges that may impede your ability to use your drawing tablet effectively.
With your drawing tablet connected to your Chromebook and all the necessary settings in place, you are now ready to embark on your digital art journey. Unleash your creativity, experiment with different techniques, and enjoy the endless possibilities of creating digital masterpieces on your Chromebook.
Remember, practice makes perfect, so don’t be discouraged if you encounter minor setbacks along the way. With time and dedication, you’ll be able to achieve amazing results and take your digital art skills to the next level. Happy creating!