Introduction
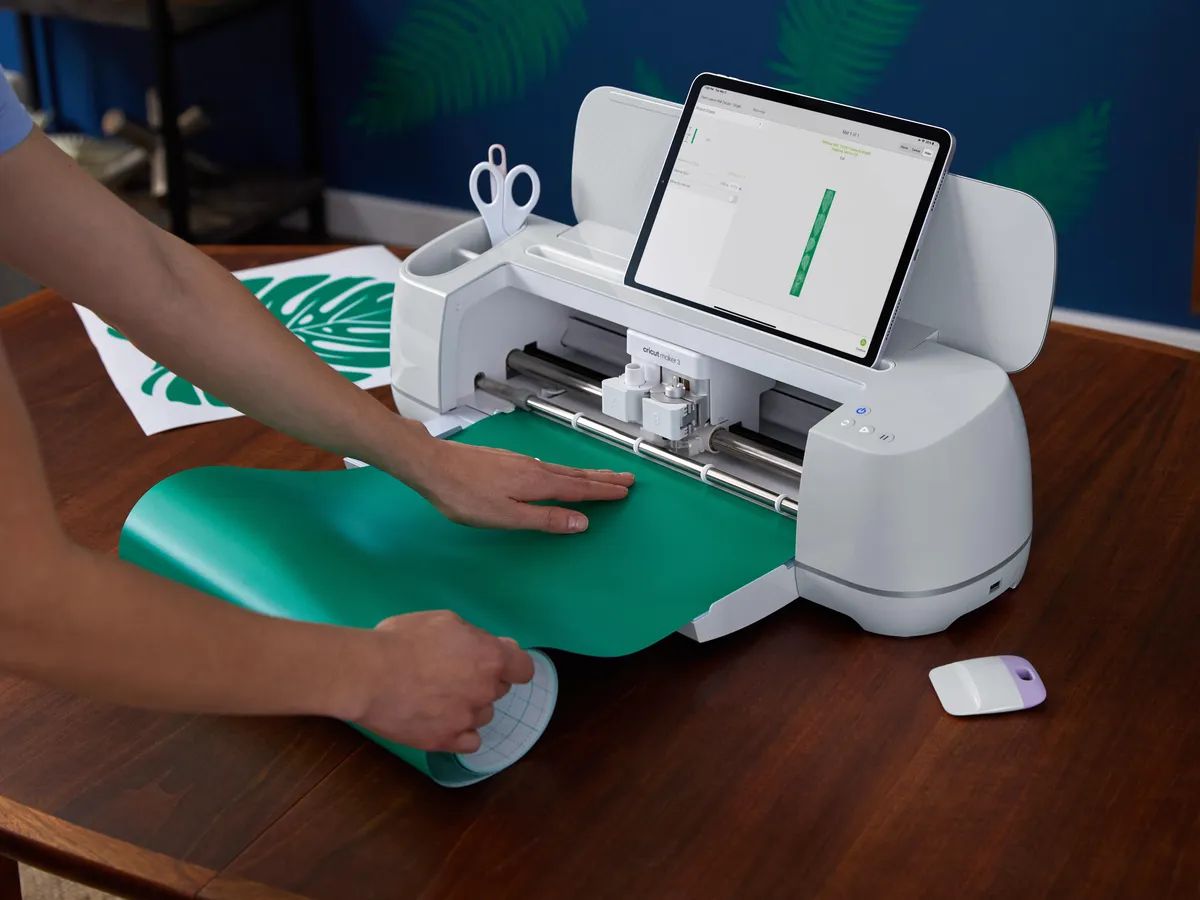
Welcome to our guide on how to connect your Cricut Maker to Bluetooth. The Cricut Maker is a powerful cutting machine that allows you to create personalized crafts and designs with precision. By connecting it to Bluetooth, you can easily send your projects wirelessly from your computer or mobile device to the Cricut Maker. This eliminates the need for cumbersome cords and provides you with more flexibility and convenience in your crafting process.
In this article, we will walk you through the step-by-step process of connecting your Cricut Maker to Bluetooth. Whether you’re a beginner or an experienced crafter, our guide will ensure that you can easily set up your Cricut Maker and start creating amazing projects in no time.
Before we get started, make sure you have your Cricut Maker powered on and ready to go. Additionally, ensure that the device you’ll be connecting to the Cricut Maker has Bluetooth capabilities. This can be a computer, laptop, or even a mobile phone or tablet.
Connecting your Cricut Maker to Bluetooth will open up a world of possibilities, as it allows you to browse and select designs from the Cricut Design Space app and send them directly to your machine. From customized greeting cards to intricate vinyl decals, the Cricut Maker will help you bring your creative ideas to life.
Follow along as we guide you through the process of connecting your Cricut Maker to Bluetooth. By the end of this article, you’ll be ready to unleash your creativity and embark on exciting crafting projects with ease.
Step 1: Turn On Your Cricut Maker
The first step in connecting your Cricut Maker to Bluetooth is to ensure that the machine is turned on and ready to be paired with your device. Here’s how to do it:
- Locate the power button on your Cricut Maker. It is usually located on the right-hand side of the machine, near the top.
- Press and hold the power button for a few seconds until you see the machine’s display light up. This indicates that the Cricut Maker is now turned on and ready for use.
- Wait for the machine to go through its startup sequence. During this time, you may hear some mechanical noises as the Cricut Maker initializes.
- Once the machine has completed its startup sequence, the display screen will show the Cricut logo or the Cricut Maker’s home screen.
It’s important to note that the Cricut Maker will automatically enter sleep mode after a period of inactivity. If your machine is in sleep mode, press the power button once to wake it up.
Turning on your Cricut Maker is the first step towards connecting it to Bluetooth and unlocking its full potential. With the machine powered on, you’re now ready to proceed to the next step of the setup process.
Step 2: Enable Bluetooth on Your Device
In order to connect your Cricut Maker to your device via Bluetooth, you need to ensure that Bluetooth is enabled on your device. Follow these steps to enable Bluetooth:
- On your device, whether it’s a computer, laptop, tablet, or mobile phone, navigate to the settings menu.
- Look for the Bluetooth settings option. The exact location and wording may vary depending on your device and operating system.
- Toggle the Bluetooth switch to enable it. You may need to wait a few seconds for your device to scan for available Bluetooth devices.
- Once enabled, your device will display a list of available Bluetooth devices in the vicinity.
It’s important to note that the procedure may vary slightly depending on your specific device and operating system. Refer to your device’s user manual or support resources for more detailed instructions.
Enabling Bluetooth on your device is crucial as it allows your device to establish a wireless connection with the Cricut Maker. By enabling Bluetooth, you’ll be able to seamlessly send your projects to the machine without the hassle of cords or cables.
Now that you have Bluetooth enabled on your device, you’re ready to move on to the next step of connecting your Cricut Maker to Bluetooth.
Step 3: Open the Cricut Design Space App
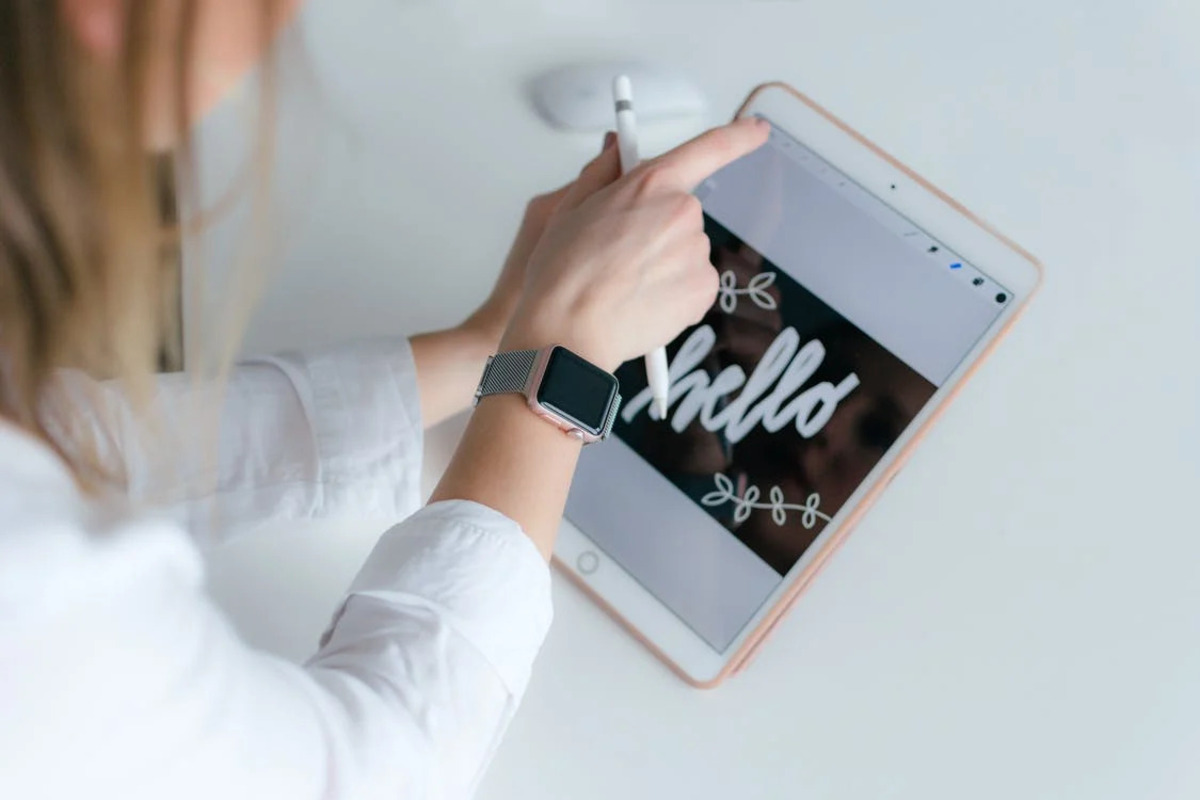
Now that your Cricut Maker is powered on and Bluetooth is enabled on your device, it’s time to open the Cricut Design Space app. The Cricut Design Space app is where you’ll find a wide range of design options and tools to create your projects.
Follow these steps to open the Cricut Design Space app:
- If you haven’t already, download and install the Cricut Design Space app on your device. You can find the app in the app store for your specific operating system (iOS or Android).
- Once the app is installed, locate the app icon on your device’s home screen or app drawer.
- Tap on the app icon to launch the Cricut Design Space app.
- If prompted, sign in to your Cricut account or create a new account if you don’t have one.
Opening the Cricut Design Space app is an essential step as it provides you with access to a vast library of design options and functionality. Whether you want to create custom designs or choose from a selection of pre-made projects, the Cricut Design Space app offers a user-friendly interface to bring your ideas to life.
Now that you have the Cricut Design Space app open, you’re ready to move on to the next step and set up your new machine.
Step 4: Set Up New Machine
Once you have the Cricut Design Space app open, it’s time to set up your new Cricut Maker machine within the app. Here’s how to do it:
- In the Cricut Design Space app, look for the “Machine” or “Setup” option. This is where you’ll be able to configure your new Cricut Maker.
- Tap on the “Machine” or “Setup” option to begin the setup process.
- Follow the step-by-step instructions provided in the app to set up your new machine.
- During the setup process, you may be prompted to select your machine model (Cricut Maker) and connect it to your device via Bluetooth.
- Make sure your Cricut Maker is turned on and in close proximity to your device.
- Once your Cricut Maker is successfully connected to your device, the app will confirm the setup and you’ll be ready to start crafting.
The setup process will vary slightly depending on the version of the Cricut Design Space app and any updates that have been made, so be sure to follow the on-screen instructions carefully.
Setting up your new machine within the Cricut Design Space app is essential to establish a seamless connection between your Cricut Maker and your device. This will ensure that you can easily send your projects from the app to the machine with a simple tap of a button.
Now that you’ve set up your new machine, it’s time to move on to the next step and pair your Cricut Maker with your device via Bluetooth.
Step 5: Pair Your Cricut Maker with Your Device
Now that you have your Cricut Maker set up within the Cricut Design Space app, it’s time to pair it with your device via Bluetooth. Follow these steps to successfully pair your Cricut Maker with your device:
- On your device, navigate to the Bluetooth settings menu.
- Look for the list of available Bluetooth devices and locate your Cricut Maker in the list.
- Select your Cricut Maker from the list to initiate the pairing process. Depending on your device, you may need to tap on “Pair” or enter a pairing code.
- Wait for the pairing process to complete. This may take a few moments, so be patient.
- Once your Cricut Maker is successfully paired with your device, you will see a notification or confirmation on both the device and the machine’s display.
It’s important to note that the pairing process may vary slightly depending on your device and operating system. If you encounter any difficulties, refer to your device’s user manual or support resources for specific instructions.
Pairing your Cricut Maker with your device is a crucial step in establishing a wireless connection between the two. This allows you to send your designs and projects directly from the Cricut Design Space app to your Cricut Maker, without the need for any physical connection.
With your Cricut Maker successfully paired with your device, you’re now ready to move on to the next step and complete the setup process.
Step 6: Complete the Setup Process
After pairing your Cricut Maker with your device, it’s time to complete the setup process to ensure that everything is properly configured and ready for your crafting projects. Here’s how to complete the setup process:
- Return to the Cricut Design Space app and follow any remaining on-screen instructions to finalize the setup process.
- You may be prompted to update the firmware on your Cricut Maker. If an update is available, it is recommended to install it to ensure optimal performance and compatibility.
- Continue through the setup process, following any additional prompts or steps provided by the app.
- Once the setup process is complete, you will receive a confirmation within the Cricut Design Space app to indicate that your Cricut Maker is ready to use.
It’s essential to carefully follow the instructions provided by the app during the setup process to ensure that everything is properly configured. This will help avoid any potential issues or compatibility problems during your crafting sessions.
If at any point during the setup process you encounter difficulties or receive error messages, consult the troubleshooting resources provided by Cricut or reach out to their support team for assistance.
Completing the setup process is an important step in ensuring that your Cricut Maker is fully ready to unleash your creativity. By following the setup instructions and finalizing the configuration within the Cricut Design Space app, you’re now ready to embark on exciting crafting projects with your Cricut Maker.
Step 7: Start Crafting with Bluetooth
With your Cricut Maker successfully set up and connected to your device via Bluetooth, it’s time to unleash your creativity and start crafting! Here’s how you can begin creating with Bluetooth:
- Open the Cricut Design Space app on your device.
- Browse through the wide range of designs and projects available in the app, or create your own custom designs.
- Select the design or project you want to work on by tapping on it.
- Customize your design by choosing the desired colors, materials, and sizing options.
- Once you’re satisfied with your design, tap on the “Make it” button.
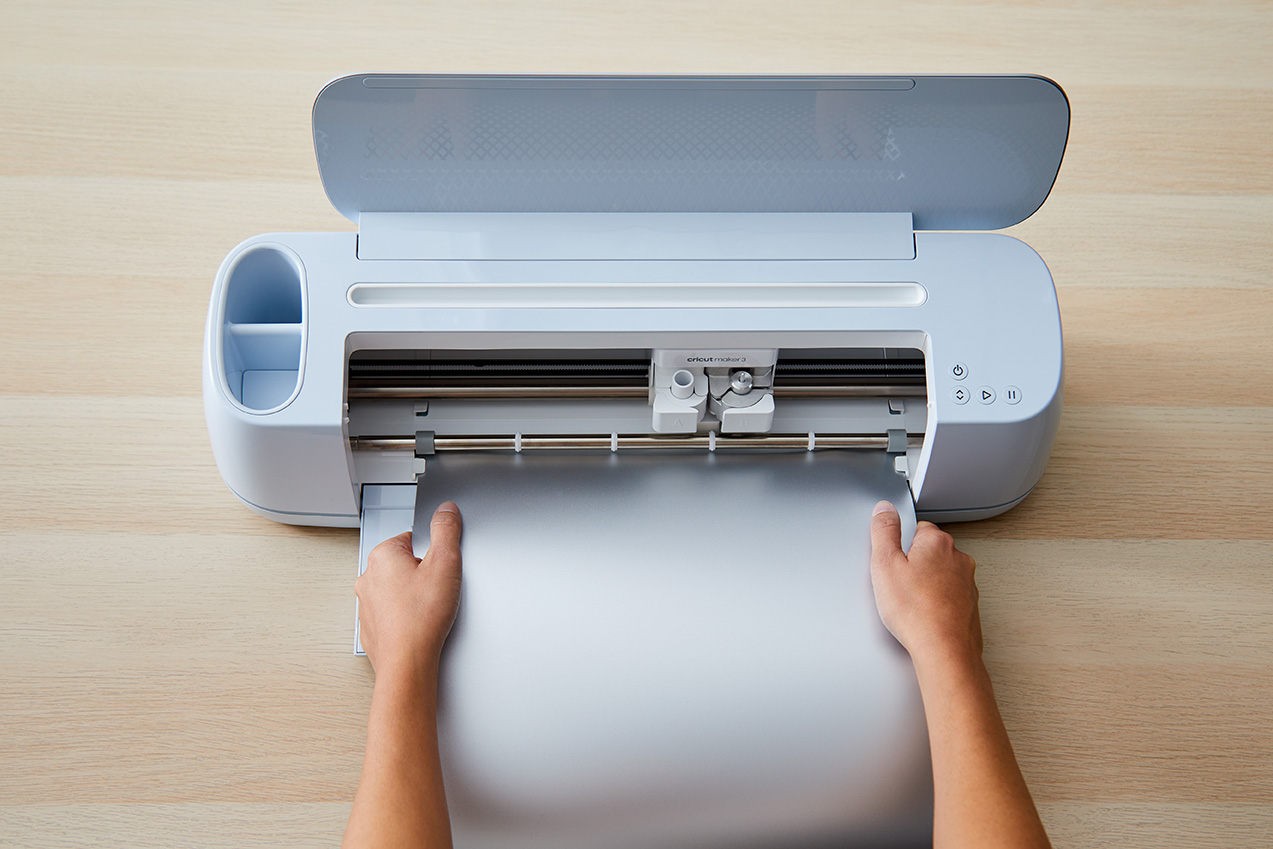
- The Cricut Design Space app will prompt you to load the appropriate materials and tools into your Cricut Maker.
- Follow the on-screen instructions to load the materials onto the cutting mat and insert it into the Cricut Maker.
- Tap on the “Go” or “Start” button in the app to initiate the cutting or crafting process.
- Sit back and watch as your Cricut Maker brings your design to life with precision and accuracy.
- Once the cutting or crafting process is complete, remove your completed project from the cutting mat and admire your handiwork.
With Bluetooth connectivity, the process of sending your designs from the Cricut Design Space app to your Cricut Maker is seamless and hassle-free. You’ll be able to create stunning projects with ease and precision, all wirelessly.
Whether you’re making personalized cards, custom home decor, or unique gifts, the possibilities are endless with your Cricut Maker and Bluetooth connection. Let your imagination run wild and bring your creative ideas to life with this powerful crafting tool.
Now that you know how to connect your Cricut Maker to Bluetooth and begin crafting, it’s time to explore the numerous design options and start creating amazing projects. Enjoy the process and have fun expressing your creativity with your Cricut Maker!