Introduction
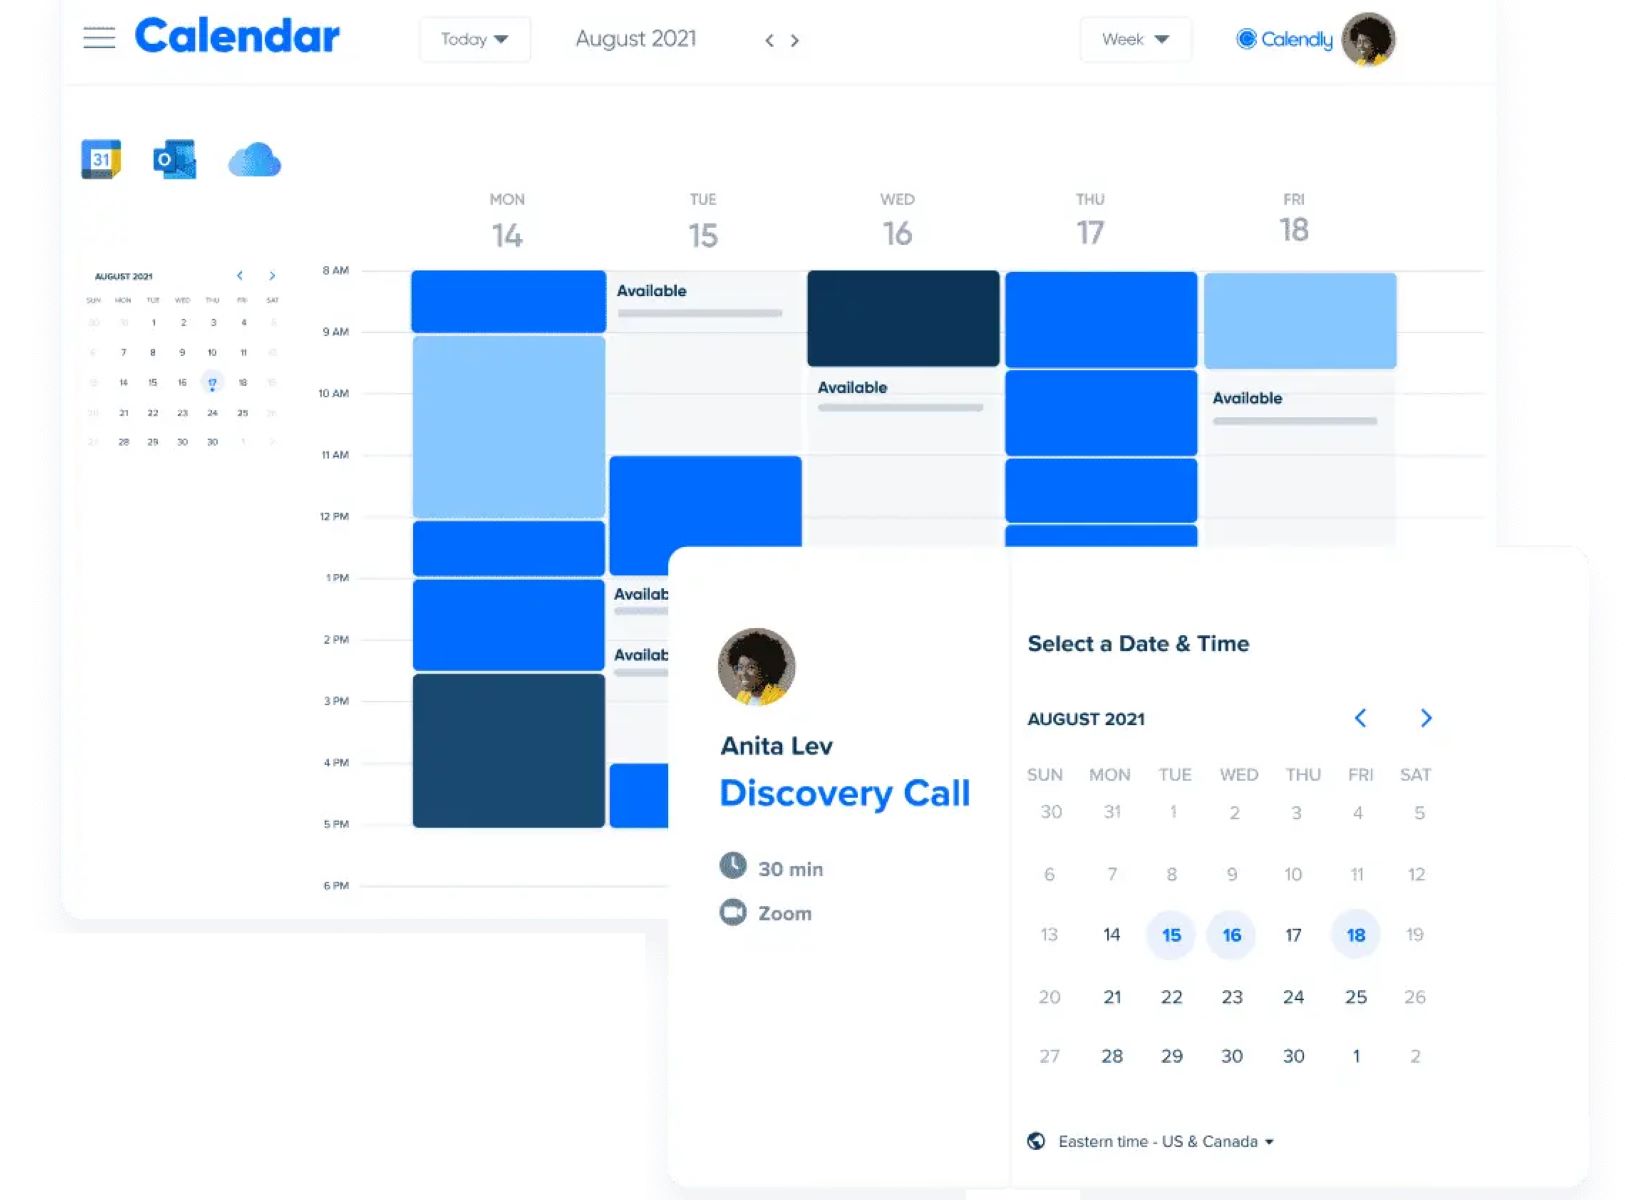
Welcome to this step-by-step guide on how to connect Calendly to Google Calendar. Calendly is a powerful scheduling tool that allows you to efficiently manage your appointments and eliminate the back-and-forth emails when setting up meetings. By integrating Calendly with Google Calendar, you can seamlessly sync your events and ensure that your availability is always up to date.
Whether you’re an entrepreneur, a freelancer, or a professional in any field, Calendly can significantly streamline your scheduling process and improve your productivity. With the integration of Google Calendar, you’ll have all your appointments and meetings in one place, making it easier to stay organized and manage your time effectively.
In this guide, we will walk you through the process of connecting Calendly to Google Calendar, from creating a Calendly account to customizing your settings and managing your events. By following these simple steps, you’ll be able to maximize the benefits of both Calendly and Google Calendar together.
Are you ready to simplify your scheduling? Let’s dive into the detailed steps to connect Calendly to Google Calendar!
Step 1: Create a Calendly Account
The first step in connecting Calendly to Google Calendar is to create a Calendly account. Follow these simple steps to get started:
- Go to the Calendly website (www.calendly.com) and click on the “Sign Up” button.
- Choose whether you want to sign up with your Google account, your Office 365 account, or by entering your email and creating a password.
- If you choose to sign up with your Google account, you will be prompted to authorize Calendly to access your Google Calendar.
- Fill in the required information, such as your name, email address, and time zone.
- Click on the “Continue” button to proceed.
- You will be redirected to your Calendly account dashboard, where you can start customizing your scheduling preferences.
Once you have created your Calendly account, you are one step closer to streamlining your scheduling process. In the next step, we will guide you through the process of connecting Calendly to your Google Calendar.
Step 2: Connect Calendly to Google Calendar
Now that you have a Calendly account, it’s time to connect it to your Google Calendar. Follow these steps to ensure seamless synchronization between both platforms:
- From your Calendly account dashboard, click on the gear icon in the top-right corner to access your account settings.
- Select “Calendar Connections” from the menu on the left-hand side.
- Click on the “Connect” button next to the Google Calendar option.
- A new window will open, asking you to authorize Calendly to access your Google Calendar. Confirm the permissions requested.
- You will be redirected back to Calendly, where you can customize the synchronization settings.
- Choose whether you want Calendly to create events on your primary calendar or a specific secondary calendar in Google Calendar.
- Select the relevant timezone for your events.
- Click on the “Save” button to apply the settings.
Congratulations! Your Calendly account is now connected to Google Calendar. Any events you create or schedule within Calendly will automatically appear in your Google Calendar, ensuring that you have a consolidated view of your appointments and availability.
In the next step, we will explore how you can customize your Calendly settings to align with your specific scheduling preferences.
Step 3: Customize Your Calendly Settings
Now that you have connected Calendly to Google Calendar, it’s time to customize your Calendly settings to align with your specific scheduling preferences. Follow these steps to personalize your Calendly account:
- From your Calendly account dashboard, click on the “Event Types” tab.
- Click on the “Create” button to create a new event type.
- Enter the details of your event type, including the title, duration, location, and any additional questions you want to include in the scheduling process.
- Customize the availability options for your event type. You can choose specific time slots, set buffer times between appointments, and adjust the minimum and maximum advance notice for scheduling.
- Configure any notification settings for your event type, such as sending confirmation emails to participants or receiving email reminders before the event.
- Once you have configured all the settings, click on the “Save & Close” button.
Repeat these steps to create multiple event types as per your requirements. You can create different types of events for consultations, meetings, or any other purpose, each with its own set of customized settings.
In addition to event types, Calendly also offers various customization options for your scheduling page. You can select a design theme, add your company logo, and even customize the URL for your scheduling page.
By customizing your Calendly settings, you can ensure that your scheduling process reflects your unique needs and preferences.
In the next step, we will explore how to schedule events in Calendly.
Step 4: Schedule Events in Calendly
With your Calendly account and settings customized, it’s time to start scheduling events. Follow these steps to schedule an event in Calendly:
- From your Calendly account dashboard, click on the “Event Types” tab.
- Select the event type you want to schedule from the list.
- Choose a date and time for the event by clicking on the available slots in the calendar.
- Enter the necessary details, such as the participant’s name and email address.
- If applicable, answer any additional questions related to the event type.
- Click on the “Schedule Event” button to finalize the appointment.
- The event will be automatically added to your connected Google Calendar and a confirmation email will be sent to the participant.
You can repeat these steps to schedule multiple events for different participants and event types. Calendly will ensure that your availability is updated in real-time and prevent any scheduling conflicts.
Furthermore, Calendly offers additional features to streamline your scheduling, such as the option to create event types with multiple invitees, group events, and even the ability to set up round-robin scheduling.
By using Calendly to schedule your events, you can save time, eliminate back-and-forth emails, and ensure that your calendar is always up to date.
In the final step, we will explore how to manage your Calendly events in Google Calendar.
Step 5: Manage Your Calendly Events in Google Calendar
Now that you have scheduled events in Calendly, it’s important to know how to manage and view them in your Google Calendar. Here’s how you can do it:
- Open your Google Calendar in a web browser or through the Google Calendar app.
- Your Calendly events will be automatically synced and displayed on your calendar. Look for the events created from Calendly, which will be marked with the event type and participant’s name.
- You can click on the events to view more details, such as the event type, location, and any additional information collected during the scheduling process in Calendly.
- Any changes made to the events in Calendly, such as rescheduling or canceling, will be automatically reflected in your Google Calendar.
- You can also make changes directly in your Google Calendar, such as adding reminders or inviting additional guests, and those updates will be automatically synced to Calendly.
- In case of any conflicts or overlapping events, both Calendly and Google Calendar will notify you, helping you avoid double bookings and schedule conflicts.
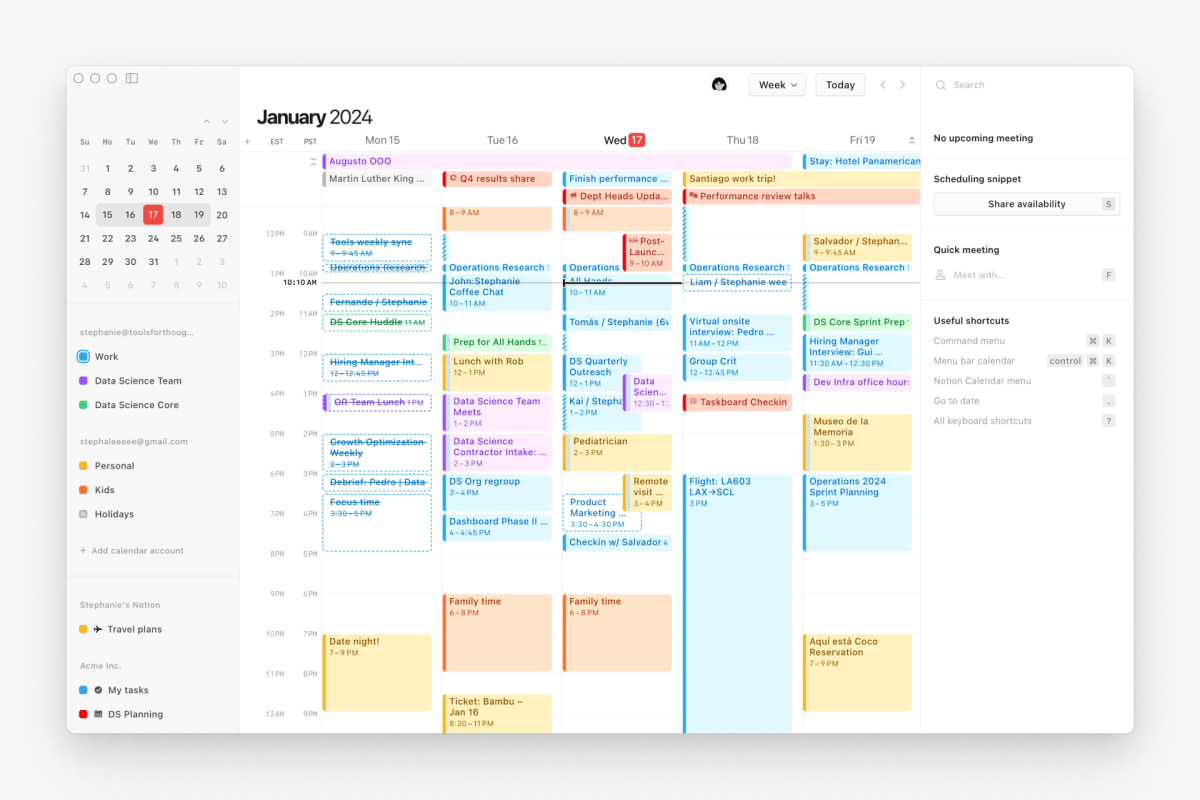
By managing your Calendly events in Google Calendar, you have a centralized view of all your appointments and meetings. This integration allows you to streamline your scheduling process and stay organized.
Remember, any changes or updates made in either Calendly or Google Calendar will be synchronized in real-time, ensuring that you have the most accurate and up-to-date information at all times.
Now that you are familiar with managing your Calendly events in Google Calendar, you can effectively stay on top of your schedule and effortlessly coordinate with your participants.
Conclusion
Congratulations! You have successfully connected Calendly to Google Calendar and learned how to streamline your scheduling process. By following the steps in this guide, you can now effortlessly manage your appointments, eliminate back-and-forth emails, and maintain an organized schedule.
Creating a Calendly account was the first step in this process, allowing you to personalize your scheduling preferences. By customizing your Calendly settings, you can tailor your event types and availability to align with your specific needs.
Connecting Calendly to Google Calendar was the next crucial step. This integration ensures that your events are synced in real-time between both platforms, providing you with a consolidated view of your schedule.
Scheduling events in Calendly is now a breeze. With just a few clicks, you can easily schedule appointments, collect necessary information, and send automated confirmation emails to participants.
Managing your Calendly events in Google Calendar allows you to have a comprehensive, centralized view of your schedule. Any changes made in either Calendly or Google Calendar will be automatically synced, preventing any scheduling conflicts.
With Calendly and Google Calendar working seamlessly together, you can save time and improve productivity. Say goodbye to the hassle of manual scheduling and enjoy the benefits of an automated and efficient scheduling process.
So what are you waiting for? Start connecting Calendly to Google Calendar and experience the convenience and simplicity of managing your schedule like never before!


