Introduction
Embedding a Google Calendar in your WordPress website can be a great way to provide your visitors with easy access to your upcoming events and schedules. Whether you are a business owner, blogger, or event organizer, displaying your calendar directly on your website can help boost engagement and keep your audience informed.
Google Calendar is a powerful tool for managing events, and by embedding it in WordPress, you can take advantage of its features without having to rely on external plugins or services. In this article, we will guide you through the process of embedding a Google Calendar into your WordPress website, step by step.
Having a calendar on your website offers numerous benefits. It allows your visitors to see at a glance what events you have planned and helps them plan accordingly. Whether you are promoting upcoming webinars, workshops, or even personal events, embedding a calendar makes it easier for your audience to keep track of your schedules and participate in your events.
Not only does a Google Calendar provide convenience for your website visitors, but it also offers flexibility and ease of use for you as the website owner. With the ability to update your calendar in real-time, you can make changes to your schedules and have them instantly reflected on your website.
In the following sections, we will walk you through the process of generating the embed code from Google Calendar, installing a plugin in WordPress, setting up the plugin, customizing the appearance of the embedded calendar, and finally previewing and publishing it on your website.
By the end of this article, you will have all the knowledge and tools needed to seamlessly integrate a Google Calendar into your WordPress site and provide your visitors with a convenient way to stay up-to-date with your events.
Step 1: Generating the embed code from Google Calendar
Before you can embed a Google Calendar in your WordPress website, you need to generate the embed code from your Google Calendar account. Follow these steps to get started:
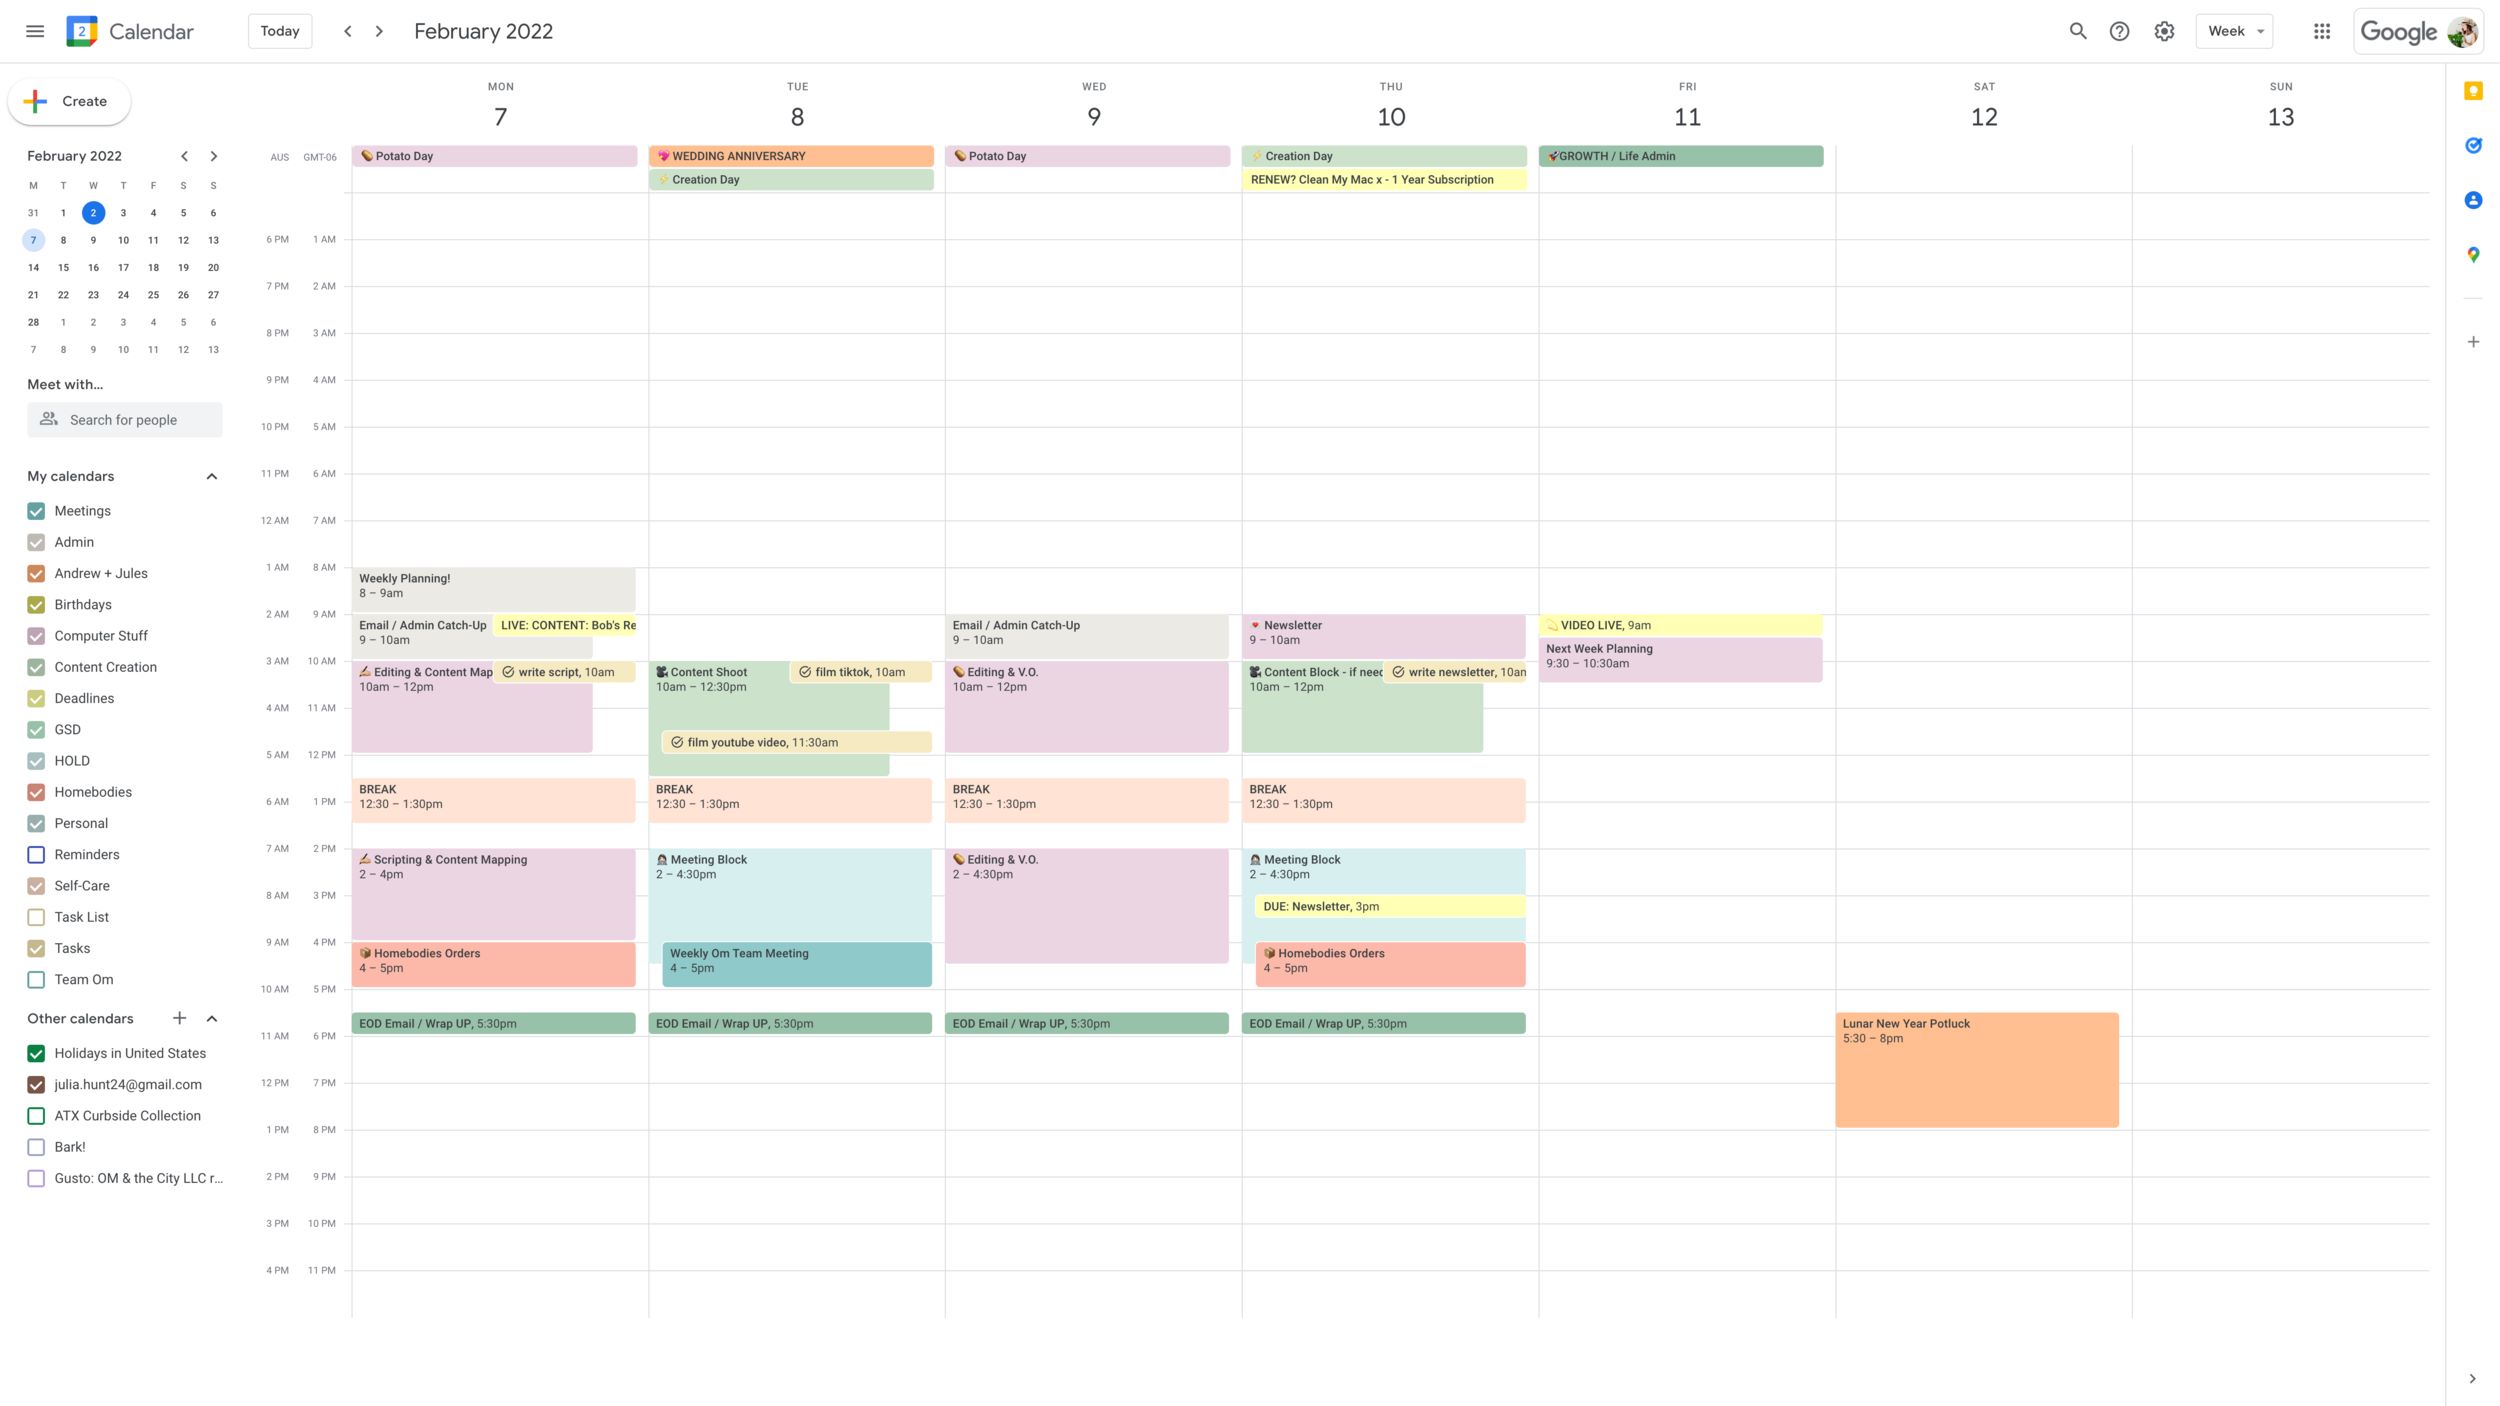
- Open your Google Calendar account and navigate to the calendar you want to embed.
- Click on the settings gear icon in the top-right corner of the calendar view.
- In the drop-down menu, select “Settings.”
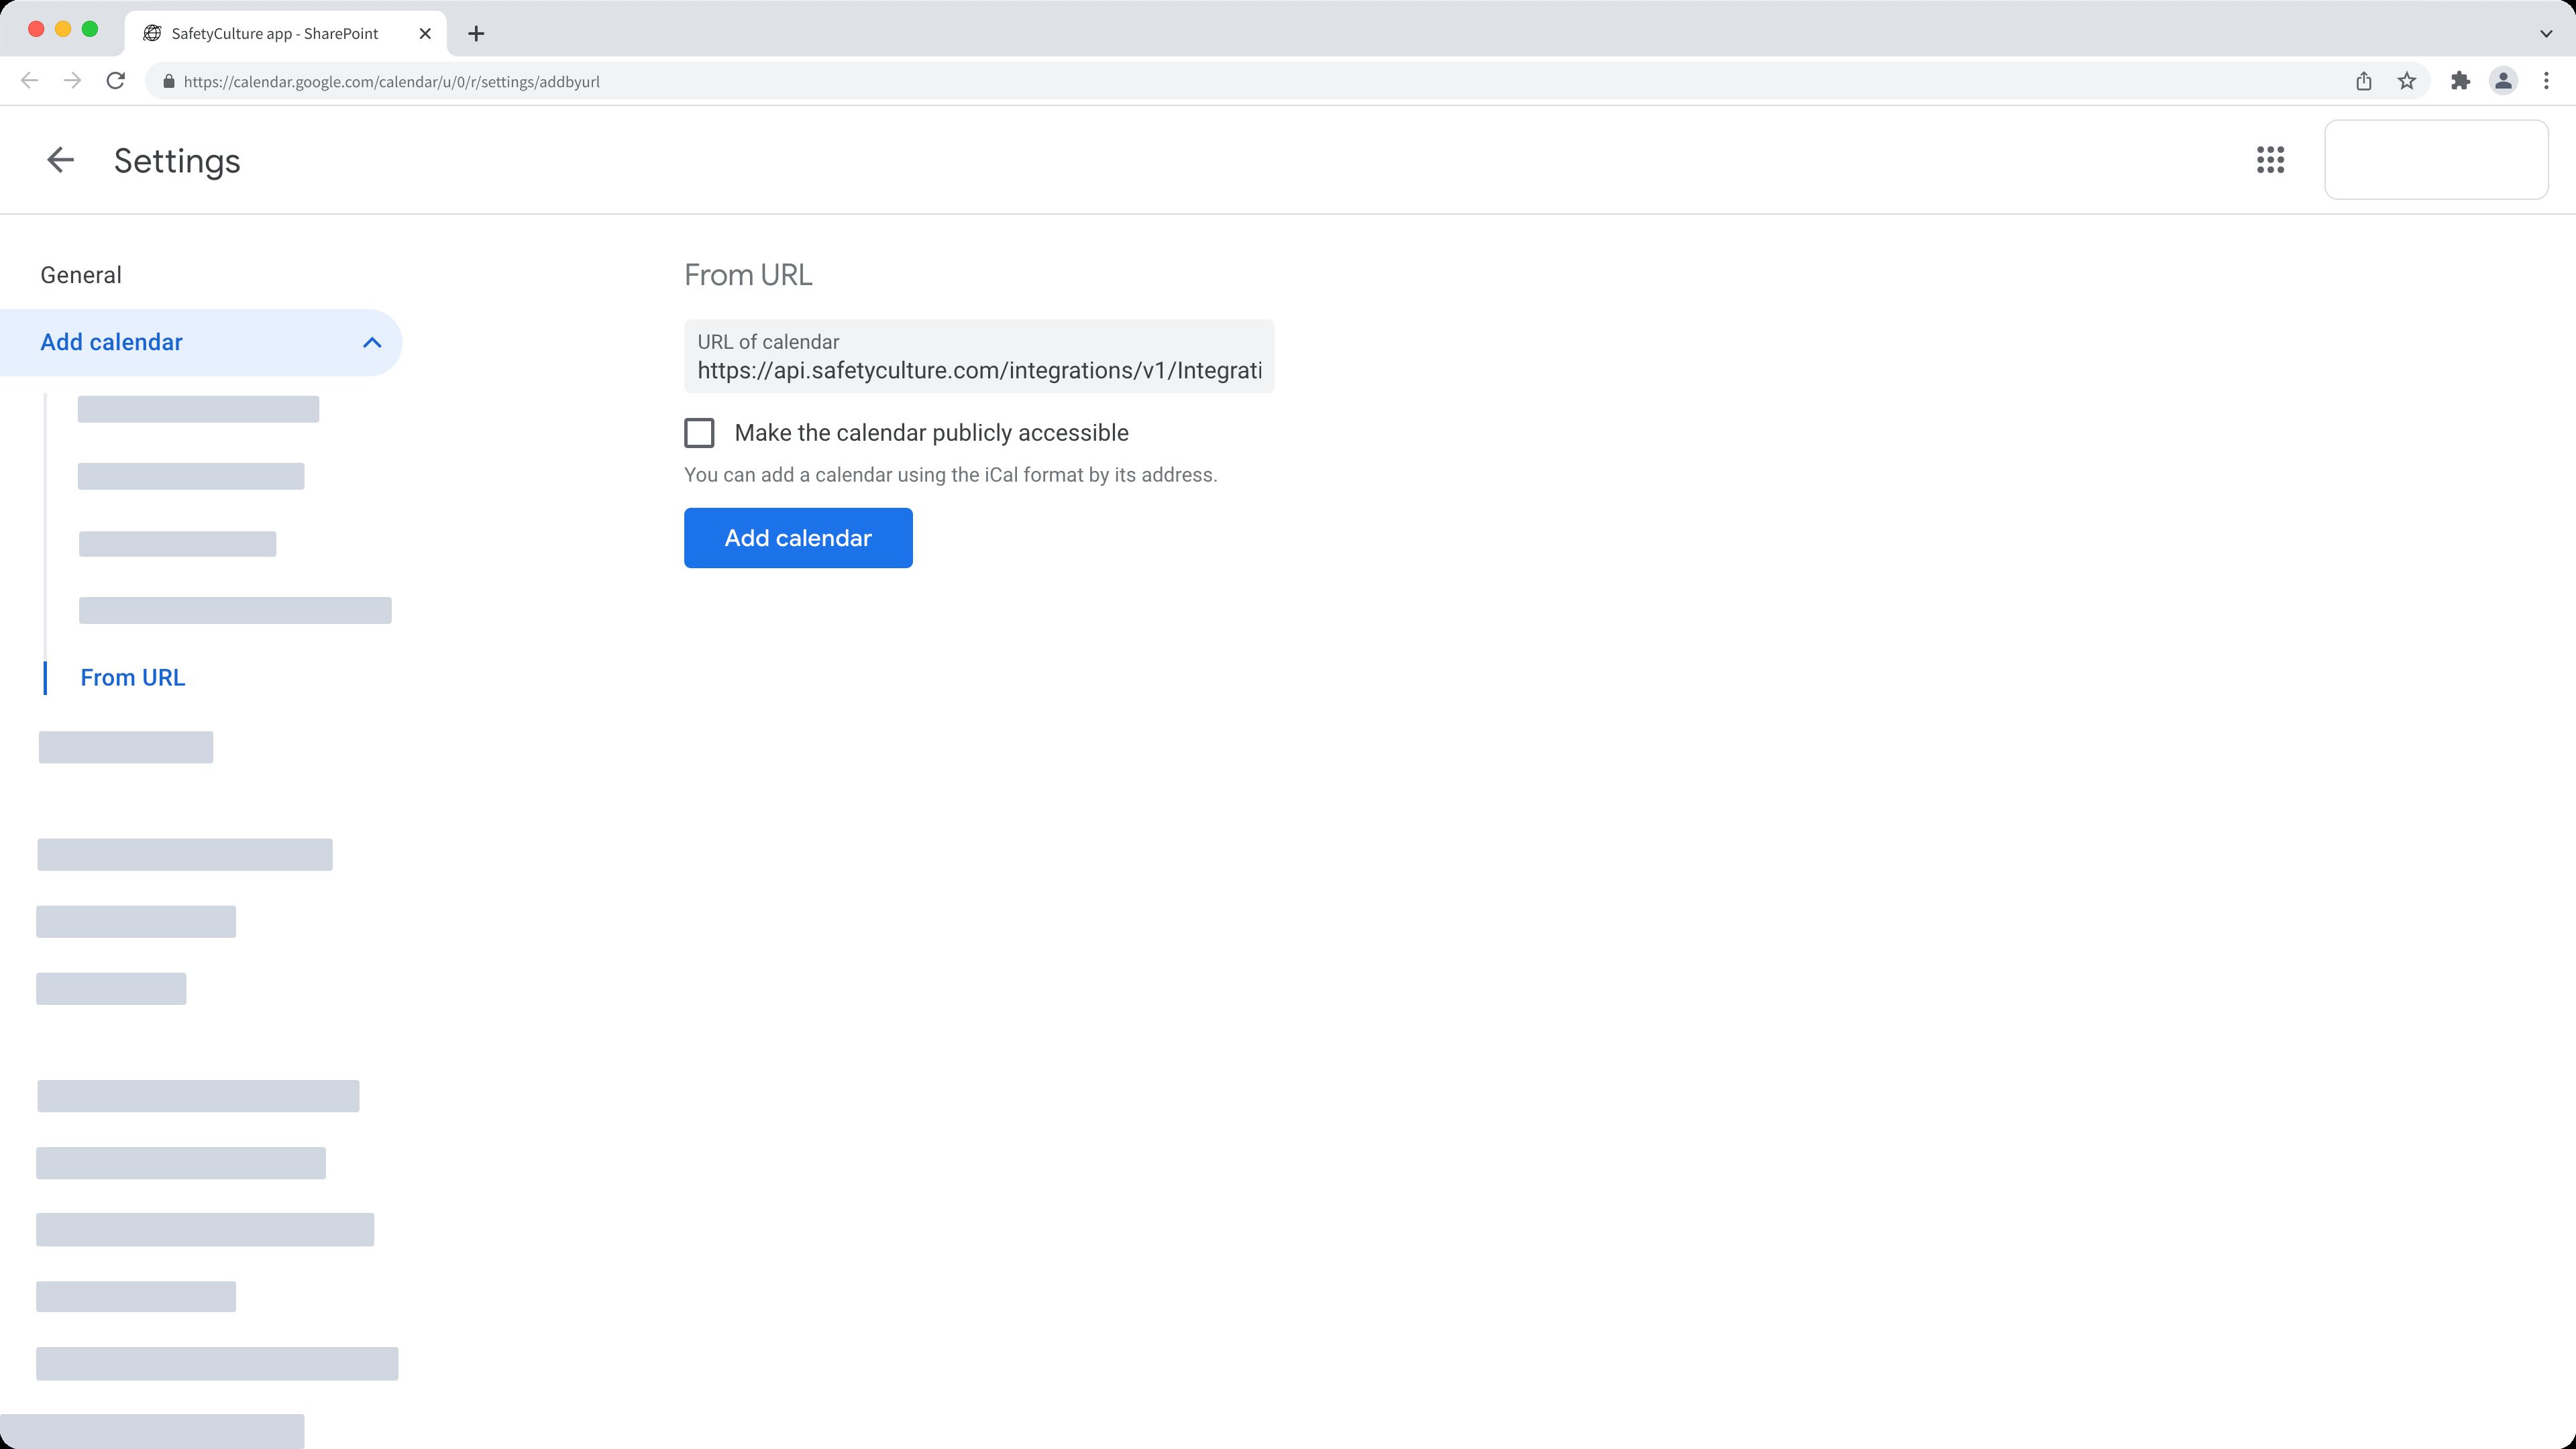
- On the left-hand side, click on the “Integrate calendar” option.
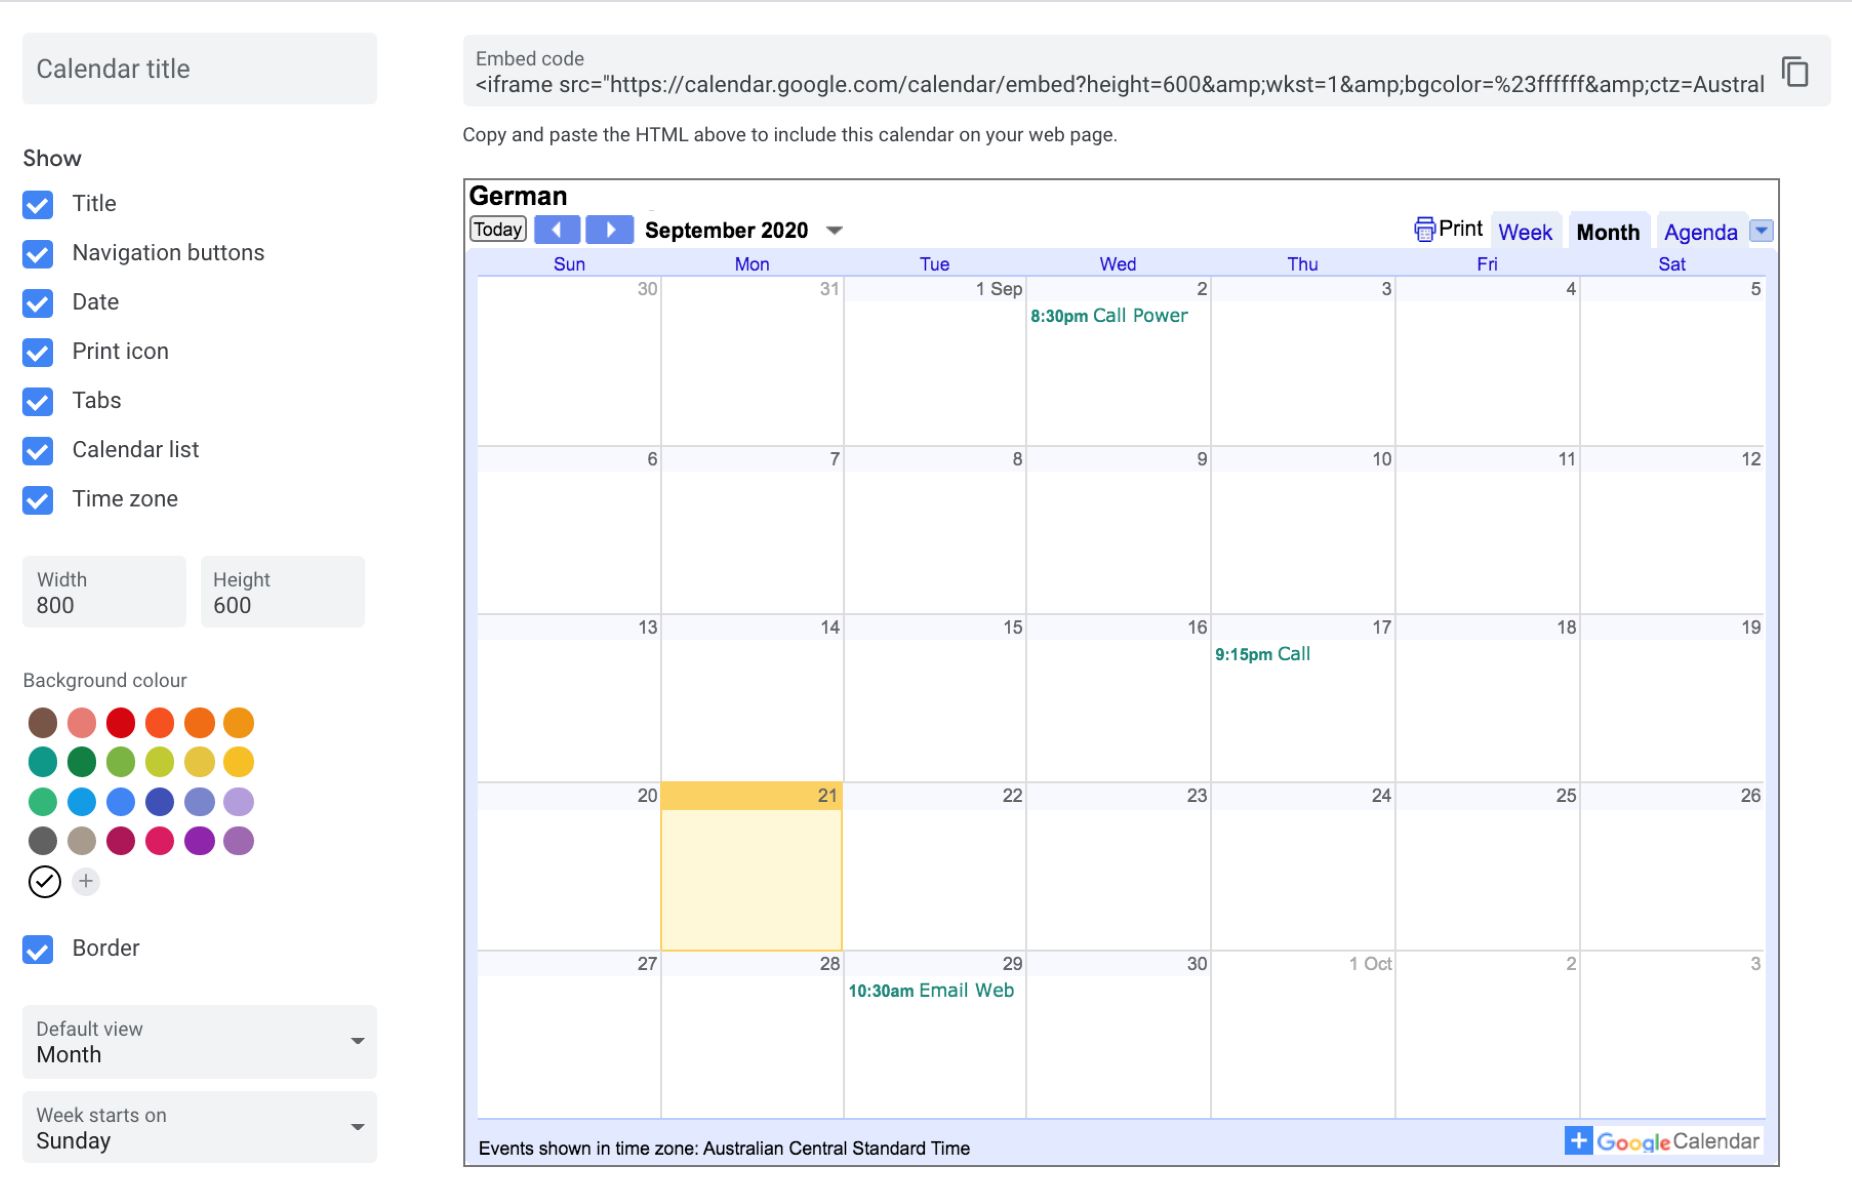
- Scroll down until you find the “Embed code” section.
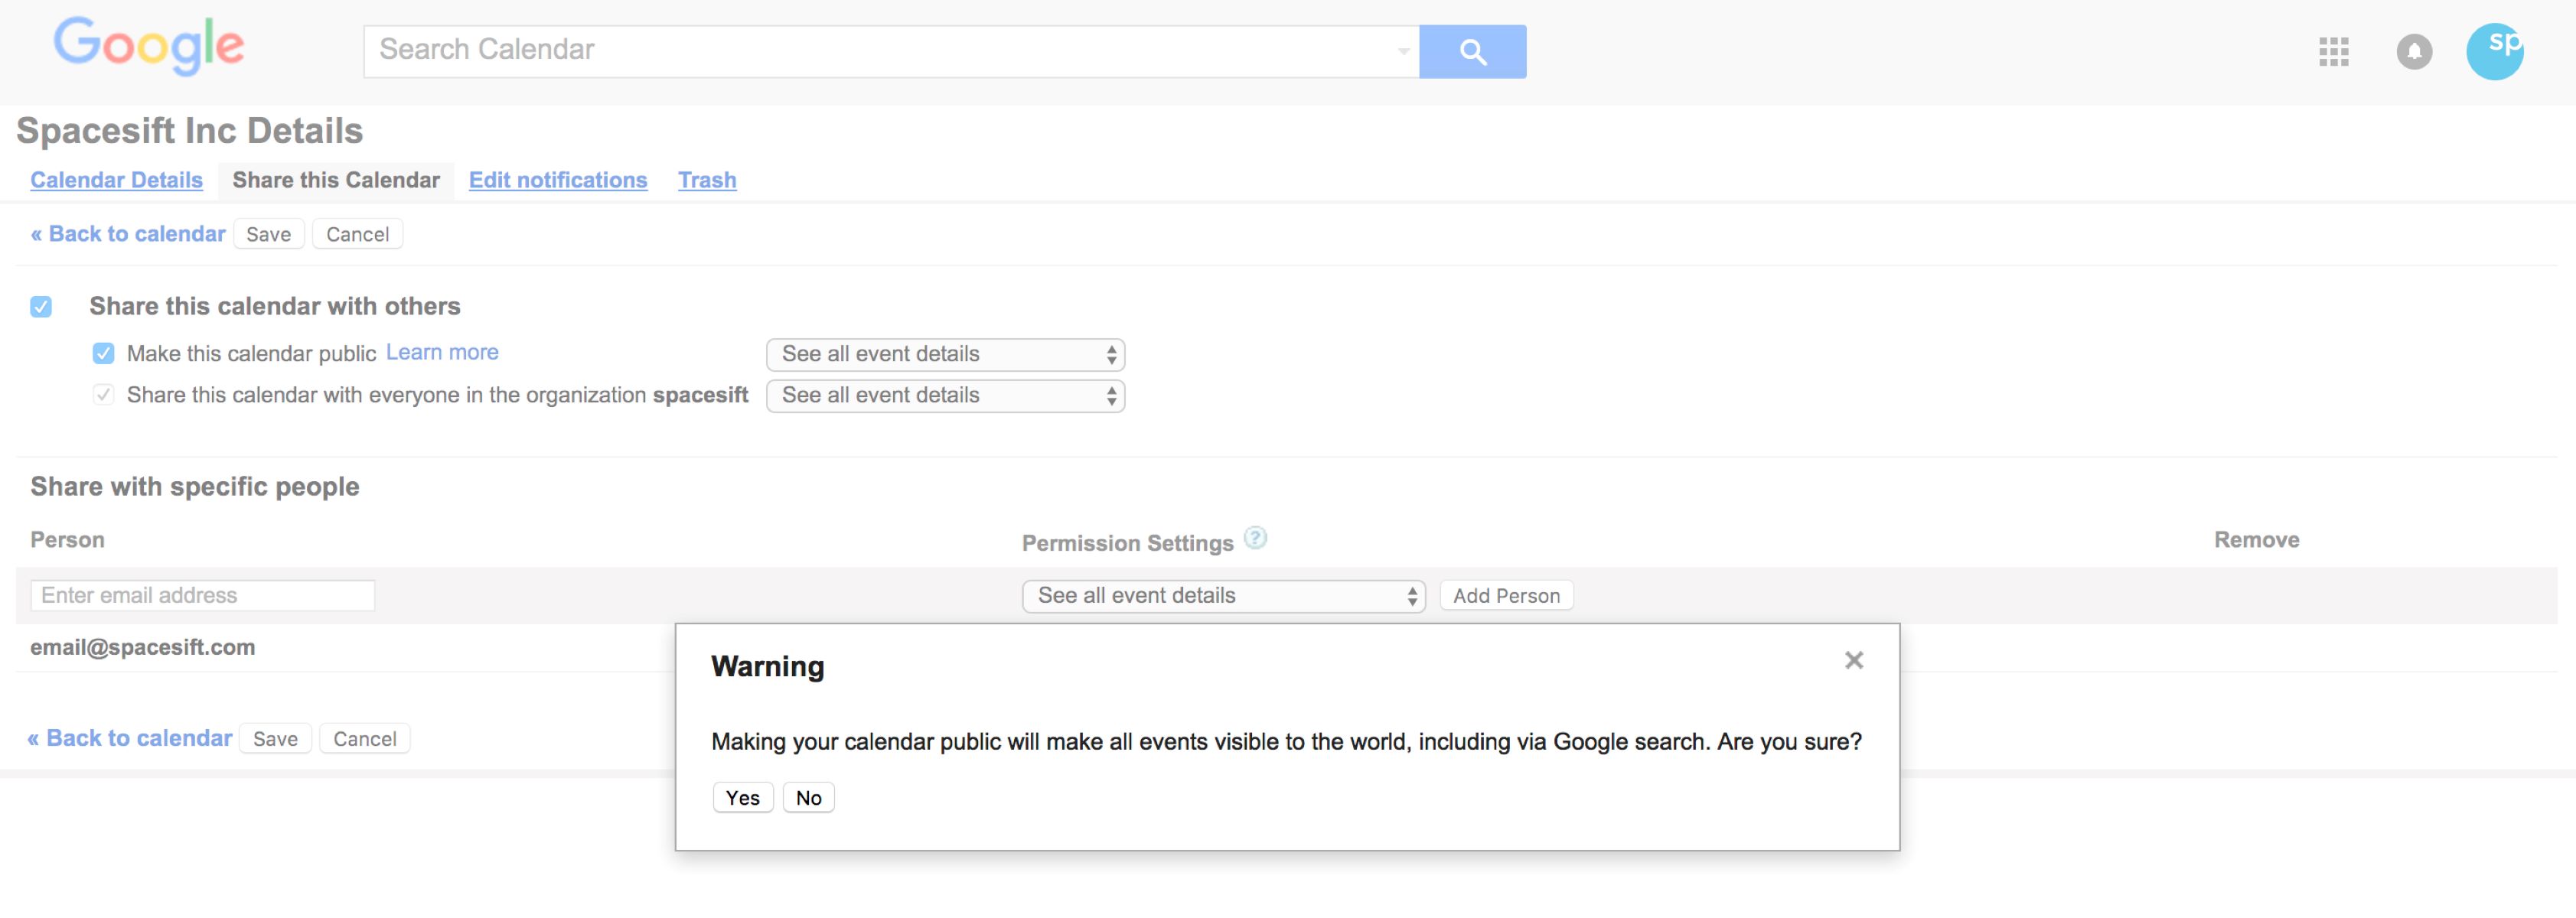
- Customize the settings according to your preferences, such as the width, height, and whether to show specific calendars or event details.
- Once you have customized the settings, the embed code will automatically update at the bottom of the page.
- Click on the “Copy” button next to the embed code to save it to your clipboard.
Now that you have generated the embed code from your Google Calendar, you are ready to proceed to the next step of embedding it in your WordPress website. Keep the embed code handy, as you will need it in the following steps.
It’s important to note that any changes you make to your Google Calendar, such as adding or removing events, will automatically update in the embedded calendar on your website. This ensures that your audience always has the most up-to-date information on your scheduled events.
In the next step, we will guide you through the process of installing a plugin in WordPress to embed your Google Calendar with ease.
Step 2: Installing a plugin to embed the calendar in WordPress
To seamlessly embed your Google Calendar into your WordPress website, you will need to install a plugin that supports this functionality. Follow these steps to install a plugin that will enable you to embed your calendar with ease:
- Login to your WordPress dashboard.
- Click on “Plugins” in the menu on the left-hand side.
- Select “Add New” from the submenu.
- In the search bar on the top-right corner, type the name of the plugin you want to install. Some popular options include “Google Calendar Events” or “Simple Calendar – Google Calendar Plugin.”
- Once you have found the desired plugin, click on the “Install Now” button.
- After the installation is complete, click on the “Activate” button to activate the plugin.
Once the plugin is activated, you can begin customizing the settings to connect your Google Calendar account and embed the calendar on your website. Most plugins will provide a straightforward interface where you can enter your Google Calendar API key or authorize it with your Google account.
Remember to consult the plugin’s documentation or support resources for detailed instructions on how to set up and configure the plugin to your preferences. Each plugin may have its own set of features and options, so it’s essential to familiarize yourself with the specific plugin you have installed.
By installing a dedicated plugin for embedding Google Calendar in WordPress, you gain the benefit of additional features and flexibility. Many plugins allow you to customize the appearance of your embedded calendar, choose which calendars to display, and configure event details such as start and end times.
Now that you have installed a plugin to enable calendar embedding, let’s move on to the next step and configure the settings to connect your Google Calendar account.
Step 3: Setting up the plugin
After installing the plugin to embed your Google Calendar in WordPress, it’s time to set it up and connect it to your Google Calendar account. Follow these steps to configure the plugin:
- Access the plugin settings in your WordPress dashboard. Look for a menu item or tab related to the installed plugin.
- Depending on the plugin you installed, you may be prompted to input your Google Calendar API key or authorize the plugin to access your Google account. Follow the provided instructions to complete this step.
- Once your plugin is connected to your Google Calendar account, you may need to select which calendars you want to display on your website. Choose the calendars you want to embed, taking into consideration the relevance and importance of each calendar for your audience.
- Configure any additional settings provided by the plugin. This could include choosing the date range for events to display, customizing the number of events shown, or specifying the time zone.
- Take some time to explore the plugin settings and options. Depending on the plugin, you might find additional features such as event filtering, color customization, or advanced styling options.
- Save your settings and proceed to the next step to customize the appearance of the embedded calendar.
It’s important to note that the setup process may vary depending on the plugin you have chosen. Be sure to refer to the plugin’s documentation or support resources for detailed instructions tailored to your specific plugin.
By setting up the plugin and connecting it to your Google Calendar account, you are one step closer to seamlessly embedding your calendar on your WordPress website. In the next step, we will guide you through the process of customizing the appearance of the embedded calendar to match your website’s design and branding.
Step 4: Customizing the appearance of the embedded calendar
Once you have set up the plugin to embed your Google Calendar in WordPress, you can now customize the appearance of the embedded calendar to match your website’s design and branding. Follow these steps to customize the appearance:
- Access the plugin settings in your WordPress dashboard or navigate to the page where you can edit the embedded calendar.
- Look for options related to styling or appearance customization. Depending on the plugin you installed, you may have access to features such as color customization, font selection, or layout options.
- Choose colors that complement your website’s color scheme and ensure that the fonts are easily readable.
- Consider the size and dimensions of the embedded calendar. Adjust the width and height settings to ensure that it fits well within your website’s layout.
- If your plugin offers advanced styling options, you can refine the appearance further by adjusting elements such as borders, backgrounds, or event markers.
- Preview the changes as you make them to ensure that the calendar looks visually appealing and aligned with your website’s design.
- Save your settings once you are satisfied with the appearance of the embedded calendar.
Remember that the customization options available to you may vary depending on the plugin you have installed. It’s worth exploring all the available options and experimenting with different settings to find the best visual representation for your calendar.
By customizing the appearance of the embedded calendar, you can create a seamless integration with your WordPress website, enhancing the overall user experience and maintaining consistency in design across your web pages.
In the next step, we will guide you through the process of previewing and publishing the embedded calendar on your WordPress website.
Step 5: Previewing and publishing the embedded calendar
After you have customized the appearance of the embedded calendar in WordPress, it’s time to preview and publish it on your website. Follow these steps to ensure the calendar displays correctly and is accessible to your visitors:
- Access the page or post where you want to embed the Google Calendar in your WordPress website.
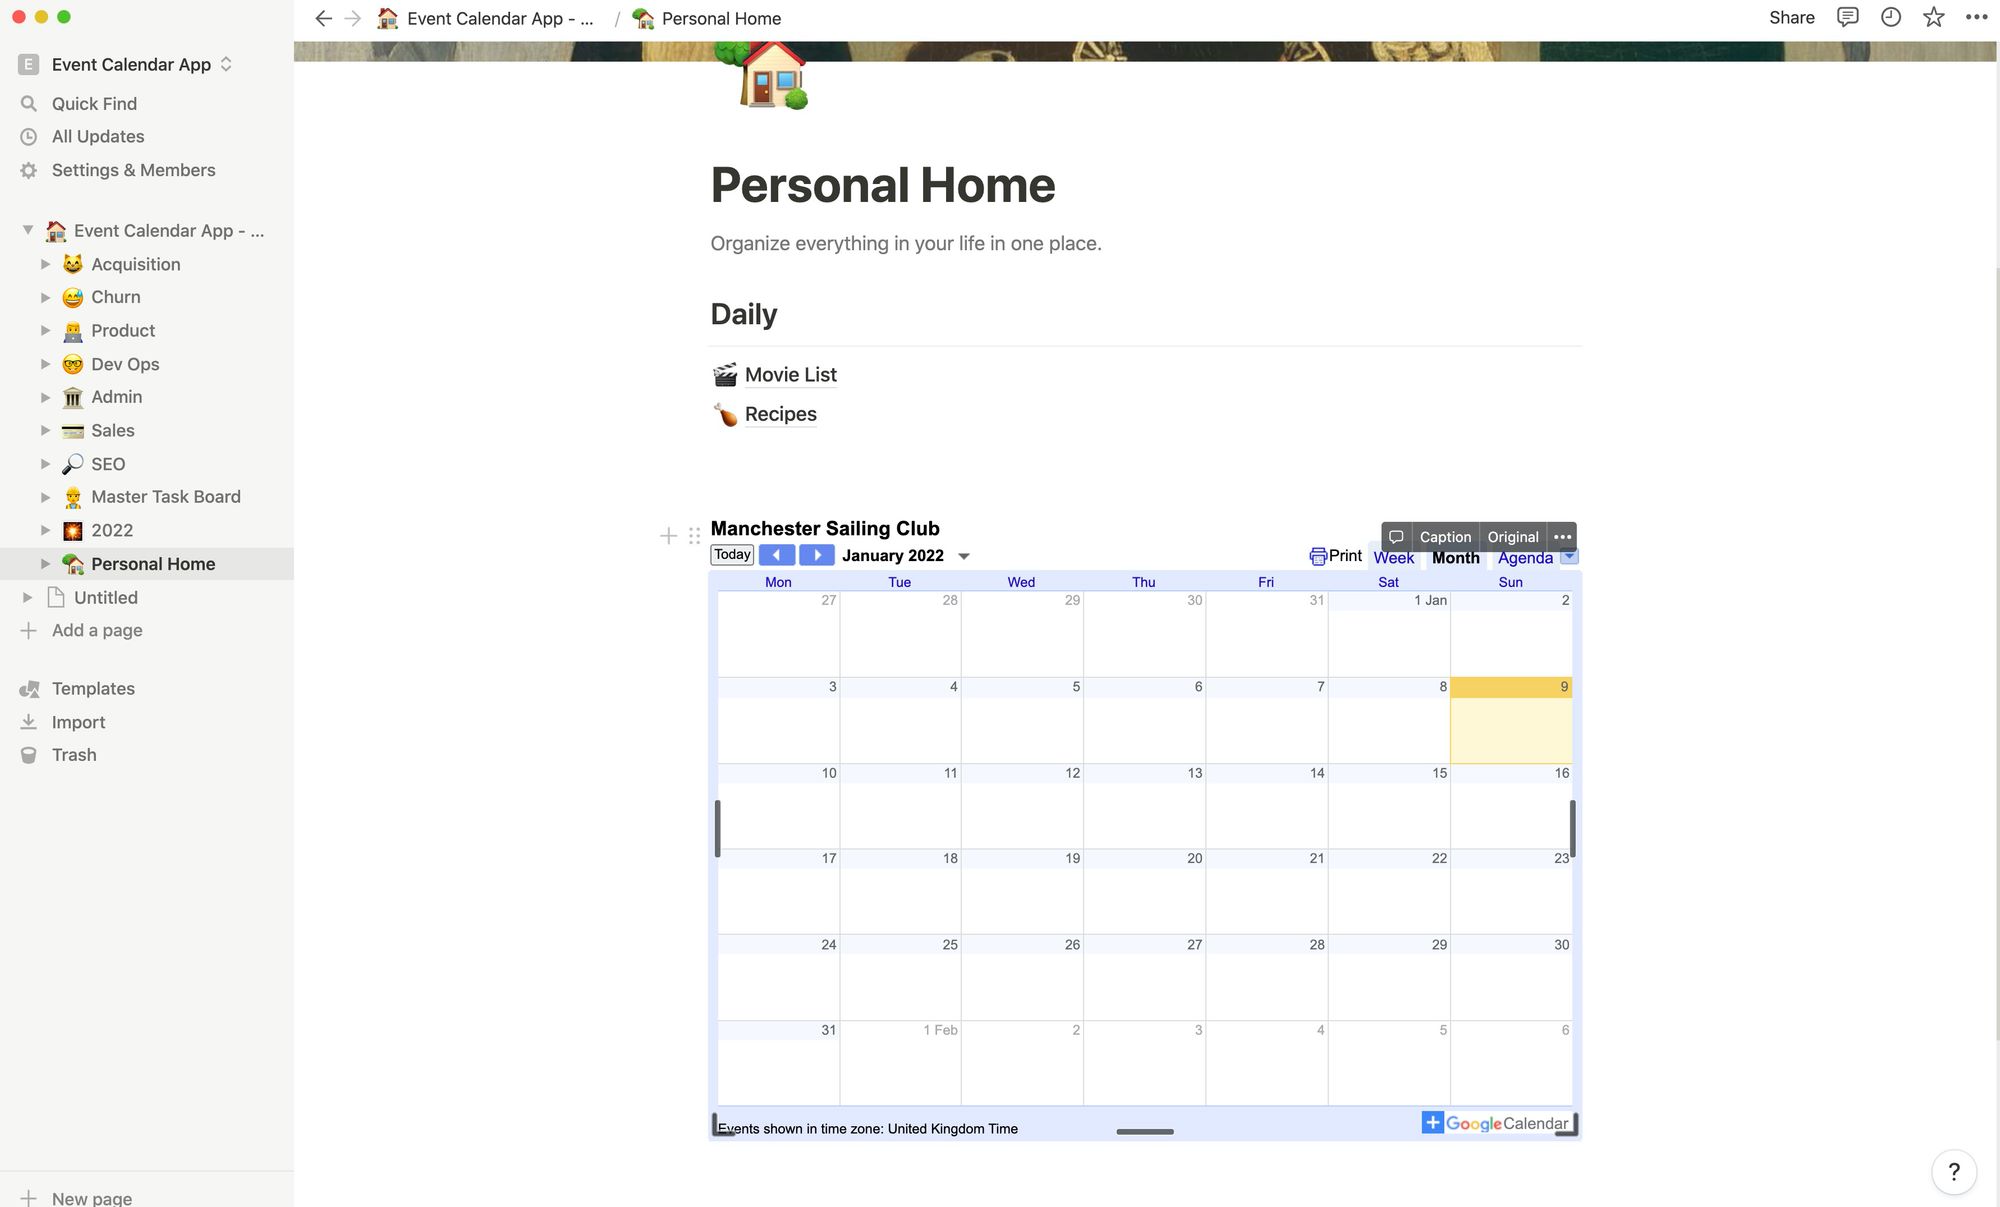
- If your plugin offers a shortcode or block for embedding the calendar, insert it into the desired location on the page. Alternatively, some plugins automatically embed the calendar based on your settings.
- Save or publish the page to view the embedded calendar in action.
- Preview the page in a web browser to ensure that the calendar displays correctly and matches your customization settings.
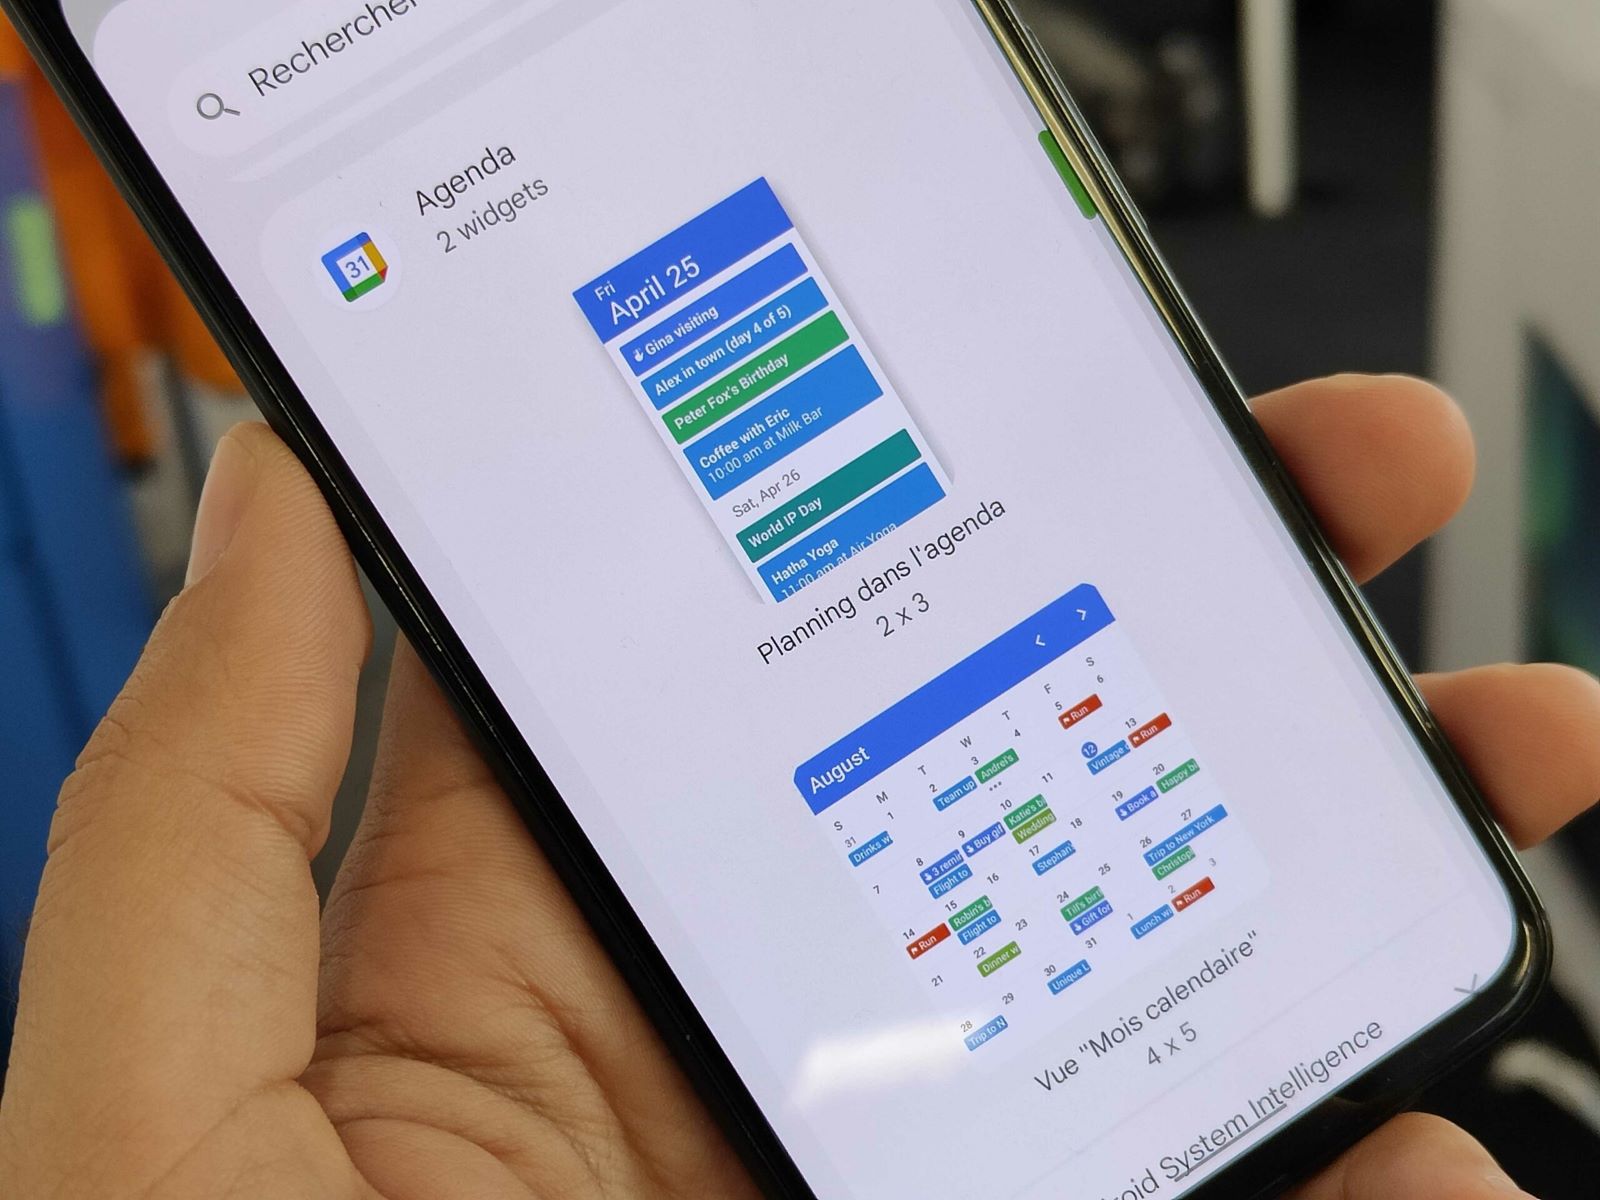
- Verify that the calendar is responsive and adjusts well on different devices, such as desktops, tablets, and mobile phones.
- Click on the calendar to test the interactivity and make sure that events open up with the correct details.
- Review the embedded calendar and verify that it provides a clear and intuitive display of your events.
- Make any necessary adjustments or tweaks based on the preview to further enhance the user experience and ensure the calendar seamlessly integrates with your website.
By taking the time to preview and test the embedded calendar, you can guarantee its functionality and appearance before making it accessible to your website visitors. This step allows you to catch any potential issues or discrepancies and make necessary adjustments to provide a smooth user experience.
Once you are satisfied with the preview and functionality of the embedded calendar, you can confidently publish the page and make it live on your website.
Congratulations! You have successfully embedded and published your Google Calendar on your WordPress website. Your audience can now easily access and stay up-to-date with your events directly from your website.
Now, all that’s left is to promote your embedded calendar and spread the word about your upcoming events to maximize attendance and engagement.
Conclusion
Embedding a Google Calendar in your WordPress website opens up a world of possibilities for showcasing your upcoming events and schedules to your audience. By following the steps outlined in this guide, you can seamlessly integrate a Google Calendar into your WordPress site, providing a convenient and accessible way for your visitors to stay informed.
We started by generating the embed code from Google Calendar, allowing you to customize the appearance and settings of your calendar. Then, we walked you through installing a plugin that supports calendar embedding in WordPress, ensuring a smooth integration of your Google Calendar.
Next, we guided you through the process of setting up the plugin, connecting it to your Google Calendar account, and selecting which calendars to display on your website. We also explored the options for customizing the appearance of the embedded calendar, allowing you to create a visually appealing and cohesive design.
Finally, we discussed the importance of previewing and testing the embedded calendar before publishing it on your website, ensuring that it displayed correctly and provided a seamless user experience across different devices.
By following these steps, you have successfully embedded and published your Google Calendar on your WordPress website. Your visitors can now easily access and stay updated on your events, contributing to increased engagement and attendance.
Remember to regularly update your Google Calendar with new events and any changes as they occur. This will ensure that your website always reflects the most up-to-date information, keeping your audience informed and engaged.
Now, take full advantage of your embedded calendar by promoting your events and sharing it with your audience through your website, social media platforms, and email newsletters. Utilize the power of your Google Calendar integration to maximize the reach of your events and achieve your goals.
Enjoy the benefits of a seamlessly embedded Google Calendar on your WordPress website and watch as your events flourish with increased visibility and attendance.