Introduction
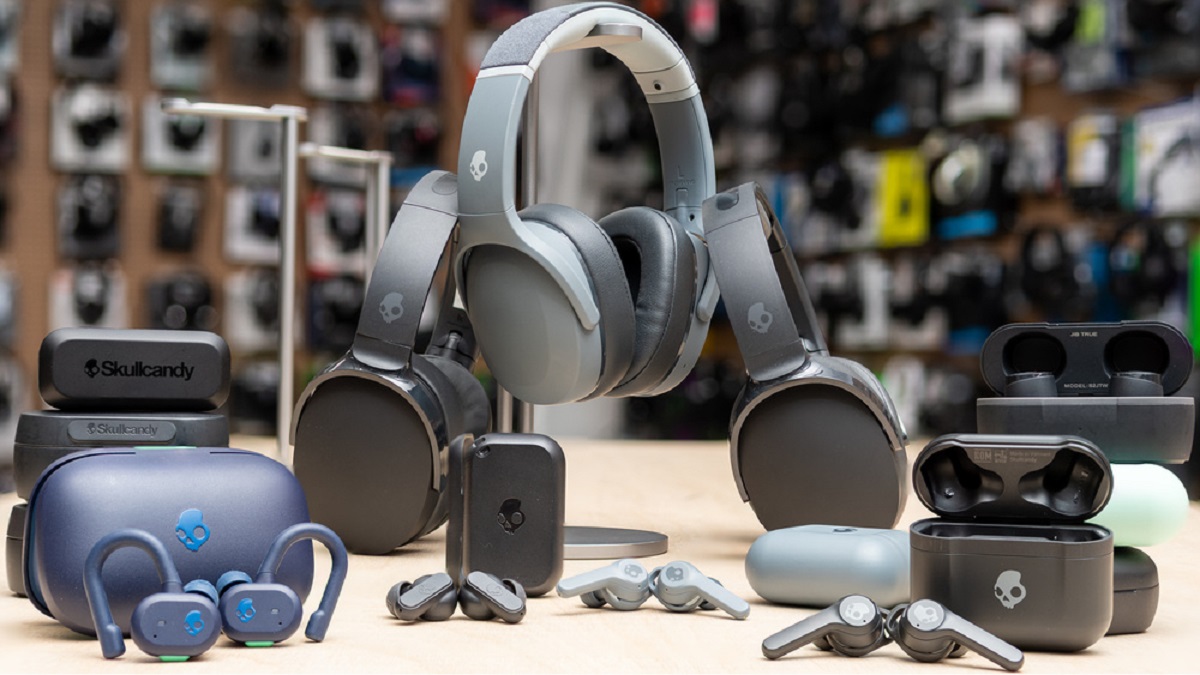
Welcome to this guide on how to connect your Skullcandy earbuds via Bluetooth! Skullcandy is a renowned brand known for its innovative audio products, and their Bluetooth earbuds offer a convenient and wireless listening experience. Whether you have just purchased a new pair of Skullcandy earbuds or are experiencing connection issues, this step-by-step guide will help you connect your earbuds to your device effortlessly.
Connecting your Skullcandy earbuds via Bluetooth allows you to enjoy your favorite music, podcasts, and more without the hassle of tangled wires. This wireless connectivity provides freedom of movement, making it easier to use your earbuds while jogging, working out, or simply going about your daily routine.
In this guide, we will walk you through the process of connecting your Skullcandy earbuds to your device. We will cover the necessary steps, including turning on the earbuds, activating Bluetooth on your device, putting the earbuds into pairing mode, and establishing a connection. Additionally, we will provide troubleshooting tips to help you overcome any potential challenges you may encounter during the connection process.
Whether you have a smartphone, tablet, computer, or any other Bluetooth-enabled device, the steps outlined in this guide can be applied to most devices. By the end of this guide, you will be able to seamlessly connect your Skullcandy earbuds, ensuring a hassle-free and enjoyable audio experience.
So, let’s get started with the step-by-step instructions to connect your Skullcandy earbuds via Bluetooth!
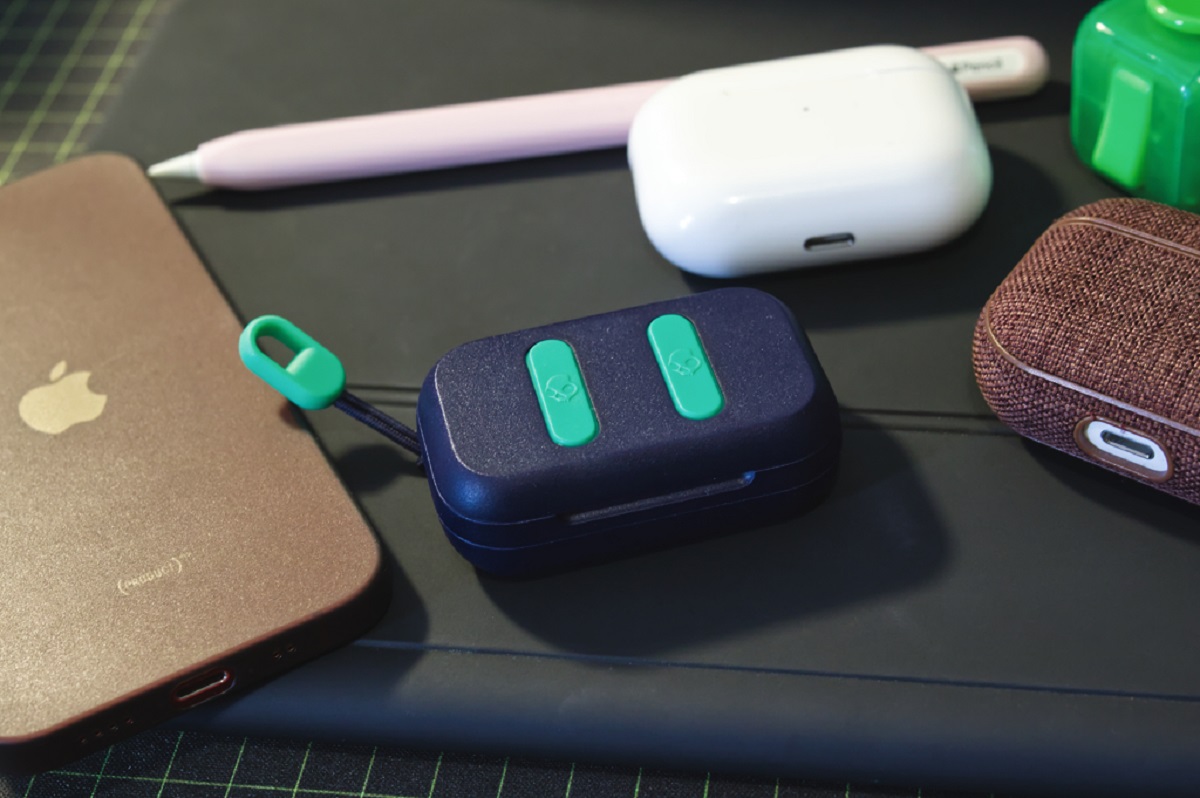
Step 1: Turn on the Skullcandy earbuds
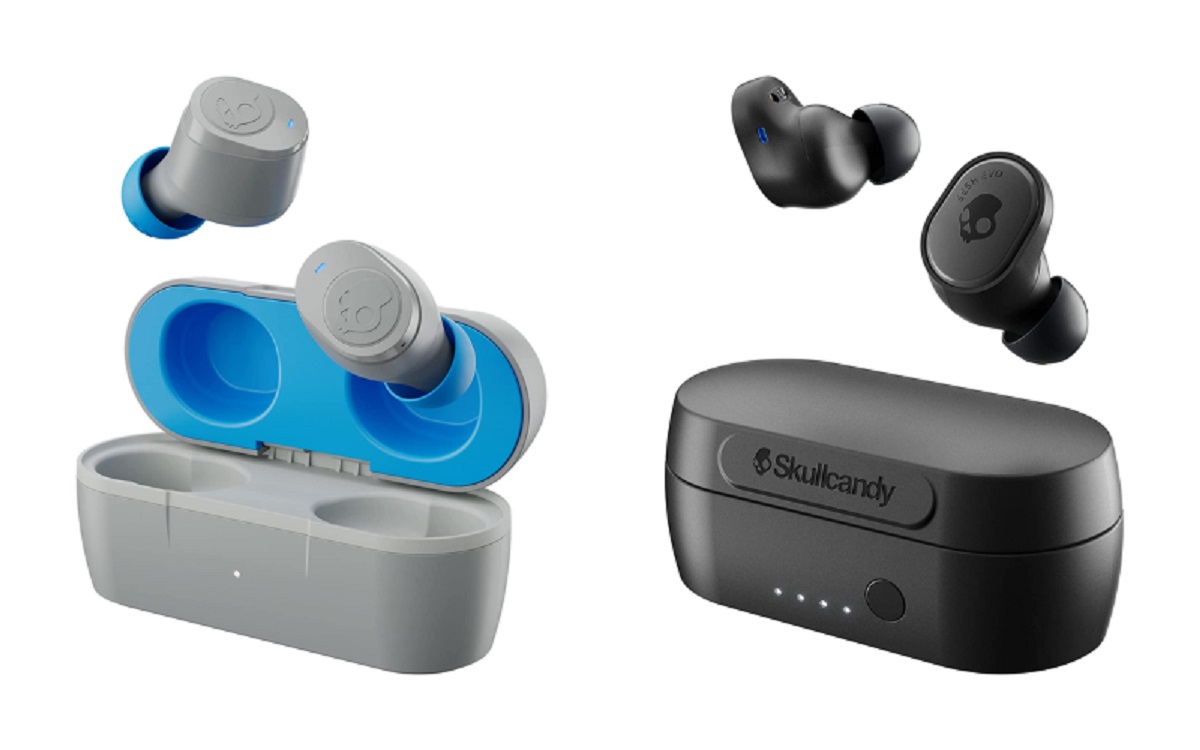
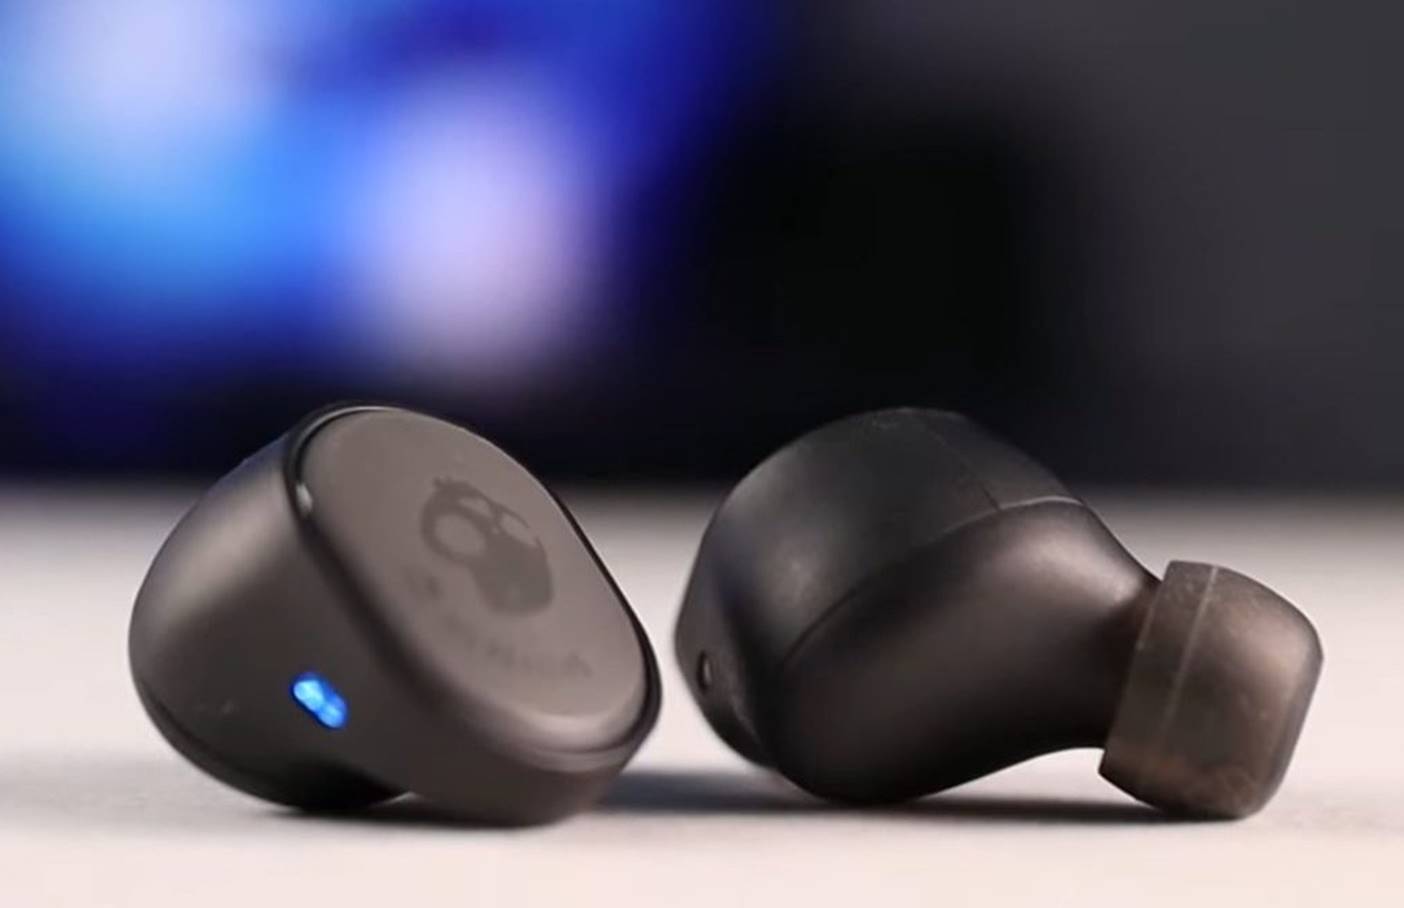
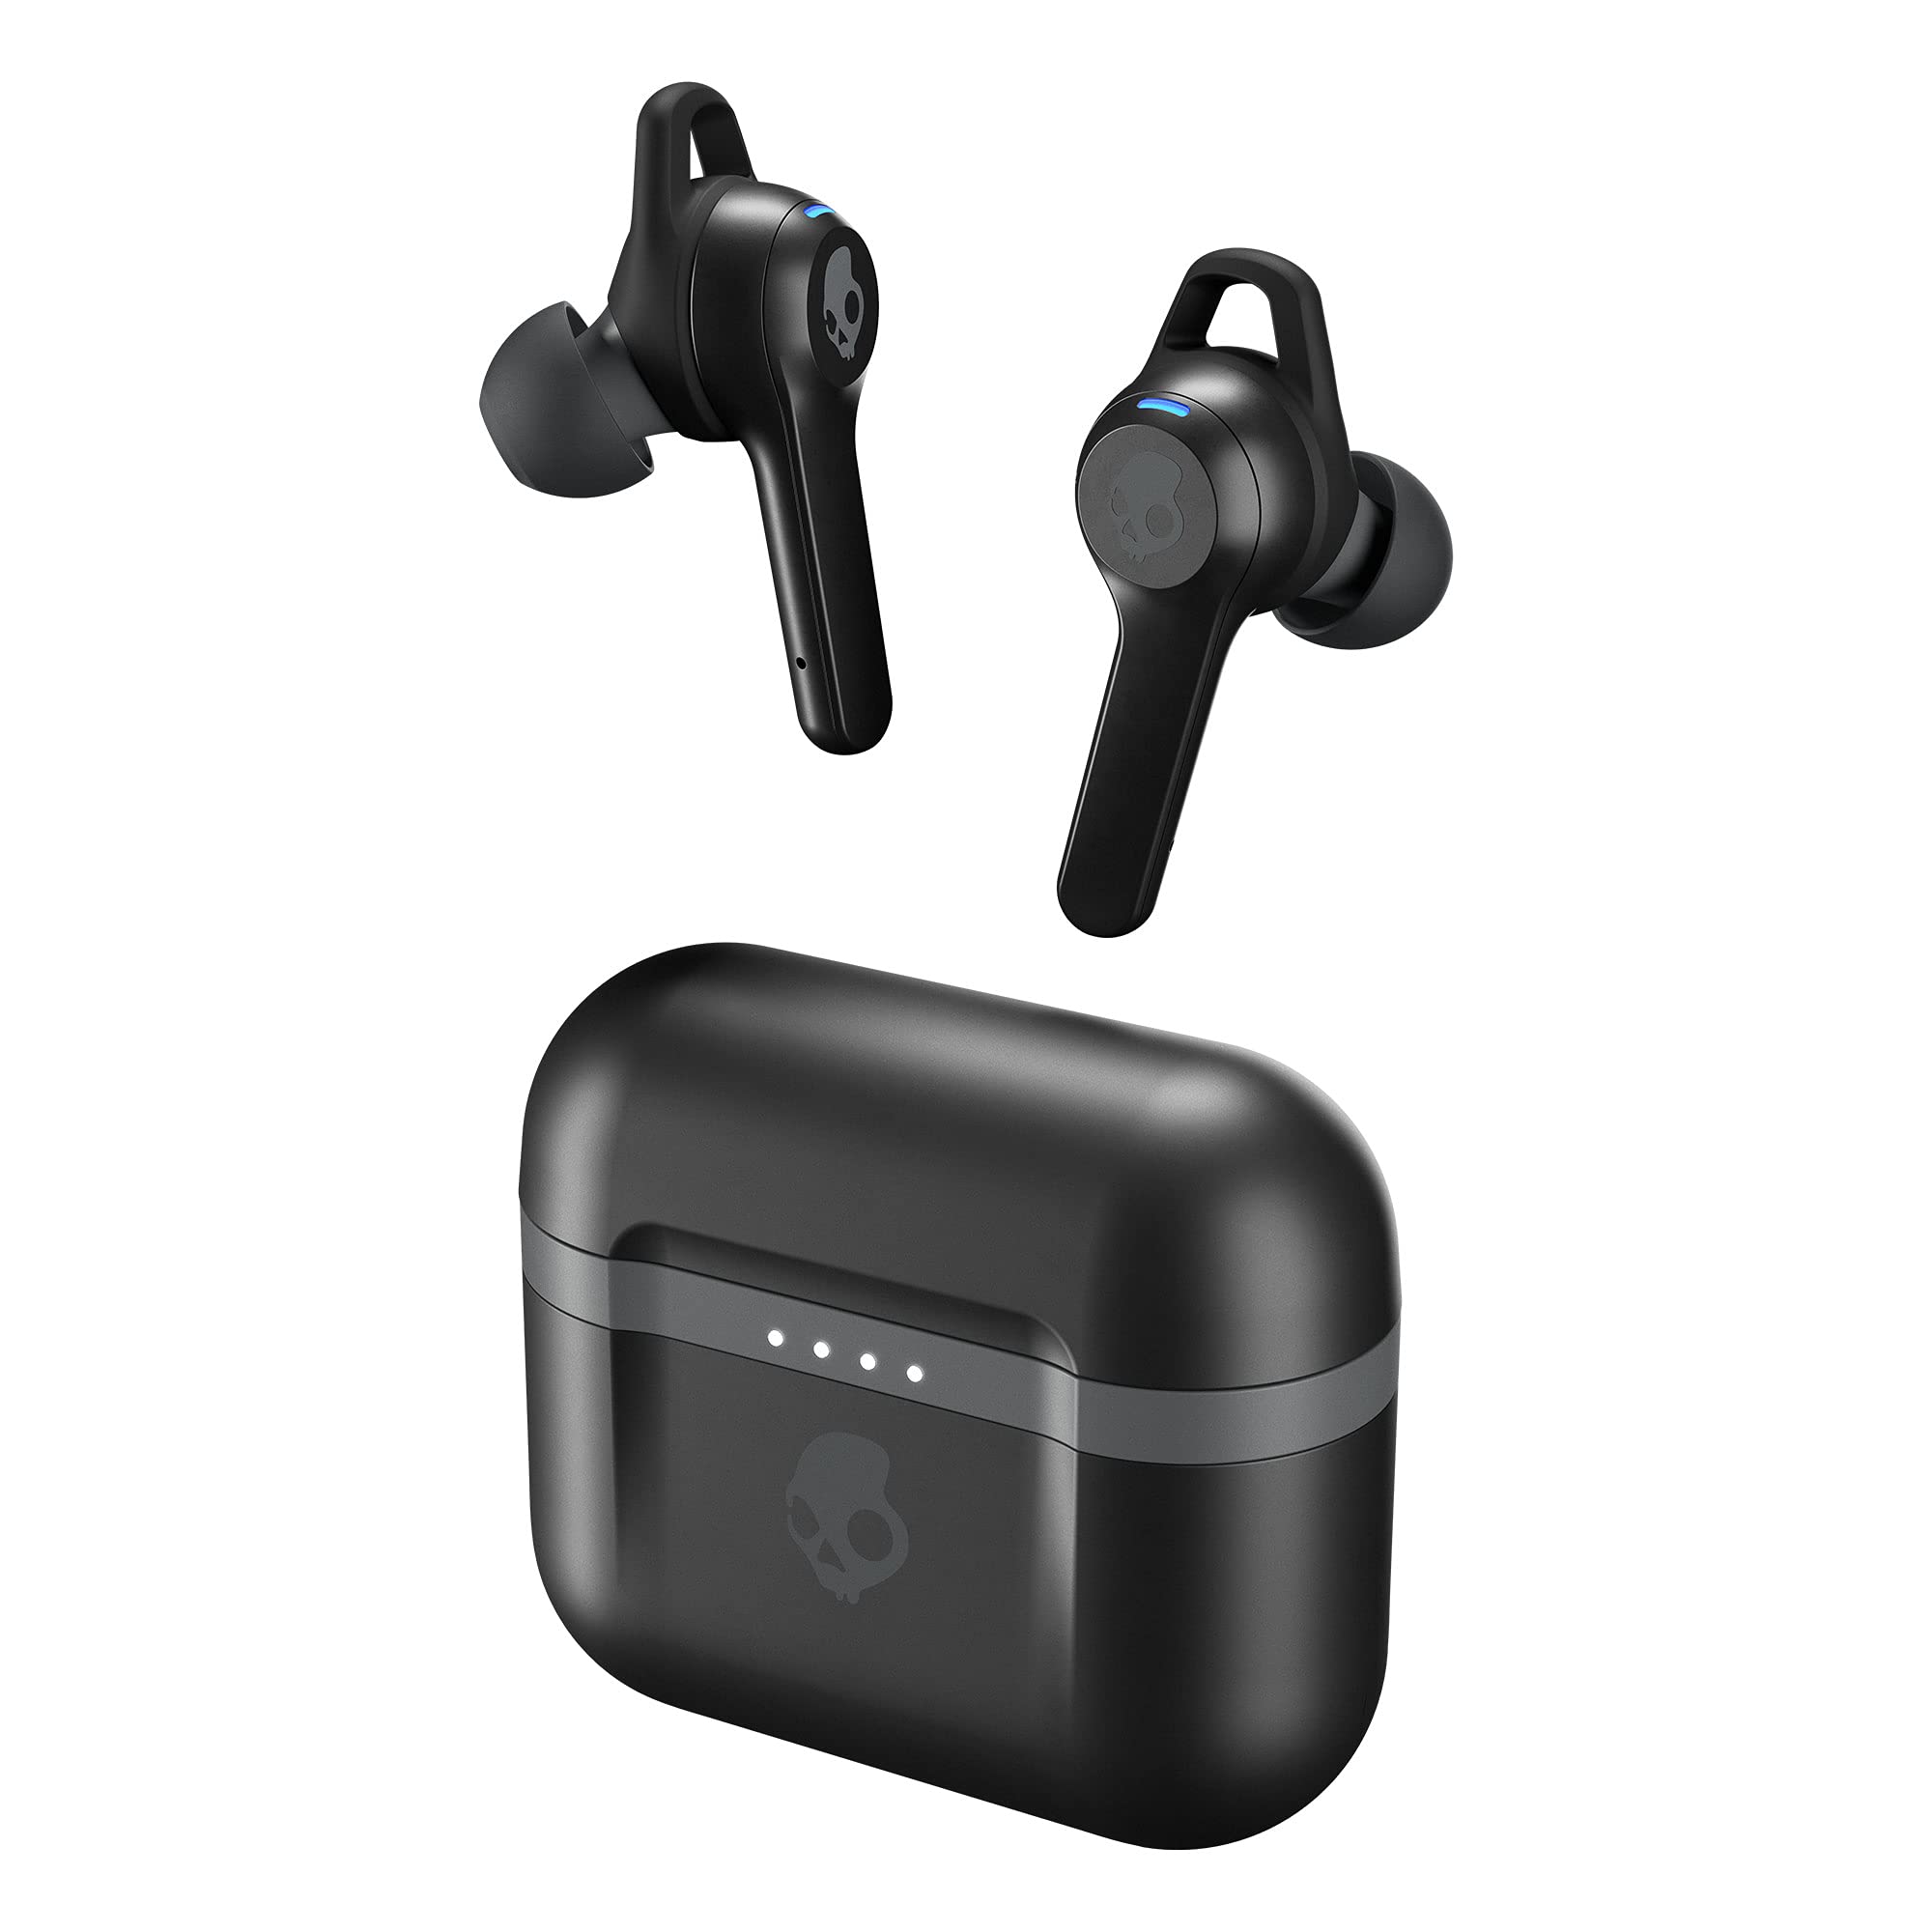
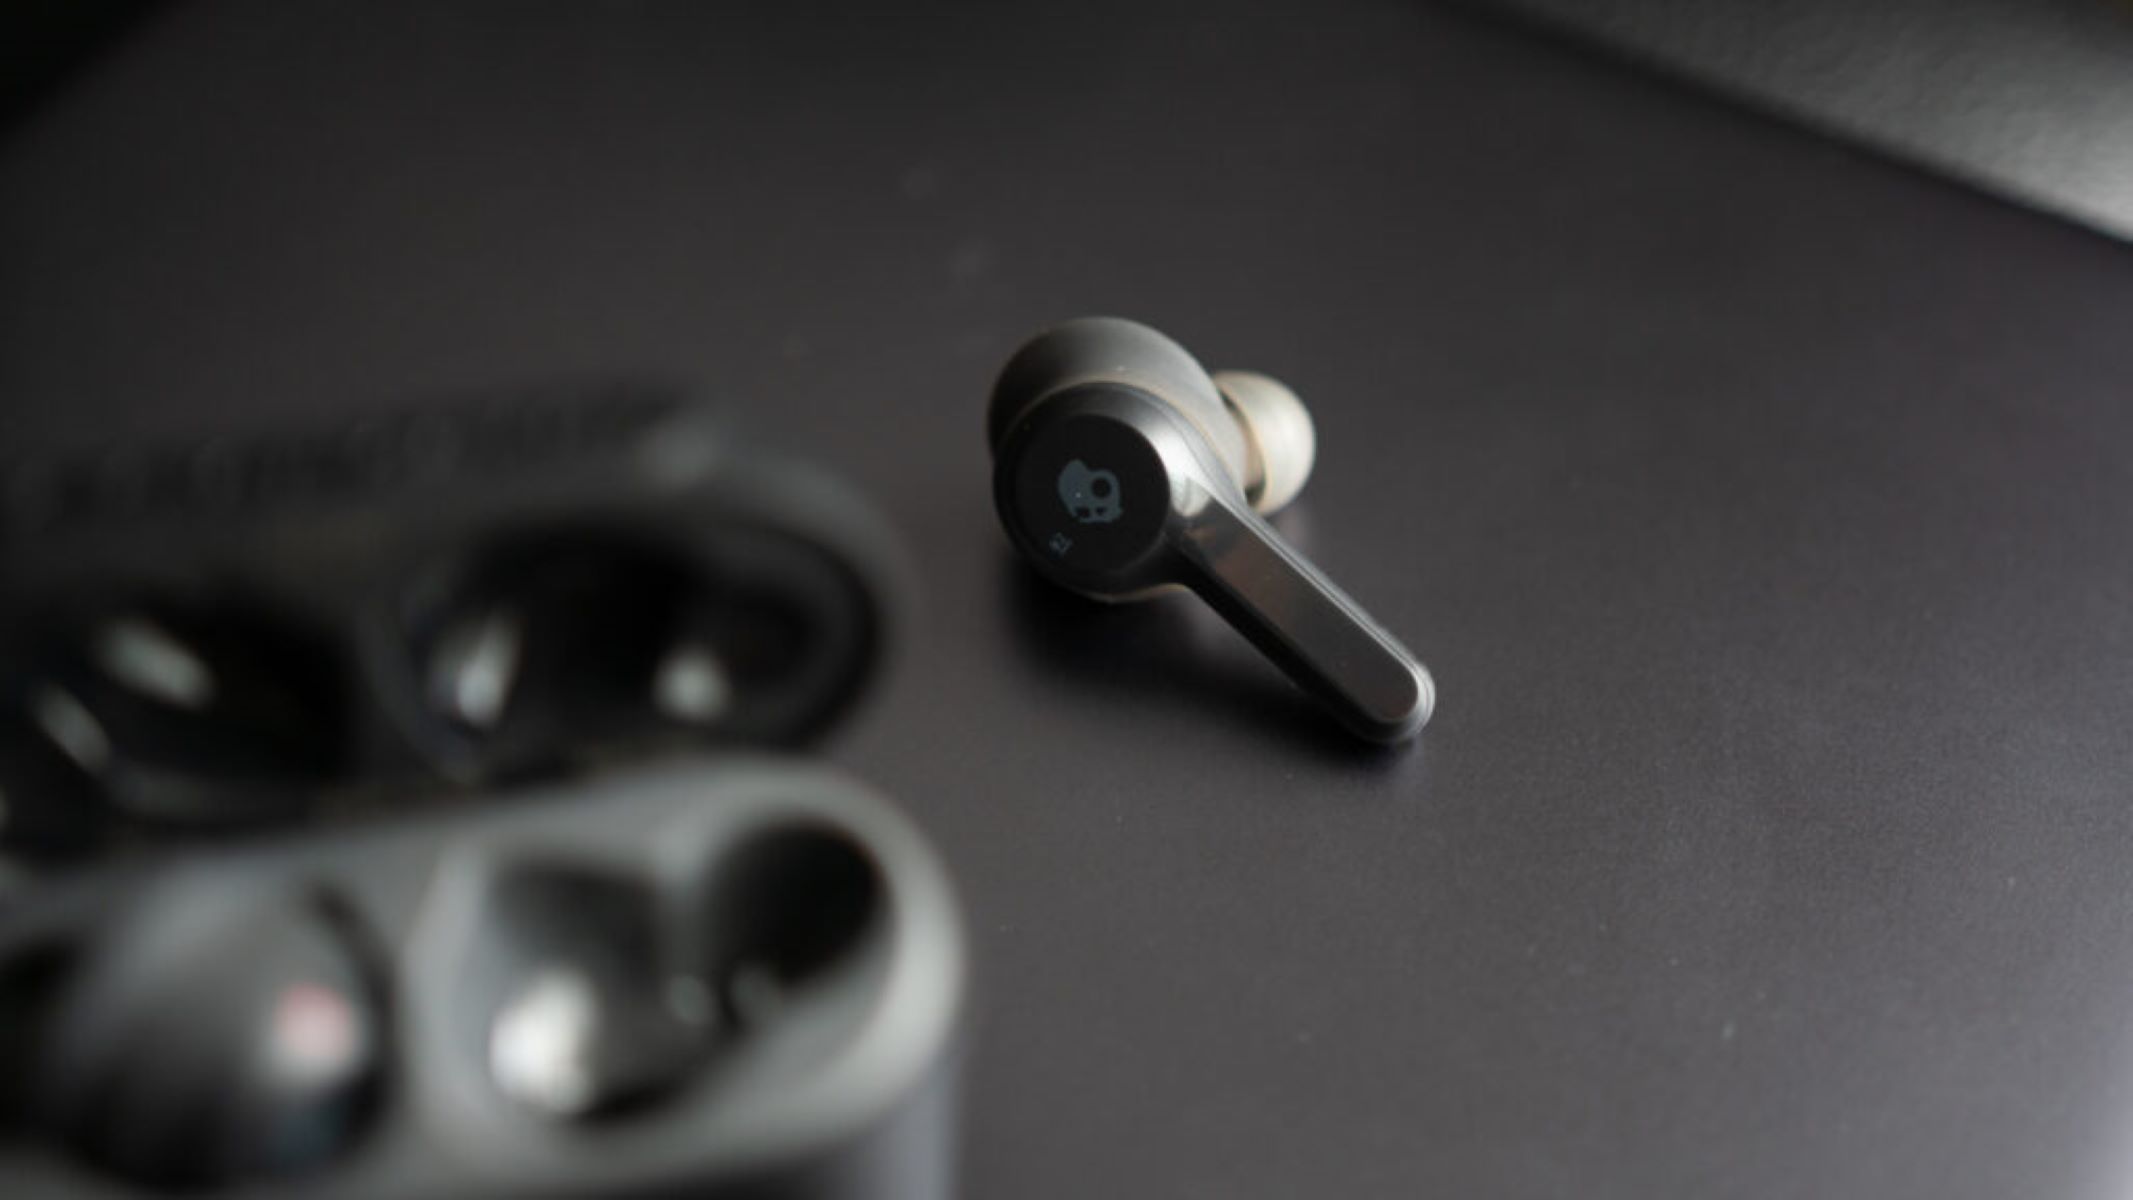
The first step in connecting your Skullcandy earbuds via Bluetooth is to turn them on. To do this, locate the power button on your earbuds. The location of the power button may vary depending on the model of your Skullcandy earbuds.
Once you have located the power button, press and hold it for a few seconds until you see an indication that the earbuds are powered on. This may be in the form of an LED light turning on or a voice prompt notifying you that the earbuds are ready to connect.
It’s worth noting that some Skullcandy earbuds may have an automatic power-on feature. In this case, simply removing the earbuds from their charging case or turning on the earbuds will automatically power them on.
After turning on the earbuds, it’s important to ensure that they have sufficient battery life. If the battery is low, it may impact the stability and quality of the Bluetooth connection. If needed, charge your earbuds using the charging cable or place them back into their charging case.
By following this simple step of turning on your Skullcandy earbuds, you have completed the first requirement for establishing a Bluetooth connection. Now, let’s move on to the next step and activate Bluetooth on your device.
Step 2: Activate Bluetooth on your device
In order to connect your Skullcandy earbuds to your device, you need to ensure that Bluetooth is activated on your device. Bluetooth is a wireless technology that allows devices to communicate and connect with each other over short distances.
The process of activating Bluetooth may vary depending on the device you are using. However, the general steps to enable Bluetooth are quite similar across different devices. Follow the instructions below to activate Bluetooth on your device:
- For smartphones and tablets:
- Go to your device’s “Settings” menu.
- Look for the “Bluetooth” option and tap on it.
- Toggle the switch to turn on Bluetooth.
- For computers:
- Open the “Settings” menu on your computer.
- Find the “Bluetooth & other devices” or a similar option.
- Toggle the switch to turn on Bluetooth.
- For other devices:
- Refer to the user manual or the manufacturer’s instructions to activate Bluetooth on your specific device.
Once Bluetooth is activated on your device, it will start scanning for nearby Bluetooth devices, including your Skullcandy earbuds. Now, let’s move on to the next step and put your earbuds into pairing mode.
Step 3: Put the earbuds into pairing mode
In order to connect your Skullcandy earbuds to your device, you need to put them into pairing mode. Pairing mode allows your earbuds to be discoverable by your device, enabling the connection between the two.
The method to put your Skullcandy earbuds into pairing mode may differ depending on the model you have. However, the general process remains quite similar. Follow the steps below to put your earbuds into pairing mode:
- Ensure that your earbuds are turned on.
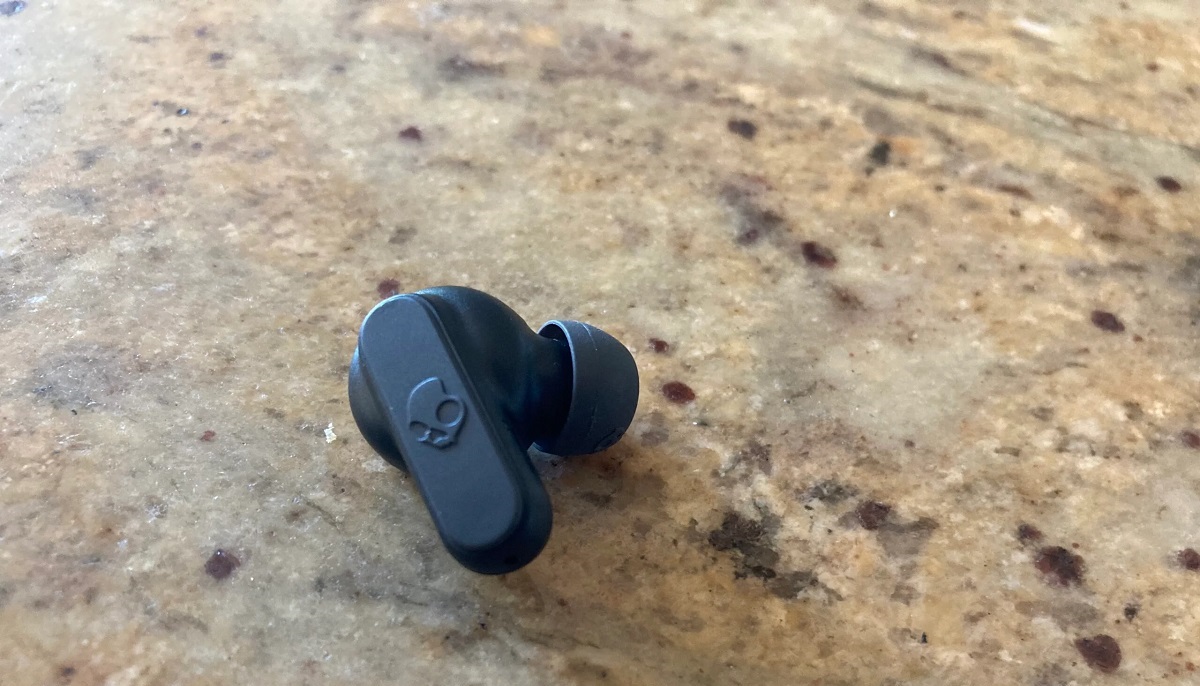
- Locate the pairing button on your earbuds. This button is usually located on the outside or inside of the earbud casing.
- Press and hold the pairing button for a few seconds until you see a light indicator or hear a voice prompt indicating that your earbuds are in pairing mode.
During this process, it’s important to consult the user manual or manufacturer’s instructions specific to your Skullcandy earbuds to ensure you are following the correct steps for your model.
Putting your Skullcandy earbuds into pairing mode makes them discoverable by your device. Now, let’s move on to the next step and establish the connection between your earbuds and your device.
Step 4: Connect the earbuds to your device
After putting your Skullcandy earbuds into pairing mode, it’s time to connect them to your device. The process of connecting the earbuds may vary slightly depending on the device you are using, but the general steps remain similar. Follow the instructions below to connect your earbuds:
- On your device, go to the Bluetooth settings.
- Look for available devices or a list of nearby Bluetooth devices.
- Locate the name or model of your Skullcandy earbuds in the list of available devices.
- Tap on the name of your earbuds to initiate the connection.
During the connection process, your device may display a pairing code or ask you to confirm the connection. If prompted, enter the pairing code or confirm the connection on both your device and earbuds.
Keep in mind that it may take a few moments for your device to establish the connection with the earbuds. Once the connection is successful, you will receive a notification on your device indicating the successful pairing of your Skullcandy earbuds.
It’s worth mentioning that some Skullcandy earbuds may have additional features or functionality that can be accessed through dedicated companion apps. If your earbuds have such capabilities, consider downloading the companion app from the respective app store and follow the instructions provided to fully optimize your earbuds’ performance.
Now that your Skullcandy earbuds are connected to your device, let’s move on to the final step and ensure the connection is working properly.
Step 5: Test the connection
After successfully connecting your Skullcandy earbuds to your device, it’s essential to test the connection to ensure everything is working as expected. Testing the connection will allow you to verify the audio quality and functionality of your earbuds.
Follow these steps to test the connection of your Skullcandy earbuds:
- Play a media file, such as a song or a video, on your device.
- Ensure that the audio output is set to your Skullcandy earbuds. This can usually be done by selecting your earbuds as the audio output device in the settings of your device or media player.
- Listen for the audio playback through your Skullcandy earbuds. Pay attention to the clarity, volume level, and any potential distortion or connectivity issues.
- Test the functionality of the earbuds’ controls, if applicable. This may include play/pause, skip track, volume control, or answer/reject calls.
- Move around and test the range of the Bluetooth connection. Ensure that the connection remains stable as you move away from your device.
If you encounter any issues during the testing process, refer to the troubleshooting section below for possible solutions.
By carefully testing the connection, you can ensure that your Skullcandy earbuds are functioning correctly and that you will have a pleasant and uninterrupted audio experience.
Now that you have successfully connected and tested your Skullcandy earbuds, you are ready to enjoy your favorite music, podcasts, and more without the hassle of wires. If you experience any issues, consult the troubleshooting tips below for possible solutions.
Troubleshooting tips
While connecting your Skullcandy earbuds via Bluetooth is generally a straightforward process, occasionally you may encounter some issues. Here are some troubleshooting tips to help you overcome common challenges:
- Ensure your earbuds are in pairing mode: Double-check that your earbuds are in pairing mode. If they are not in the discoverable state, your device will not be able to locate them.
- Turn Bluetooth off and on: Sometimes, simply turning Bluetooth off and on again on your device can resolve connectivity issues. This helps refresh the Bluetooth connection and establish a new connection with your earbuds.
- Update device software and firmware: Ensure that your device’s software and your Skullcandy earbuds’ firmware are updated to the latest versions. Outdated software can cause compatibility issues and connection problems.
- Reset your earbuds: If you continue to experience problems, try resetting your Skullcandy earbuds to their factory settings. Refer to the user manual or check the manufacturer’s website for instructions on how to perform a reset.
- Remove interference: Keep your device and earbuds away from other wireless devices that may cause interference, such as Wi-Fi routers, microwaves, or other Bluetooth devices. Interference can disrupt the Bluetooth signal and affect the connection quality.
- Re-pair the earbuds: If the connection remains unstable, try deleting the pairing information between your device and your earbuds and then re-pair them. Make sure to follow the pairing process from the beginning.
- Contact customer support: If you have followed all the troubleshooting steps and are still experiencing issues, it may be helpful to reach out to Skullcandy’s customer support for further assistance.
Remember, connectivity issues can sometimes be overcome by performing a combination of these troubleshooting steps. Don’t get discouraged if the first attempt doesn’t fix the problem.
If you have followed these troubleshooting tips and are still unable to establish a stable connection, it is recommended to consult the user manual or seek technical support from Skullcandy directly.
Conclusion
Congratulations! You have successfully connected your Skullcandy earbuds to your device via Bluetooth. By following the step-by-step instructions in this guide, you can now enjoy your favorite music, podcasts, and more without the hassle of tangled wires. The wireless connectivity provided by your Skullcandy earbuds allows for freedom of movement, making them ideal for various activities.
Remember to turn on your Skullcandy earbuds and ensure they have sufficient battery life before beginning the connection process. Activate Bluetooth on your device and put your earbuds into pairing mode to make them discoverable. Once in pairing mode, establish the connection with your device through the Bluetooth settings.
After successfully connecting your earbuds, remember to test the connection by playing audio and ensuring the sound quality is clear and uninterrupted. If you encounter any issues, refer to the troubleshooting tips provided to help resolve common connectivity problems.
Should you have further questions or encounter any difficulties, don’t hesitate to reach out to Skullcandy’s customer support for additional assistance. They will be able to provide specific guidance and address any concerns you may have.
Now that you are equipped with the knowledge to connect your Skullcandy earbuds, you can enjoy the convenience and high-quality audio they offer. Get ready to immerse yourself in your favorite music with the freedom of wireless listening!