Introduction
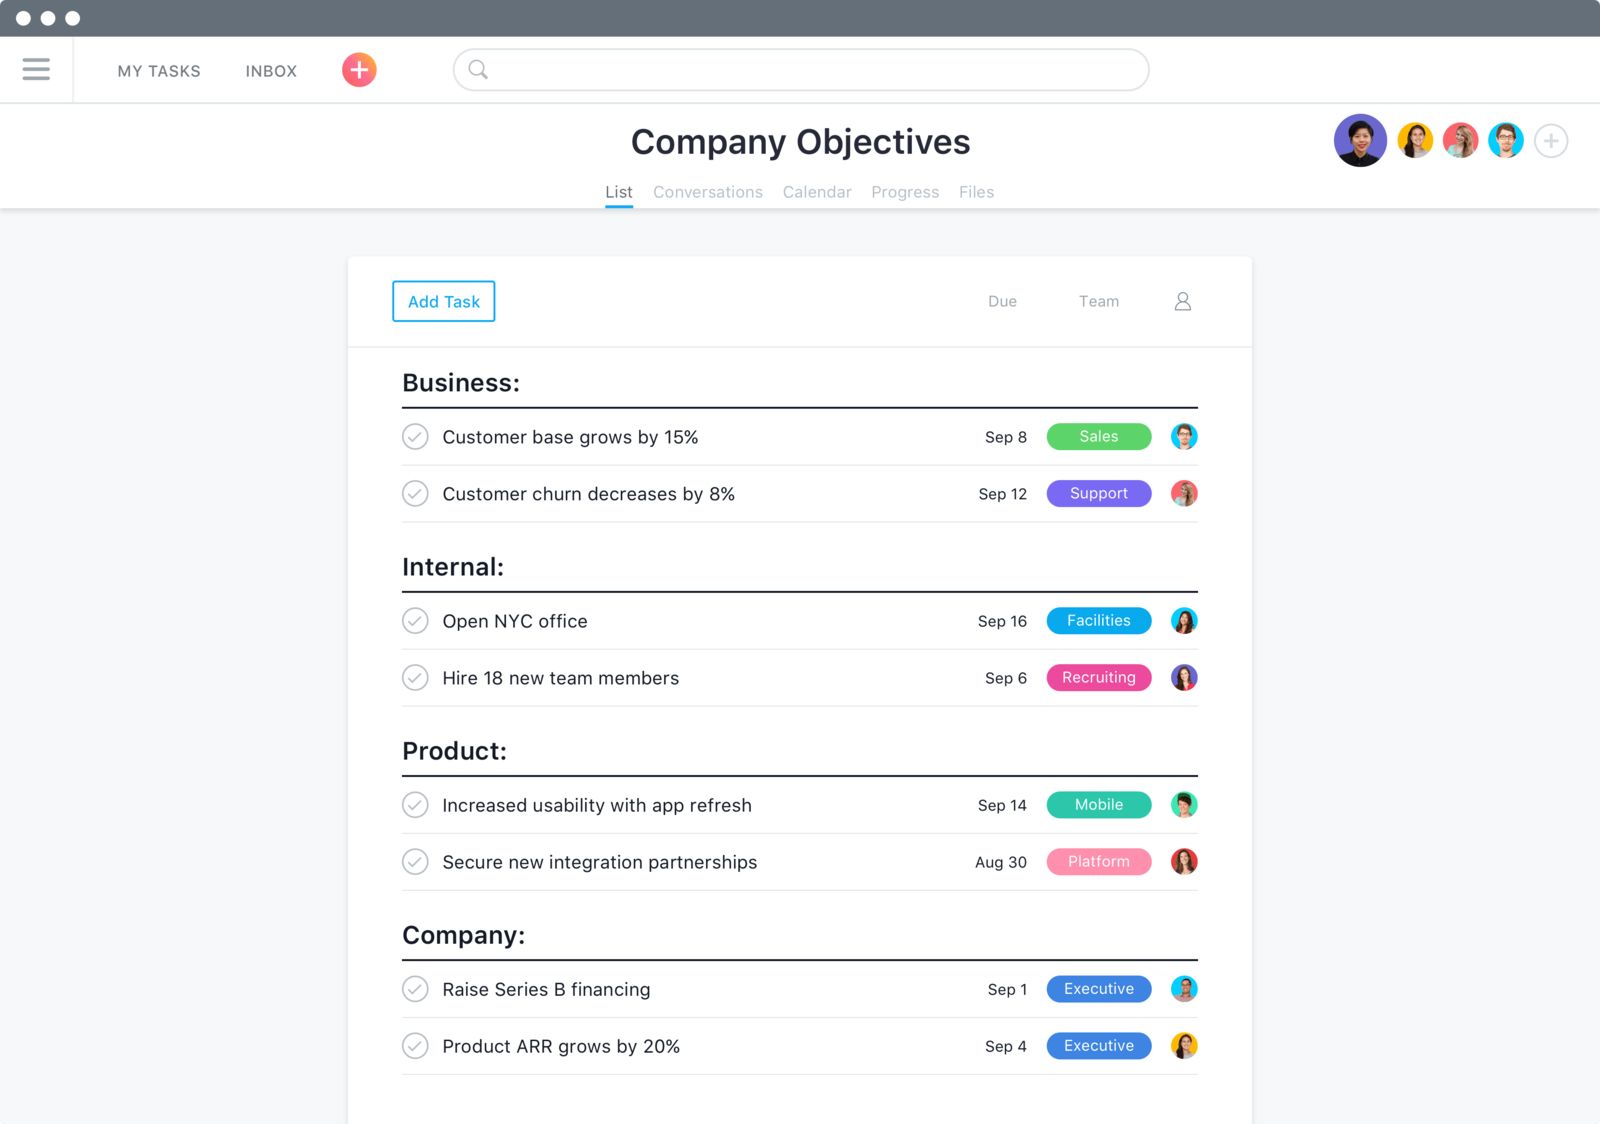
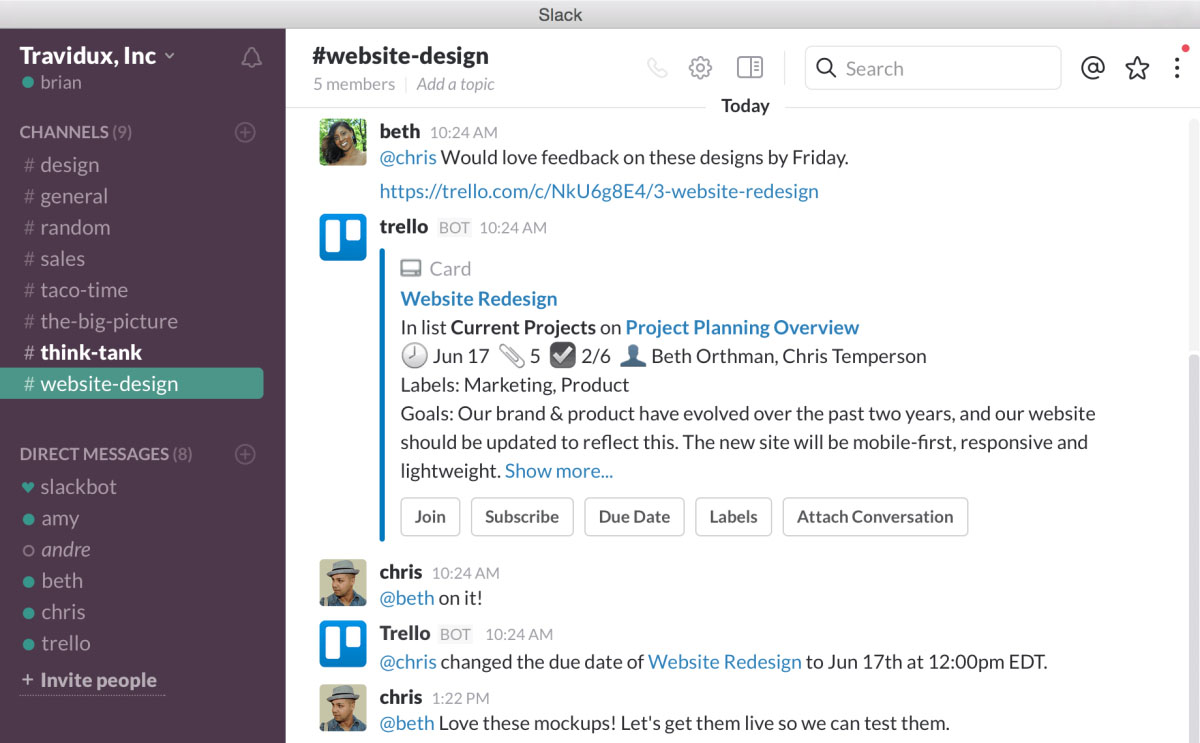
Connecting Asana, the popular project management tool, to Slack, the widely used team communication platform, can greatly streamline your workflow and enhance collaboration within your team.
Slack allows you to bring all your team’s communications into one place, while Asana provides a powerful platform for organizing and managing projects and tasks. By integrating these two tools, you can ensure that everyone on your team stays updated on project progress and can easily collaborate on tasks, all without switching between different applications.
In this article, we will guide you through the process of connecting Asana to Slack, step by step. By following this guide, you will be able to:
- Install the Asana Slack app
- Authorize Asana in Slack
- Connect Asana projects to Slack channels
- Configure notification settings
- Manage tasks directly in Slack
- Use slash commands for quick actions
- Troubleshoot common issues
By integrating Asana and Slack, you can centralize your team’s communication and project management, resulting in improved productivity and efficiency. Let’s get started by installing the Asana Slack app.
Step 1: Installing the Asana Slack app
In order to connect Asana and Slack, you first need to install the Asana Slack app onto your workspace. Follow these steps to get started:
- Log in to your Slack workspace and navigate to the App Directory by clicking on the apps icon in the left sidebar.
- In the search bar at the top, type “Asana” and select the Asana app from the list of available options.
- Click on the “Install” button to add the Asana app to your workspace.
- Grant the necessary permissions for the app to access your Slack workspace by clicking on the “Authorize” button.
Once the installation process is complete, you will have the Asana app integrated into your Slack workspace, allowing you to connect your Asana projects and tasks.
It’s important to note that you need to have the necessary permissions and be an administrator or owner of the Slack workspace to install the Asana app.
Now that you have successfully installed the Asana Slack app, you are ready to move on to the next step: authorizing Asana in Slack.
Step 2: Authorizing Asana in Slack
After installing the Asana Slack app, the next step is to authorize Asana within your Slack workspace. Here’s how you can do it:
- In Slack, locate the Asana app in your app directory or the apps section on the left sidebar.
- Click on the app to open it, and you will be prompted to authorize the connection between Asana and Slack.
- Follow the on-screen instructions to sign in to your Asana account or create a new account if you don’t have one.
- Review the permissions that the Asana app requires, and click on the “Authorize” button to grant access.
Once you have authorized Asana in Slack, the integration between the two platforms will be enabled, allowing you to connect your Asana projects and tasks to Slack channels.
It’s worth mentioning that the authorization process is essential to ensure the security and privacy of your data. Asana will only have access to the information necessary for the integration and will not be able to access any other parts of your Slack workspace.
With Asana authorized in Slack, you are now ready to proceed to the next step: connecting Asana projects to Slack channels.
Step 3: Connecting Asana projects to Slack channels
Now that you have installed and authorized the Asana Slack app, it’s time to connect your Asana projects to Slack channels. This will allow you to receive real-time updates and notifications about project activities within your Slack workspace. Follow these steps:
- Open Slack and navigate to the channel where you want to connect your Asana project.
- Type “/asana connect” in the message field and select “Connect to a project” when prompted.
- Choose the Asana project you want to connect from the drop-down list.
- Once selected, click on the “Connect Project” button.
By connecting an Asana project to a Slack channel, you will receive updates about tasks, comments, and other activities related to that project directly within the Slack channel. This helps to keep your team informed and engaged with the project’s progress.
It’s important to note that you can connect multiple Asana projects to different Slack channels, allowing you to segment your project-related discussions and updates for easier management.
Moreover, you can also choose to connect a specific Asana team to a Slack channel, which will include all the projects associated with that team. This provides a higher-level view of your team’s activities and progress.
Once you have connected your Asana projects to the desired Slack channels, you can move on to the next step: configuring notification settings.
Step 4: Configuring notification settings
After connecting your Asana projects to Slack channels, it’s important to configure the notification settings to ensure you receive the right level of updates and notifications. Here’s how you can do it:
- Open the Slack channel where the Asana project is connected.
- Type “/asana notify” in the message field and select “Configure Notifications” when prompted.
- You can choose to receive notifications for tasks you are assigned to, tasks you follow, or all tasks within the project.
- Additionally, you can choose whether to receive notifications for task comments, status updates, due dates, and more.
- Once you have configured the desired notification settings, click on the “Save” button to apply the changes.
By customizing the notification settings, you can control the flow of information and avoid unnecessary notifications. This ensures that you are only alerted about the tasks and activities that are relevant to your role and responsibilities.
Furthermore, you can also set up reminders for tasks directly within Slack by typing “/asana remind” in the message field and selecting the task and the reminder time. This helps you stay on top of your tasks and deadlines without having to switch between Asana and Slack.
It’s worth noting that configuring notification settings is crucial for managing communication overload and maintaining focus. Finding the right balance of notifications will help you stay informed and engaged without feeling overwhelmed by the constant stream of updates.
With the notification settings configured, you are now ready to proceed to the next step: managing tasks directly in Slack.
Step 5: Managing tasks directly in Slack
One of the major benefits of integrating Asana with Slack is the ability to manage tasks directly within the Slack interface. This eliminates the need to switch between different applications and allows you to stay focused on your work. Here’s how you can manage tasks in Slack:
- Create a task: To create a task in Asana from Slack, simply type “/asana create” followed by the task description in the message field within the desired channel.
- Assign a task: To assign a task to a team member, use the “/asana assign” command followed by the task name and the user’s name in the message field.
- Complete a task: To mark a task as complete, use the “/asana complete” command followed by the task name in the message field.
- View task details: To view the details of a specific task in Asana, use the “/asana details” command followed by the task name in the message field.
- Comment on a task: To add a comment to a task, use the “/asana comment” command followed by the task name and the comment in the message field.
By using these commands in Slack, you can perform essential task management actions within the platform, saving you time and ensuring that all task-related discussions and updates are centralized in one place. This simplifies collaboration and makes it easier to keep track of project progress.
In addition to the commands mentioned above, you can also receive task reminders, update due dates, and even attach files to tasks directly from Slack. These features further enhance your ability to manage tasks seamlessly within your existing workflow.
With the ability to manage tasks directly in Slack, you can stay organized, delegate work, and track progress without ever leaving the platform. Now, let’s move on to the next step: using slash commands for quick actions.
Step 6: Using slash commands for quick actions
Slack offers a range of slash commands that can be used in combination with the Asana integration to perform quick actions and streamline your workflow. These commands allow you to perform various tasks without having to navigate through menus or switch between applications. Here are some popular slash commands:
- /asana list: This command allows you to view a list of your assigned tasks across all connected Asana projects directly in Slack.
- /asana search: Use this command to search for specific tasks within your Asana projects, saving you time and effort.
- /asana create: With this command, you can create a new task in any of your connected Asana projects directly from Slack.
- /asana due: This command lets you set or update due dates for tasks without leaving the Slack interface.
- /asana subtask: Use this command to create subtasks within your Asana projects, helping you break down larger tasks into manageable subcomponents.
These are just a few examples of the many slash commands available with the Asana Slack integration. The power of these commands lies in their ability to quickly perform actions and access information without interrupting your workflow.
Using slash commands not only saves time but also increases productivity by allowing you to focus on your tasks without being distracted by the intricacies of project management. It streamlines collaboration and ensures that everyone on your team can easily interact with Asana, even if they are not familiar with the platform.
Now that you know how to use slash commands, let’s move on to the final step: troubleshooting common issues.
Step 7: Troubleshooting common issues
While integrating Asana with Slack is generally a smooth process, you may encounter some common issues along the way. Here are a few troubleshooting tips to help you resolve them:
- Ensure proper permissions: Make sure that you have the necessary permissions to install the Asana Slack app and authorize the integration. If you’re experiencing issues, check with your Slack workspace administrator.
- Double-check authorization: If you are unable to connect Asana to Slack or receive error messages, try re-authorizing Asana in Slack. This sometimes resolves any authentication issues.
- Check project and channel permissions: Ensure that you have the appropriate project and channel permissions to connect Asana projects to Slack channels. If you don’t have the necessary access, reach out to the workspace owner or project admin to grant you the required permissions.
- Verify connectivity: If you’re not receiving notifications or updates in Slack, make sure that your internet connection is stable, and check your notification settings within both Asana and Slack to ensure everything is configured correctly.
- Contact support: If you have tried all troubleshooting steps and are still experiencing issues, don’t hesitate to reach out to the Asana and Slack support teams. They will be able to assist you further and provide specific solutions.
Remember, while these are common troubleshooting steps, each issue may be unique. It’s important to explore help documentation and reach out to support teams for more tailored assistance if needed.
By resolving any issues that arise during the integration process, you can ensure a seamless experience for yourself and your team, enabling efficient collaboration through the Asana and Slack integration.
Now that you have learned how to troubleshoot common issues, you are ready to start enjoying the full benefits of connecting Asana to Slack. Happy collaborating!
Conclusion
Integrating Asana with Slack is a powerful way to streamline project management and enhance collaboration within your team. By following the step-by-step guide in this article, you have learned how to install the Asana Slack app, authorize Asana in Slack, connect Asana projects to Slack channels, configure notification settings, manage tasks directly in Slack, use slash commands for quick actions, and troubleshoot common issues.
By leveraging this integration, you can centralize your team’s communication and project management, leading to improved productivity and efficiency. From creating tasks, assigning them to team members, and receiving real-time updates in Slack, to using slash commands for quick actions and troubleshooting any issues that may arise, the integration between Asana and Slack empowers you to work seamlessly within your preferred platform.
Remember to experiment with different notification settings and customize them according to your preferences and role within the team. By striking the right balance, you can stay informed without feeling overwhelmed by the flow of updates.
Asana and Slack are powerful tools on their own, but when integrated, they offer an even more cohesive and efficient workflow. Whether you’re a project manager, a team member, or part of a remote team, the Asana Slack integration can greatly enhance your collaboration and bring your projects to new heights.
So, go ahead and make the most of Asana and Slack integration. Connect your projects, manage tasks, communicate effectively, and witness the positive impact it has on your team’s productivity and project success.
Start integrating Asana and Slack today and experience the seamless collaboration that this integration brings!


