Introduction
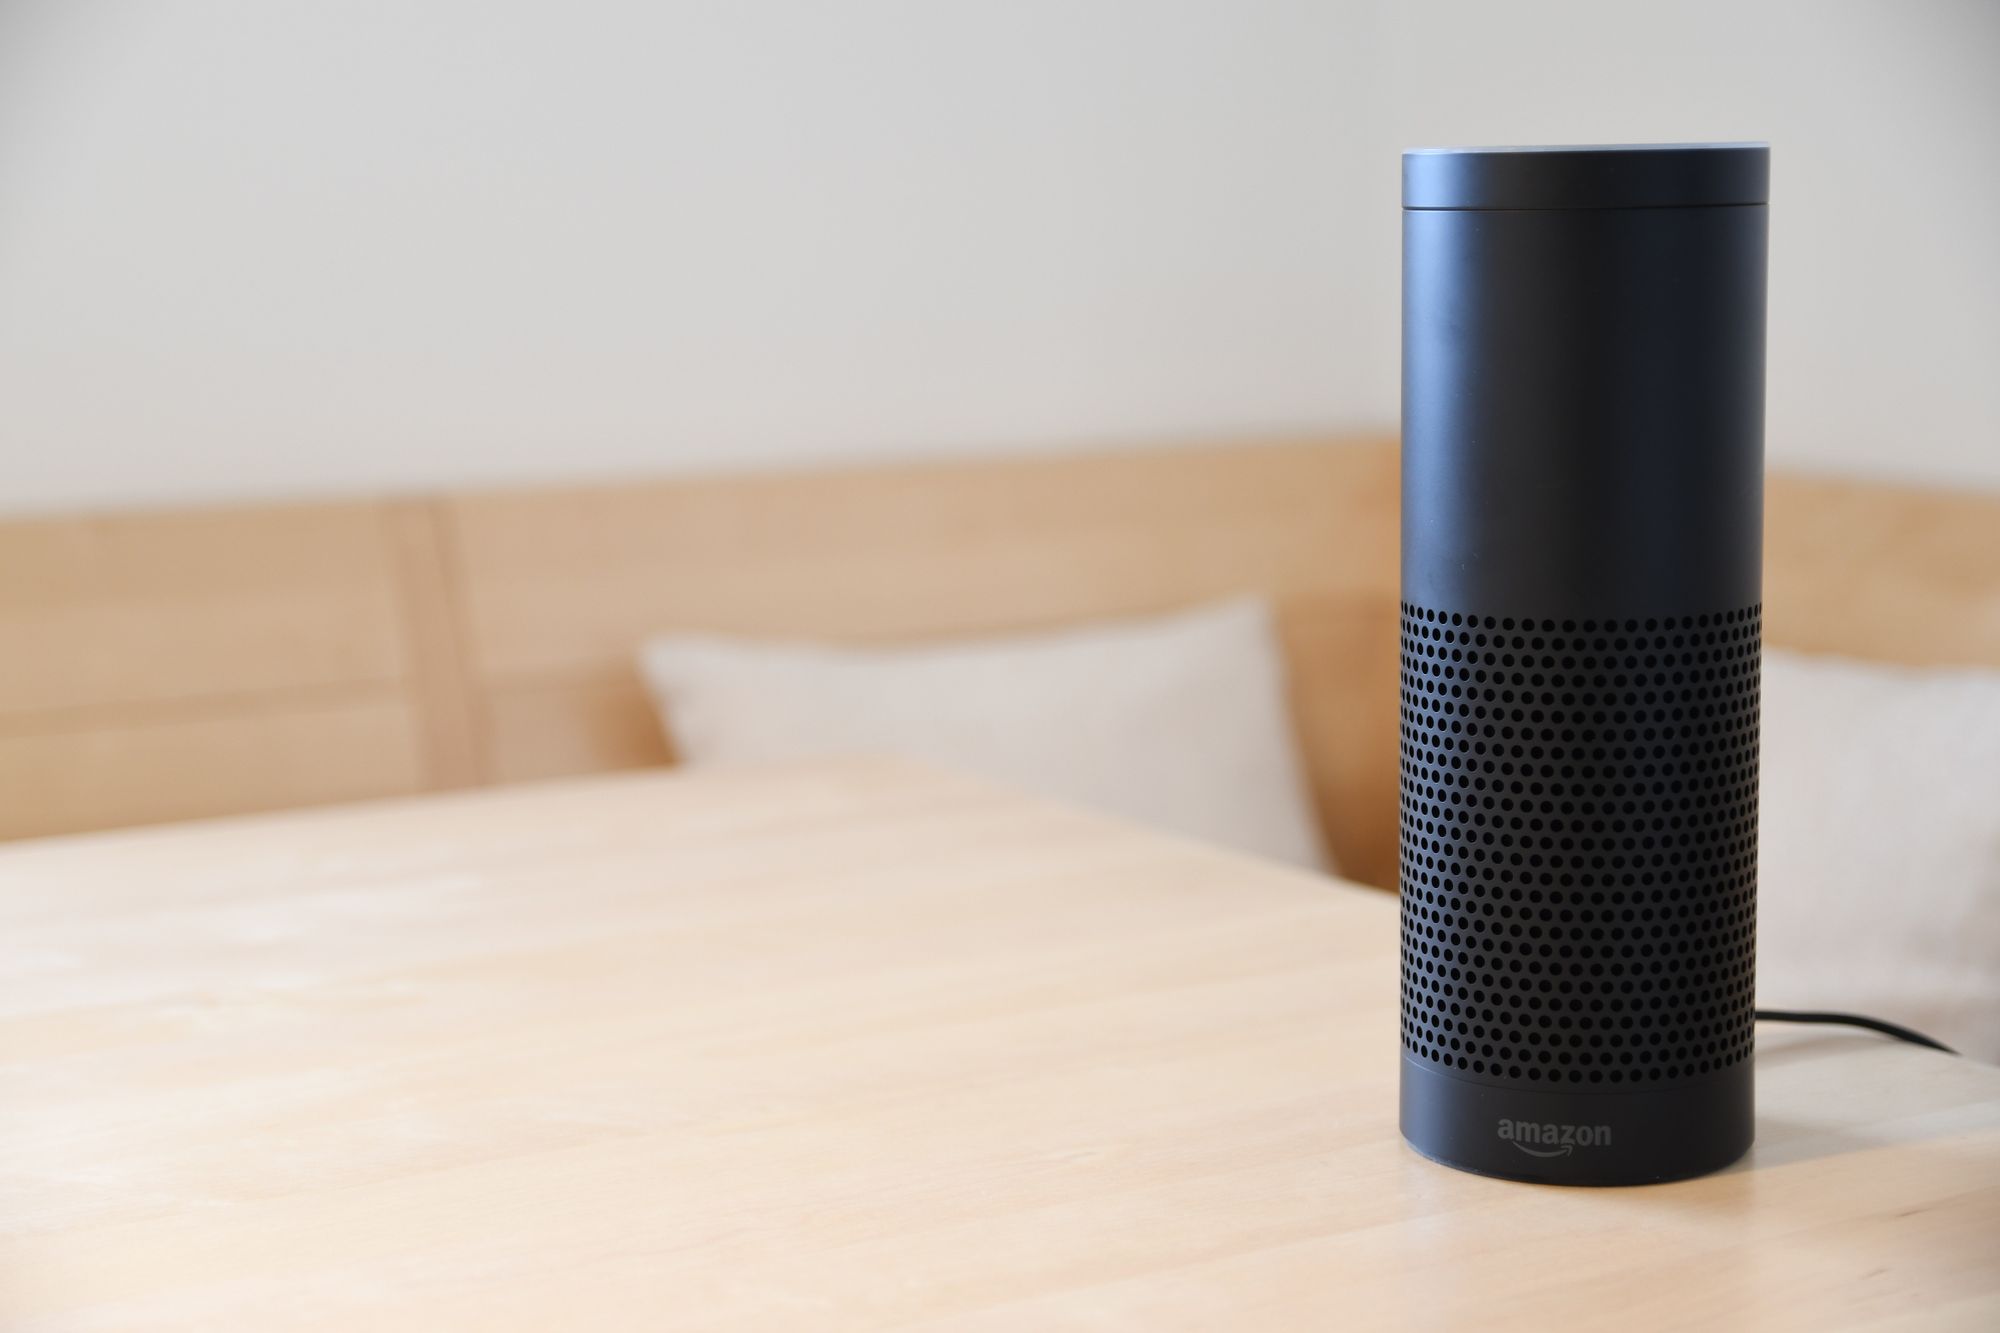
Welcome to the world of smart home automation! If you have just purchased an Amazon Echo Dot, congratulations on joining the millions of people who have transformed their houses into modern, voice-controlled environments. With the Echo Dot, you can easily manage your daily tasks, play music, control smart devices, and get instant answers to your questions – all by using simple voice commands.
To get started, the first thing you need to do is connect your Echo Dot to your Wi-Fi network. This will enable the device to access the internet and perform its wide range of functions. Setting up the Wi-Fi connection is a straightforward process, and with just a few simple steps, you’ll have your Echo Dot up and running in no time.
In this guide, we’ll walk you through the process of connecting your Echo Dot to Wi-Fi, ensuring that you have a smooth and trouble-free experience. We’ll provide step-by-step instructions, along with helpful tips and troubleshooting suggestions along the way. So, let’s dive in and get your Echo Dot connected to Wi-Fi!
Step 1: Prepare your Echo Dot
Before you begin the setup process, it’s essential to ensure that your Echo Dot is ready to connect to your Wi-Fi network. Follow these steps to prepare your device:
-
Find a suitable location: Choose a spot in your home where the Echo Dot can be placed at a reasonable distance from walls or other objects that may interfere with its Wi-Fi signal. Also, make sure it’s within range of your Wi-Fi router for a stable connection.
-
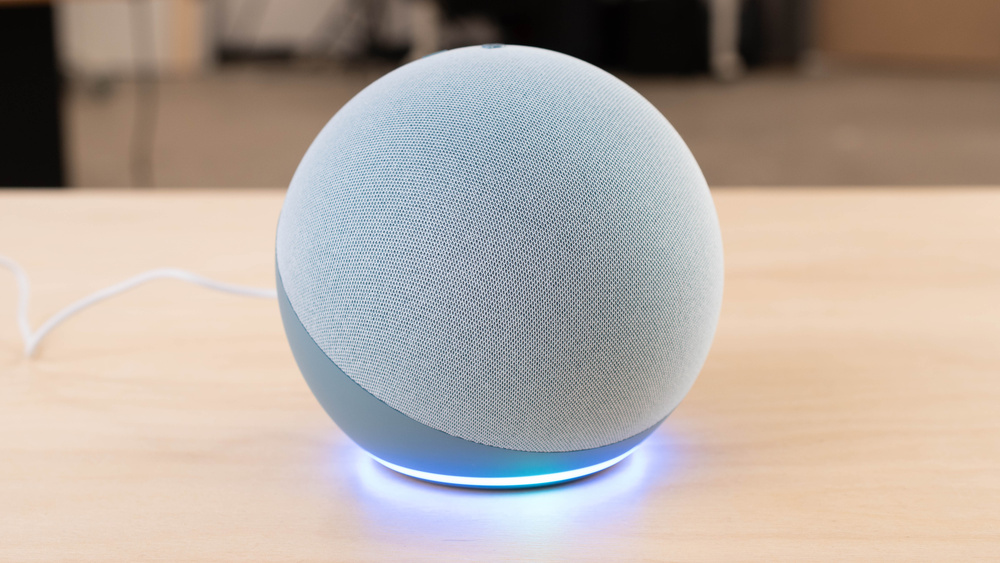
Connect the power adapter: Plug the power adapter into the Echo Dot and connect it to a power outlet. Wait for the device to power on and display a blue ring on its top.
-
Wait for the initial setup: Your Echo Dot will take a few moments to boot up and get ready for setup. During this time, you’ll see a spinning orange light on the device. Wait until the light turns blue before proceeding to the next step.
-
Reset if previously used: If you are setting up a used Echo Dot or have encountered any issues during setup, it’s advisable to reset the device. Press and hold the Action button (the button with a dot) on the top of the Echo Dot for about 25 seconds until the light ring turns orange. After the reset, the device will enter setup mode.
Once you have completed these steps, your Echo Dot is prepared and ready for the setup process. Proceed to the next step to download the Alexa app onto your mobile device.
Step 2: Download the Alexa app
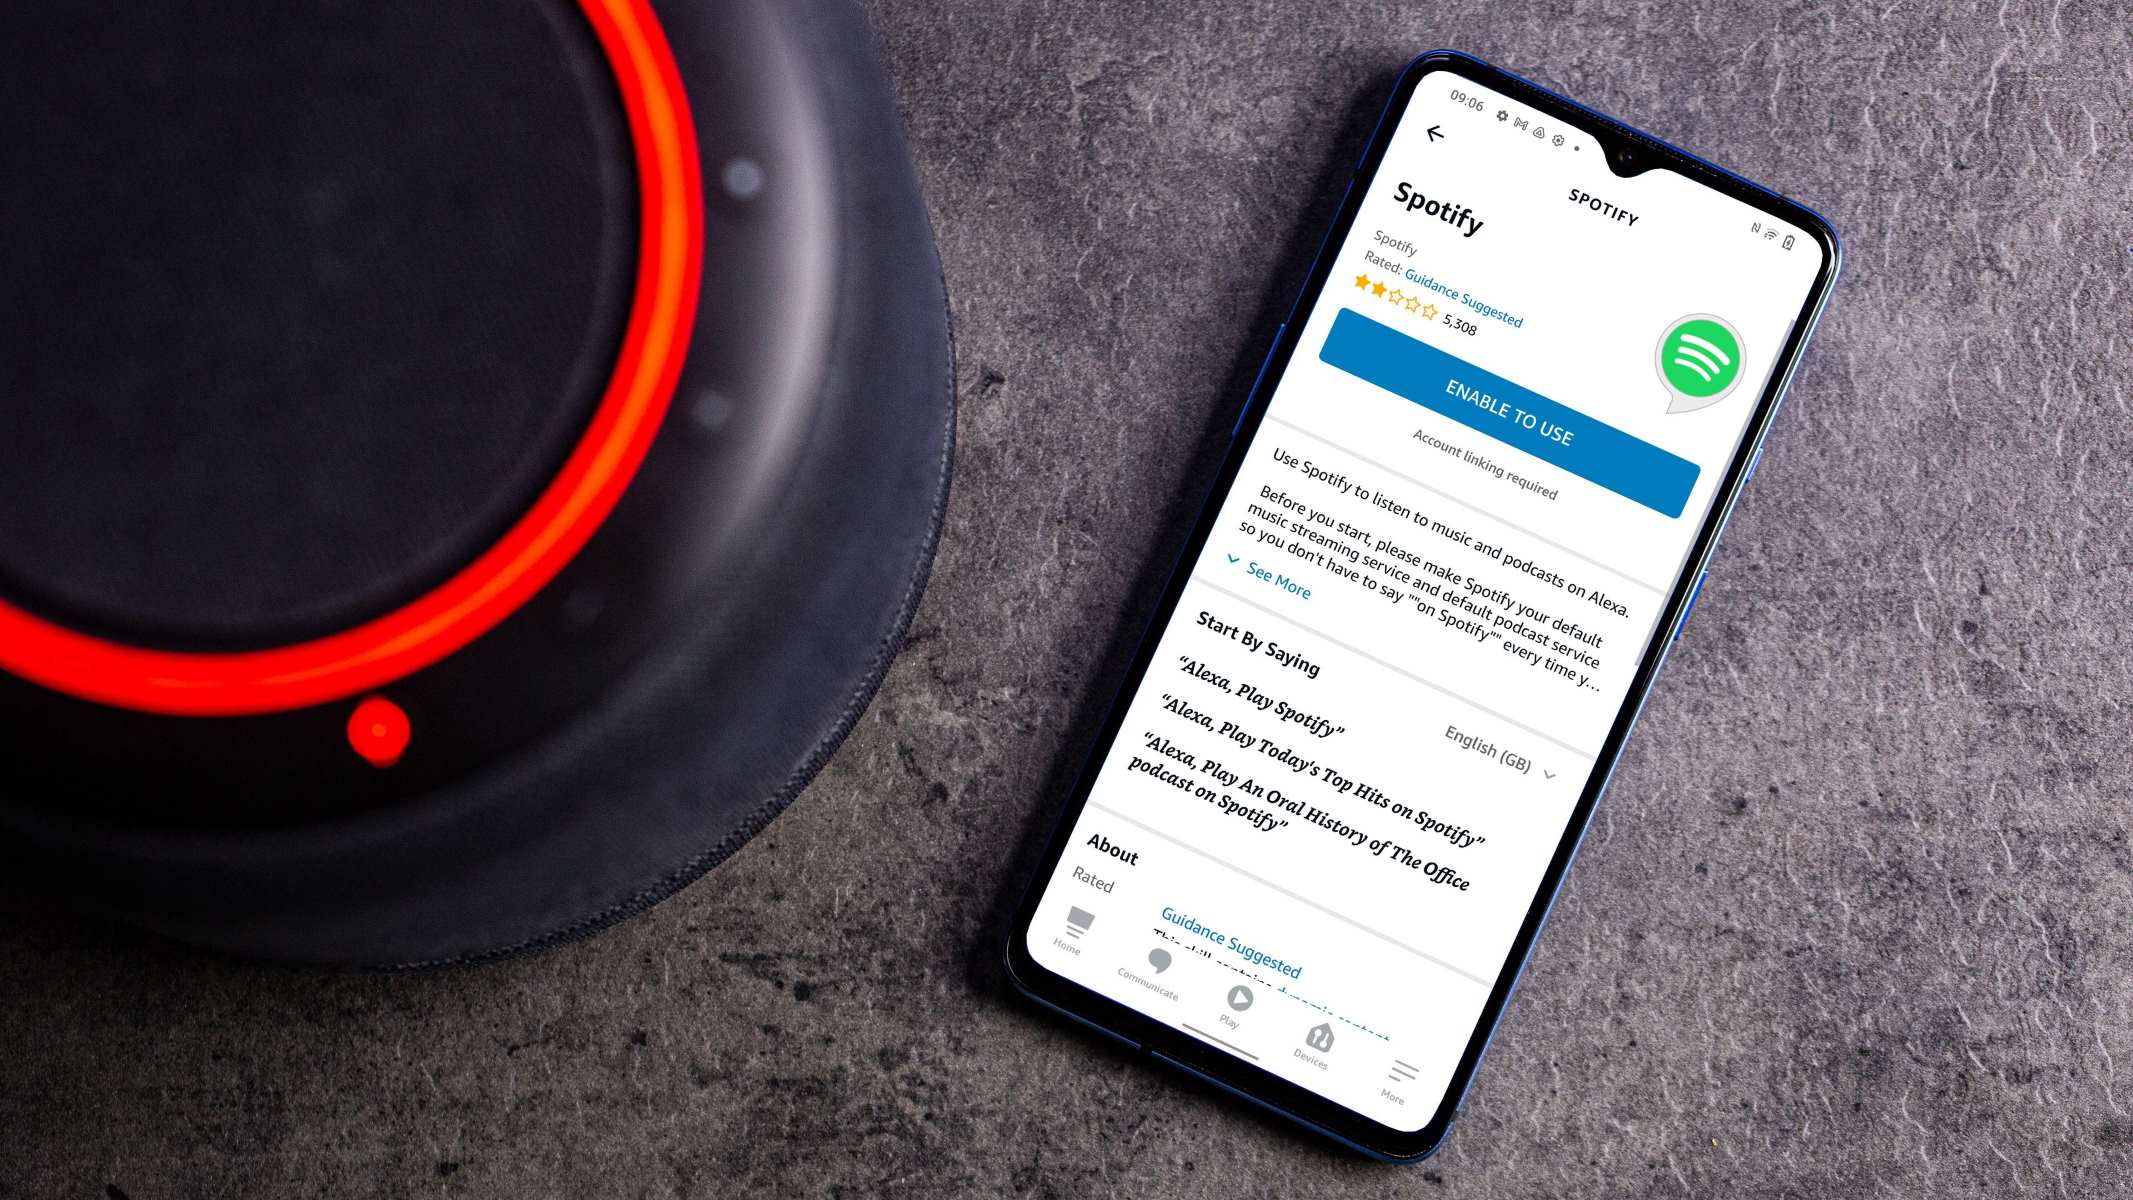
In order to set up and control your Echo Dot, you will need to download the Alexa app on your smartphone or tablet. Follow these steps to get the app:
-
Open your device’s app store: Launch the app store on your mobile device. If you are using an Android device, access the Google Play Store. If you have an iOS device, open the App Store.
-
Search for the Alexa app: In the search bar, type “Alexa” and look for the official Amazon Alexa app. It should have the Amazon logo and be developed by Amazon Mobile LLC.
-
Select the app and install: Tap on the Alexa app icon to view the app description and details. Once you’re ready, press the “Install” or “Get” button to download and install the app on your device. The installation process may take a few moments.
-
Open the Alexa app: After the app has finished installing, locate the Alexa app icon on your home screen or app drawer and tap on it to open the app.
Once you have successfully downloaded and opened the Alexa app, you are one step closer to connecting your Echo Dot to Wi-Fi. In the next step, we will guide you through the process of setting up your Echo Dot within the app.
Step 3: Set up your Echo Dot in the app
With the Alexa app installed on your mobile device, you’re ready to begin setting up your Echo Dot. Follow these steps to get your device connected:
-
Open the Alexa app: Launch the Alexa app on your smartphone or tablet. If prompted, sign in with your Amazon account credentials. If you don’t have an Amazon account, you’ll need to create one before proceeding.
-
Add a new device: In the app’s navigation menu, click on the “Devices” tab. From there, tap the “+” icon in the upper-right corner to add a new device to your Alexa account.
-
Select “Amazon Echo”: In the device options, choose “Amazon Echo” from the list of available devices. If you are setting up a different Echo device model, such as Echo Plus or Echo Show, select the appropriate option.
-
Choose your Echo Dot model: On the next screen, you’ll need to specify the exact model of your Echo Dot. If you’re unsure, check the bottom of your device for the model name.
-
Follow the on-screen instructions: The Alexa app will guide you through the setup process with clear and concise instructions. You may be prompted to press and hold the “Action” button on your Echo Dot to enable pairing mode.
-
Connect to Wi-Fi: When prompted, select your home Wi-Fi network from the list of available networks. Enter the network password when prompted. The Alexa app will attempt to connect your Echo Dot to your Wi-Fi network.
Once the setup process is complete, the Alexa app will confirm that your Echo Dot is successfully connected to Wi-Fi. At this point, you can proceed to the next step to test the connectivity and functionality of your Echo Dot.
Step 4: Connect Echo Dot to Wi-Fi
Now that you have set up your Echo Dot in the Alexa app, it’s time to connect it to your Wi-Fi network. Follow these steps to establish a reliable connection:
-
Open the Alexa app: Launch the Alexa app on your mobile device.
-
Select your Echo Dot device: Tap on the “Devices” tab in the app’s navigation menu. Choose your Echo Dot from the list of available devices.
-
Tap on “Wi-Fi Network”: In the Echo Dot settings, click on the “Wi-Fi Network” option.
-
Choose your network: A list of available Wi-Fi networks will be displayed. Select your home Wi-Fi network from the list.
-
Enter your Wi-Fi password: When prompted, enter the password for your Wi-Fi network. Take care to enter it correctly, as Wi-Fi passwords are case-sensitive.
-
Connect to Wi-Fi: Click on the “Connect” button to establish a connection between your Echo Dot and your Wi-Fi network. The process may take a few moments.
-
Confirmation: Once the connection is established, you will receive a confirmation message in the Alexa app, indicating that your Echo Dot is now connected to Wi-Fi.
With your Echo Dot successfully connected to Wi-Fi, you can now enjoy the full range of features and capabilities it has to offer. Proceed to the next step to test the connectivity and functionality of your Echo Dot.
Step 5: Test your Echo Dot’s connectivity
After connecting your Echo Dot to Wi-Fi, it’s important to ensure that the device is properly functioning and has a stable connection. Here’s how you can test your Echo Dot’s connectivity:
-
Wake up your Echo Dot: Say the wake word, “Alexa,” followed by a command or question. For example, you can say, “Alexa, what’s the weather today?”
-
Check the response: If your Echo Dot responds promptly and provides the desired information or carries out the requested action, it indicates that your device is properly connected and working as expected.
-
Adjust the position: If your Echo Dot didn’t respond or had difficulty understanding your commands, try adjusting its position. Move it to a location that is closer to your Wi-Fi router and away from any potential sources of interference.
-
Restart and retest: If repositioning doesn’t improve the connectivity, you can try restarting your Echo Dot. Simply unplug it from the power outlet, wait for a few seconds, and then plug it back in. Once it’s restarted, test its connectivity again.
-
Check your network: If your Echo Dot continues to have connectivity issues, verify that your Wi-Fi network is functioning properly. Make sure there are no disruptions or problems with your internet connection.
-
Contact support: If you have exhausted all troubleshooting measures and your Echo Dot still isn’t functioning as expected, don’t hesitate to contact Amazon Customer Support for further assistance.
By testing your Echo Dot’s connectivity and addressing any potential issues, you can ensure optimal performance and a seamless user experience. Enjoy the convenience and functionality of your connected Echo Dot!
Conclusion
Setting up and connecting your Echo Dot to Wi-Fi is an essential step in unlocking the full potential of this smart device. With the ability to control your smart home, play music, and access a wealth of information with just your voice, the Echo Dot brings unprecedented convenience and functionality to your everyday life.
In this guide, we walked through the step-by-step process of connecting your Echo Dot to Wi-Fi. We started by preparing the device, downloading the Alexa app, setting up the Echo Dot within the app, connecting it to your Wi-Fi network, and finally testing its connectivity. These simple steps ensure that your Echo Dot is properly connected and ready to be used to its fullest extent.
Remember, if you encounter any issues during the setup process or have ongoing connectivity problems, don’t hesitate to contact Amazon Customer Support for assistance. They are dedicated to helping you make the most out of your Echo Dot and ensuring a seamless user experience.
Now that your Echo Dot is connected to Wi-Fi, you can explore the wide range of skills and features available through Alexa. From controlling your smart home devices to playing your favorite songs, the possibilities are endless. Get ready to embrace the convenience and efficiency of voice-controlled technology as you enjoy the benefits of your connected Echo Dot!