Introduction
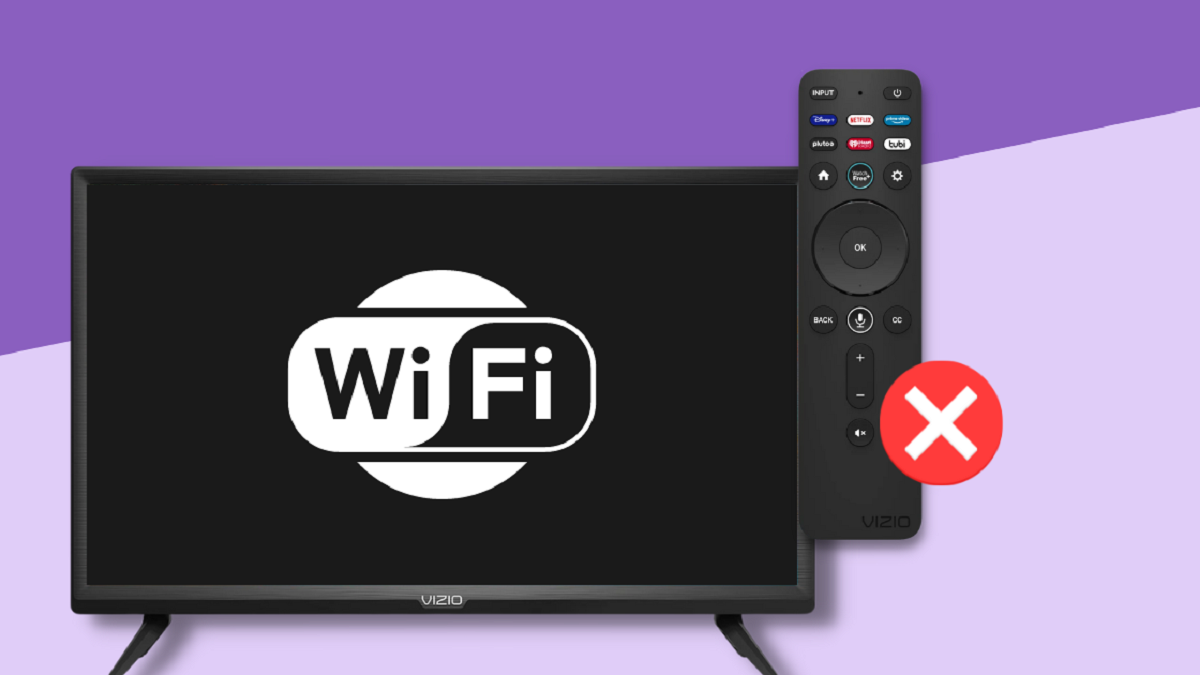
In today’s digital age, having a smart TV has become a common feature in many households. These advanced televisions offer a plethora of features and entertainment options, including the ability to connect to the internet and stream your favorite content. However, before you can enjoy all the benefits of a smart TV, you need to connect it to your home Wi-Fi network.
Connecting your smart TV to Wi-Fi allows you to access online streaming services, browse the web, and even control your TV using smartphone apps. Additionally, it opens up a world of possibilities for downloading apps, playing games, and staying up to date with the latest news and social media platforms.
Although connecting a smart TV to Wi-Fi might seem like a daunting task, it is actually quite simple and straightforward. In this guide, we will walk you through the step-by-step process of connecting your smart TV to your Wi-Fi network, ensuring that you can start enjoying all the benefits of a connected television in no time.
Whether you’re a tech-savvy individual or a complete beginner, this guide will provide you with the necessary information and instructions to successfully connect your smart TV to Wi-Fi. So let’s dive in and get started on this exciting journey to seamlessly connect your smart TV to the digital world!
Step 1: Check the TV’s Wi-Fi capabilities
Before you begin the process of connecting your smart TV to Wi-Fi, it is crucial to ensure that your TV has built-in Wi-Fi capabilities. Most modern smart TVs come with this feature, but it’s always a good idea to double-check.
Start by locating the specifications for your TV. You can find this information in the user manual that came with your TV or by visiting the manufacturer’s website and searching for your TV model.
If your TV does not have built-in Wi-Fi capabilities, don’t worry! You still have options to connect it to the internet. One option is to use an Ethernet cable to connect your TV directly to your router. This will provide a stable and reliable connection. Alternatively, you can purchase a Wi-Fi adapter or dongle that is compatible with your TV model. These devices plug into the USB port of your TV and enable it to connect to your Wi-Fi network.
Once you have confirmed that your TV has Wi-Fi capabilities or have made the necessary arrangements to connect it to the internet, you are ready to proceed to the next step.
It is worth noting that some older or budget smart TVs may have limited Wi-Fi capabilities, such as support for only 2.4GHz Wi-Fi networks. If you have a dual-band router that supports both 2.4GHz and 5GHz networks, make sure your TV is compatible with the network you plan to connect it to. This information can also be found in the TV specifications.
Now that you’re aware of your TV’s Wi-Fi capabilities, let’s move on to the next step, where we will locate the Wi-Fi settings on the TV and begin the connection process.
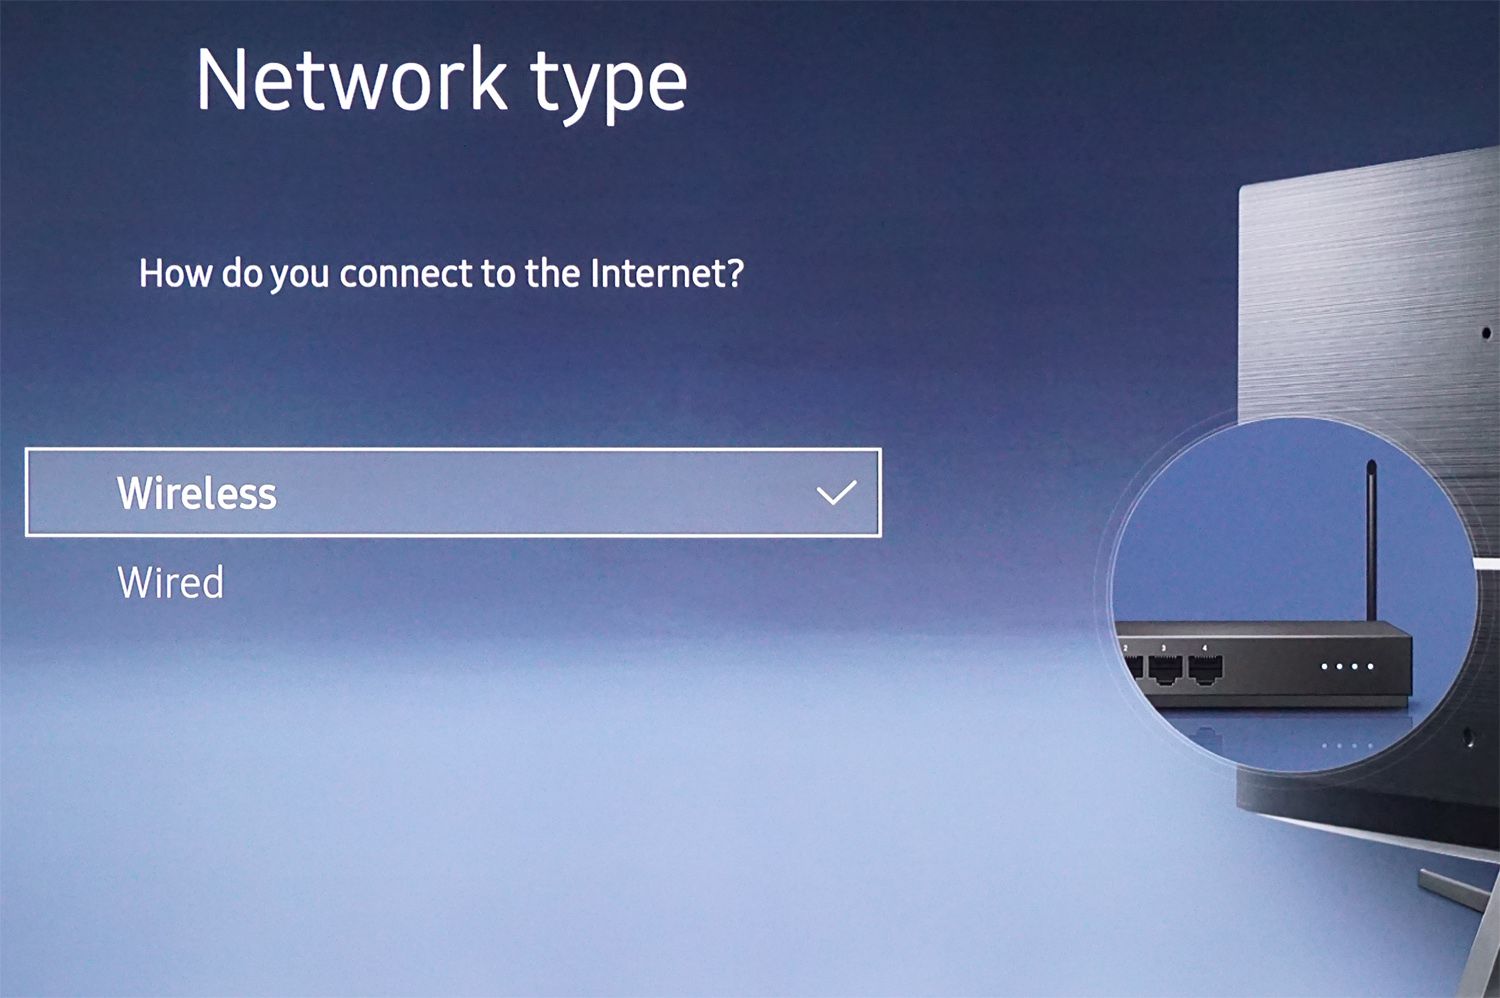
Step 2: Locate the Wi-Fi settings on the TV
Once you have confirmed that your smart TV has Wi-Fi capabilities, the next step is to locate the Wi-Fi settings on the TV. The exact steps may vary depending on the TV brand and model, but here are some general guidelines to help you find the Wi-Fi settings:
- Turn on your smart TV and grab your TV remote.
- Look for a button or icon on the remote control that represents settings. It may be labeled as “Settings,” “Menu,” or have a gear or cogwheel symbol.
- Press the settings button or navigate to the settings menu using the arrow keys on your remote.
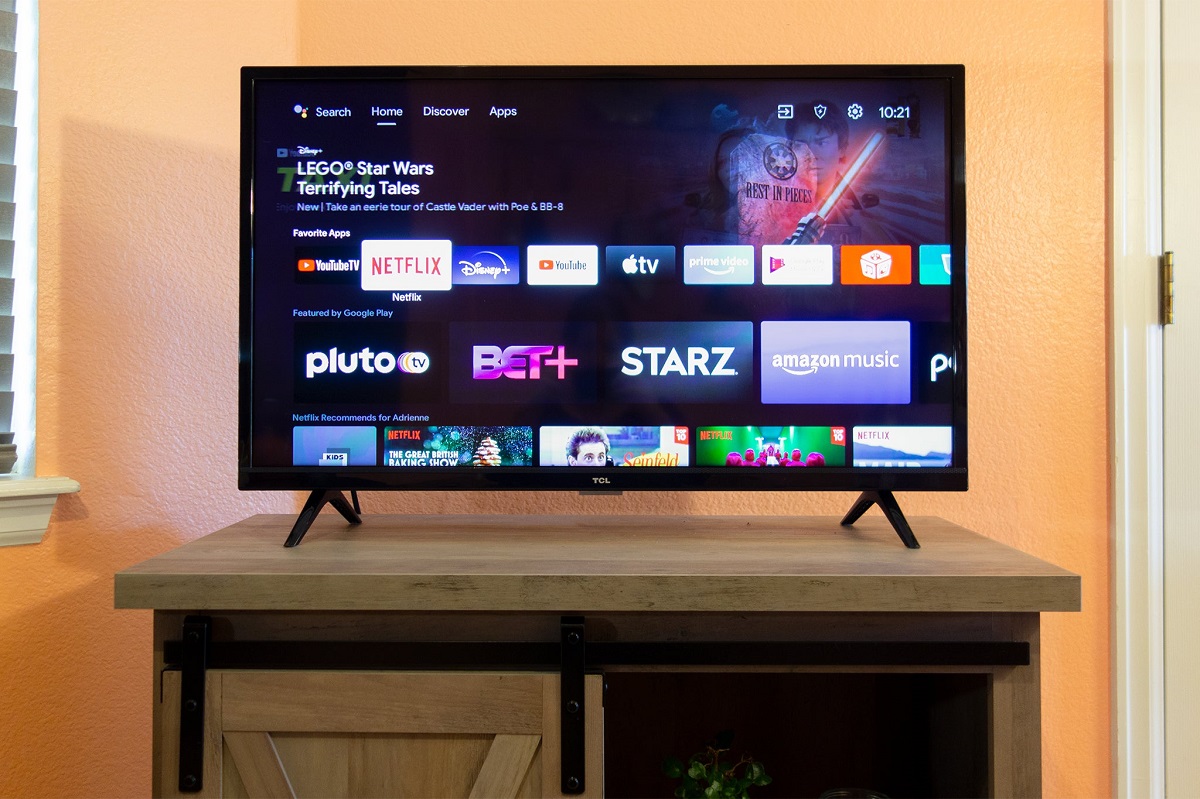
- In the settings menu, look for an option related to “Network” or “Wi-Fi.” It may be listed under a sub-menu like “Connectivity” or “Internet.”
- Once you have found the Wi-Fi settings, select it to access the options related to Wi-Fi connectivity.
In some cases, your smart TV may automatically start scanning for available Wi-Fi networks once you enter the Wi-Fi settings menu. If not, look for an option to “Scan for networks” or a similar phrase and select it. This will initiate a search for nearby Wi-Fi networks that your TV can connect to.
Keep in mind that different TV models or software versions may have slight variations in the steps outlined above. If you’re having trouble locating the Wi-Fi settings on your specific TV, refer to the user manual or manufacturer’s website for detailed instructions.
Now that you have found the Wi-Fi settings on your smart TV, it’s time to move on to the next step, where we’ll connect the TV to your home Wi-Fi network.
Step 3: Connect the TV to your home Wi-Fi network
Now that you have located the Wi-Fi settings on your smart TV, it’s time to connect it to your home Wi-Fi network. Follow the steps below to establish the Wi-Fi connection:
- From the Wi-Fi settings menu on your smart TV, you should see a list of available Wi-Fi networks. Select your home Wi-Fi network from the list.
- If your Wi-Fi network is password-protected (which is recommended for security reasons), the TV will prompt you to enter the Wi-Fi password. Use the remote control or the on-screen keyboard to enter the password, and double-check for any typing errors.
- Once you have entered the correct password, select the option to connect to the Wi-Fi network.
- Your smart TV will now attempt to establish a connection to your home Wi-Fi network. You may see a loading or progress bar indicating the connection process.
- After a successful connection, your smart TV will display a confirmation message or an indication that it is now connected to your Wi-Fi network.
It’s important to note that the exact steps and wording may vary slightly depending on the TV brand and model. However, most smart TVs follow a similar process for connecting to Wi-Fi networks.
Once your smart TV is connected to your home Wi-Fi network, it will remember the network and automatically connect to it whenever it is turned on and within range of the network signal. This eliminates the need to re-enter the Wi-Fi password every time you want to use your smart TV.
Now that your smart TV is successfully connected to your home Wi-Fi network, you can enjoy seamless access to online streaming services, web browsing, and other internet-related features right from your television.
Step 4: Enter the Wi-Fi password
After selecting your home Wi-Fi network in the previous step, your smart TV will prompt you to enter the Wi-Fi password. This step is crucial to ensure a secure connection to your network. Follow the instructions below to enter the Wi-Fi password correctly:
- Using your TV remote or the on-screen keyboard, enter the Wi-Fi password carefully. Take your time to avoid any errors, as a single mistake can prevent your TV from connecting to the network.
- Most smart TVs display the entered password as dots or asterisks to maintain privacy. This way, anyone watching the TV screen won’t be able to see the actual characters of your password.
- If you make a mistake while entering the password, use the arrow keys or the remote’s navigation buttons to move the cursor to the incorrect character and correct it.
- Ensure that the password you enter matches the Wi-Fi password of your home network exactly. Wi-Fi passwords are case-sensitive, so be mindful of uppercase and lowercase letters.
- Double-check the password before proceeding to the next step to ensure it is entered accurately. This is especially important for long and complex passwords.
Once you are confident that the Wi-Fi password has been entered correctly, proceed to connect your smart TV to the Wi-Fi network according to the prompts on the screen.
If you are unsure about the Wi-Fi password for your home network, you can find it by checking your router settings or contacting your internet service provider (ISP) for assistance. It is recommended to keep your Wi-Fi password secure and periodically update it for enhanced network security.
Now that you have successfully entered the Wi-Fi password, your smart TV is ready to establish a connection with your home network. Let’s move on to the next step to test the connection and ensure it is working properly.
Step 5: Test the connection
After connecting your smart TV to your home Wi-Fi network and entering the Wi-Fi password, it’s essential to test the connection to ensure everything is working as expected. Follow the steps below to test the connection:
- Access the menu or settings on your smart TV using the remote control.
- Navigate to the network or Wi-Fi settings section, where you initially connected to your Wi-Fi network.
- Look for an option such as “Test Connection,” “Network Status,” or “Check Connection.”
- Select this option to initiate a test of your smart TV’s connection to the Wi-Fi network.
- The smart TV will now perform a series of tests to determine the network’s signal strength, connectivity, and speed.
- After completing the tests, your smart TV will display the results, indicating whether the connection is successful.
- If the test shows a successful connection, you can proceed to use your smart TV to access various online services and applications.
- If the test indicates any connectivity issues or failures, review the TV’s settings, ensure that the password was entered correctly, and consider restarting your TV and router to troubleshoot the problem.
It’s important to periodically test your smart TV’s Wi-Fi connection, especially after setting it up for the first time or experiencing any connectivity issues. Regular testing helps identify any potential problems early on.
If the connection test does not yield satisfactory results, refer to the TV’s user manual, manufacturer’s website, or contact customer support for further troubleshooting steps specific to your TV model.
Now that you have successfully tested the connection, you can confidently start enjoying the various online features and entertainment options that your smart TV offers.
Step 6: Troubleshooting common issues
While connecting your smart TV to Wi-Fi is usually a smooth process, there may be instances where you encounter some common issues. Here are some troubleshooting tips to help resolve these problems:
- Weak signal or connectivity issues: If your smart TV is located far from your Wi-Fi router or if there are obstructions causing a weak signal, consider moving the router closer to the TV or using a Wi-Fi range extender. Additionally, ensure that there are no other devices interfering with the Wi-Fi signal, such as microwave ovens or cordless phones.
- Incorrect password or authentication failure: Double-check the Wi-Fi password you entered on your smart TV, making sure it matches the password of your home Wi-Fi network precisely. It’s also a good idea to reset your Wi-Fi password and try again if issues persist.
- Outdated firmware or software: Check if there are any available firmware or software updates for your smart TV. Sometimes, outdated software can cause compatibility issues with Wi-Fi networks. Update your TV’s firmware/software following the manufacturer’s instructions.
- Router issues: Restart your Wi-Fi router by unplugging it from the power source, waiting for a few seconds, and then plugging it back in. This can resolve temporary connectivity issues between the TV and the router.
- Signal interference: If you’re experiencing intermittent Wi-Fi connectivity or slow speeds, check if there are other electronic devices nearby that may cause signal interference. Move these devices away from your TV and router to improve the Wi-Fi signal quality.
- Reset network settings: As a last resort, you can try resetting your TV’s network settings to the factory default. Keep in mind that doing this will remove any customized network configurations, and you’ll need to set up the Wi-Fi connection again from scratch.
If you have tried these troubleshooting steps but are still experiencing issues, it’s recommended to consult the user manual of your smart TV, visit the manufacturer’s support website, or contact customer support for further assistance. They will be able to provide specific guidance based on your TV model and help you resolve any persistent Wi-Fi connectivity problems.
By following these troubleshooting steps, you can overcome common issues and enjoy uninterrupted Wi-Fi connectivity on your smart TV.
Conclusion
Congratulations! You have successfully connected your smart TV to your home Wi-Fi network. By following the step-by-step process outlined in this guide, you can now enjoy the benefits of a connected television, including access to online streaming services, web browsing, and a world of exciting digital content.
We started by checking the Wi-Fi capabilities of your smart TV and ensuring that it is capable of connecting to your home network. Then, we located the Wi-Fi settings on the TV, entered the Wi-Fi password, and established the connection. We emphasized the importance of entering the password accurately to ensure a secure and reliable connection.
After connecting to your Wi-Fi network, we tested the connection to confirm its functionality. This step ensured that your smart TV is properly connected and ready to deliver an excellent online experience. Additionally, we provided troubleshooting tips for common issues that you may encounter during the setup process, ensuring that you can resolve any connectivity problems effectively.
Remember, technology is constantly evolving, and Smart TVs are no exception. It’s always a good idea to keep your smart TV’s firmware updated and periodically check for software updates to ensure optimal performance and compatibility with your home Wi-Fi network.
If you encounter any further difficulties or have specific issues with your smart TV’s Wi-Fi connection, consult the user manual, visit the manufacturer’s support website, or contact customer support for personalized assistance.
Now, sit back, relax, and enjoy the convenience and entertainment that your connected smart TV brings to your home. Whether you’re streaming your favorite shows, browsing the internet, or connecting with friends on social media, your smart TV opens up a new world of possibilities right at your fingertips.
Thank you for following this guide, and happy streaming!