Introduction
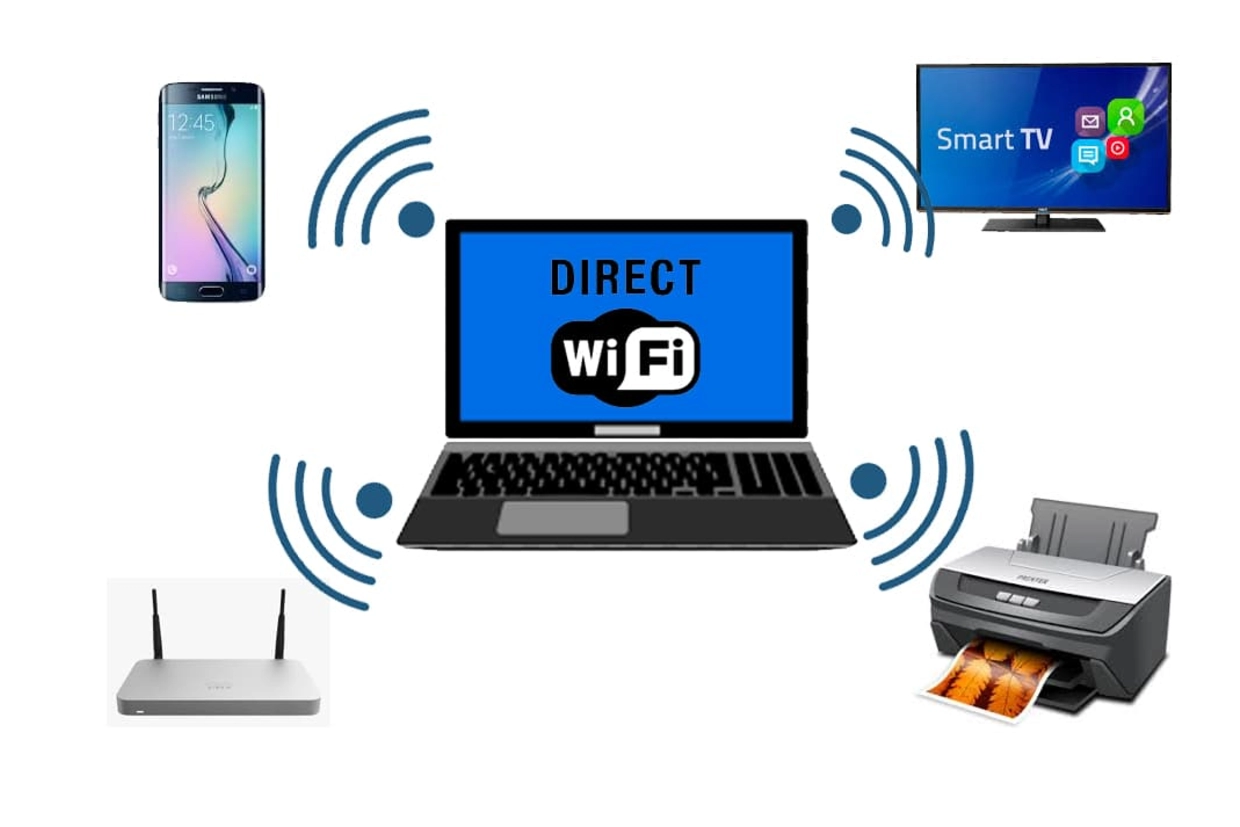
Welcome to this guide on how to connect a printer to Wi-Fi. With the increasing reliance on wireless connectivity, being able to connect your printer to Wi-Fi can greatly improve convenience and productivity. Gone are the days of dealing with tangled cables and limited location options. By connecting your printer to Wi-Fi, you can print documents from multiple devices without needing a direct physical connection.
In this article, we will walk you through the step-by-step process of connecting your printer to Wi-Fi. Whether you have a new printer or an existing one, we will provide you with all the information you need to successfully set up a Wi-Fi connection. By the end of this guide, you will be able to effortlessly print wirelessly from your laptop, tablet, or smartphone.
Before we dive into the steps, it’s important to note that the specific process may vary slightly depending on the printer model and brand. However, the general principles and concepts remain the same. If you’re unsure about any of the steps or encounter any difficulties during the setup, it’s always a good idea to refer to the printer’s manual or contact the manufacturer’s support for assistance.
Now, let’s get started with the first step: checking your printer’s compatibility with Wi-Fi.
Step 1: Check your printer’s compatibility with Wi-Fi
Before attempting to connect your printer to Wi-Fi, it’s important to ensure that your printer is compatible with wireless connectivity. Not all printers come with built-in Wi-Fi capabilities, especially older models. Here’s how you can check the compatibility:
- Refer to the printer’s manual: The best place to start is by referring to the user manual or documentation that came with your printer. The manual will provide detailed information about the printer’s features and whether it supports wireless connectivity.
- Check the printer’s control panel: Some printers have a built-in display or control panel that will indicate whether Wi-Fi is supported or not. Look for Wi-Fi symbols or wireless connectivity options in the menu.
- Visit the manufacturer’s website: If you’re still unsure about your printer’s compatibility, visit the manufacturer’s website and look for the specifications of your printer model. The website should provide information on whether the printer supports Wi-Fi or if there are any additional accessories needed for wireless connectivity.
If you discover that your printer does not have built-in Wi-Fi support, don’t worry. There are alternative methods to enable Wi-Fi printing, such as using a wireless print server or connecting your printer to a wireless router using an Ethernet cable.
Once you have confirmed the compatibility of your printer with Wi-Fi, you’re ready to move on to the next step: connecting your printer to Wi-Fi. In the following section, we will guide you through the process of establishing a wireless connection between your printer and your Wi-Fi network.
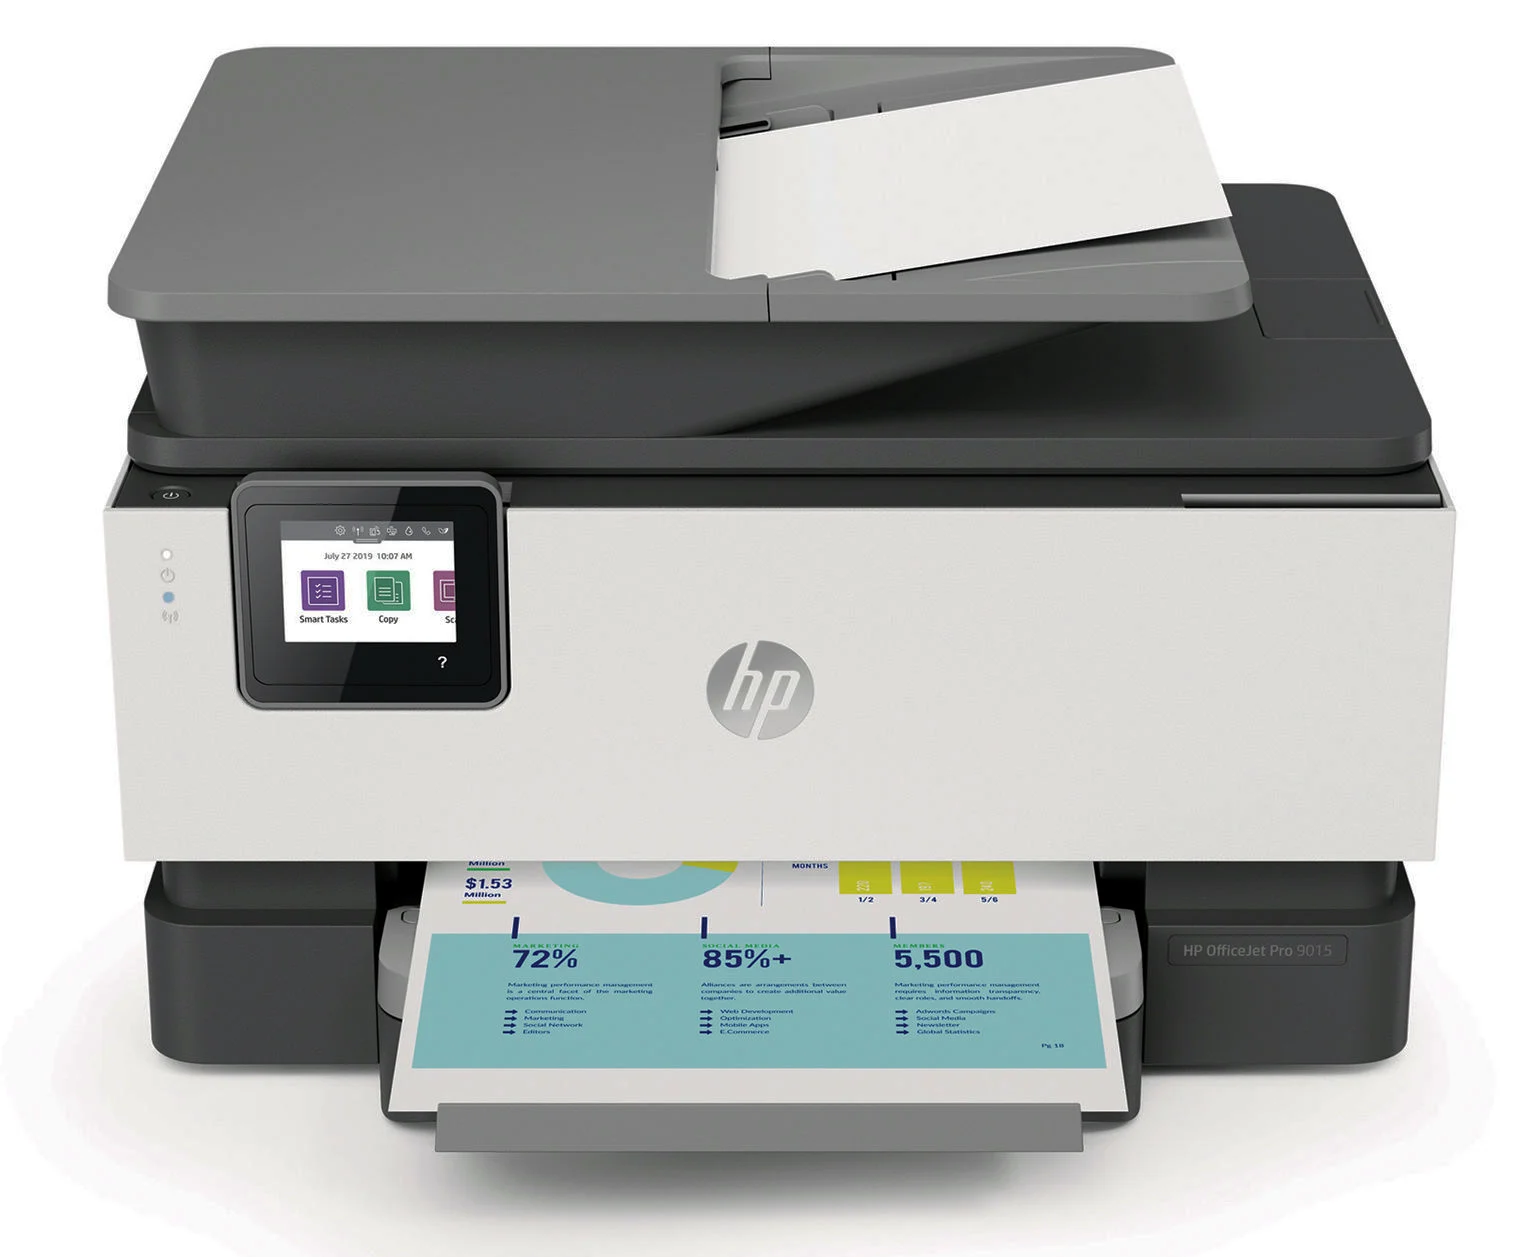
Step 2: Connect your printer to Wi-Fi
Now that you’ve confirmed your printer’s compatibility with Wi-Fi, it’s time to connect it to your wireless network. Follow these steps to establish the connection:
- Access your printer’s settings: Start by turning on your printer and accessing its settings or control panel. The location of the settings may vary depending on the printer model.
- Locate the Wi-Fi setup option: Look for the Wi-Fi setup or network settings option in your printer’s settings menu. This option might be labeled differently, but it usually indicates the printer’s network connectivity settings.
- Select your Wi-Fi network: Once you find the Wi-Fi setup option, your printer will display a list of available wireless networks. Select your Wi-Fi network from the list.
- Enter the Wi-Fi password: If your Wi-Fi network is password-protected, your printer will prompt you to enter the password. Use the printer’s control panel or on-screen keyboard to input the correct password and proceed.
- Wait for the confirmation: After entering the Wi-Fi password, your printer will attempt to establish a connection with the network. Wait for a few moments as the printer connects to the Wi-Fi network. Once the connection is established, you will see a confirmation message or indicator on the printer’s control panel.
It’s essential to ensure that you enter the correct Wi-Fi password to successfully connect your printer to the network. Double-check the password for any typos or case-sensitive characters. If you encounter any issues during the connection process, consult the printer’s manual or contact the manufacturer’s support for guidance.
With your printer successfully connected to Wi-Fi, you’re now ready to proceed to the next step: finding your printer’s IP address. We will explain the importance of the IP address and guide you through the process of finding it in the upcoming section.
Step 3: Find your printer’s IP address
After connecting your printer to Wi-Fi, the next step is to find its IP address. The IP address is a unique identifier that allows devices on a network to communicate with each other. To find your printer’s IP address, follow these steps:
- Access your printer’s settings: Start by navigating to your printer’s settings or control panel, similar to how you did in the previous step.
- Look for network settings: Within the settings menu, locate the network settings option. This may be labeled as “Network,” “Network Settings,” or something similar.
- Find IP address or TCP/IP: Once you’re in the network settings, search for the IP address or TCP/IP option. Depending on the printer model, the location of this information may vary.
- Note down the IP address: When you find the IP address, make a note of it. It will typically be a series of numbers separated by periods, such as 192.168.1.10.
The IP address is crucial for establishing a connection between your computer or other devices and the printer. It allows you to send print commands and manage printer settings over the network. Make sure to keep the IP address in a safe place for future reference.
If you’re unable to find the IP address through the printer’s settings, there are alternative methods to discover it:
- Print a network configuration page: Many printers have the option to print a network configuration page, which includes information such as the IP address. Consult your printer’s manual to find out how to print this page.
- Use a network scanning tool: Another way to locate the printer’s IP address is by using a network scanning tool. These tools scan your network and display a list of connected devices along with their assigned IP addresses. There are various network scanning tools available online, some of which are free to use.
Now that you’ve obtained your printer’s IP address, you can proceed to the next step: adding your printer to your computer. We will cover this process and provide detailed instructions in the following section.
Step 4: Add your printer to your computer
Once you have your printer’s IP address, the next step is to add it to your computer. Adding your printer allows your computer to recognize and communicate with the printer over the Wi-Fi network. Follow these steps to add your printer to your computer:
- Open the Control Panel: On your computer, open the Control Panel from the Start menu or by searching for it using the search bar.
- Select “Devices and Printers”: In the Control Panel, navigate to the “Devices and Printers” or “Printers and Scanners” section.
- Click on “Add a printer” or “Add a device”: Look for the option to add a printer or device. Click on it to start the printer installation process.
- Choose the “Add a network, wireless, or Bluetooth printer” option: Select the appropriate option based on your printer’s connectivity method.
- Select your printer from the list: Your computer will search for available printers on the network. When your printer is detected, click on it to select it.
- Follow the on-screen instructions: Depending on your operating system and printer model, you may be prompted to install additional drivers or software. Follow the on-screen instructions to complete the installation process.
During the installation process, you may be asked to enter the IP address of your printer. Simply enter the IP address you obtained in the previous step and continue with the installation. If the installation is successful, your computer will recognize the printer, and it will appear in the list of printers in the Control Panel.
If your printer doesn’t appear in the list after searching, ensure that your computer and printer are connected to the same Wi-Fi network. Double-check the IP address and network settings of your printer, and make sure there are no firewall or network restrictions that may prevent the connection.
Once you have successfully added your printer to your computer, you can start printing documents wirelessly. However, before you do that, it’s a good idea to perform a test print and troubleshoot any potential issues. We will cover this in the next section.
Step 5: Test the connection and troubleshoot any issues
After adding your printer to your computer, it’s essential to test the connection and ensure everything is working smoothly. Here are the steps to test the connection and troubleshoot any issues:
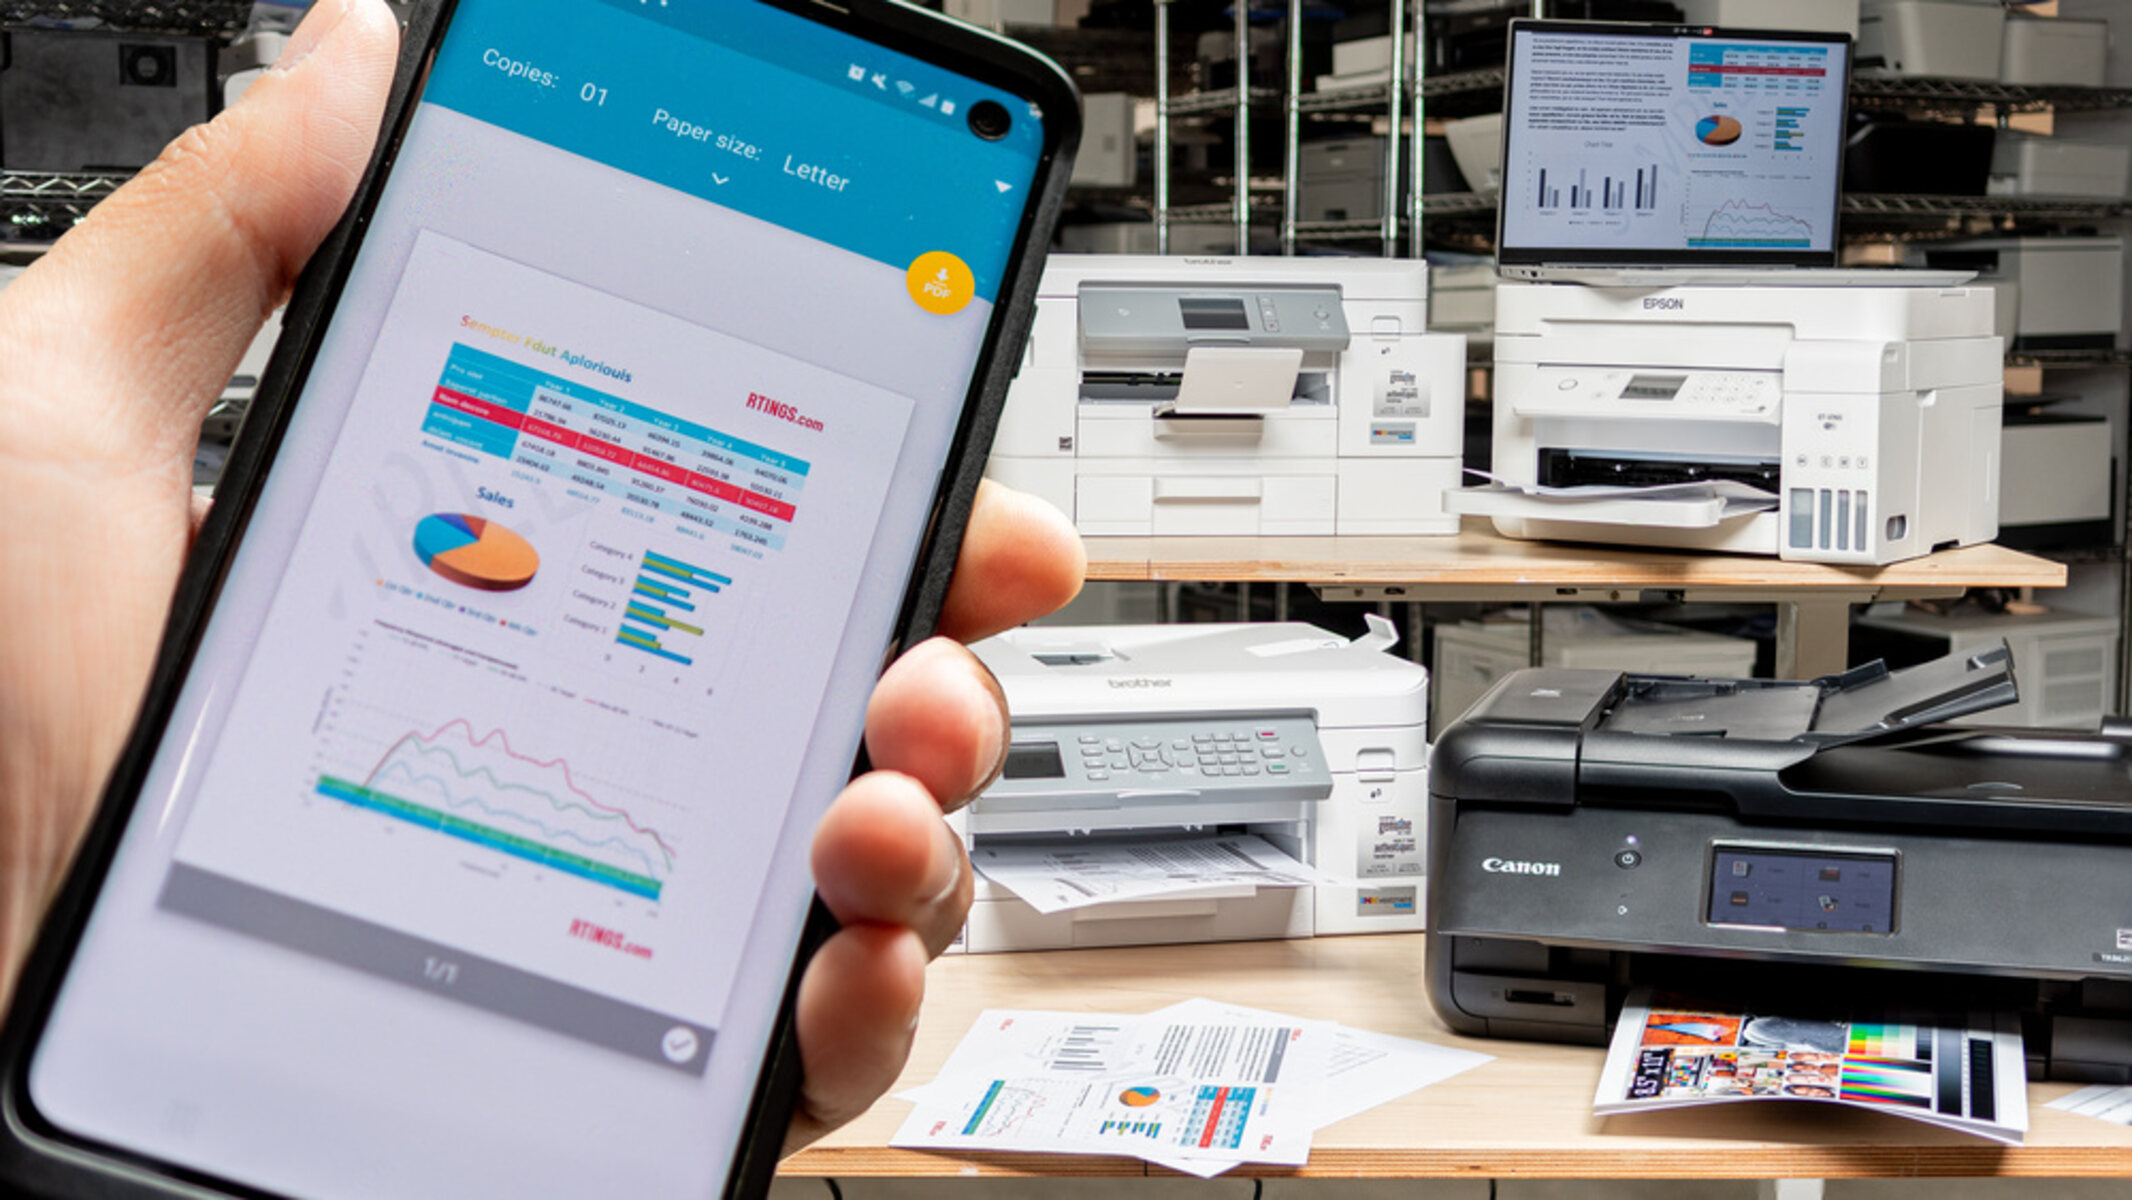
- Print a test page: To verify the printing capability, try printing a test page from your computer. Right-click on your printer in the “Devices and Printers” section of the Control Panel, and select the option to print a test page. If the test page prints successfully, it indicates that the connection is working correctly.
- Check printer status and ink/toner levels: It’s recommended to regularly check the printer’s status and ink/toner levels to avoid any printing issues. Most printers come with software that allows you to monitor printer status and perform maintenance tasks, such as checking ink levels and cleaning printheads.
- Troubleshoot common issues: If you encounter any issues with the printer, such as the printer not responding or print quality problems, try the following troubleshooting steps:
- Ensure that the printer is powered on and connected to the Wi-Fi network.
- Restart your computer and printer to refresh the connection.
- Update printer drivers: Visit the manufacturer’s website and check for any available driver updates for your printer model. Install any updates to ensure compatibility and performance.
- Check for paper jams or other physical obstructions in the printer.
- Verify that the printer is selected as the default printer in your computer’s settings.
- Refer to the printer’s manual or the manufacturer’s support website for specific troubleshooting steps related to your printer model.
If you are unable to resolve the printing issues even after troubleshooting, it may be necessary to seek assistance from the manufacturer’s support team or a qualified technician.
Congratulations! You have successfully connected your printer to Wi-Fi and added it to your computer. Now you can enjoy the convenience of wireless printing from your devices. Remember to keep your printer and its software up-to-date and perform regular maintenance to ensure optimal performance.
Conclusion
Congratulations on successfully connecting your printer to Wi-Fi! You have now unlocked the convenience of wireless printing, allowing you to print documents from multiple devices without the hassle of wires and cables. By following the steps outlined in this guide, you have gained the knowledge and skills to easily set up a Wi-Fi connection for your printer.
We began by checking the compatibility of your printer with Wi-Fi and ensuring that it supports wireless connectivity. Then, we walked you through the process of connecting your printer to your Wi-Fi network, entering the Wi-Fi password, and waiting for the confirmation. Next, we discussed the importance of finding your printer’s IP address and provided methods to locate it. After that, we guided you in adding your printer to your computer, enabling you to print wirelessly from your computer to the connected printer.
Finally, we discussed the importance of testing the connection and troubleshooting any potential issues that may arise. By performing a test print, checking printer status, and troubleshooting common problems, you can ensure that your printer is functioning properly and address any issues that may hinder printing efficiency.
Remember, if you encounter any difficulties during the setup process or face ongoing issues with your printer, refer to the printer’s manual or contact the manufacturer’s support for additional guidance and assistance. They are experts in their products and can provide specific troubleshooting steps for your printer model.
Enjoy the convenience and freedom that Wi-Fi printing offers. Whether you need to print important documents for work or school, or simply want to print memorable photos, wireless printing simplifies the process and enhances your printing experience.
Thank you for following this guide, and happy wireless printing!