Introduction
Welcome to our step-by-step guide on how to connect a PC case to a laptop. In today’s tech-savvy world, many users are looking for ways to enhance their computing experience. Connecting a PC case to a laptop can provide additional storage space, better cooling options, and the ability to customize the hardware configuration.
While it may seem like a complex task, with the right equipment and proper guidance, anyone can successfully connect a PC case to a laptop. In this guide, we will walk you through the process, from gathering the necessary equipment to powering on and configuring the setup.
Before we dive into the steps, it’s important to note that connecting a PC case to a laptop requires basic technical skills and understanding of computer hardware. If you’re not comfortable working with electronic components or uncertain about any step, it’s always best to consult a professional to avoid any damage to your devices.
Now, let’s get started and explore how you can connect a PC case to a laptop to enhance your computing experience.
Step 1: Gather the necessary equipment
Before you begin, it’s crucial to gather all the necessary equipment to ensure a smooth and successful process of connecting a PC case to your laptop. Here’s a list of items you’ll need:
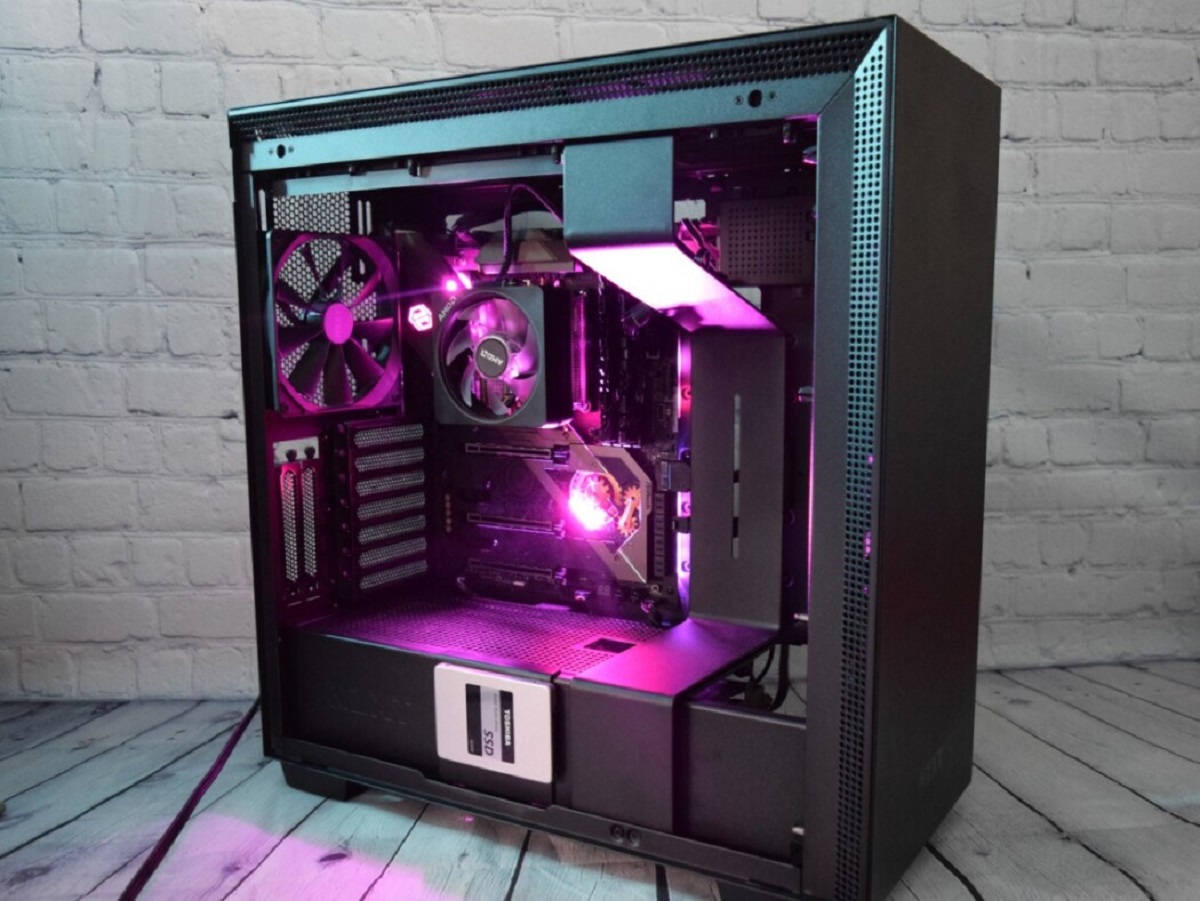
1. PC case:
Select a PC case that is compatible with your laptop. Consider factors such as size, design, and cooling options. Make sure the case has enough space to accommodate the components you want to install.
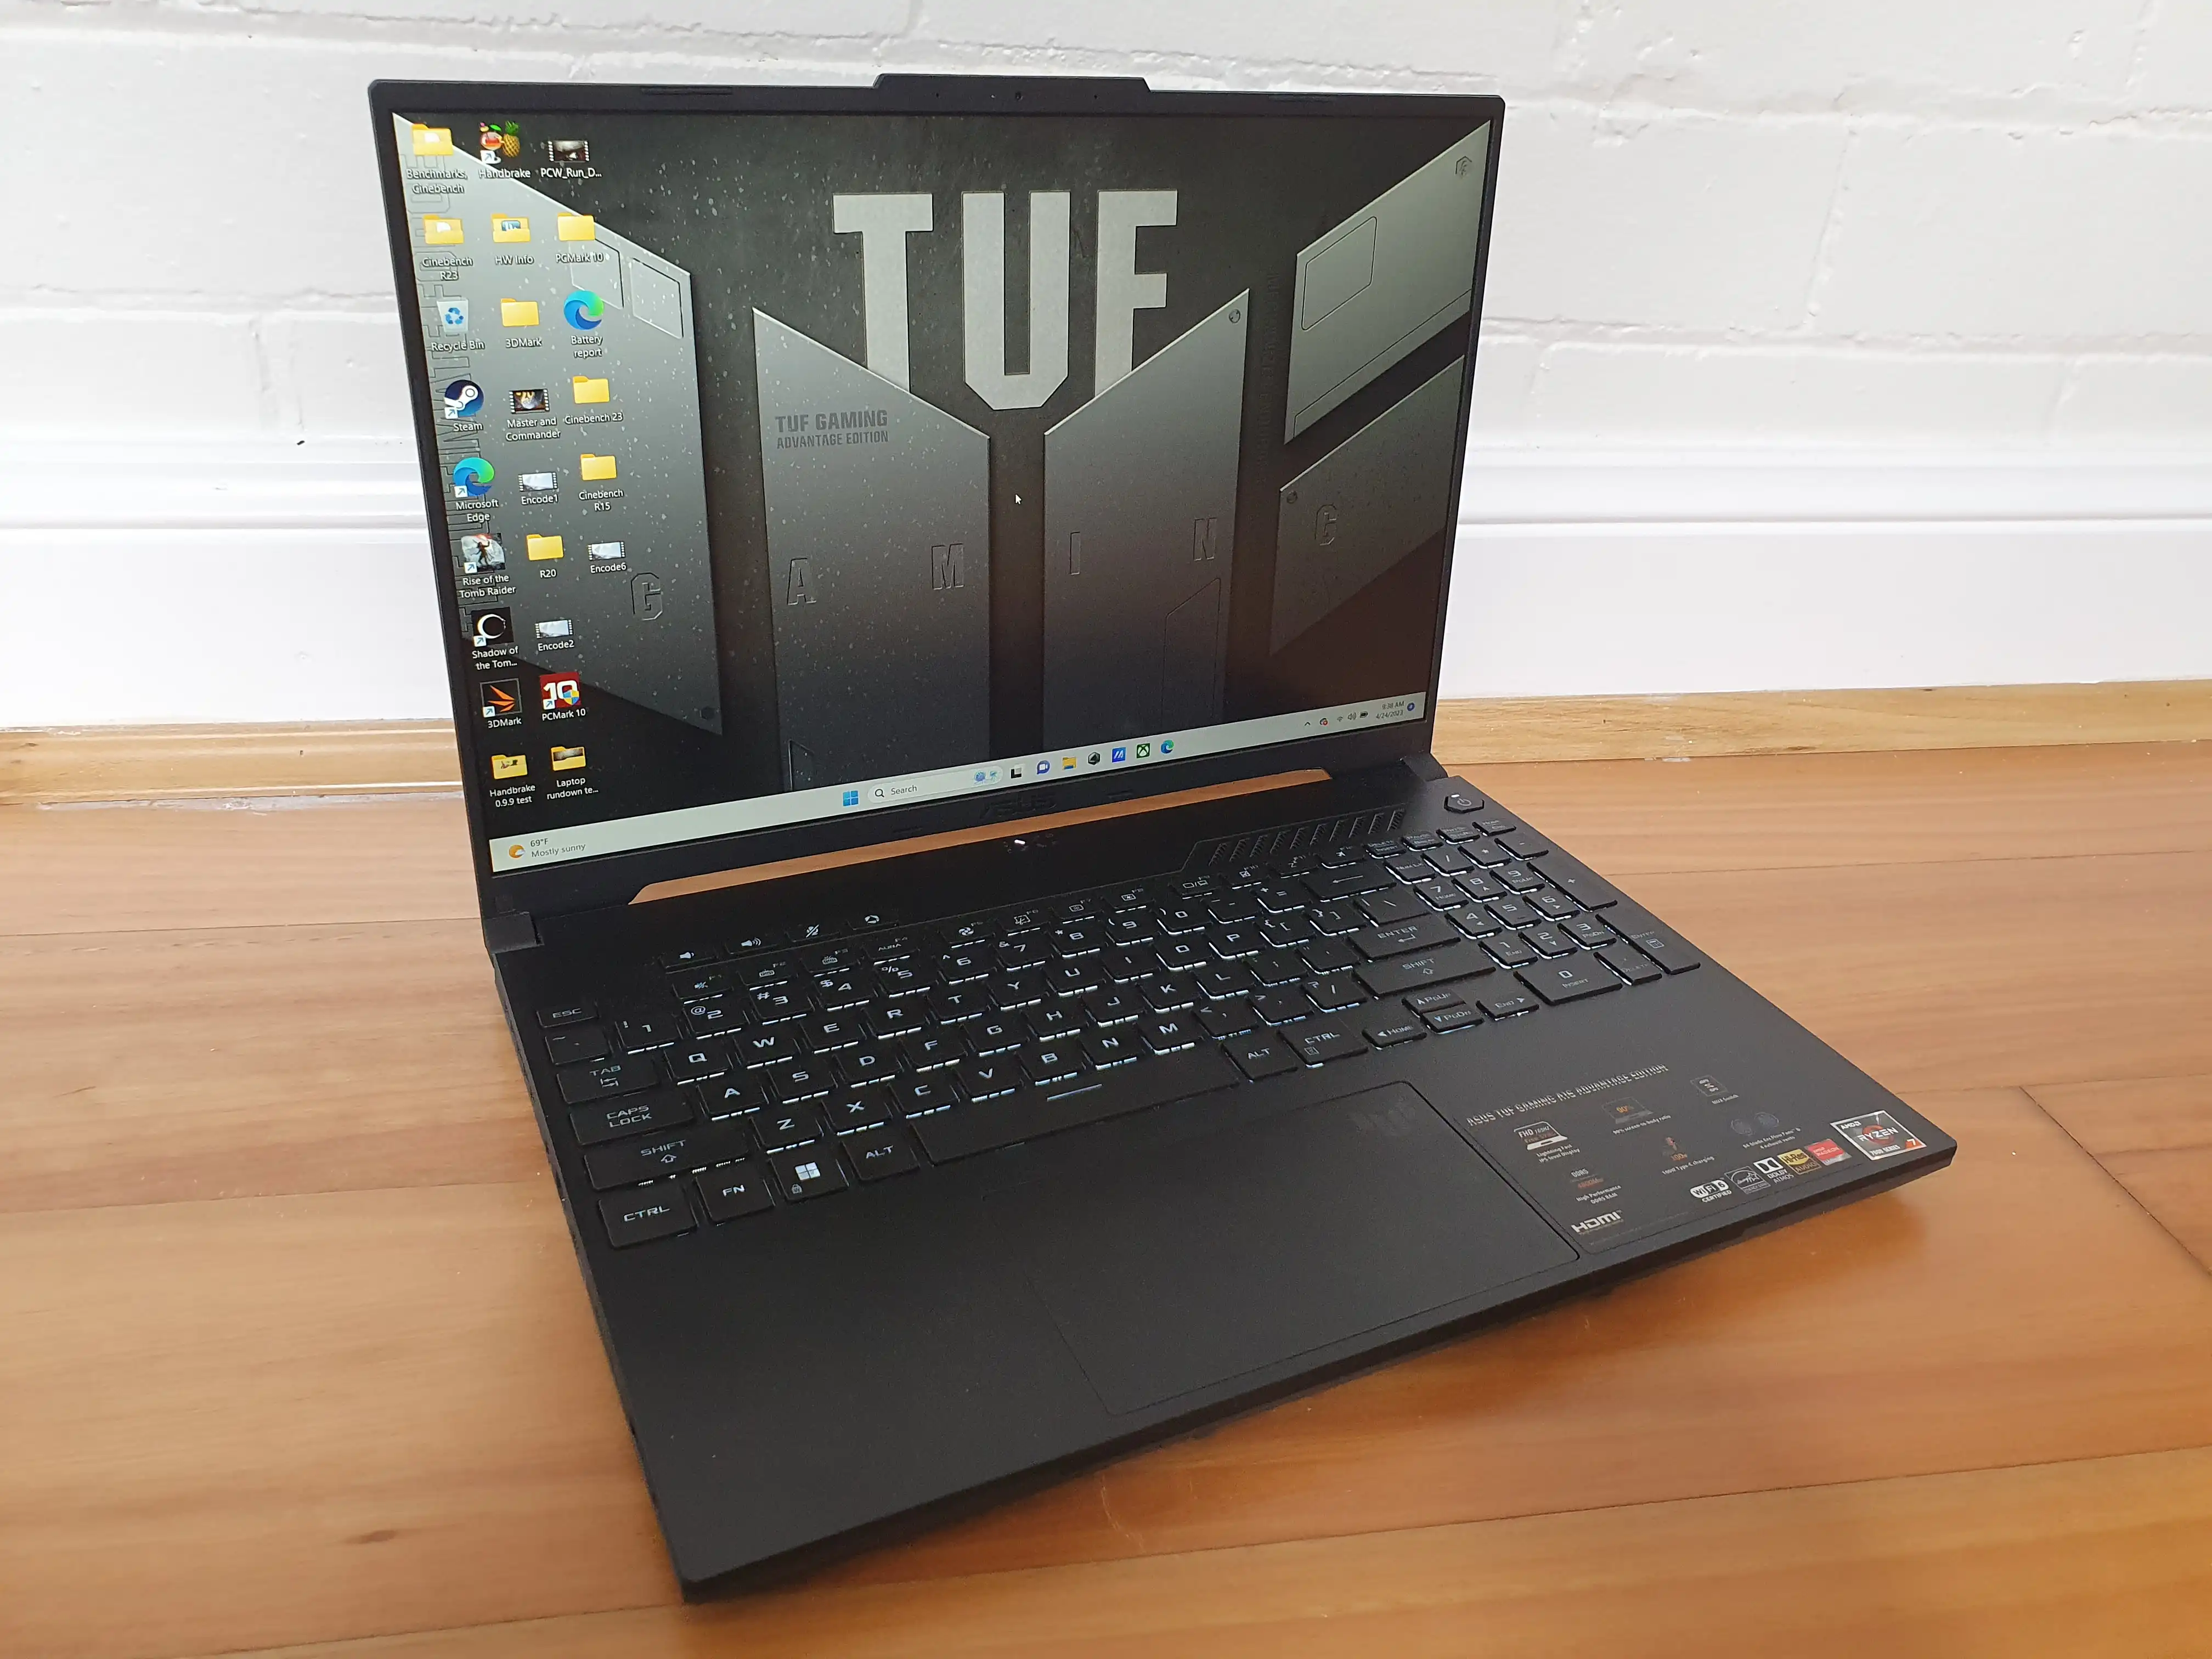
2. Laptop:
You’ll need a laptop with the necessary ports and capabilities to connect to the PC case. Ensure that your laptop supports external hardware connections and has the necessary connectivity options.
3. Screwdriver:
A screwdriver is essential for opening and securing the PC case and laptop. Make sure you have the right type and size to fit the screws used in your equipment.
4. SATA cables:
SATA cables are used to connect the internal storage devices such as hard drives and solid-state drives (SSDs) to the motherboard. Ensure you have the appropriate SATA cables for your specific hardware.
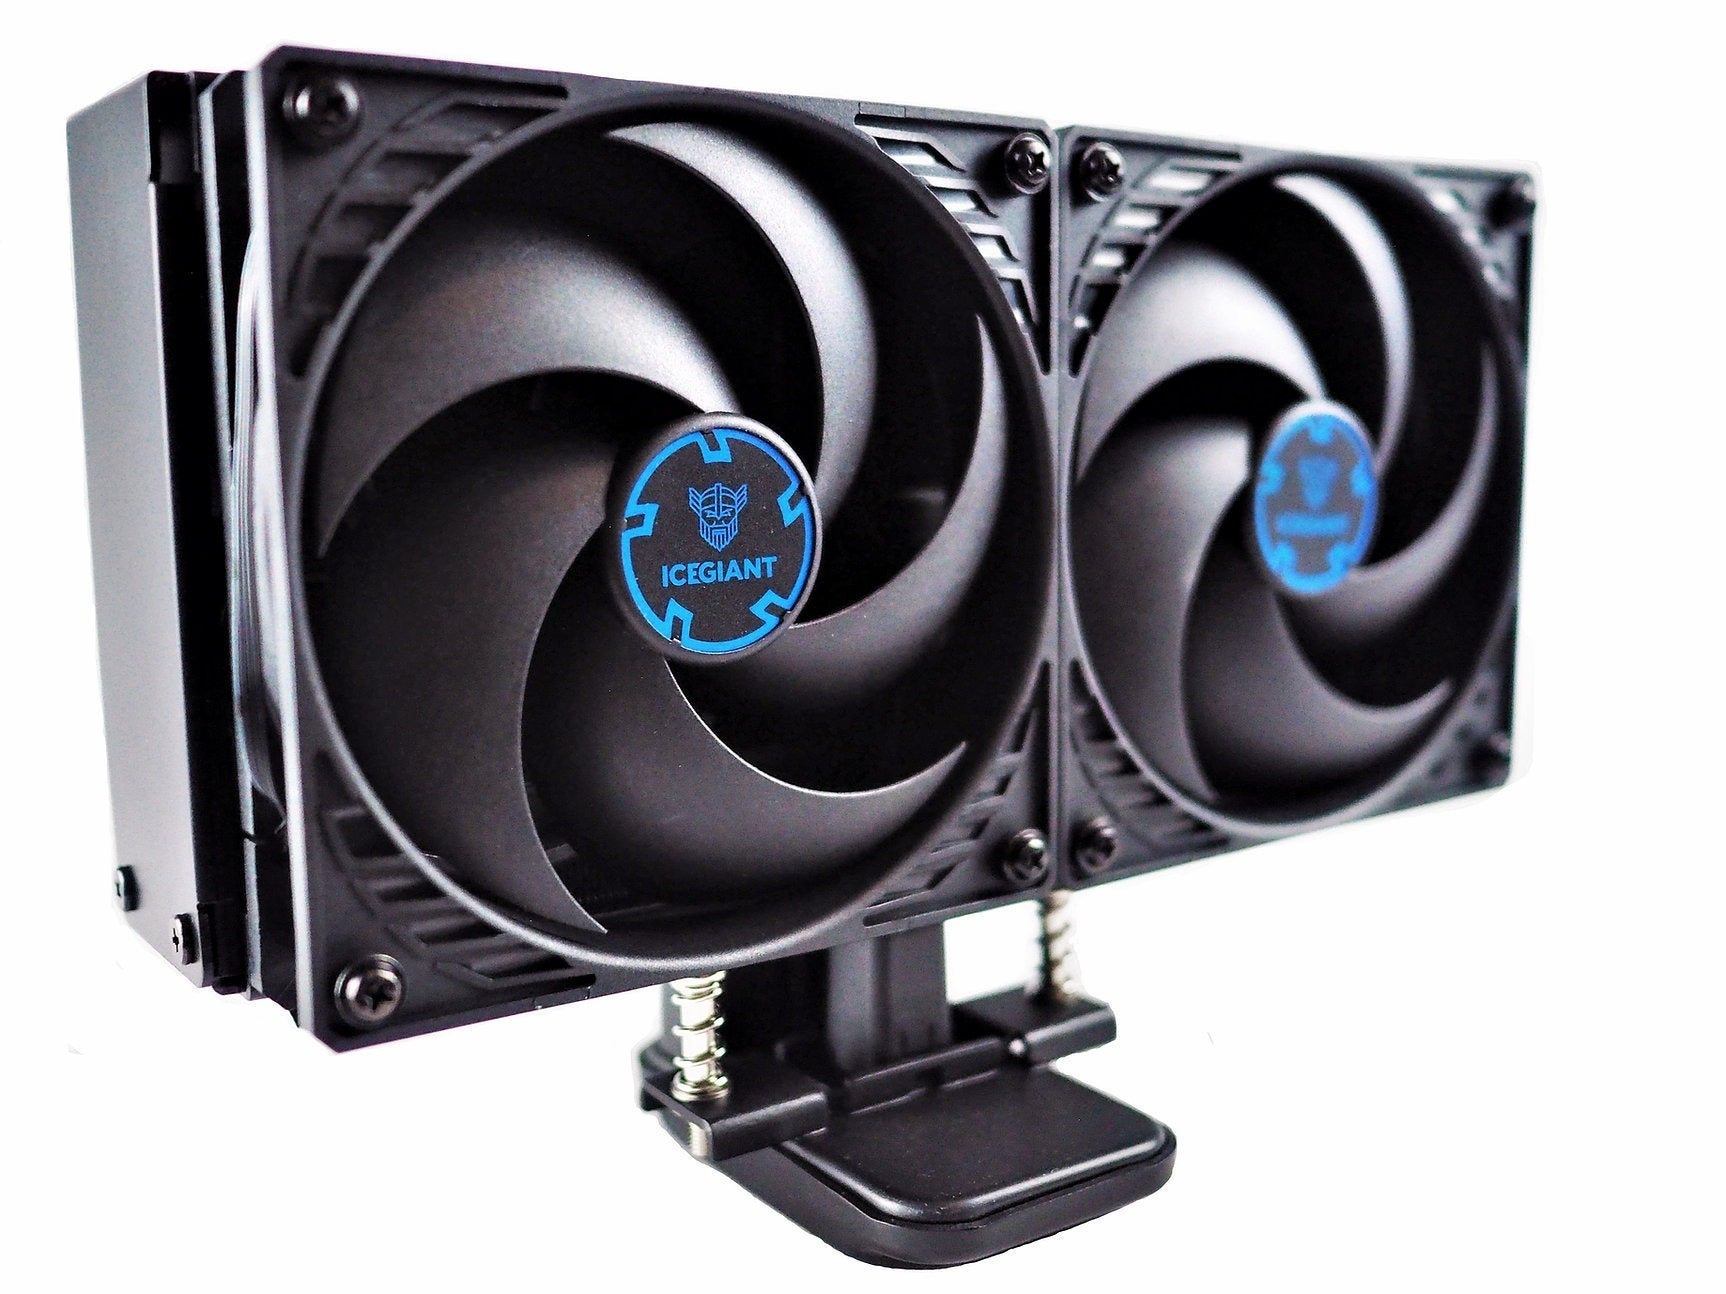
5. Additional hardware:
Depending on your specific requirements, you may need additional hardware such as extra fans for improved cooling, a power supply unit (PSU), or any other components you want to install in the PC case.
By gathering all the necessary equipment, you’ll have everything you need to proceed with connecting a PC case to your laptop. Now, let’s move on to the next step: preparing the PC case.
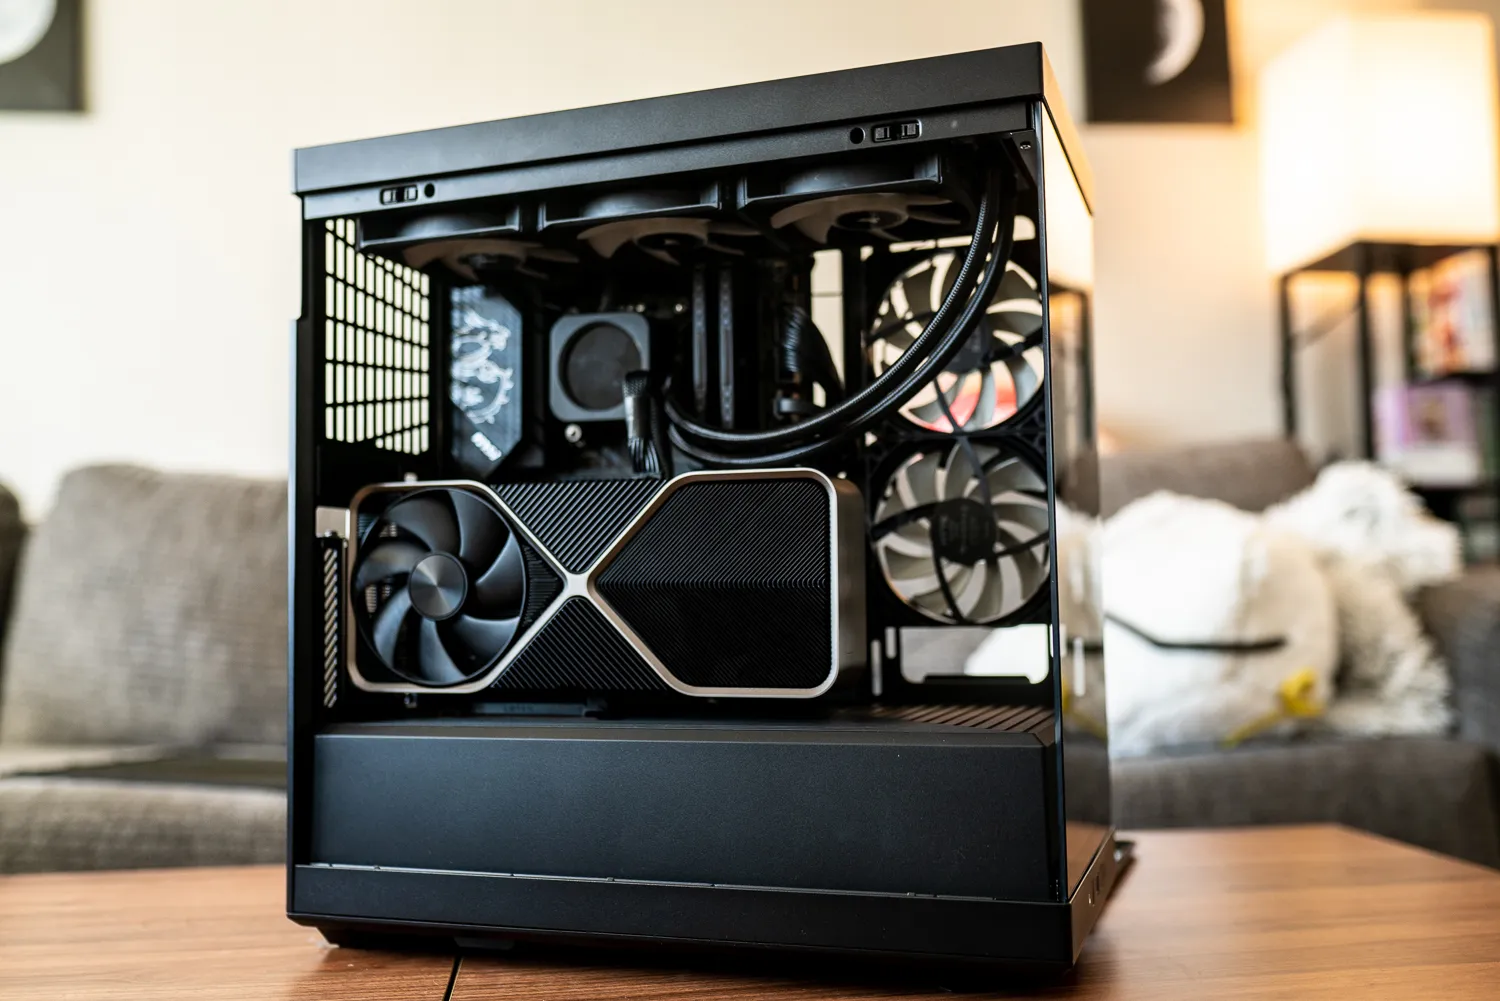
Step 2: Prepare the PC case
Now that you have all the necessary equipment, it’s time to prepare the PC case for the connection. Follow these steps:
1. Empty the case:
Start by removing any existing components or cables from the PC case. Make sure the case is completely empty before proceeding. This will provide you with a clean slate to work with.
2. Clean the case:
Use a soft cloth or compressed air to remove any dust or debris from the inside of the PC case. Cleaning the case will help ensure that the components function properly and stay cool during operation.
3. Install additional hardware:
If you have any additional hardware, such as extra fans, a power supply unit (PSU), or any other components you want to install, now is the time to do so. Follow the manufacturer’s instructions to install them properly.
4. Connect the SATA cables:
Identify the SATA ports on the motherboard and connect the SATA cables to them. These cables will be used to connect the internal storage devices, such as hard drives or SSDs, to the motherboard. Pay attention to the correct alignment and ensure a secure connection.
5. Secure the components:
Once all the hardware is in place, use the appropriate screws or fasteners to secure the components in the PC case. Make sure everything is tightly secured to prevent any movement or damage during operation.
By following these steps, you will have properly prepared your PC case for the connection to your laptop. Now, let’s move on to the next step: opening the laptop.
Step 3: Open the laptop
In this step, we will guide you through the process of opening your laptop to access the internal components. Please note that the specific steps may vary depending on the make and model of your laptop. Here’s a general guide:
1. Power off the laptop:
Before opening the laptop, ensure it is powered off and disconnected from any power sources. This is crucial to avoid any electrical damage and ensure your safety.
2. Locate the laptop’s access panel:
Most laptops have an access panel on the bottom or rear that allows you to access the internal components. Consult your laptop’s manual or search online for instructions specific to your laptop model.
3. Remove the access panel:
Once you’ve located the access panel, use a screwdriver or the appropriate tool to remove the screws holding it in place. Carefully set aside the screws in a safe place to avoid losing them.
4. Ground yourself:
Before proceeding further, it’s important to ground yourself to prevent any static electricity from damaging the laptop’s sensitive components. You can do this by touching a grounded object or wearing an anti-static wrist strap.
5. Open the laptop:
Gently lift the access panel and set it aside. Be cautious and avoid putting too much pressure on the laptop’s internal components. Take a moment to familiarize yourself with the internal layout.
Now that you have successfully opened your laptop, you’re ready to move on to the next step: identifying the connection port.
Step 4: Identify the connection port
In this step, we will help you identify the connection port on your laptop that will be used to connect the PC case. The specific location and type of port may vary depending on your laptop model. Here’s how you can identify it:
1. Consult your laptop’s manual:
Refer to your laptop’s manual or documentation to find information about the available ports and their locations. This will give you a general idea of where to look.
2. Examine the laptop’s sides and rear:
Inspect the sides and rear of your laptop for any ports that may be suitable for connecting the PC case. Common connection ports include USB, Thunderbolt, or eSATA ports.
3. Look for identifying symbols or labels:
Some laptop models have symbols or labels near the ports that indicate their purpose. Look for symbols resembling monitor connectors, arrows, or labels like “eGPU” or “external GPU”. These can be helpful clues in identifying the connection port.
4. Use online resources:
If you’re unsure about the connection port, you can search online for specifications or user forums specific to your laptop model. Community discussions and product documentation can provide valuable insight into the location and type of port.
5. Seek professional assistance, if needed:
If you’re still unable to identify the connection port or have any doubts, it’s wise to seek professional assistance. A computer technician or laptop specialist can help you locate the appropriate port and provide further guidance.
Once you have successfully identified the connection port, you’re ready to move on to the next step: connecting the PC case to the laptop.
Step 5: Connect the PC case to the laptop
Now that you have identified the connection port on your laptop, it’s time to connect the PC case. Follow these steps:
1. Prepare the connecting cable:
Based on the type of connection port you have identified, gather the appropriate cable or adapter. For example, if your laptop has a USB connection port, you may need a USB to SATA adapter or cable.
2. Connect the cable to the PC case:
Locate the SATA or other suitable port on the PC case and connect one end of the cable to it. Make sure the connection is secure and properly aligned.
3. Connect the cable to the laptop:
Take the other end of the cable and plug it into the identified connection port on your laptop. Ensure a secure and snug connection.
4. Check the connection:
Once the cable is connected to both your PC case and laptop, double-check the connections to ensure they are firmly in place. Avoid applying excessive force, but make sure the cables are seated properly.
5. Power on the laptop:
Before proceeding further, power on your laptop and wait for it to fully boot up. This will allow the system to recognize the connected PC case and initiate the necessary configurations.
By successfully connecting the PC case to your laptop, you have expanded the capabilities and functionality of your computing setup. Now, let’s move on to the final step: powering on and configuring the setup.
Step 6: Power on and configure the setup
Now that you have connected the PC case to your laptop, it’s time to power on and configure the setup. Follow these steps:
1. Power on the PC case:
If your PC case has a power switch or button, turn it on to supply power to the internal components. You may also need to connect the PC case’s power supply unit (PSU) to a power source.
2. Boot up your laptop:
Ensure your laptop is powered on and fully booted up. Allow the operating system to start and recognize the newly connected PC case.
3. Configure the setup:
Once both the PC case and laptop are powered on, navigate to the operating system’s settings or control panel to configure the setup. This may involve installing necessary drivers, partitioning storage devices, or adjusting power settings.
4. Test the setup:
To ensure everything is functioning correctly, test the setup by performing basic tasks or running hardware diagnostic tests. Check if the PC case fans are spinning, storage devices are detected, and the laptop is stable during operation.
5. Customize and optimize:
Now that the setup is functional, take the opportunity to customize and optimize your computing experience. Install your preferred software, organize files, and personalize settings to suit your needs.
By powering on and configuring the setup, you have successfully connected the PC case to your laptop and ensured it is ready for use. Enjoy the enhanced capabilities and improved performance provided by this setup!
Conclusion
Connecting a PC case to a laptop can greatly enhance your computing experience by providing additional storage space, improved cooling options, and the ability to customize your hardware configuration. While it may seem like a daunting task, following the steps outlined in this guide will help you successfully complete the process.
Starting with gathering the necessary equipment, such as a compatible PC case, laptop, screwdriver, SATA cables, and any additional hardware, you can ensure you have everything you need for the connection.
Preparing the PC case involves emptying it, cleaning the case, installing any additional hardware, and securing the components in place. This will create a clean and organized space for the connection.
Opening the laptop requires careful adherence to safety precautions, including powering off the laptop, locating the access panel, grounding yourself, and gently opening the laptop to access the internal components.
Identifying the connection port is crucial for a successful connection. By consulting the laptop’s manual, examining the laptop’s sides and rear, looking for identifying symbols or labels, and utilizing online resources, you can find the appropriate port to connect with the PC case.
With the connection port identified, you can then proceed to connect the PC case to the laptop, using the appropriate cables or adapters, making sure the connections are secure on both ends.
Powering on and configuring the setup involves powering on the PC case, booting up the laptop, configuring the setup through the operating system settings, testing the setup for functionality, and customizing and optimizing your computing experience to suit your preferences.
By following these steps, you have successfully connected a PC case to your laptop, expanding its capabilities and performance. Enjoy the added storage space, improved cooling options, and the ability to customize your hardware configuration.
Remember, if you are unsure about any step or lack confidence in handling the components, it is always best to seek professional assistance to avoid any damage to your devices. Happy computing!