Introduction
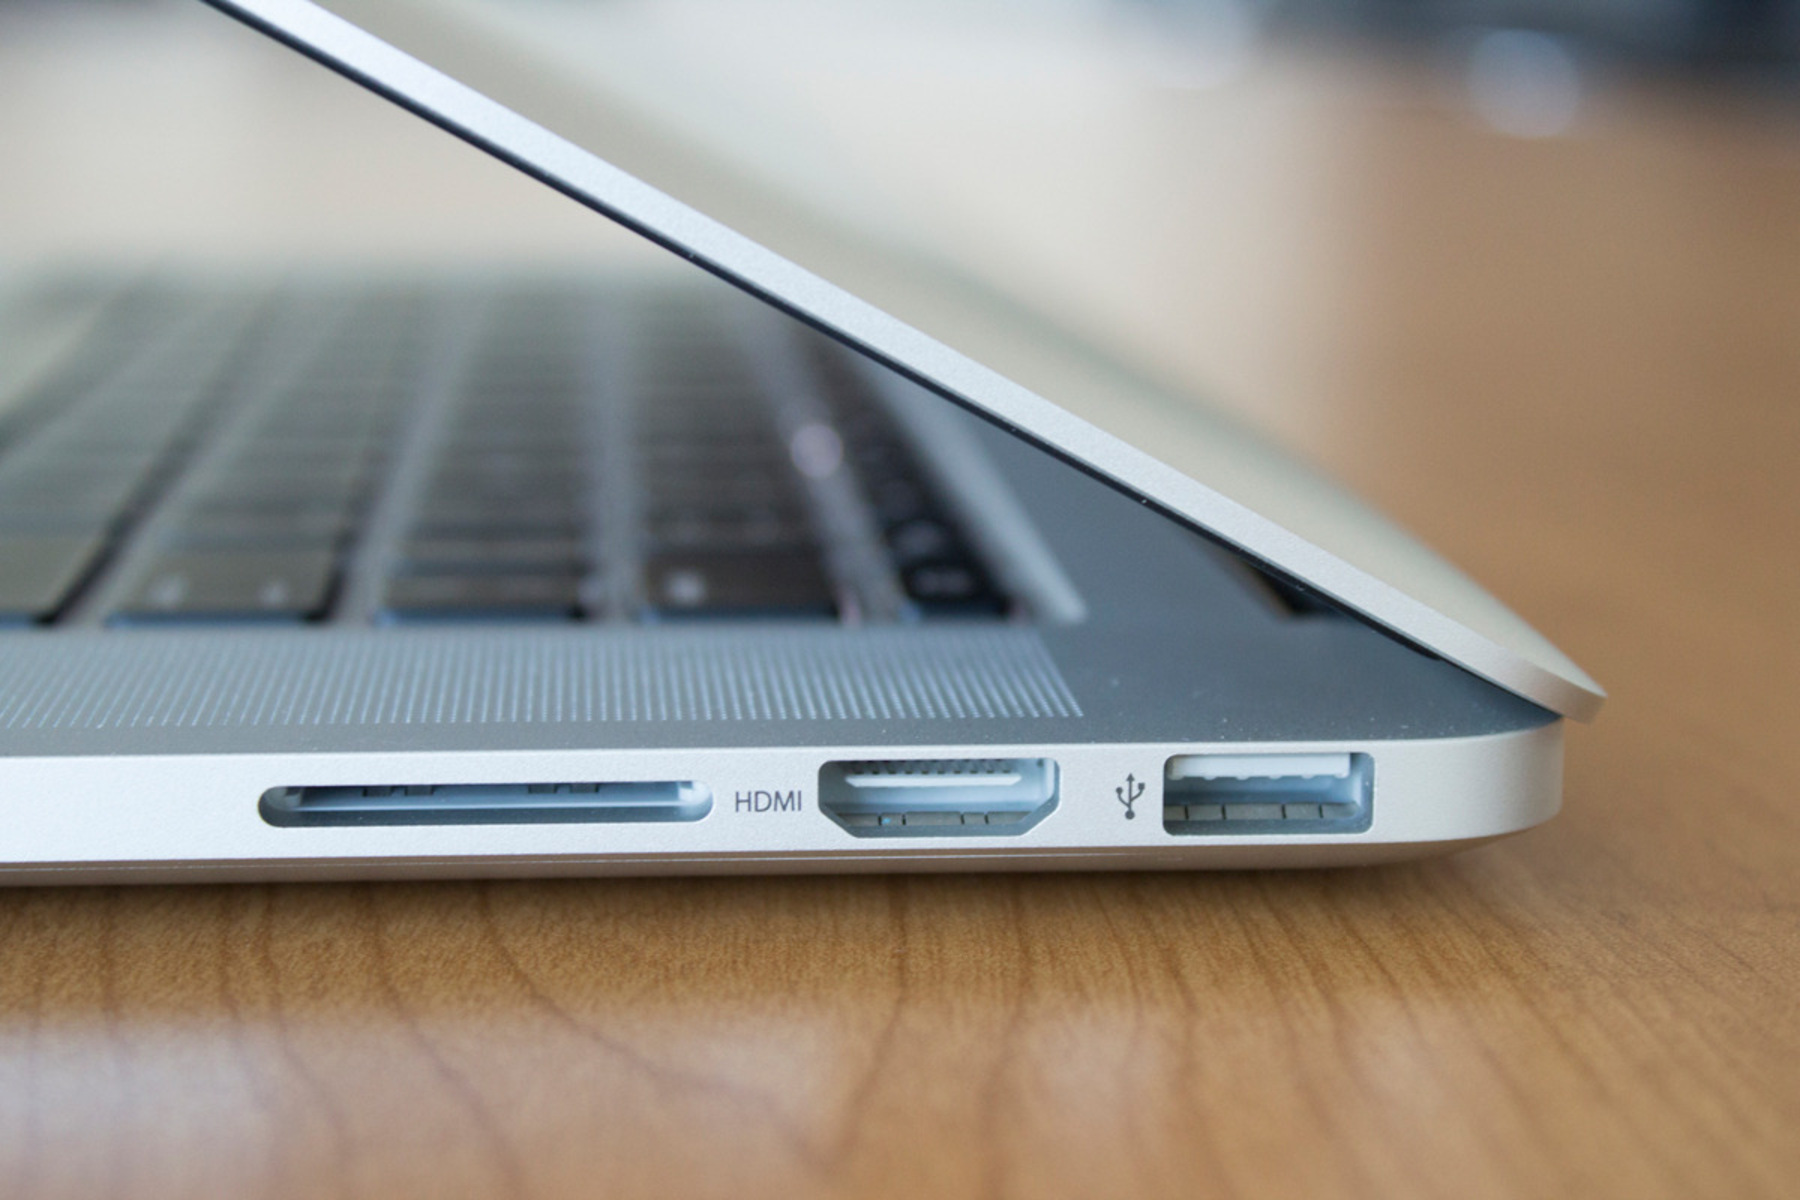
Connecting a laptop to a monitor allows you to expand your workspace, enjoy a bigger screen for gaming or multimedia, or simply have a dual-screen setup for increased productivity. While most modern laptops come equipped with an HDMI port, some older models or budget-friendly laptops may not have this option. However, there’s no need to worry, as there are alternative ways to connect your laptop to a monitor without an HDMI port.
In this article, we will explore various options that you can consider to connect your laptop to a monitor, even without an HDMI port. Each option has its own unique requirements and benefits, so you can choose the method that best suits your needs and the available ports on your laptop and monitor. Whether you have a VGA, DVI, DisplayPort, USB-C, or Thunderbolt port, we’ll guide you through the steps to successfully set up the connection.
It’s important to note that before proceeding, you should ensure that both your laptop and monitor are powered off. Additionally, you may need to adjust the display settings on your laptop to properly configure the extended screen or mirror display mode. Refer to your laptop’s user manual or the manufacturer’s website for specific instructions on adjusting display settings.
So, without further ado, let’s dive into the different options available to connect your laptop to a monitor without an HDMI port and explore the steps involved in each method.
Option 1: Using VGA
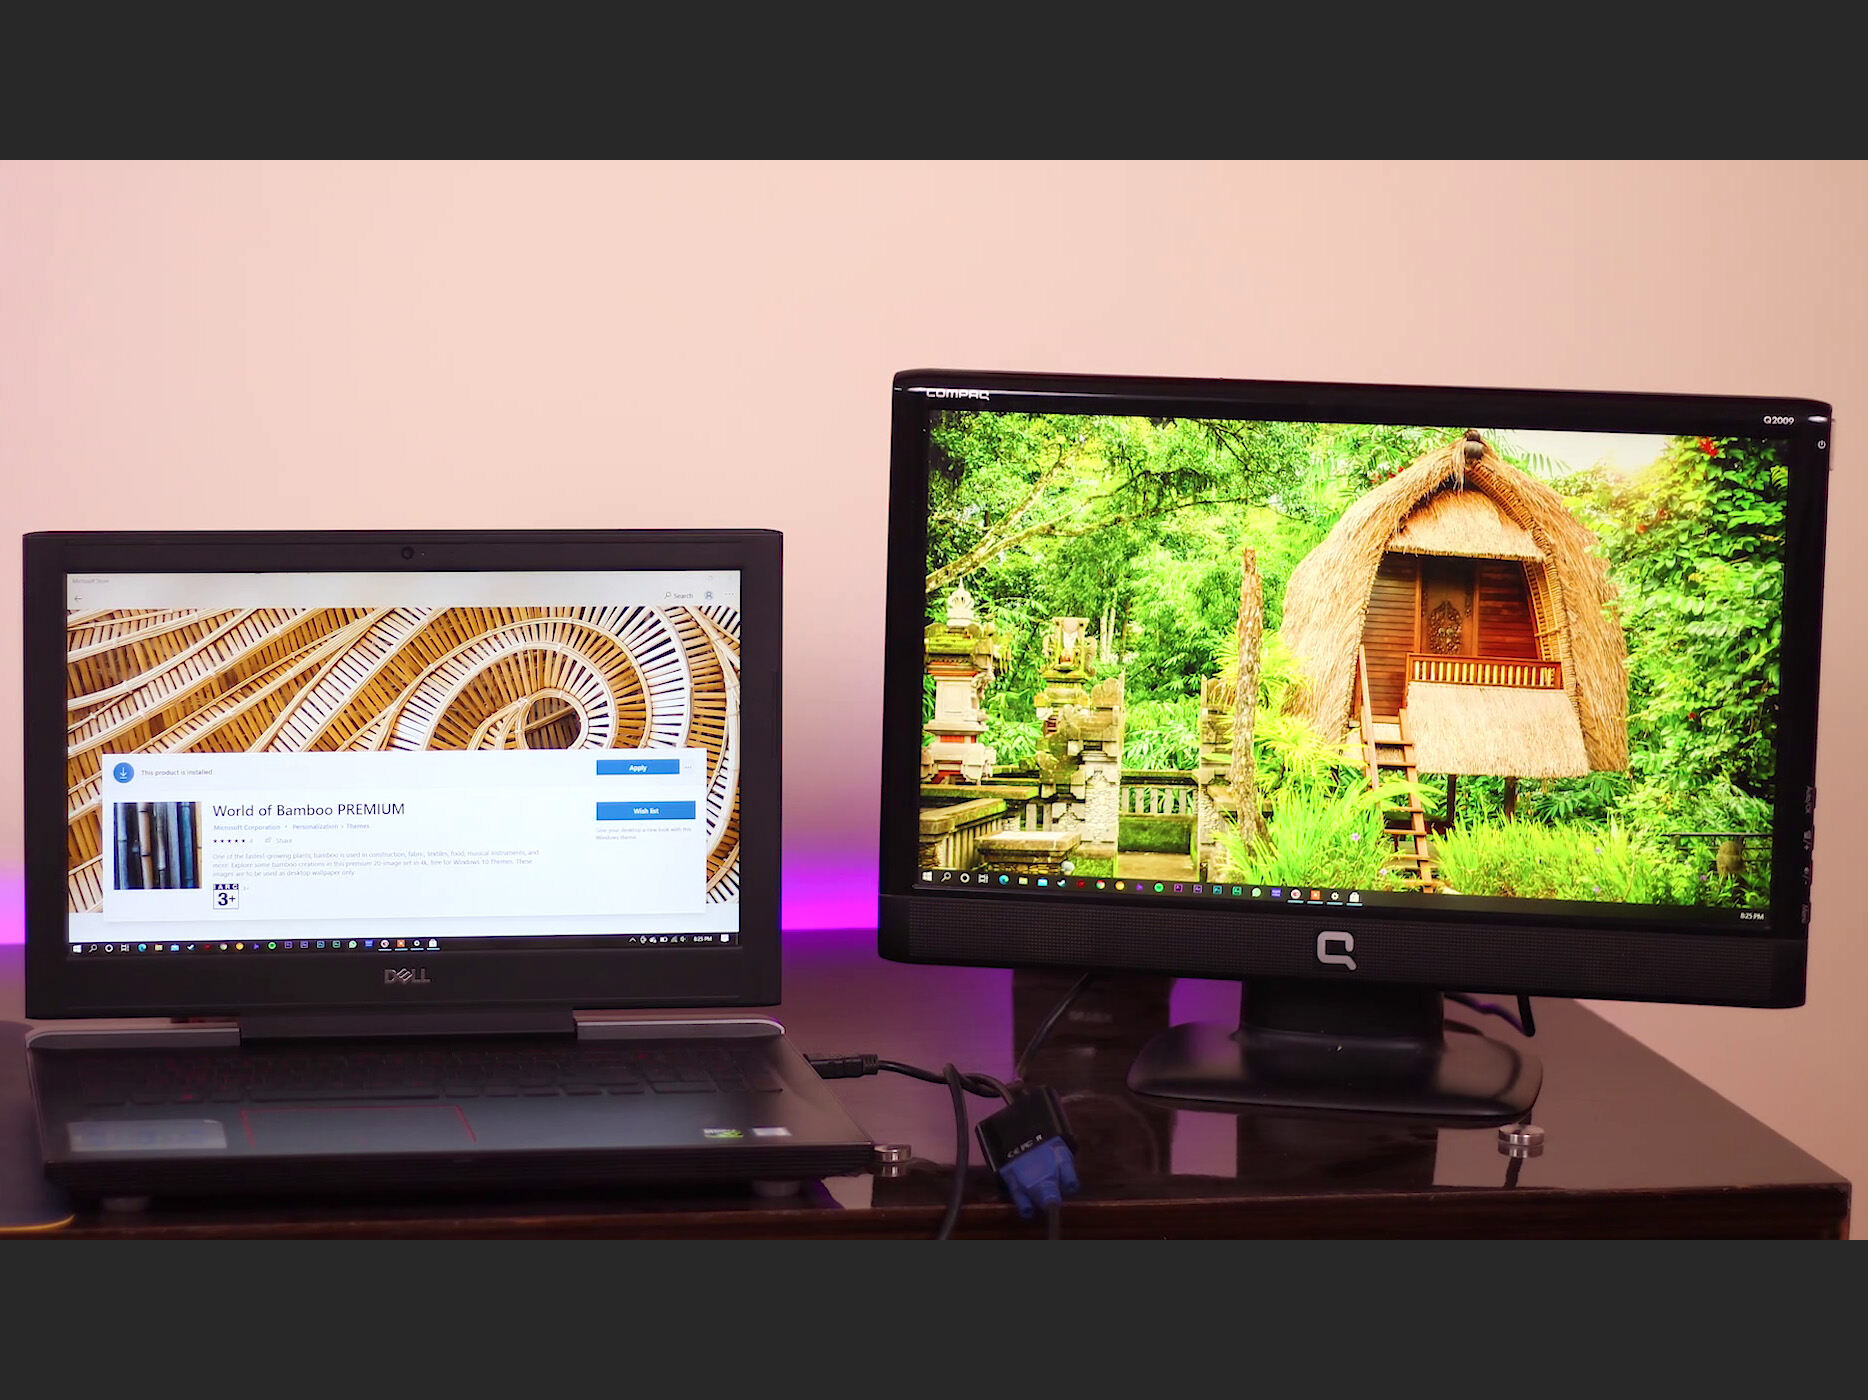
One common alternative to HDMI for connecting a laptop to a monitor is using a VGA (Video Graphics Array) cable. VGA is an older video display standard widely used before HDMI became the standard for high-definition video transmissions. While VGA may not support the same level of image quality as HDMI, it is still a reliable option for connecting your laptop to a monitor.
To connect your laptop to a monitor using VGA, you will need a VGA cable that has compatible connectors for both your laptop and monitor. Most laptops have a VGA port, while the monitor may also have a VGA input. Once you have the necessary cable, follow these steps:
- Ensure that both your laptop and monitor are powered off.
- Locate the VGA ports on your laptop and monitor. The VGA port on your laptop usually has a blue color, while the monitor’s VGA port may be labeled as “VGA” or have a blue-colored connector.
- Connect one end of the VGA cable to the VGA port on your laptop.
- Connect the other end of the VGA cable to the VGA port on your monitor.
- Ensure that the cable is securely connected to both devices.
- Power on your laptop and monitor.
- Use the input source or display settings on your monitor to switch to the VGA input.
- Adjust the display settings on your laptop to extend or duplicate the screen as desired.
Once you have completed these steps, you should have successfully connected your laptop to the monitor using a VGA connection. While VGA may not deliver the same level of video and audio quality as HDMI, it can still provide a functional and reliable connection option when HDMI is not available. Just keep in mind that you may need to adjust the screen resolution and other display settings on your laptop to optimize the visual experience on the monitor.
Option 2: Using DVI
Another alternative to connecting a laptop to a monitor without an HDMI port is by using a DVI (Digital Visual Interface) cable. DVI is a video display interface that provides a higher quality video signal compared to VGA. If your laptop and monitor have DVI ports, this can be a great option for achieving a high-definition display.
To connect your laptop to a monitor using DVI, you will need a DVI cable with compatible connectors for both your laptop and monitor. Follow these steps to establish the connection:
- Ensure that both your laptop and monitor are turned off.
- Locate the DVI ports on your laptop and monitor. The DVI port on your laptop is usually rectangular with square or slanted pins, while the monitor’s DVI port may be labeled as “DVI” or have a white-colored connector.
- Connect one end of the DVI cable to the DVI port on your laptop.
- Connect the other end of the DVI cable to the DVI port on your monitor.
- Make sure the cable is securely connected to both devices.
- Power on your laptop and monitor.
- Use the input source or display settings on your monitor to switch to the DVI input.
- Adjust the display settings on your laptop to extend or duplicate the screen as desired.
Once these steps are completed, your laptop should be successfully connected to the monitor using a DVI connection. The DVI interface provides a digital signal transmission, which can result in sharper and clearer images on the monitor compared to VGA. However, it’s important to note that DVI only carries video signals and does not transmit audio. If you need to transmit audio, you may need to use a separate audio cable or rely on the laptop’s built-in speakers or headphone jack.
Option 3: Using DisplayPort
If your laptop and monitor both have DisplayPort ports, using a DisplayPort cable is an excellent option for connecting your laptop to a monitor without an HDMI port. DisplayPort is a digital display interface that supports high-definition video and audio signals, making it ideal for connecting your devices seamlessly.
To connect your laptop to a monitor using a DisplayPort cable, follow these steps:
- Make sure both your laptop and monitor are switched off.
- Locate the DisplayPort ports on your laptop and monitor. The DisplayPort port on your laptop typically has a rectangular shape with a cut corner, while the monitor’s DisplayPort port may be labeled as “DisplayPort” or have a small “DP” icon.
- Connect one end of the DisplayPort cable to the DisplayPort port on your laptop.
- Connect the other end of the DisplayPort cable to the DisplayPort port on your monitor.
- Ensure that the cable is firmly connected to both devices.
- Power on your laptop and monitor.
- Use the input source or display settings on your monitor to switch to the DisplayPort input.
- Adjust the display settings on your laptop to extend or duplicate the screen according to your preferences.
Once you have completed these steps, your laptop should be successfully connected to the monitor using a DisplayPort connection. DisplayPort supports both video and audio transmission, providing you with a high-quality audio-visual experience. It also has the advantage of being capable of daisy-chaining multiple monitors if your laptop and monitor support this feature, allowing you to expand your workspace even further.
If your laptop or monitor doesn’t have a DisplayPort port, you may still be able to connect them using a DisplayPort adapter or converter. These adapters are available for common ports such as HDMI, DVI, and VGA, allowing you to bridge the gap between different connection types and still enjoy the benefits of DisplayPort technology.
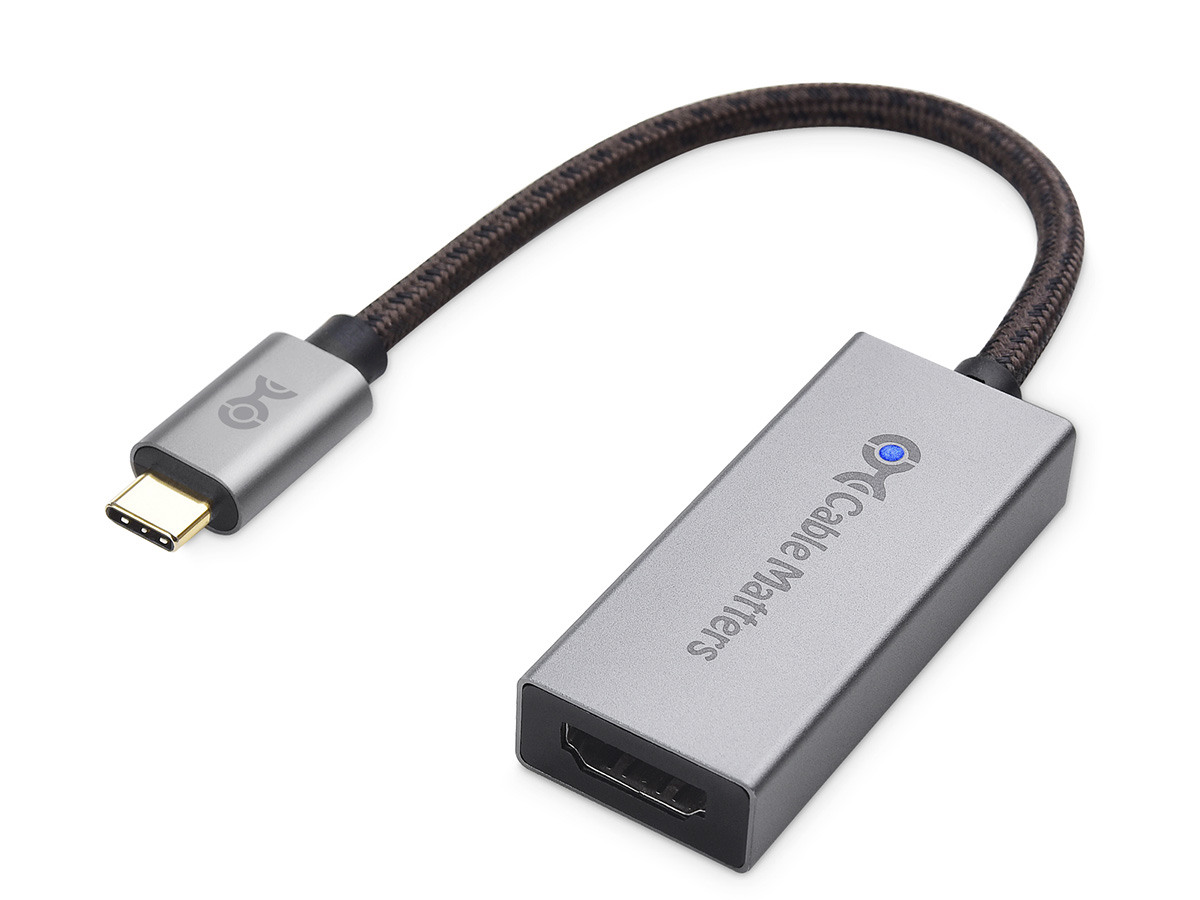
Option 4: Using USB-C/Thunderbolt
If your laptop and monitor are equipped with USB-C or Thunderbolt ports, you can leverage these versatile connections to establish a seamless connection between the two devices. USB-C and Thunderbolt ports offer a multitude of capabilities, including video and audio transmission, data transfer, and power delivery, making them an excellent choice for connecting a laptop to a monitor without an HDMI port.
To connect your laptop to a monitor using USB-C or Thunderbolt, follow these steps:
- Ensure that both your laptop and monitor are powered off.
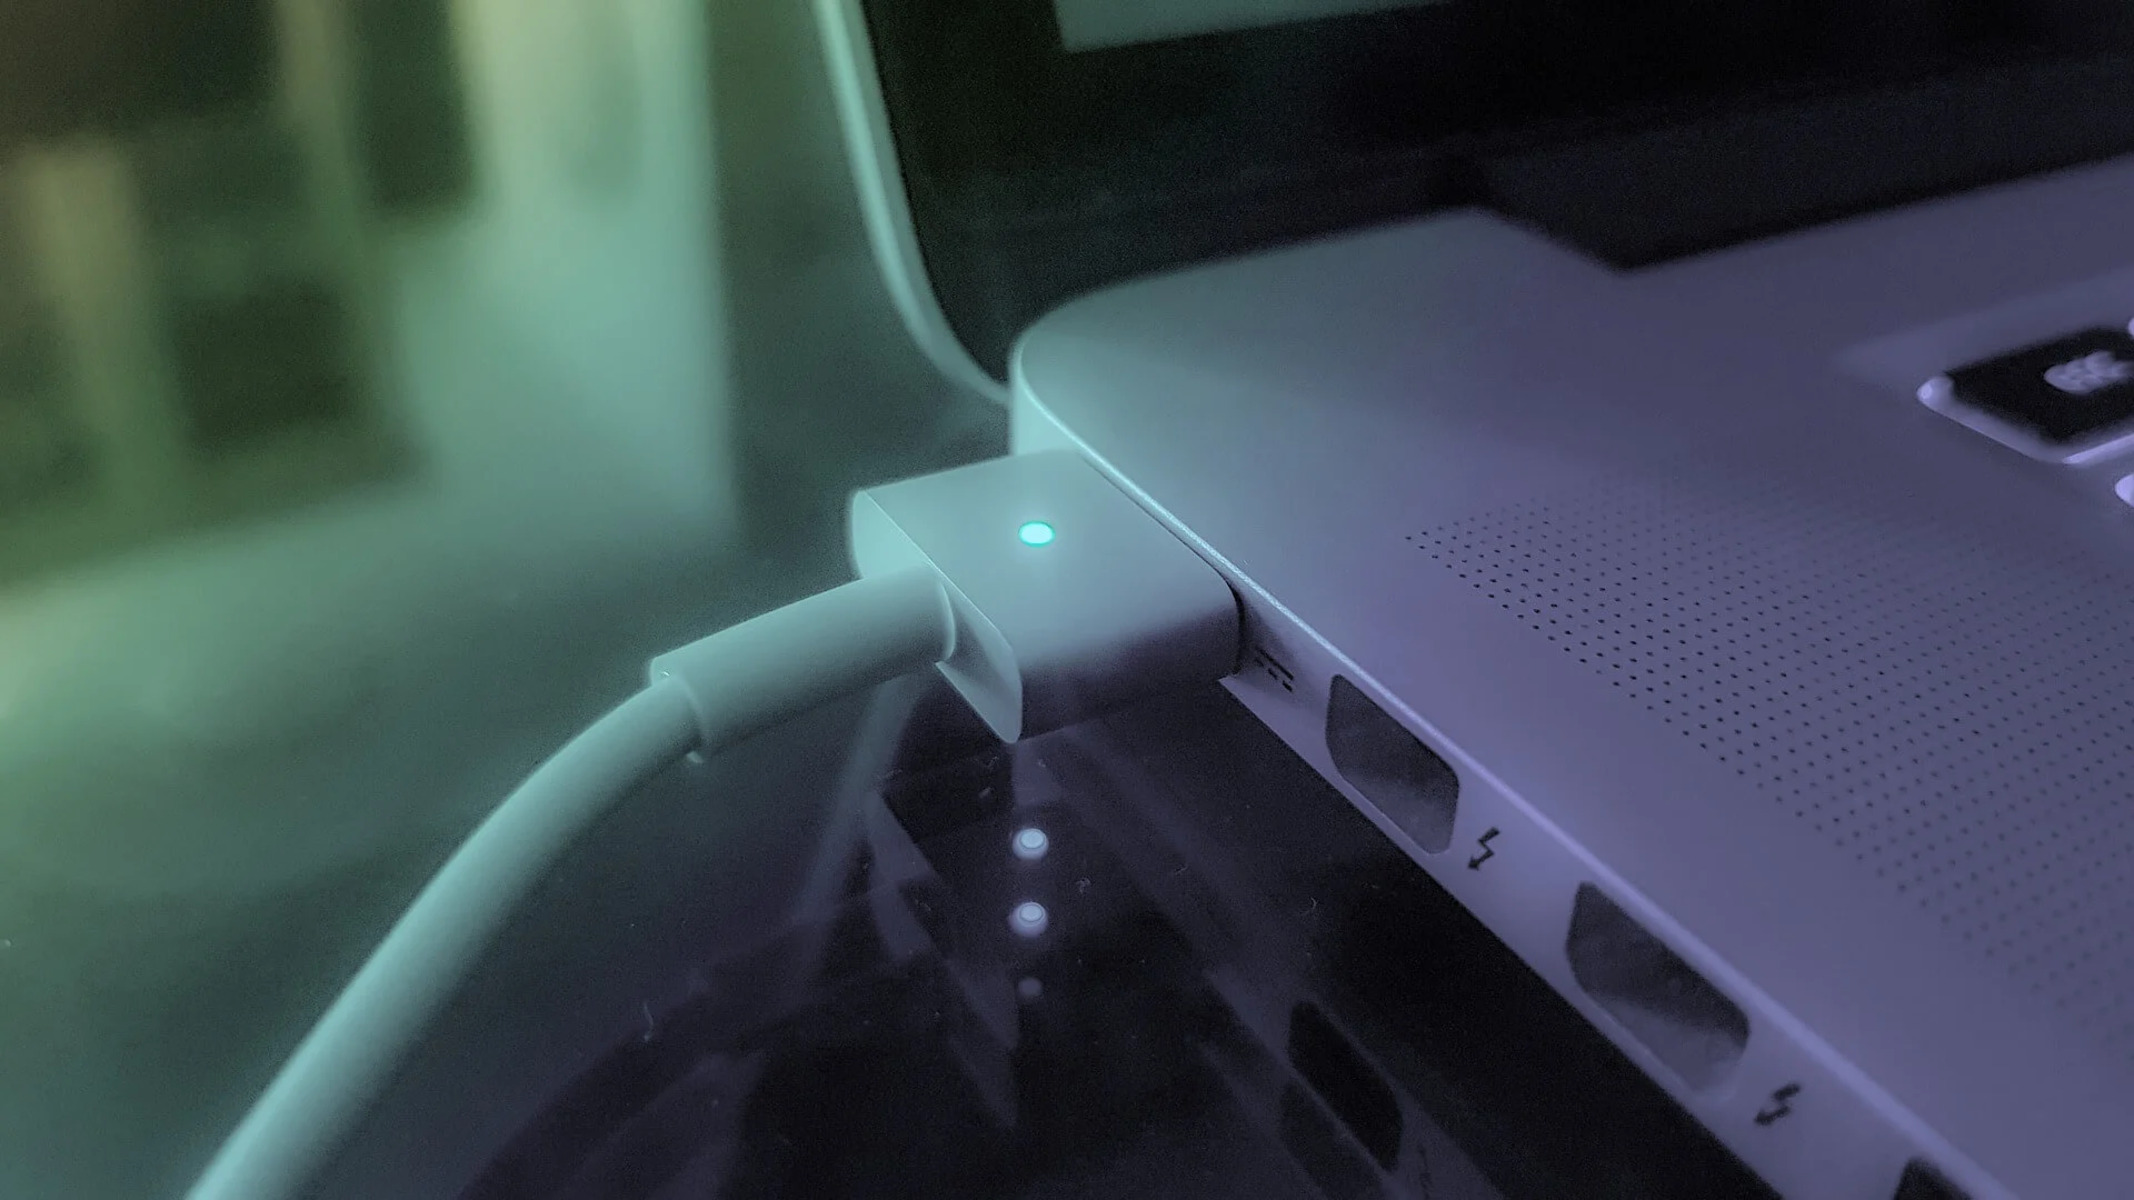
- Locate the USB-C or Thunderbolt ports on your laptop and monitor. The USB-C or Thunderbolt port on your laptop may be labeled with a distinctive icon or have a small lightning bolt symbol, while the monitor’s USB-C or Thunderbolt port may be labeled as “USB-C” or “Thunderbolt”.
- Connect one end of the USB-C or Thunderbolt cable to the corresponding port on your laptop.
- Connect the other end of the cable to the USB-C or Thunderbolt port on your monitor.
- Ensure that the cable is securely connected to both devices.
- Power on your laptop and monitor.
- Use the input source or display settings on your monitor to switch to the USB-C or Thunderbolt input.
- Adjust the display settings on your laptop to extend or duplicate the screen as desired.
After successfully completing these steps, your laptop should be connected to the monitor using the USB-C or Thunderbolt connection. The USB-C and Thunderbolt interfaces provide high-quality video and audio transmission, allowing you to enjoy a rich multimedia experience on a larger screen. Additionally, USB-C and Thunderbolt connections often provide power delivery to charge your laptop while connected to the monitor, reducing cable clutter and enhancing convenience.
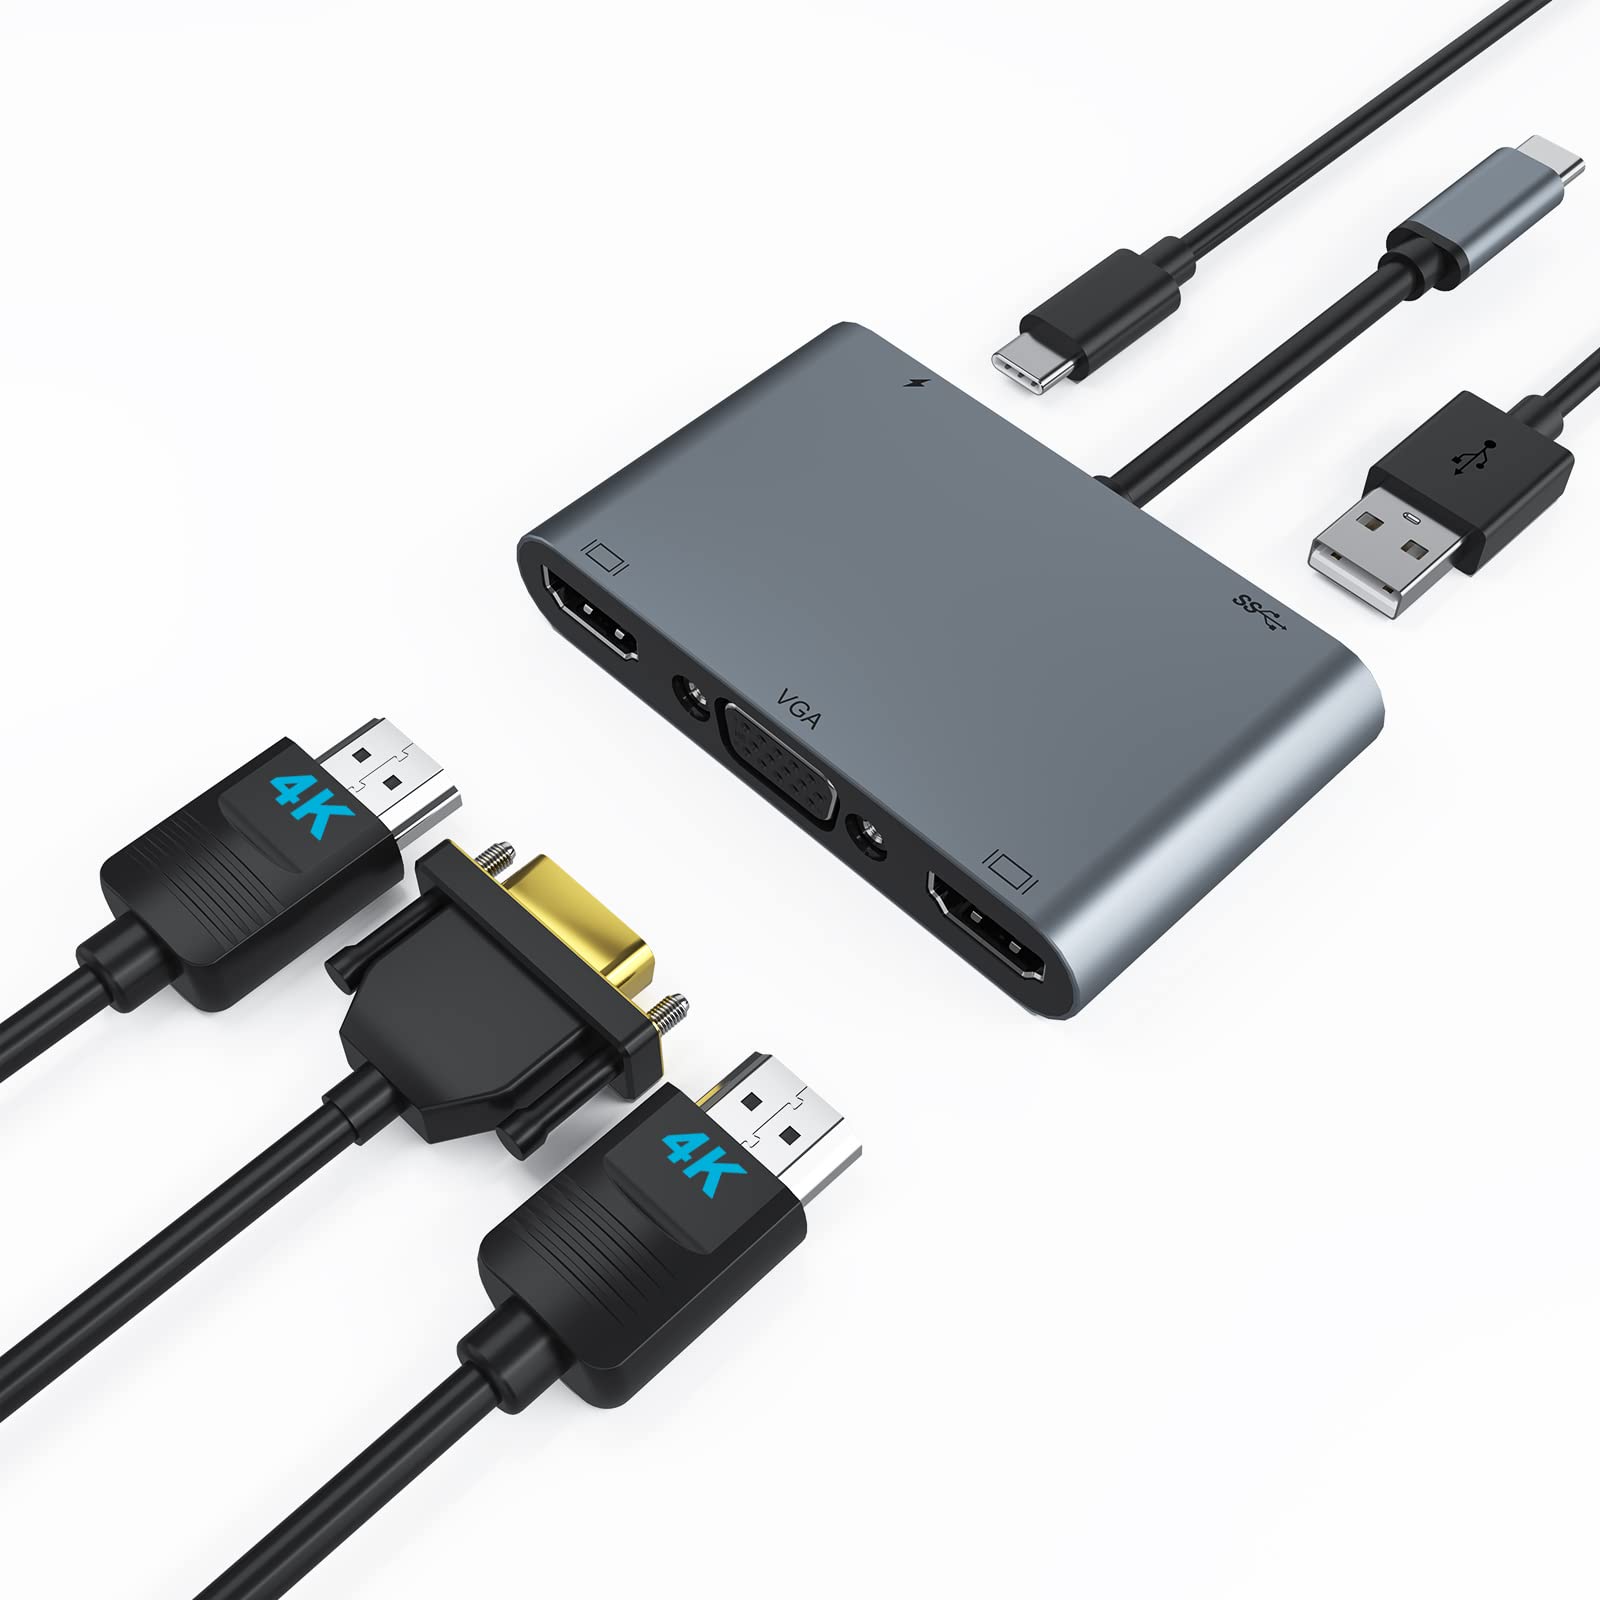
If your laptop or monitor doesn’t feature a USB-C or Thunderbolt port, you can still connect them using an adapter or converter. There are adapters available that can convert USB-C or Thunderbolt to HDMI, VGA, DVI, or other common video interfaces, ensuring compatibility and flexibility in connecting your laptop to the monitor.
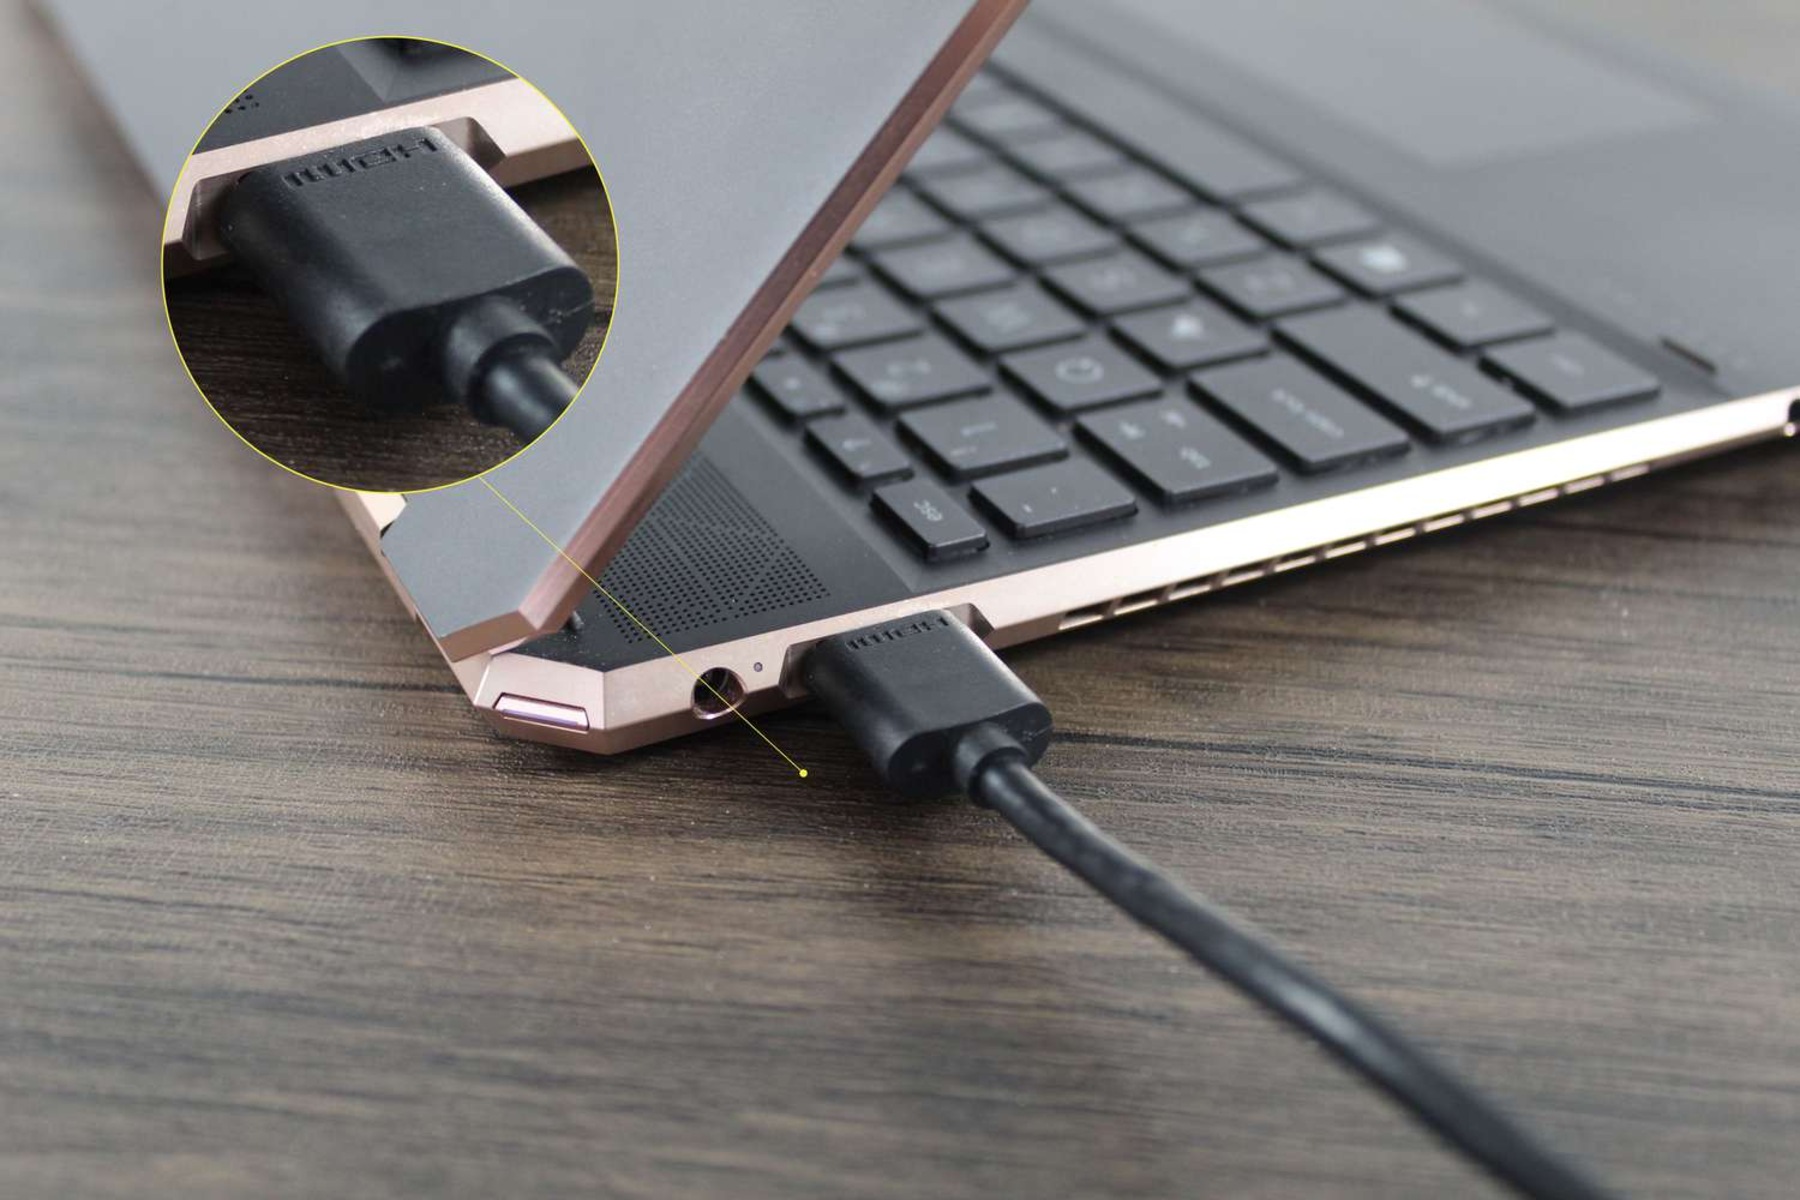
Option 5: Using HDMI to DVI Adapter
When facing the challenge of connecting a laptop with an HDMI output to a monitor with only a DVI input, using an HDMI to DVI adapter is a simple and effective solution. This adapter allows you to convert the HDMI signal from your laptop to a DVI signal that can be understood by the monitor, enabling you to establish a connection between the two devices.
To connect your laptop to a monitor using an HDMI to DVI adapter, follow these steps:
- Ensure that both your laptop and monitor are turned off.
- Connect one end of the HDMI cable to the HDMI output port on your laptop.
- Connect the other end of the HDMI cable to the HDMI input of the HDMI to DVI adapter.
- Plug the DVI end of the adapter into the DVI input port on your monitor.
- Ensure that all connections are secure.
- Power on your laptop and monitor.
- Use the input source or display settings on your monitor to select the DVI input.
- Adjust the display settings on your laptop to extend or duplicate the screen as desired.
Once these steps are completed, your laptop should be successfully connected to the monitor using the HDMI to DVI adapter. It’s important to note that with this setup, only the video signal will be transmitted to the monitor. If audio is required, you may need to utilize the laptop’s built-in speakers or headphone jack for audio output.
HDMI to DVI adapters are widely available and relatively inexpensive, making them a convenient solution when you need to connect HDMI devices to DVI displays. They can be handy not only for connecting laptops to monitors but also for connecting other HDMI devices, such as gaming consoles and Blu-ray players, to DVI-equipped displays.
Remember that when using an adapter, it’s essential to choose a high-quality adapter to ensure optimal signal transmission and compatibility between the HDMI output and DVI input. Additionally, it’s recommended to check the specifications of both your laptop and monitor to ensure they support the necessary video resolutions and refresh rates for the desired display configuration.
Conclusion
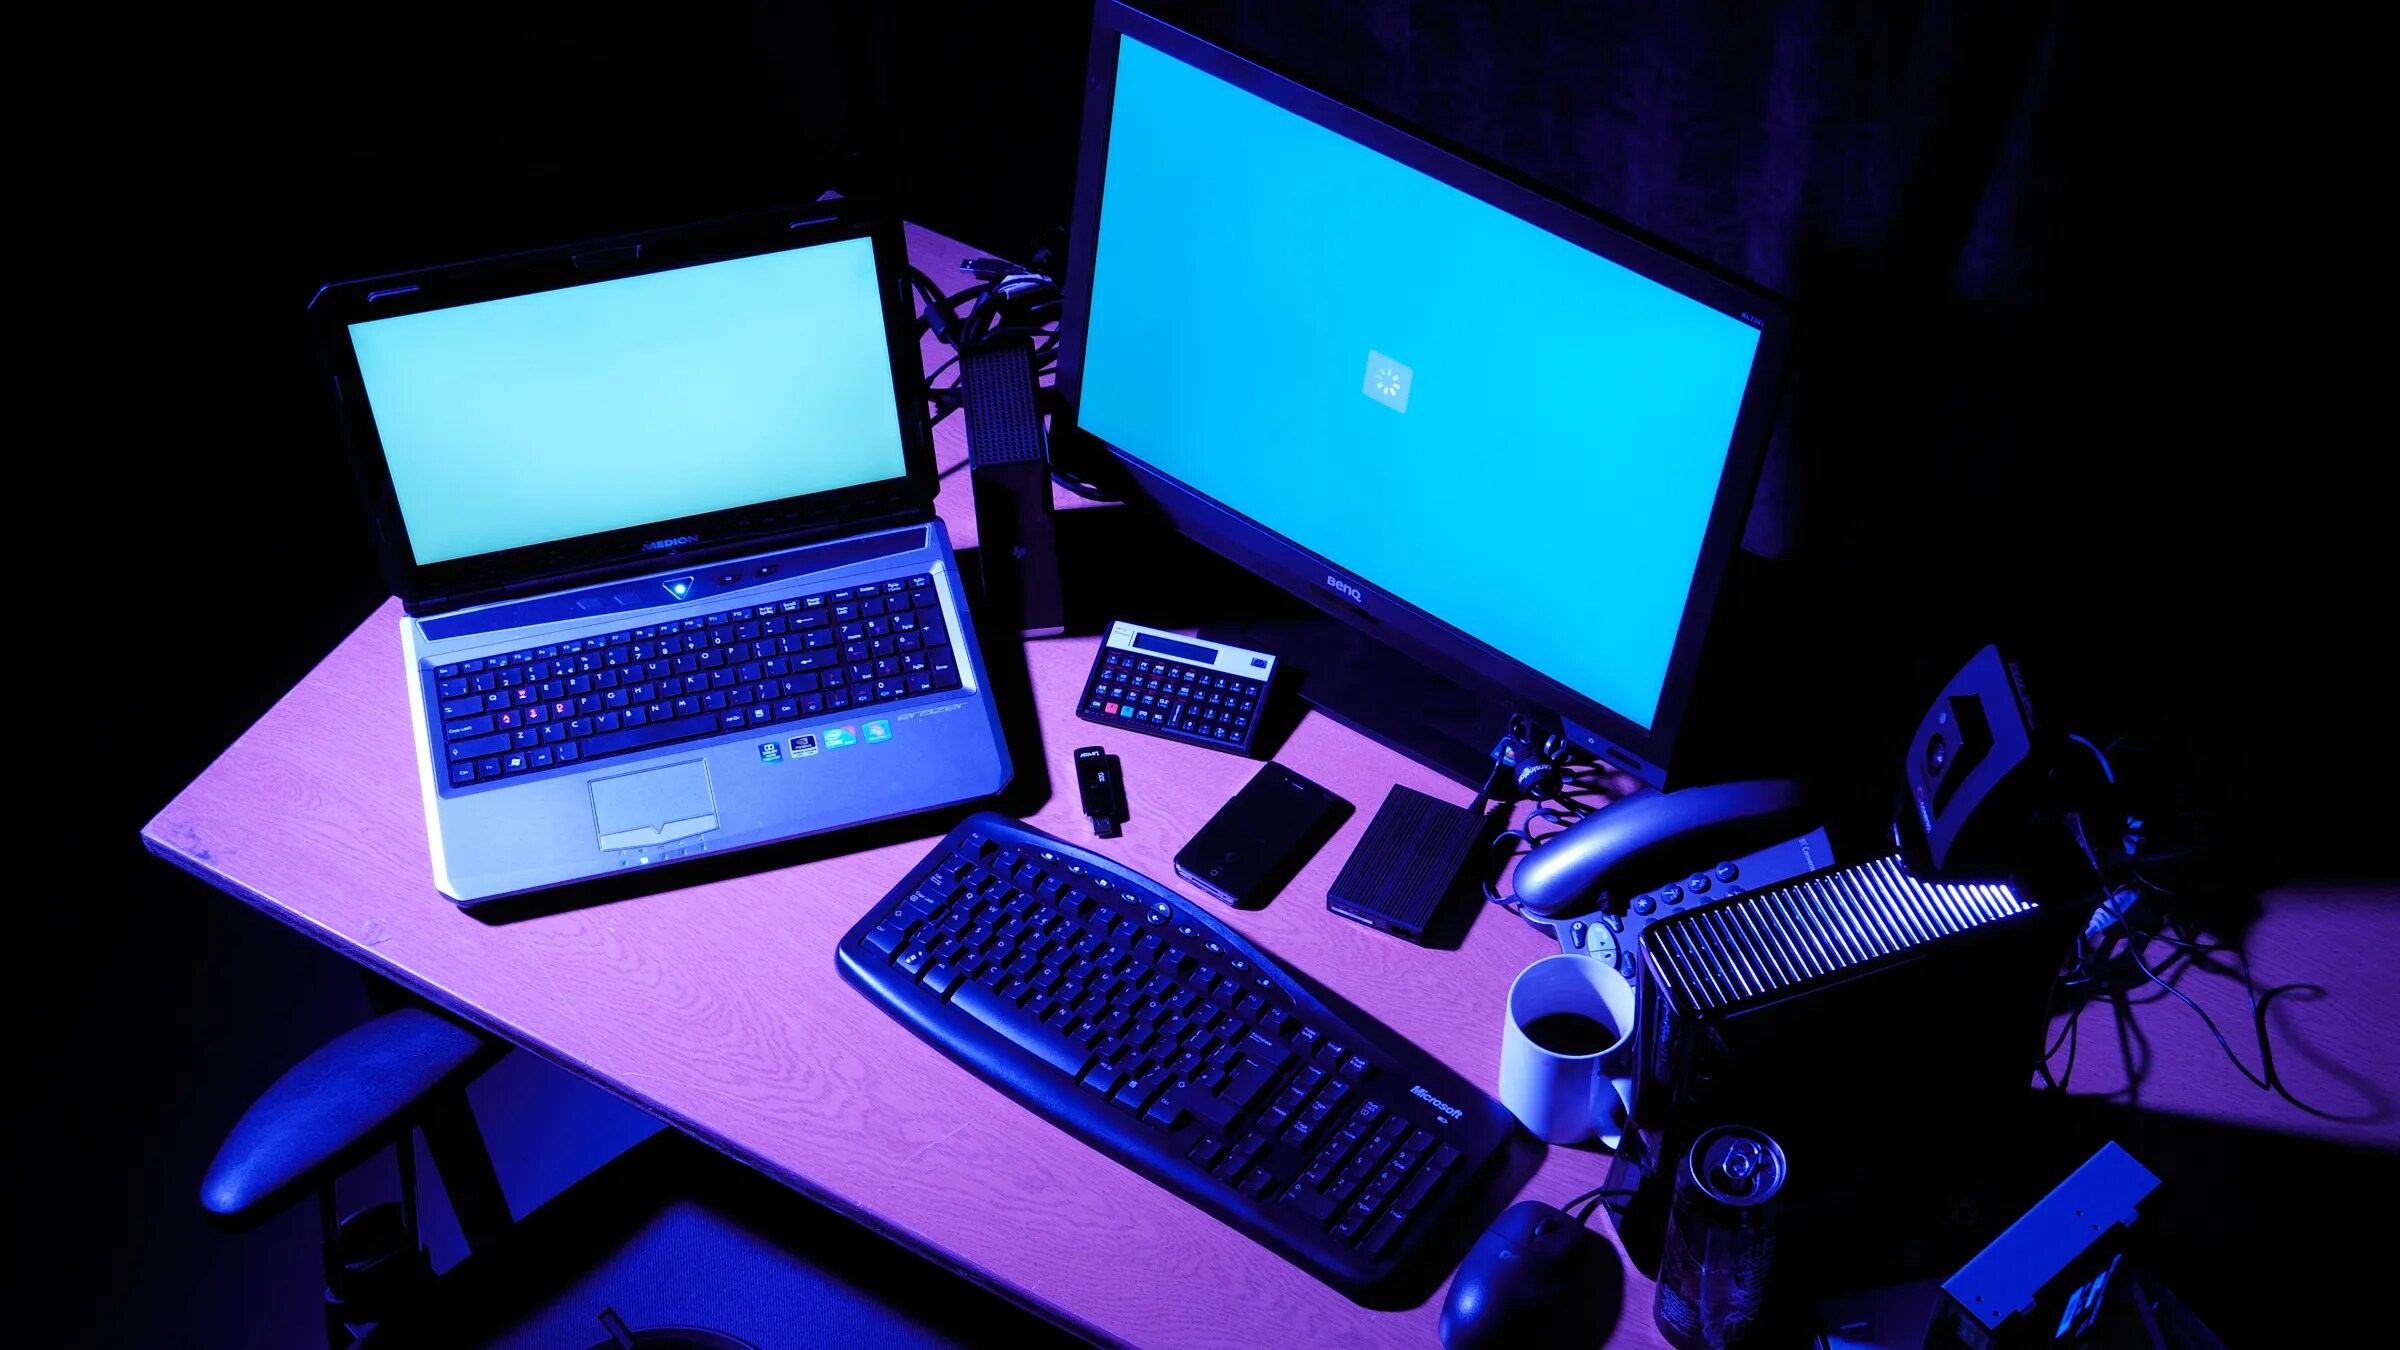
Connecting a laptop to a monitor without HDMI is not a difficult task, thanks to the various alternative options available. Whether your laptop and monitor have VGA, DVI, DisplayPort, USB-C, or Thunderbolt ports, you can find a suitable method to establish a connection and enjoy the benefits of a larger screen or an extended workspace.
Using VGA or DVI cables allows you to connect your laptop to a monitor with ease. While VGA may not provide the same level of image quality as HDMI, it remains a reliable option. On the other hand, DVI offers higher quality video transmission and is a great choice if both your laptop and monitor have DVI ports.
If your laptop and monitor feature DisplayPort ports, you can enjoy high-definition video and audio through a DisplayPort connection. Additionally, USB-C and Thunderbolt connections offer versatile options for connecting your devices, providing not only video and audio transmission capabilities but also power delivery and data transfer.
In case you encounter a scenario where your laptop has an HDMI output and your monitor only has a DVI input, using an HDMI to DVI adapter is a practical solution. This adapter enables you to bridge the gap between the two different ports and establish a successful connection.
Remember to choose the appropriate cables, adapters, or converters based on the available ports on your laptop and monitor. Additionally, make sure to follow the proper steps for connecting and configuring the display settings on both devices.
By exploring these alternative options, you can easily connect your laptop to a monitor and elevate your work, gaming, or entertainment experience. Embrace the flexibility and convenience of these connections to create your ideal setup and maximize productivity or enjoyment in your digital activities.