Introduction
Welcome to the guide on how to connect a computer to Wi-Fi. In today’s digital age, having a reliable internet connection is essential for most people. Whether you’re setting up a new computer or troubleshooting an existing one, knowing how to connect to Wi-Fi is a vital skill.
Connecting your computer to Wi-Fi allows you to access the internet, browse websites, send emails, stream videos, and perform various online activities. Wi-Fi, short for Wireless Fidelity, enables you to connect to a wireless network without the need for physical cables. This wireless technology has become widely adopted in homes, offices, schools, and public places.
Before we dive into the steps, it’s important to ensure that you have the necessary hardware. To connect to Wi-Fi, you’ll need a computer or laptop equipped with a wireless network adapter. Most modern devices come with built-in wireless capabilities, but if your computer doesn’t have one, you can add a Wi-Fi adapter.
Once you have the appropriate hardware, the process of connecting to Wi-Fi involves locating the available networks, choosing the network you want to connect to, entering the network password (if required), and troubleshooting any connection issues that may arise.
This guide will provide you with a step-by-step walkthrough of the process, covering everything from checking your hardware to troubleshooting potential problems. By following these instructions, you’ll be able to connect your computer to Wi-Fi and enjoy a seamless online experience.
Now, let’s get started with step one, which is checking your hardware.
Step 1: Check Your Hardware
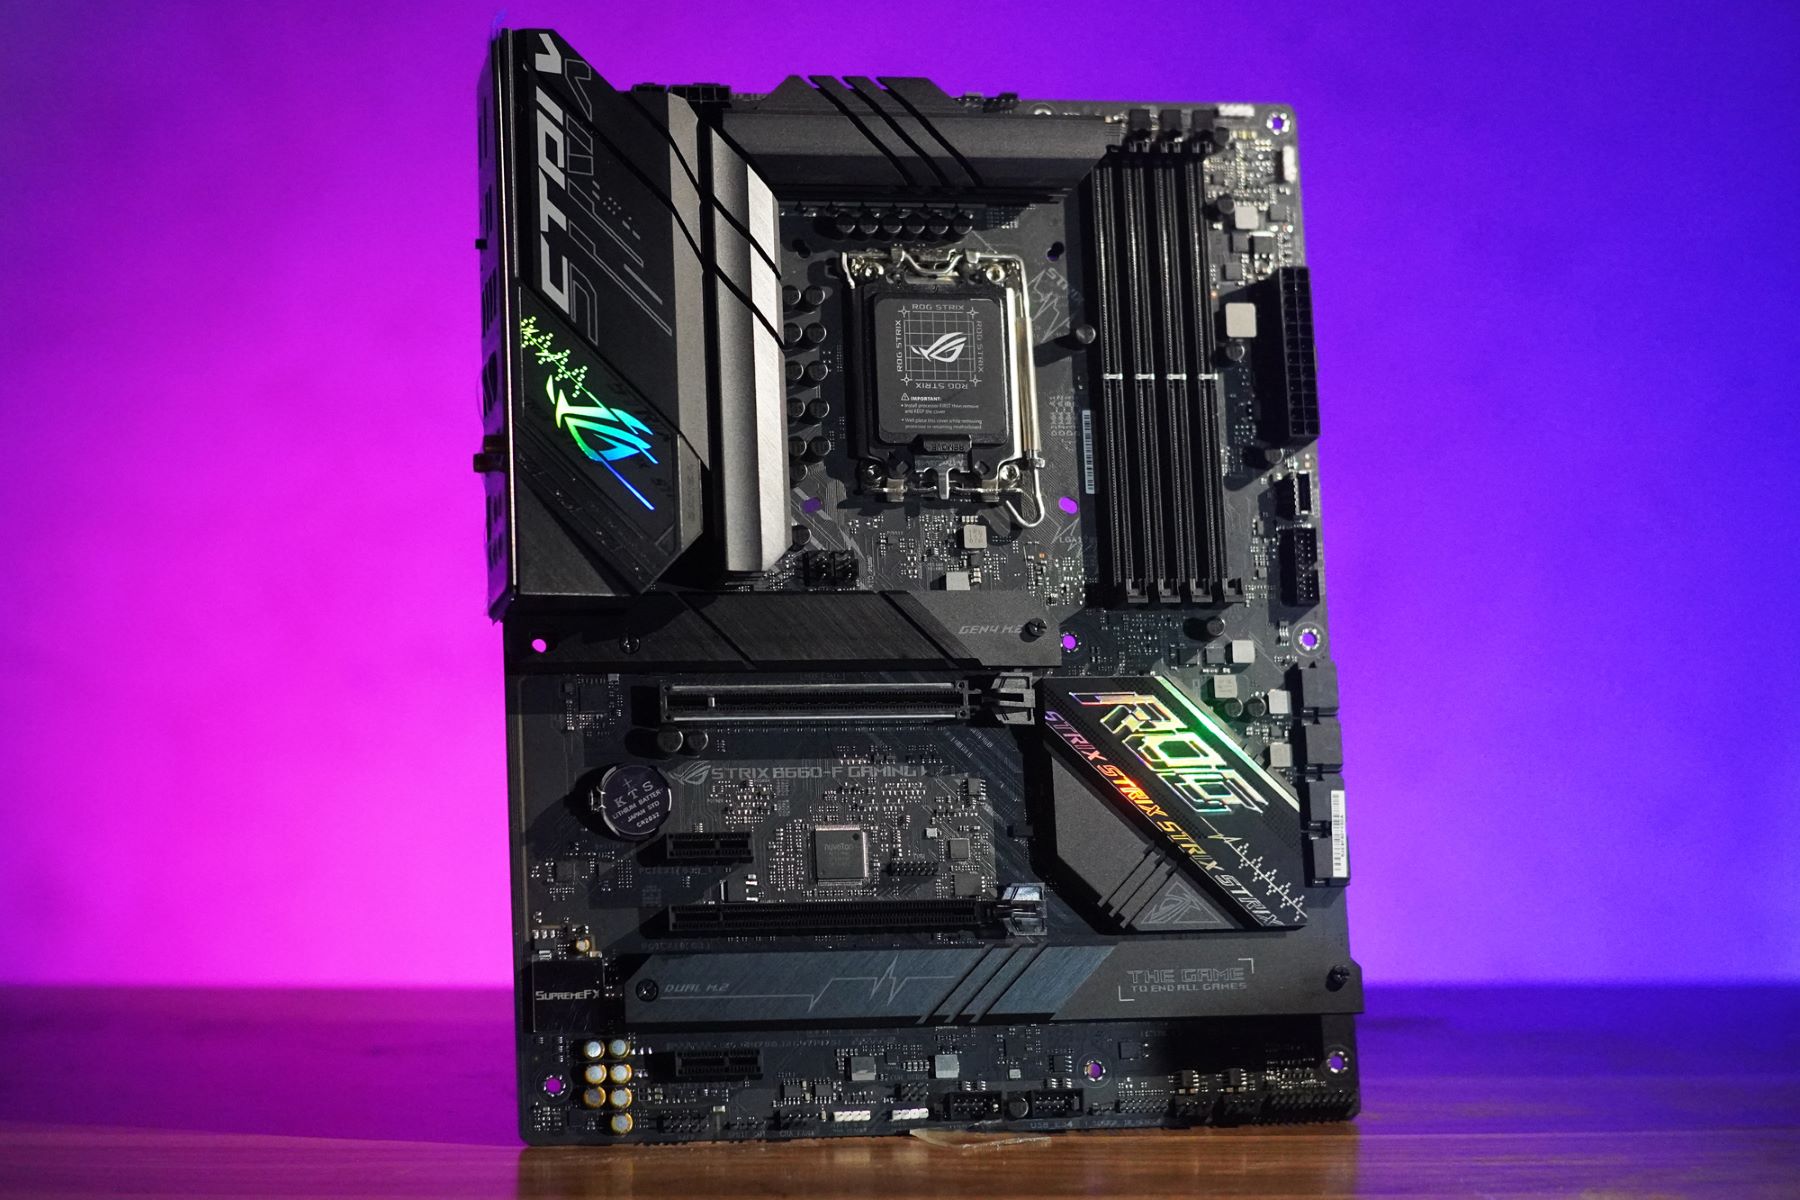
Before you can connect your computer to Wi-Fi, it’s important to ensure that you have the necessary hardware. The most crucial component is a wireless network adapter, which allows your computer to communicate with wireless networks.
Most modern laptops and desktop computers come equipped with built-in Wi-Fi capabilities. To check if your computer has a wireless adapter, you can look for a Wi-Fi icon or a switch on your device. Look for the symbol depicting wireless signals or a switch labeled “Wi-Fi”. If you see any of these indicators, your computer is likely equipped with a wireless adapter.
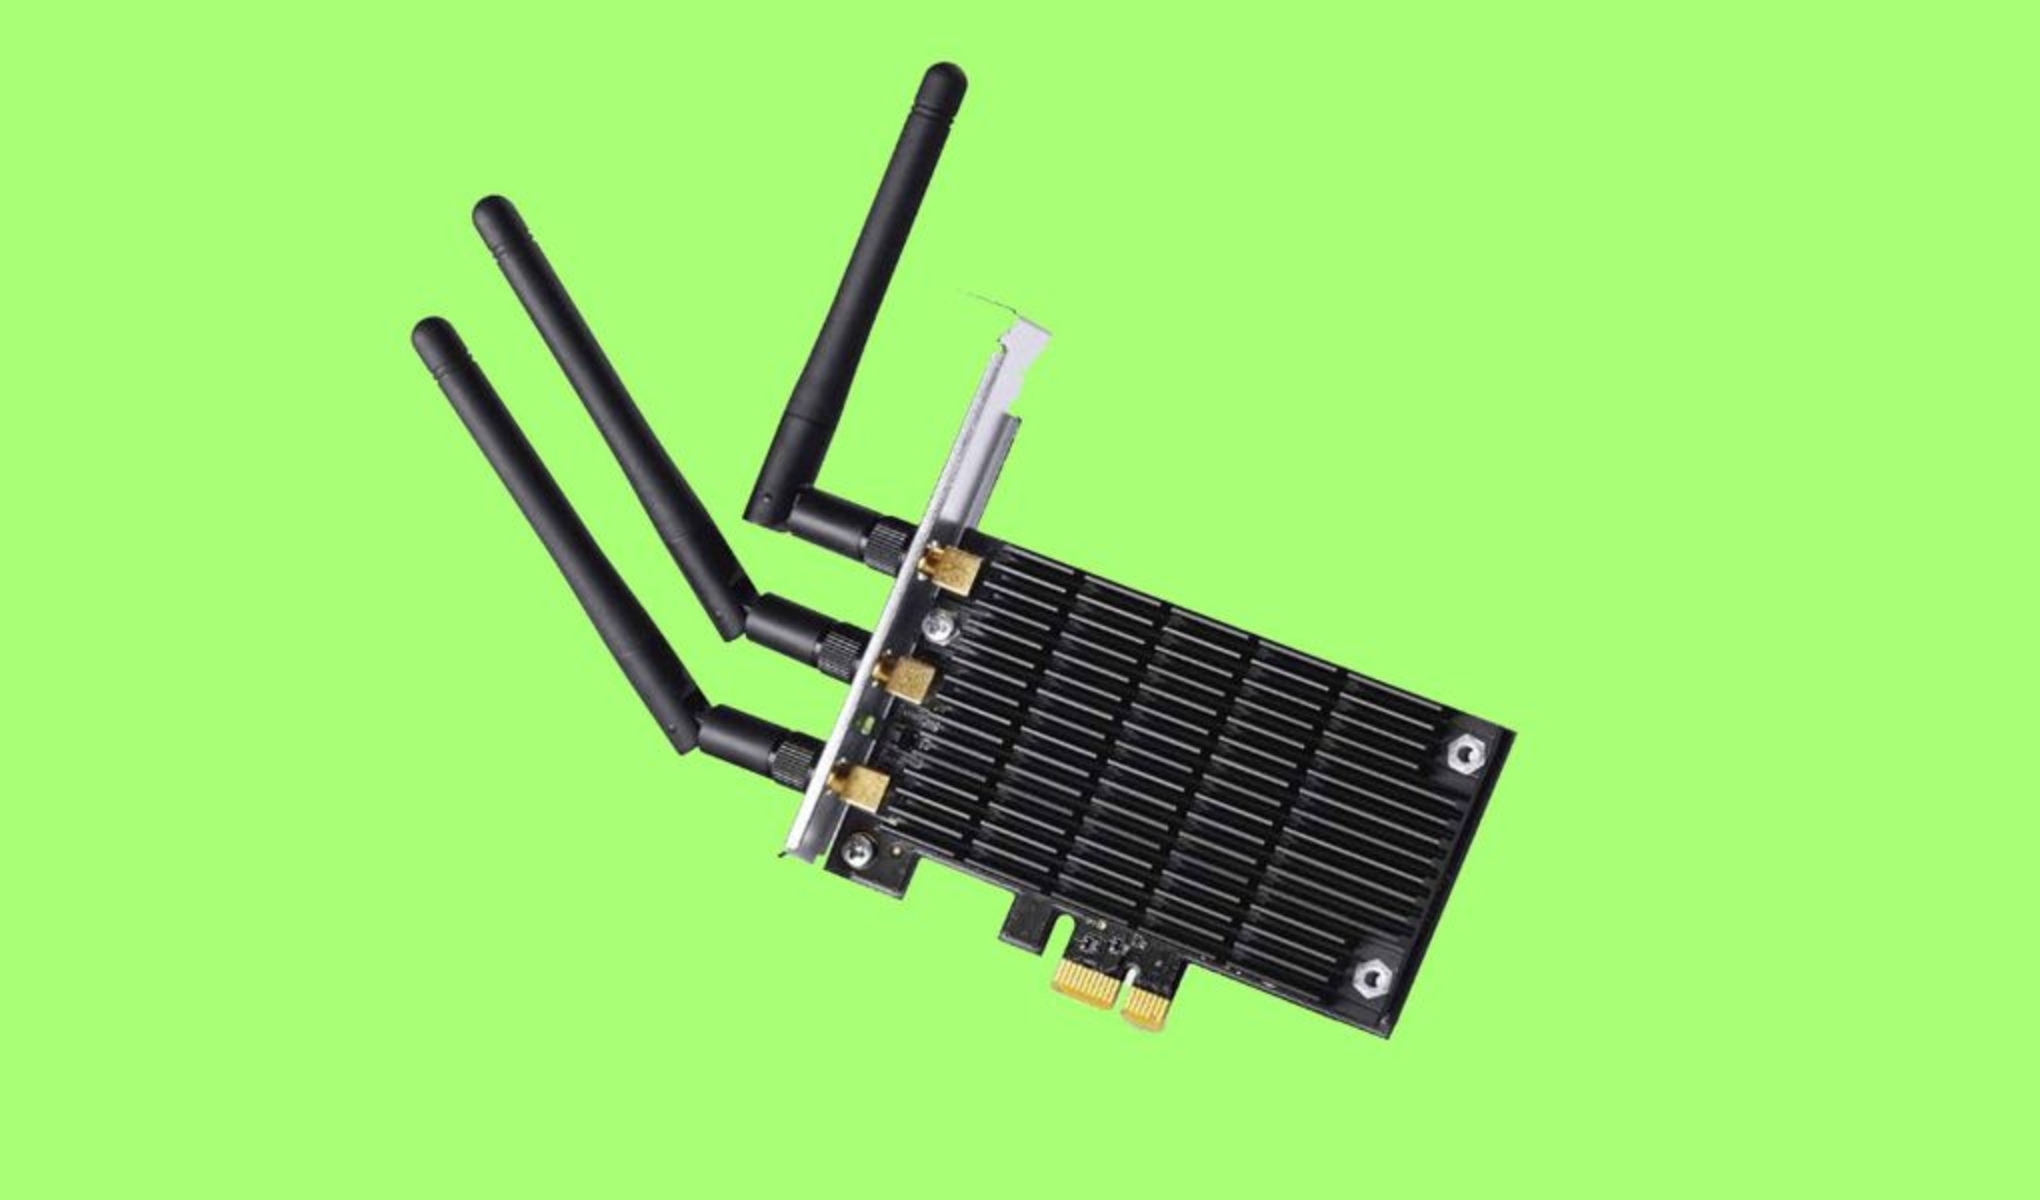
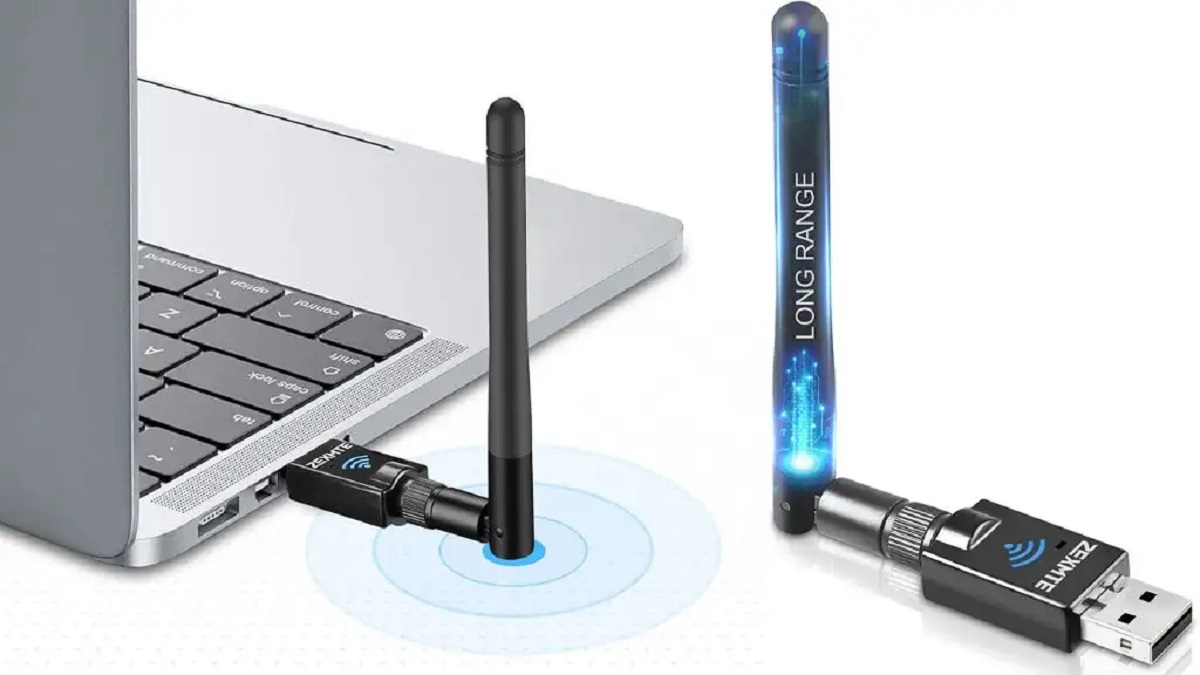
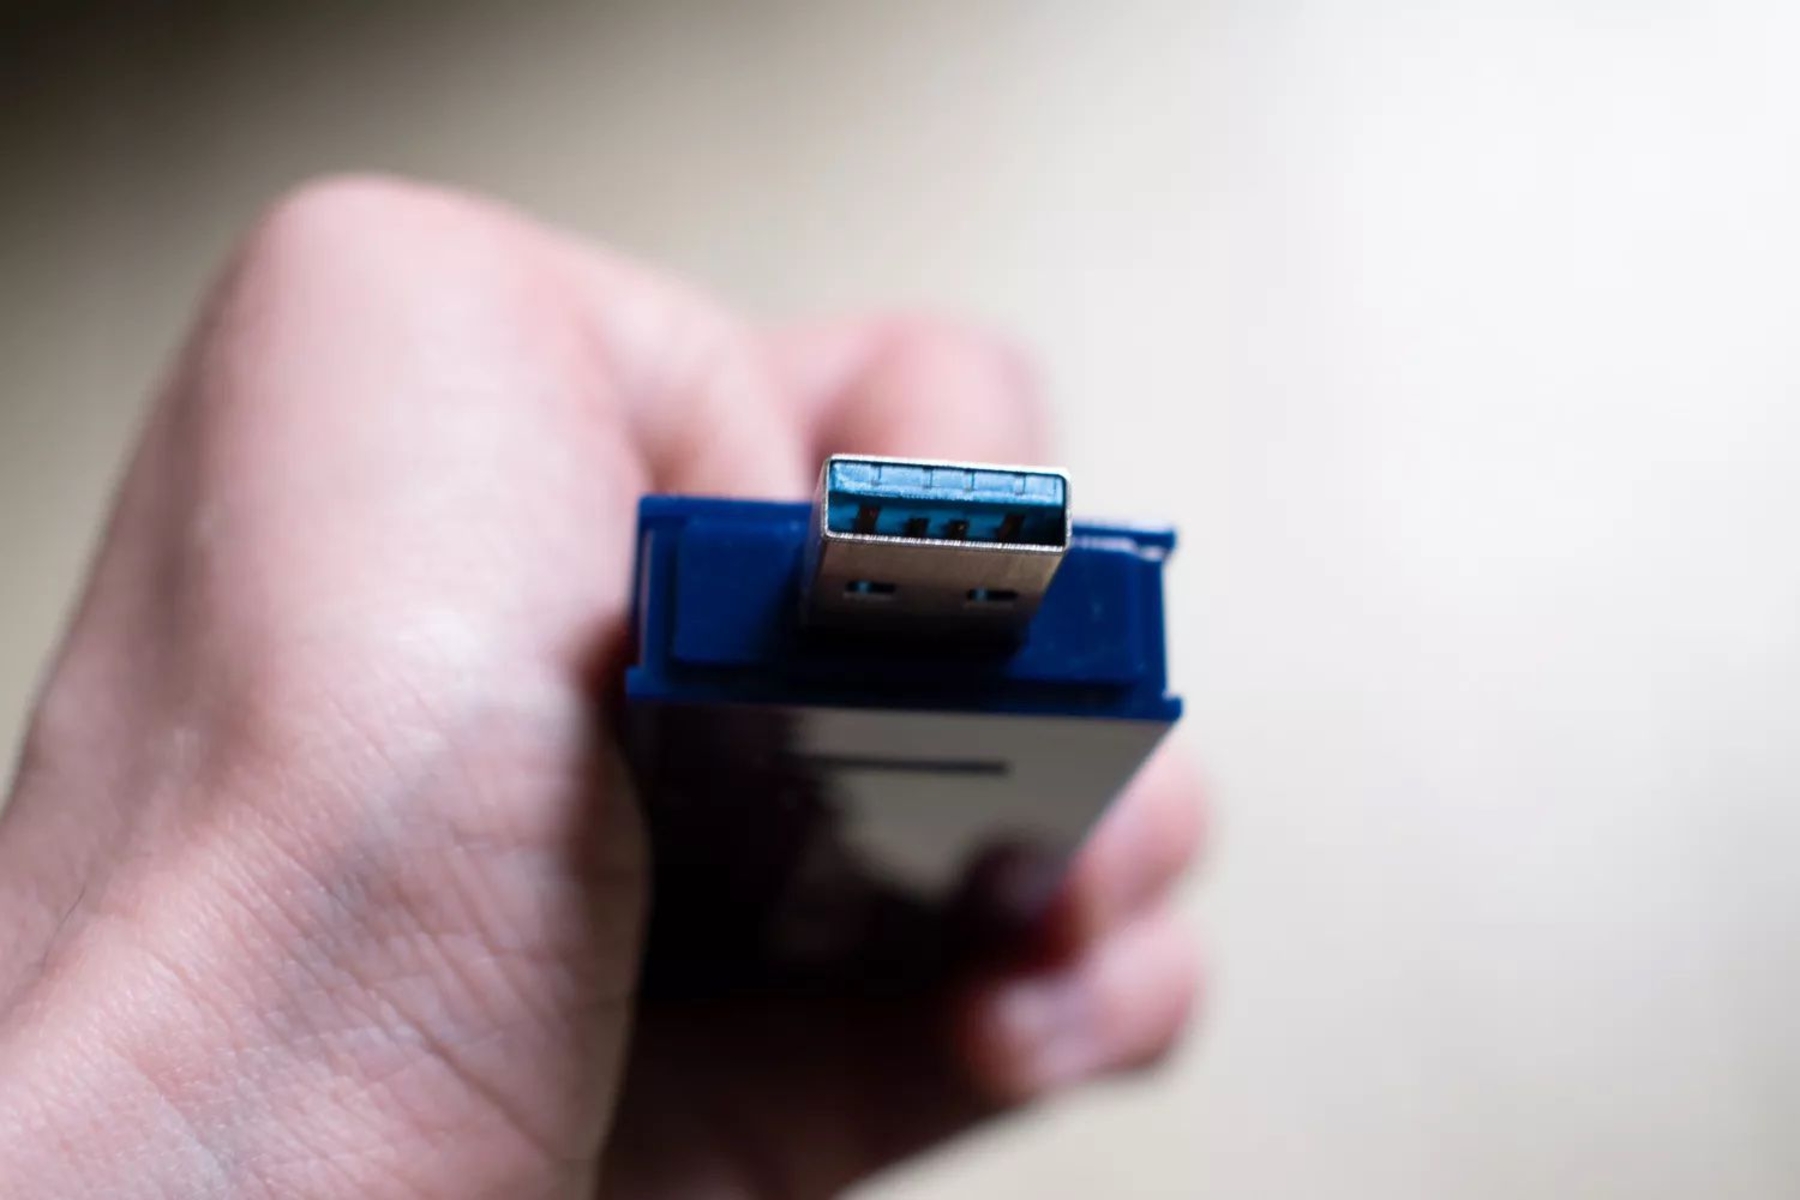
If you don’t find a Wi-Fi icon or switch, don’t worry. You can still connect to Wi-Fi by adding a wireless adapter to your computer. You can purchase a USB Wi-Fi adapter or a PCI-e card for desktop computers. These adapters typically plug into a USB port or an expansion slot on your computer, allowing you to connect to Wi-Fi networks.
Once you have confirmed that your computer has a wireless adapter or added one if necessary, you’re ready to move on to the next step: locating the Wi-Fi network.
It’s worth noting that some older computers may not support the latest Wi-Fi standards. If you encounter any compatibility issues, you may need to upgrade your hardware or consider alternative solutions, such as using an ethernet cable to connect to the internet.
In the next step, we’ll discuss how to locate the Wi-Fi network and connect to it. Keep reading to proceed with the setup process.
Step 2: Locate the Wi-Fi Network
Now that you have confirmed that your computer has a wireless adapter, it’s time to locate the Wi-Fi network you want to connect to. This step involves scanning for available networks and identifying the network you want to join.
Here’s how to locate the Wi-Fi network:
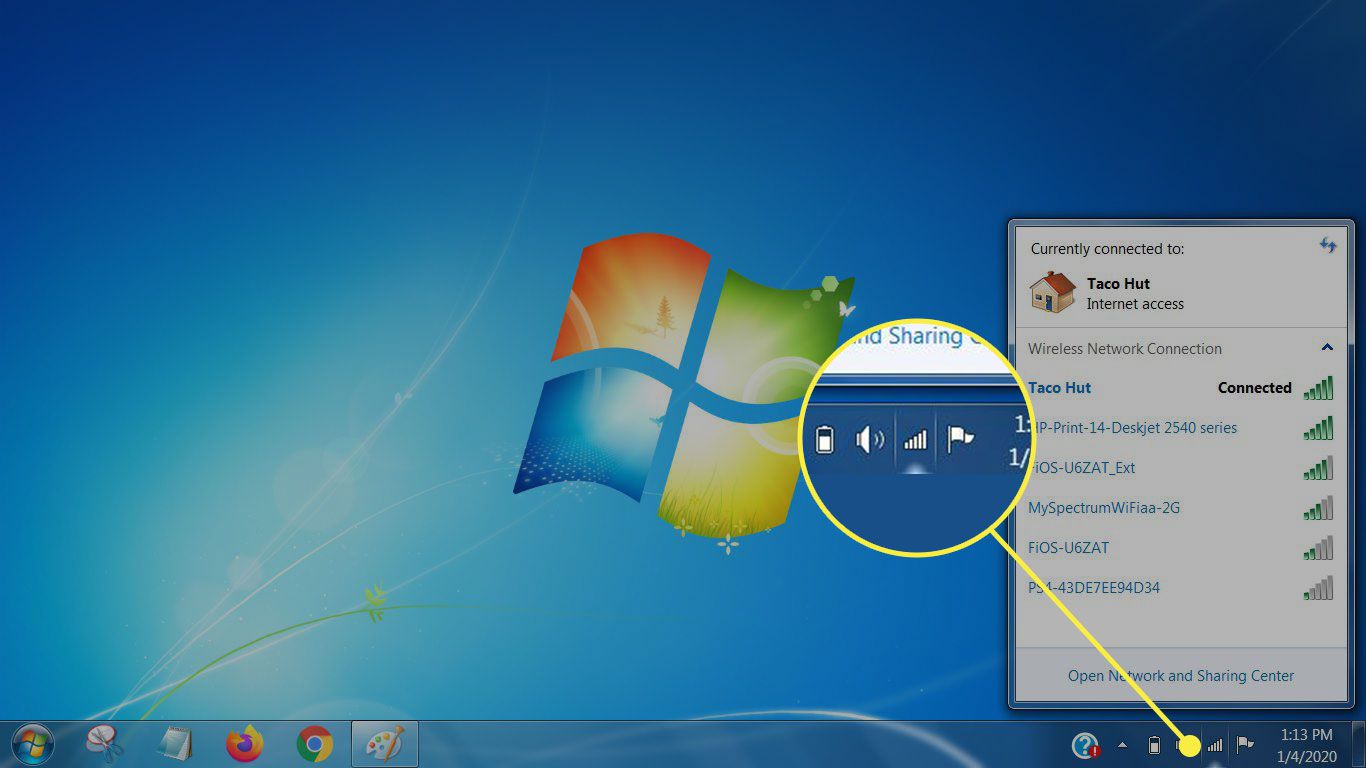
- Open the network settings on your computer. The process may vary slightly depending on your operating system. In Windows, you can typically find the network settings by clicking on the network icon in the system tray or navigating to the Network Settings section in the Control Panel. On Mac, you can access the network settings by clicking on the Wi-Fi icon in the menu bar or going to the Network Preferences in the System Preferences.
- Once you’re in the network settings, you’ll see a list of available Wi-Fi networks in your area. These networks may appear with their network names, also known as SSIDs (Service Set Identifiers). Look for the network name you want to connect to. If you’re connecting to a home network, it may be the name of your router or the network name you previously set up.
- Take note of the signal strength for each network. The signal strength is typically represented by bars or a percentage value. A stronger signal indicates that the network is closer and likely to provide a more stable connection. Choose a network with a strong signal if possible.
- If the network you want to connect to requires a password, it may be indicated with a lock icon or labeled as “secured”. This signifies that the network is protected with Wi-Fi security measures, such as WEP, WPA, or WPA2. You’ll need to enter the password to access the network.
- Select the desired Wi-Fi network by clicking on it or highlighting it and clicking the “Connect” button.
After you’ve completed these steps, your computer will attempt to establish a connection to the chosen Wi-Fi network. If you’ve entered the correct password (if required) and the network is within range, you should see a successful connection status.
In the next step, we’ll discuss how to enter the Wi-Fi password and connect to the network securely. Stay tuned!
Step 3: Connect to the Wi-Fi Network
Now that you’ve located the Wi-Fi network you want to connect to, it’s time to establish a secure connection. In this step, we’ll cover how to connect to the Wi-Fi network and ensure a seamless connection.
Follow these steps to connect to the Wi-Fi network:
- On your computer’s network settings, select the Wi-Fi network you want to connect to. Click on the network name or highlight it and click the “Connect” button.
- If the network is secured with a password, you will be prompted to enter it. Type in the Wi-Fi password and make sure you enter it correctly. Passwords are case-sensitive, so ensure that you use the correct capitalization.
- Once you’ve entered the password, your computer will attempt to establish a connection to the Wi-Fi network. You’ll typically see an indicator, such as a spinning icon or a progress bar, to signify the connection process.
- If the connection is successful, your computer will display a connected status for the Wi-Fi network. This means you are now connected to the internet and can start browsing the web, checking emails, or performing any online activities you desire.
- In some cases, you may encounter connection issues or fail to establish a connection. If that happens, double-check that you entered the correct password and that you’re within range of the Wi-Fi network. Additionally, ensure that your computer’s wireless adapter is functioning properly. If all else fails, you can try restarting your computer or contacting your internet service provider for assistance.
By following these steps, you can easily connect your computer to a Wi-Fi network and enjoy the benefits of wireless connectivity. Remember to always connect to secure and trusted networks to protect your privacy and data.
In the next step, we’ll discuss troubleshooting connection issues and common problems that may arise. Stay tuned for more information!
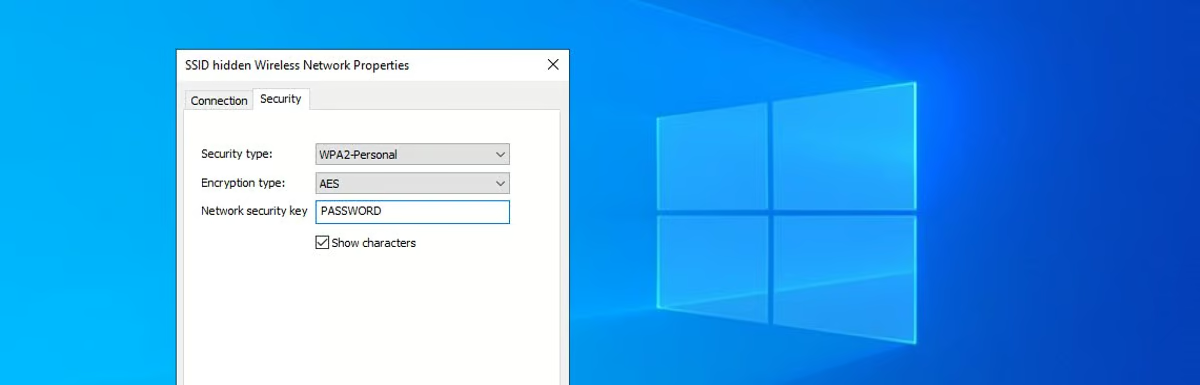
Step 4: Enter the Wi-Fi Password
When connecting to a secured Wi-Fi network, you’ll need to enter the Wi-Fi password to authenticate and gain access. In this step, we’ll guide you through the process of entering the Wi-Fi password correctly.
Follow these steps to enter the Wi-Fi password:
- Once you have selected the Wi-Fi network you want to connect to, your computer will prompt you to enter the password. The password entry field may appear automatically, or you may need to click on a prompt or button to enter the password.
- Type in the Wi-Fi password carefully, paying attention to the capitalization and any special characters. The password is case-sensitive, so ensure that you enter it exactly as provided.
- If you’re unsure about the password, you can check it on the back or bottom of your Wi-Fi router or access point. The password is often labeled as “WPA key,” “wireless password,” or similar. If you’re still unable to find the password, you may need to contact the network administrator or refer to the Wi-Fi network’s documentation.
- Once you’ve entered the password, click on the “Connect” or “Join” button to establish the connection. Your computer will attempt to connect to the Wi-Fi network using the provided password.
- If the password is correct and the connection is successful, your computer will display a connected status for the Wi-Fi network. Congratulations! You are now connected to the Wi-Fi network and can start using the internet.
- In case you encounter any issues while entering the password or fail to connect, double-check the password for accuracy. Remember that Wi-Fi passwords are case-sensitive and should be entered exactly as provided. If you’re still facing issues, you can try restarting your computer or router, or seek assistance from the network administrator or your internet service provider.
By following these steps, you can easily enter the Wi-Fi password and establish a secure connection to the network. Remember to keep your Wi-Fi password private and avoid sharing it with unauthorized individuals to protect the security of your network.
In the next step, we’ll discuss troubleshooting common connection issues that you may encounter. Stay tuned for valuable tips to resolve any Wi-Fi problems!
Step 5: Troubleshooting Connection Issues
While connecting to a Wi-Fi network is usually a straightforward process, you may encounter various connection issues along the way. In this step, we’ll discuss common problems that can arise and provide troubleshooting steps to help you resolve them.
Here are some tips to troubleshoot connection issues:
- Check the Wi-Fi signal strength: Ensure that you’re within range of the Wi-Fi network you’re trying to connect to. If you’re too far away from the router, the signal strength may be weak, leading to a poor or unreliable connection. Try moving closer to the router and see if the connection improves.
- Restart your devices: Sometimes, simply restarting your computer and Wi-Fi router can resolve connection issues. Power off both devices, wait for a few seconds, and then power them back on. This process can help clear any temporary glitches or conflicts that may be affecting the connection.
- Check for firmware updates: Make sure that your Wi-Fi router’s firmware is up to date. Manufacturers often release firmware updates to address known issues and improve performance. Check the router’s documentation or the manufacturer’s website for instructions on how to update the firmware.
- Disable and re-enable the Wi-Fi adapter: If you’re using a laptop or desktop computer with a built-in wireless adapter, you can try disabling and re-enabling the Wi-Fi adapter. This can refresh the connection and resolve any temporary issues. In the network settings, find the Wi-Fi adapter, right-click on it, and select “Disable.” After a few seconds, right-click again and select “Enable.”
- Reset network settings: If you’re still experiencing issues, you can try resetting the network settings on your computer. This will delete any saved Wi-Fi networks and reset the network configurations. Keep in mind that you will need to reconnect to Wi-Fi networks and enter passwords again. Refer to your computer’s documentation or manufacturer’s website for instructions on how to reset network settings.
- Contact your internet service provider (ISP): If you’ve tried all the troubleshooting steps and still can’t establish a connection, it’s possible that there may be an issue with your internet service. Contact your ISP’s customer support for assistance and provide them with details of the problem you’re experiencing.
By following these troubleshooting steps, you should be able to resolve common connection issues and establish a stable Wi-Fi connection. Remember to be patient and systematically go through each step to identify and resolve the problem.
Congratulations! You have now successfully learned how to connect your computer to Wi-Fi and troubleshoot any connection issues that may arise. Enjoy browsing the internet and exploring the digital world!
Conclusion
Connecting your computer to Wi-Fi is a fundamental skill in today’s digital age. It allows you to access the internet wirelessly and enables a multitude of online activities. In this guide, we’ve walked you through the process of connecting your computer to Wi-Fi, starting from checking your hardware to troubleshooting connection issues.
First, we emphasized the importance of ensuring that your computer has a wireless network adapter or adding one if necessary. Next, we guided you through the steps of locating the Wi-Fi network you want to connect to. We explained how to scan for available networks, evaluate signal strength, and identify secured networks that require a password.
Once you found the desired Wi-Fi network, we provided detailed instructions on how to connect to it. We covered the steps of entering the Wi-Fi password correctly and establishing a secure connection to the network. We also shared troubleshooting tips to help you resolve common connection issues, ensuring a seamless and reliable Wi-Fi experience.
Remember to keep your Wi-Fi password private and secure, and regularly update your devices’ firmware to ensure optimal performance. If you encounter persistent connection problems, don’t hesitate to reach out to your internet service provider for assistance.
Now that you have the knowledge and tools to connect your computer to Wi-Fi, you can enjoy the benefits of wireless internet access wherever you go. Stay connected, explore the digital world, and make the most out of the online opportunities available to you.
Thank you for reading this guide, and we hope it has been helpful in enhancing your understanding of how to connect a computer to Wi-Fi. Happy browsing!