Introduction
Welcome to this guide on how to change the Wi-Fi settings on your Alexa device. Whether you’re moving to a new location or simply want to connect your device to a different Wi-Fi network, this step-by-step tutorial will walk you through the process.
Alexa devices, such as the Amazon Echo or Echo Dot, connect to the internet via Wi-Fi to provide you with the convenience of voice-controlled smart features and access to a wide range of useful skills. It’s important to ensure that your Alexa device is connected to a stable and reliable Wi-Fi network to make the most of its capabilities.
Changing the Wi-Fi settings on your Alexa device is a straightforward process, but it does require a few simple steps. In this guide, we will cover everything from checking your current Wi-Fi connection to testing the new Wi-Fi connection on your device. So, let’s get started and ensure that you have a seamless Wi-Fi experience with your Alexa device.
Step 1: Check your Wi-Fi connection
Before changing the Wi-Fi on your Alexa device, it’s essential to ensure that your current Wi-Fi connection is stable and functioning properly. Follow these steps to check your Wi-Fi connection:
- Make sure your Alexa device is powered on and within range of your Wi-Fi router.
- On your mobile device or computer, open the Wi-Fi settings and ensure that you are connected to the same Wi-Fi network that your Alexa device is currently using.
- If you are connected to the correct Wi-Fi network, try accessing the internet on your device to ensure that the connection is active and working fine.
- If you are experiencing issues with your Wi-Fi connection, such as slow speeds or frequent disconnections, try restarting your Wi-Fi router and the Alexa device. This simple step can often resolve minor connectivity issues.
- Check if there are any obstacles or interference between your Alexa device and the Wi-Fi router, such as walls, other electronic devices, or metal objects. These can weaken the Wi-Fi signal and impact the connection quality.
- Make sure all the cables and connections between your Wi-Fi router and the internet service provider are secure and functioning correctly.
- If you have multiple Wi-Fi networks available, such as a 2.4GHz and 5GHz network, ensure that your Alexa device is connected to the appropriate network. Certain Alexa devices only support specific Wi-Fi frequencies.
By following these steps, you can confirm that your Wi-Fi connection is stable and ready for the next steps of changing the Wi-Fi on your Alexa device. Once you have confirmed the integrity of your Wi-Fi connection, you can proceed to the next step of resetting your Alexa device.
Step 2: Reset your Alexa device
Before you can connect your Alexa device to a new Wi-Fi network, it’s necessary to reset the device. This clears any previous Wi-Fi settings and prepares it for the setup process. Follow these steps to reset your Alexa device:
- Locate the reset button on your Alexa device. The location of the button may vary depending on the device model. It is usually a small, inset button on the bottom or back of the device.
- Take a small tool, such as a paperclip or a pen tip, and press and hold the reset button for about 15 seconds. Keep holding the button until the light ring on your Alexa device turns orange and then blue.
- Release the reset button once you see the orange and blue light ring. Your Alexa device is now in setup mode.
- Wait for your Alexa device to complete the reset process. The light ring will turn off and then back on, indicating that the reset is complete. This may take a couple of minutes.
Once your Alexa device has been reset, it is ready to be connected to a new Wi-Fi network. Remember that resetting your device will also delete any personalized settings, so you will need to set them up again after connecting to the new Wi-Fi network. With your device reset, you can now proceed to the next step of connecting it to a new Wi-Fi network.
Step 3: Connect your Alexa device to a new Wi-Fi network
Now that your Alexa device is reset and ready for setup, you can connect it to a new Wi-Fi network. Follow these steps to connect your Alexa device to a new Wi-Fi network:
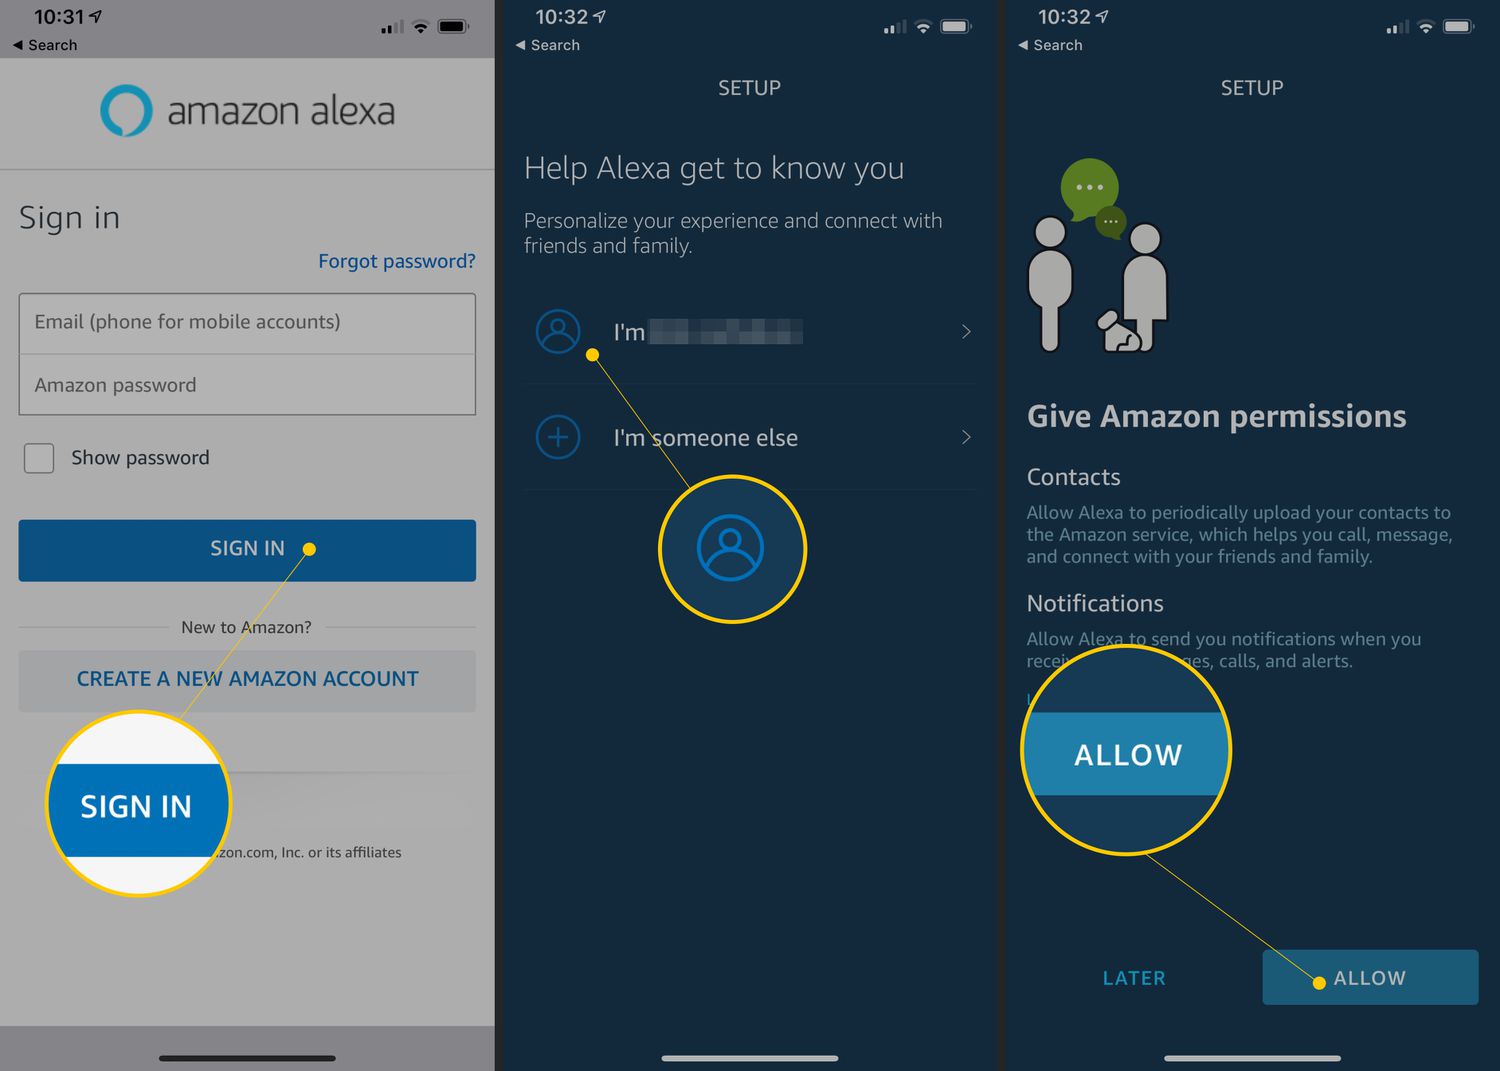
- Open the Alexa app on your mobile device. If you haven’t downloaded the app yet, you can find it in your device’s app store and install it.
- Sign in to the Alexa app using the same Amazon account that is linked to your Alexa device.
- In the app, tap on the menu icon, usually located in the top-left or top-right corner of the screen. This will open the app’s settings menu.
- Select the “Settings” option from the menu.
- Tap on the name of your Alexa device from the list of devices.
- Scroll down and select the “Change Wi-Fi Network” option.
- Follow the on-screen prompts in the app to choose your new Wi-Fi network from the available network list. You will need to enter the password for the network if it is secured.
- Wait for your Alexa device to connect to the new Wi-Fi network. The app will indicate the progress of the connection setup.
- Once the connection is established, your Alexa device will confirm that it is connected to the new Wi-Fi network through a voice prompt or a notification in the app.
Congratulations! Your Alexa device is now successfully connected to the new Wi-Fi network. You can now enjoy the full functionality of your device on the new network. However, before you can start using it, it’s important to update the device settings to ensure a smooth experience. Proceed to the next step for further instructions.
Step 4: Update your Alexa device settings
After connecting your Alexa device to the new Wi-Fi network, it’s important to update the device settings to ensure it functions properly and meets your preferences. Follow these steps to update your Alexa device settings:
- Open the Alexa app on your mobile device.
- Make sure you are signed in to the app using the same Amazon account that is linked to your Alexa device.
- In the app’s main menu, select “Settings”.
- Tap on the name of your Alexa device from the list.
- Here, you can customize various settings for your Alexa device. Some of the settings you might want to consider updating include:
- Device location: Set the accurate location of your device to enable location-based features and improve accuracy of weather and traffic updates.
- Wake word: Choose the wake word that triggers your Alexa device, such as “Alexa,” “Amazon,” or “Echo.” Select a wake word that is easy to pronounce and remember.
- Language: Select your preferred language for interacting with Alexa.
- Time zone: Set the correct time zone to make sure time-based features, alarms, and timers work correctly.
- Privacy settings: Review and adjust privacy settings to control how your Alexa device handles your data and interacts with other devices.
- Skills and preferences: Explore the various skills and preferences available to personalize your Alexa experience. This includes setting up routines, connecting smart home devices, and more.
- Once you have updated your desired settings, tap “Save” or “Apply” to save the changes.
- Your Alexa device will sync with the updated settings, and you can start using it according to your preferences on the new Wi-Fi network.
By updating your Alexa device settings, you can tailor your device to suit your needs and make the most out of its features. Take some time to explore the settings and adjust them according to your preferences for a more personalized Alexa experience.
Step 5: Test the new Wi-Fi connection
Now that you have successfully connected your Alexa device to the new Wi-Fi network and updated its settings, it’s time to test the connection to ensure everything is working correctly. Follow these steps to test the new Wi-Fi connection:
- Make sure your Alexa device is powered on and connected to a power source.
- Ensure that your device is within range of the Wi-Fi router and not obstructed by any objects that may interfere with the Wi-Fi signal.
- Initiate a command to your Alexa device to test its response. You can say “Alexa, what’s the weather today?” or any other command to verify that your device is connected to the internet and functioning properly.
- If your Alexa device responds and provides the requested information, it indicates that the new Wi-Fi connection is successful. You can proceed to use your Alexa device as usual.
- If you encounter any issues or your device fails to respond, try the following troubleshooting steps:
- Check the Wi-Fi connection status on your device. If it is disconnected, try reconnecting it to the Wi-Fi network following the earlier steps.
- Restart your Alexa device and/or your Wi-Fi router to refresh the connection.
- Make sure the Wi-Fi network you are connected to has a stable internet connection.
- Check if your Alexa device is up to date with the latest firmware and software updates. If not, update it to ensure optimal performance.
- If the problem persists, consider contacting customer support for further assistance.
By testing the new Wi-Fi connection, you can confirm that your Alexa device is successfully connected and ready to provide you with its full range of features and functionalities. Enjoy the convenience of voice-controlled smart assistance and explore the numerous skills and capabilities available to enhance your daily life.
Conclusion
Changing the Wi-Fi on your Alexa device may seem like a daunting task, but by following the simple steps outlined in this guide, you can easily connect your device to a new Wi-Fi network. Ensuring a stable and reliable Wi-Fi connection is crucial to unlock the full potential of your Alexa device and enjoy its smart features.
We began by checking the current Wi-Fi connection to verify its stability. Then, we proceeded to reset the Alexa device to clear any previous Wi-Fi settings. After that, we connected the device to a new Wi-Fi network and updated its settings to personalize the experience.
Finally, we tested the new Wi-Fi connection to ensure it was successfully established. If any issues were encountered along the way, we provided troubleshooting tips to resolve them.
Now that your Alexa device is connected to a new Wi-Fi network and functioning properly, you can explore its capabilities and enjoy the convenience of voice-controlled assistance. Make sure to keep your device and Wi-Fi network updated, and don’t hesitate to reach out to customer support if you encounter any further difficulties.
With this guide, you have the knowledge and confidence to change the Wi-Fi on your Alexa device whenever necessary. Embrace the world of smart home technology and let Alexa’s voice-controlled capabilities simplify your day-to-day life.