Introduction
Cloning an operating system to a new SSD (Solid State Drive) can greatly improve the performance and speed of your computer. Whether you’re upgrading your existing drive or replacing a failing one, cloning allows you to transfer all your files, programs, and settings to the new SSD seamlessly.
Gone are the days of reinstalling your operating system and applications from scratch, spending hours of valuable time setting everything up again. With cloning, you can replicate your entire operating system, including all installed software and personal files, onto a new SSD with minimal effort.
Cloning an operating system involves creating an exact replica of it on a new drive, ensuring that all your data and settings are preserved. This process eliminates the need to reinstall the operating system, reconfigure applications, and transfer files manually. It allows for a seamless transition to a new drive, with all the benefits of improved speed and performance.
In this article, we will guide you through the process of cloning your operating system to a new SSD. We will cover everything from preparing for cloning to troubleshooting common issues that may arise. By the end of this guide, you will have the knowledge and confidence to successfully clone your operating system and enjoy the benefits of a faster, more efficient computer.
Preparing for Cloning
Before you begin the process of cloning your operating system to a new SSD, there are a few important steps you need to take to ensure a smooth and successful operation.
1. Backup Your Data: It is crucial to backup all your important files and documents before proceeding with the cloning process. Although cloning software is generally reliable, it’s always better to be safe than sorry. Backing up your data will protect you from any potential data loss during the cloning process.
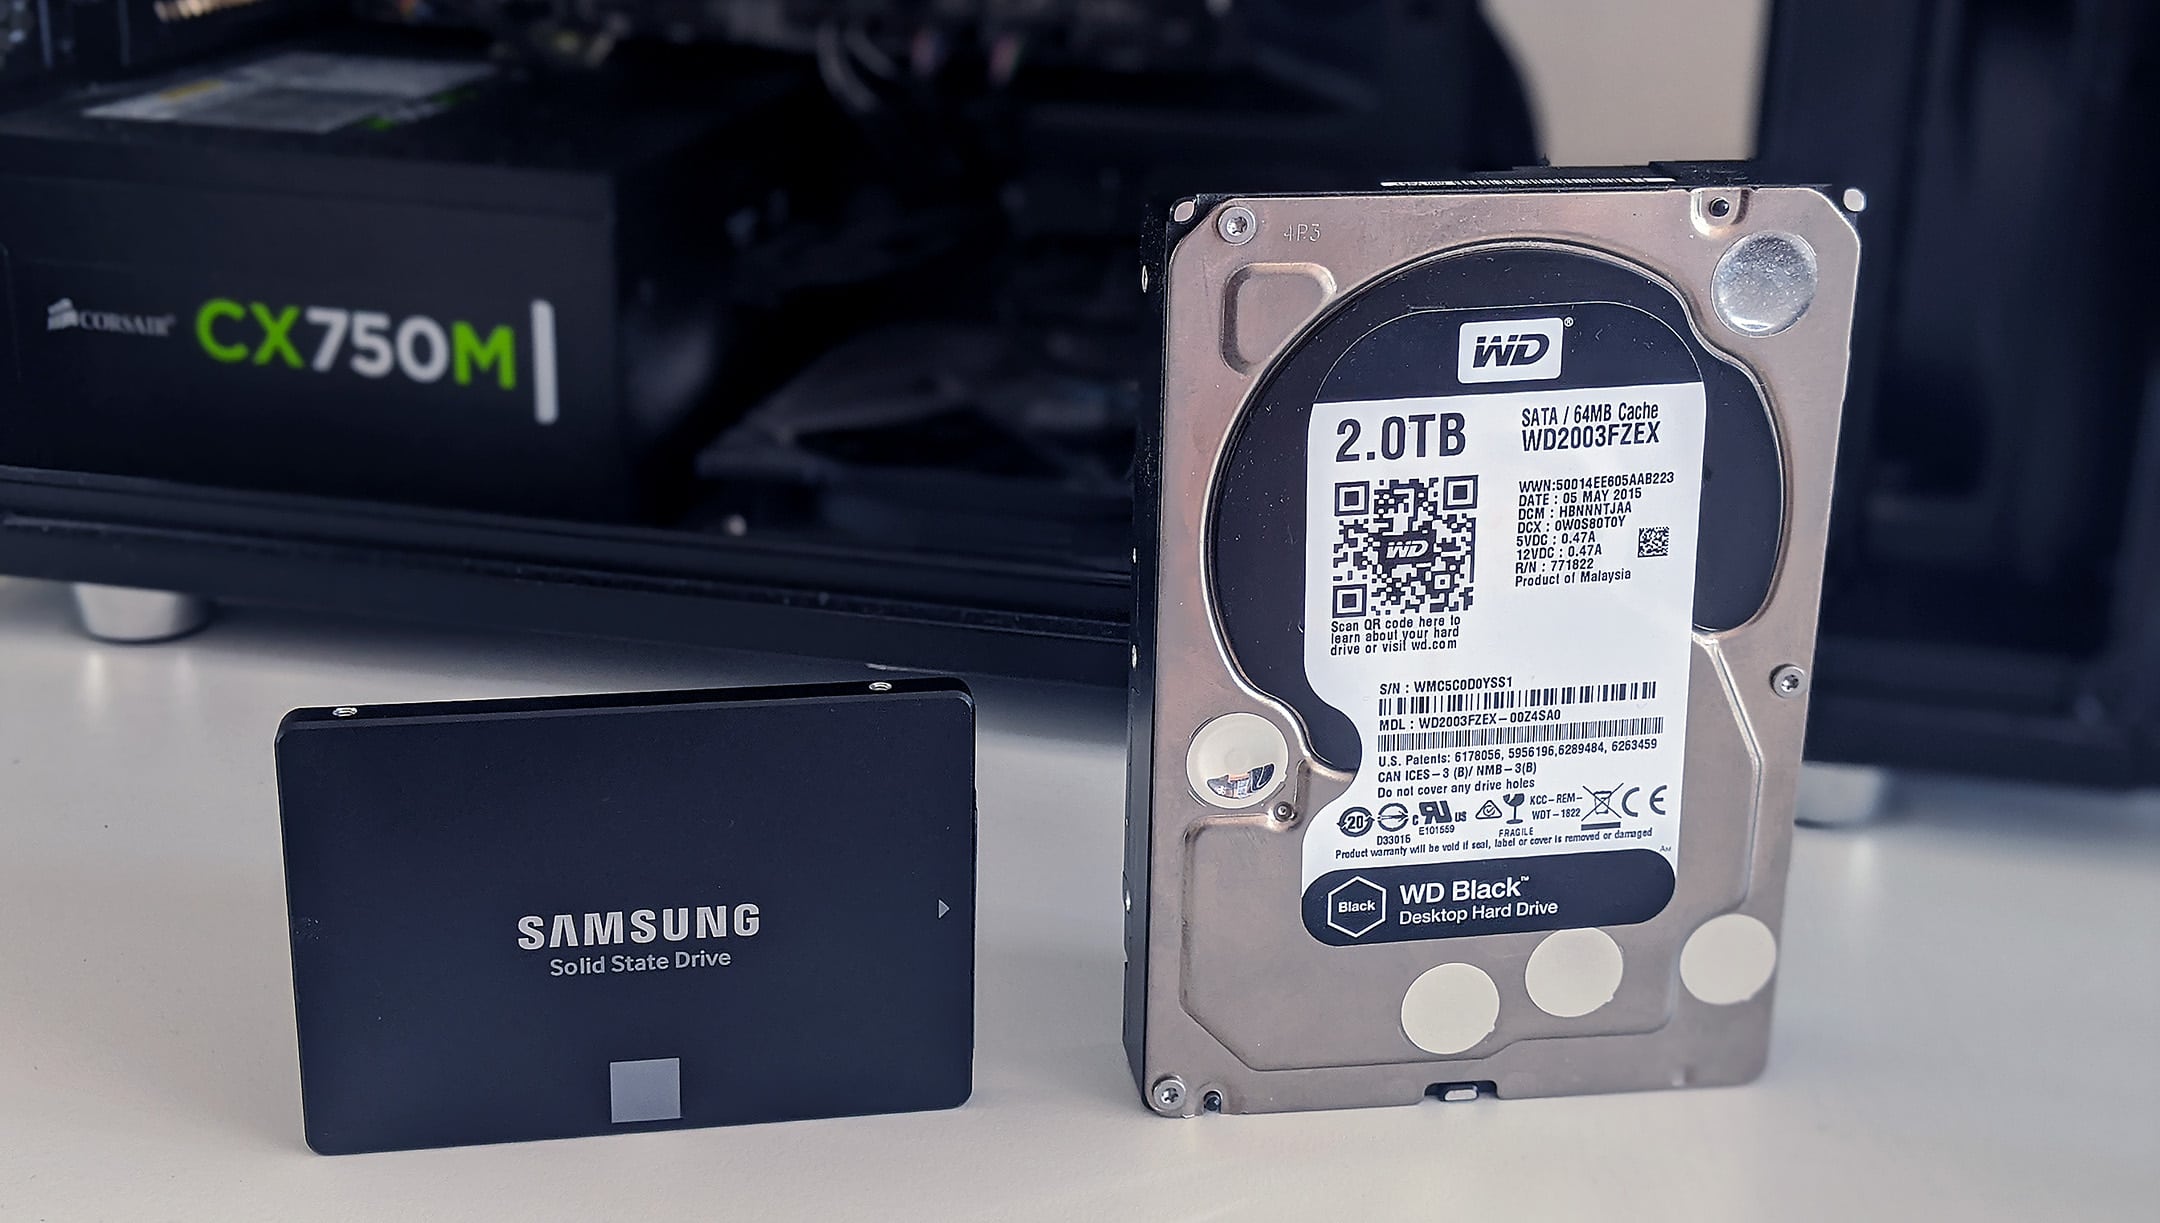
2. Check Compatibility: Ensure that the new SSD is compatible with your computer’s hardware and operating system. Check the specifications of both your computer and the SSD to ensure they are compatible. If you’re unsure, consult the manufacturer’s documentation or seek assistance from a professional.
3. Clean Up Your Current Drive: Before cloning, it’s a good practice to clean up your current drive by removing any unnecessary files, temporary files, or unused applications. This will help reduce the size of the cloned image and minimize the transfer time.
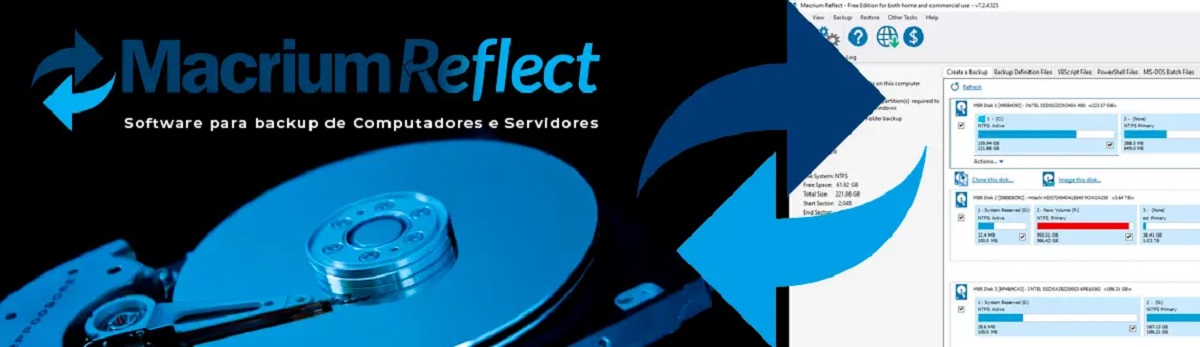
4. Gather Necessary Tools: To clone your operating system to the new SSD, you will need cloning software. There are several reliable options available, such as EaseUS Todo Backup, Clonezilla, and Macrium Reflect. Choose the software that best suits your needs and download it from a reputable source.
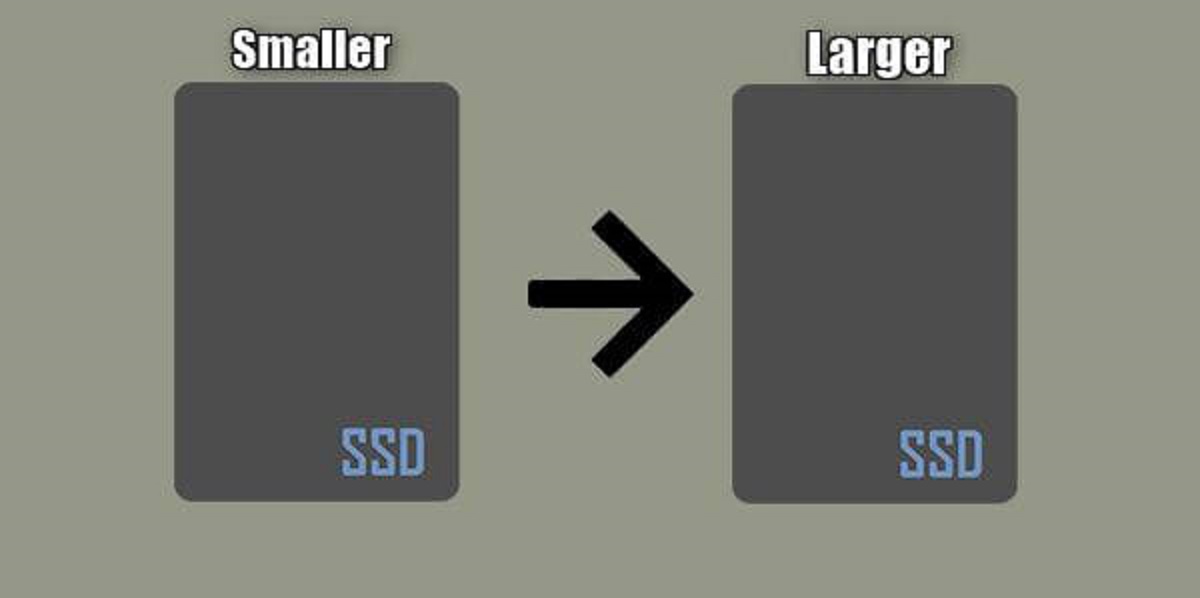
5. Create a Cloning Plan: It’s essential to have a plan in place before you start the cloning process. Decide whether you want to clone only the operating system or the entire drive, including applications and personal files. Consider the size of the new SSD and how much data you currently have on your existing drive.
6. Have a Backup Power Source: Cloning can take some time, and any unexpected interruption, such as a power outage, can potentially corrupt your system. To avoid this, connect your laptop or computer to a reliable power source or use a UPS (Uninterruptible Power Supply) during the cloning process.
By following these preparation steps, you’ll ensure that your cloning process goes smoothly and minimizes the risk of data loss or compatibility issues. Once you have completed these steps, you’re ready to move on to the next stage of the cloning process.
Choosing the Right Cloning Software
When it comes to choosing the right cloning software for your operating system, there are a few factors to consider. The availability of options in the market can be overwhelming, but selecting the best-suited software is crucial for a successful cloning process.
1. Ease of Use: Look for cloning software that offers a user-friendly interface and straightforward instructions. Ideally, you should be able to navigate through the cloning process with ease, regardless of your technical expertise.
2. Compatibility: Ensure that the cloning software is compatible with your operating system and the new SSD you have chosen. Some software may have specific requirements or limitations, so be sure to check the specifications and supported devices.
3. Advanced Features: Consider any advanced features or functionalities offered by the cloning software. Some software may provide options for partition resizing, sector-by-sector cloning, or automatic SSD alignment, which can optimize the cloning process and improve performance.
4. Reliability and Reputation: Research the reputation and reviews of the cloning software before making your decision. Look for software that is widely used and trusted by professionals and has a track record of successful cloning operations.
5. Technical Support: Check if the cloning software provides reliable technical support. In case you encounter any issues or have questions during the cloning process, having access to prompt and helpful support can greatly assist and minimize downtime.
6. Cost: Consider the cost of the cloning software, as some options may be free while others require a purchase. Determine your budget and evaluate the value and features offered by the software before making your final decision.
By considering these factors and conducting thorough research, you can make an informed decision when choosing the right cloning software for your operating system. Once you have selected the software that meets your requirements, you can proceed with the next steps of the cloning process.
Connecting the New SSD
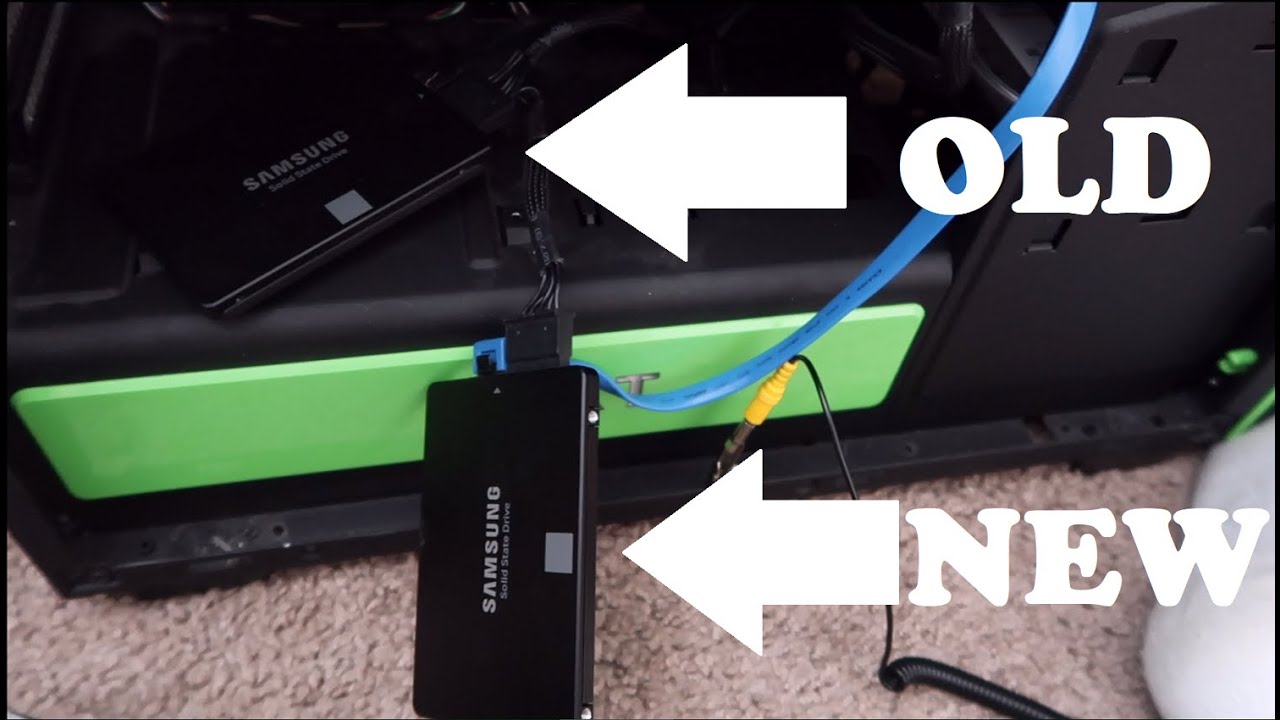
Once you have chosen the appropriate cloning software, it’s time to connect the new SSD to your computer. Properly connecting the SSD ensures that it can be recognized by the cloning software and allows for a smooth transfer of your operating system.
1. Shut Down Your Computer: Before connecting any hardware components, it’s essential to shut down your computer properly. This will prevent any potential damage to your system or the new SSD.
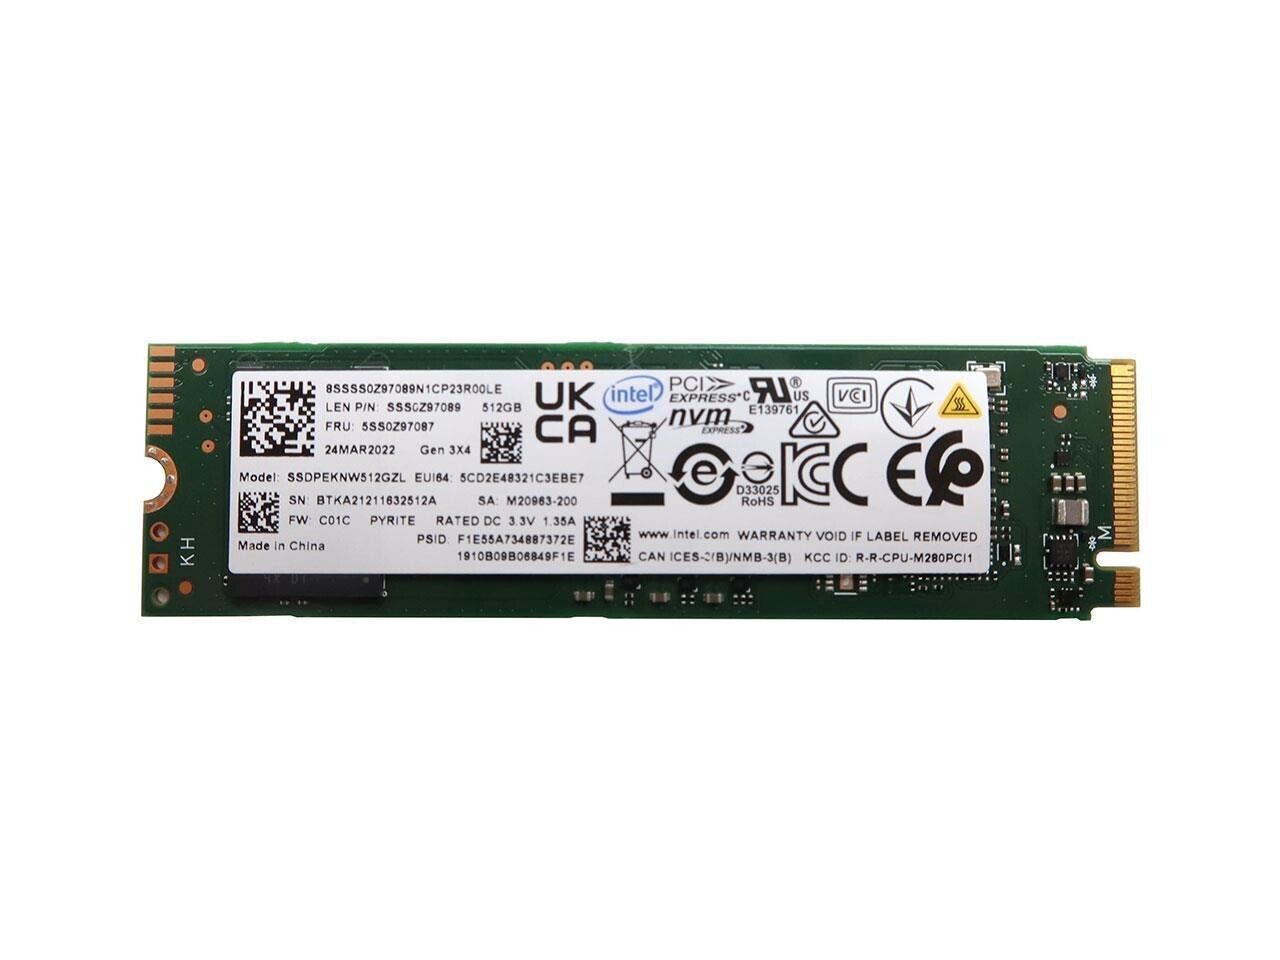
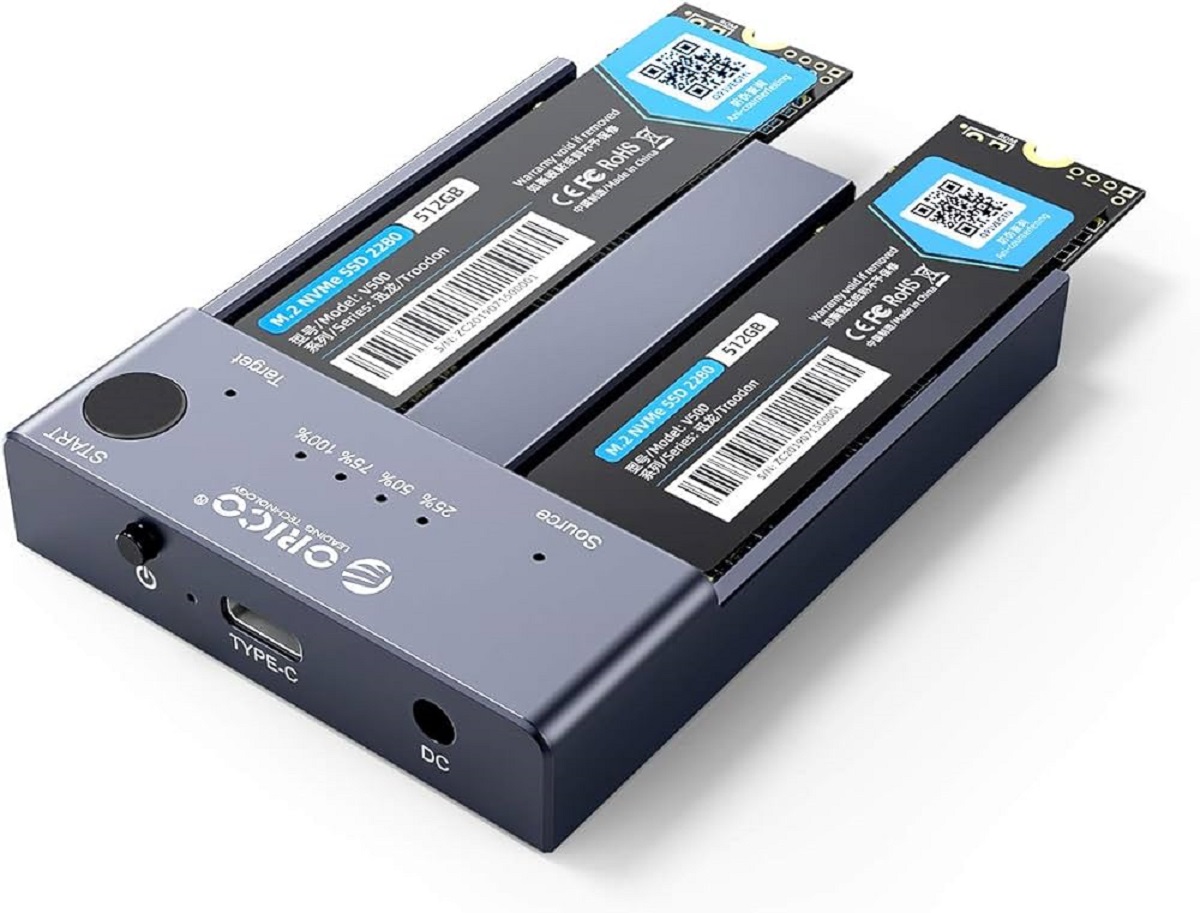
2. Identify an Available Slot: Depending on your computer model, identify an available slot where you can connect the new SSD. It is usually a separate slot specifically designed for additional drives, such as an M.2 slot or a SATA port.
3. Physical Connection: Carefully insert the new SSD into the chosen slot. Ensure that it is firmly and securely connected, aligning the pins or connectors correctly. Be cautious not to apply excessive force or damage the SSD in the process.
4. Power Connection: Connect the power cable to the new SSD if required. Some SSDs may require a separate power connection, while others receive power directly from the slot. Refer to the SSD manufacturer’s documentation for specific guidance on power connections.
5. Check Connections: Once the new SSD is connected, double-check the connections to ensure they are secure. Loose or faulty connections can cause issues during the cloning process or prevent the new SSD from being recognized by your computer.
6. Restart Your Computer: After connecting the new SSD, you can proceed to restart your computer. This will allow your system to recognize the new hardware and ensure that it is detected by both your BIOS and your operating system.
Once you have successfully connected the new SSD to your computer, you are ready to move on to the next steps of the cloning process. Properly connecting the new SSD is an important step in ensuring a seamless transfer of your operating system and preparing for the cloning operation ahead.
Backing Up Important Files
Before proceeding with the cloning process, it is crucial to back up all your important files and documents. While cloning software is generally reliable, unforeseen errors or data loss can occur during the process. By creating a backup, you can ensure that your valuable data is protected and can be easily restored if needed.
1. Identify Your Important Files: Take some time to identify the files and documents that are crucial to you. This may include personal photos, videos, documents, or any other data that you cannot afford to lose.
2. Choose a Backup Method: There are several methods you can use to back up your important files. You can opt for an external hard drive or SSD, cloud storage services, or even network storage devices. Select a method that best suits your needs and ensures the safety and accessibility of your backup.
3. Create a File Organization System: Before backing up your files, consider organizing them in a logical and structured manner. Sorting files into folders based on content, date, or relevance can make it easier to find and restore specific data when needed.
4. Perform the Backup: Depending on the backup method you choose, follow the appropriate steps to create a backup of your important files. If you’re using an external drive, connect it to your computer and transfer the files manually. For cloud storage services, sign up for an account and upload your files securely.
5. Verify the Backup: After completing the backup, take some time to verify that the files have been properly copied and are accessible. Open a few random files to ensure that they can be retrieved without any issues. This step provides peace of mind knowing that your backup is intact and usable.
6. Update the Backup Regularly: Remember that backing up your files is an ongoing process. Make it a habit to update your backup regularly, especially if you frequently create or modify files. Scheduled backups or automatic syncing tools can help streamline this process.
By backing up your important files, you minimize the risk of losing valuable data during the cloning process. It’s always better to be safe than sorry, and having a reliable backup ensures that your files are safeguarded and accessible when you need them.
Launching the Cloning Software
With the new SSD connected and your important files safely backed up, it’s time to launch the cloning software and begin the process of transferring your operating system to the new drive. Follow these steps to properly launch the cloning software:
1. Open the Cloning Software: Locate the cloning software you have installed on your computer and open it. Depending on the software you are using, it may have its own unique interface and features.
2. Grant Necessary Permissions: Some cloning software may require administrative privileges to perform certain actions. If prompted, provide the necessary permissions to the software to proceed with the cloning process.
3. Familiarize Yourself with the Software: Take a moment to familiarize yourself with the user interface and features of the cloning software. Understand the various options and settings available, as they may affect the cloning process.
4. Select Disk-to-Disk Clone: In most cloning software, you will find an option to clone from one disk to another. Choose this option, as you want to clone your operating system from the current drive to the new SSD.
5. Choose the Source Drive: Select your current drive, which contains the operating system and all your files, as the source drive. This is the drive you will be cloning from.
6. Specify the Target Drive: Choose the new SSD as the target drive, where you want to clone your operating system. Ensure that you have selected the correct drive and double-check to avoid any accidental data loss.
7. Configure Cloning Settings: The cloning software may offer options to customize the cloning process. You can typically choose to clone only the operating system or include additional partitions and files. Review and adjust the settings according to your preferences.
8. Confirm and Start the Cloning Process: Before initiating the cloning process, carefully review all the selected options and settings to ensure they match your requirements. Once you are satisfied, start the cloning process and allow the software to perform the operation.
9. Monitor the Cloning Process: While the cloning software is working, monitor the progress to ensure that the process is running smoothly. Depending on the size of the operating system and the speed of your computer and SSD, the process may take some time.
10. Completion and Verification: Once the cloning process is complete, the software will notify you. Take a moment to verify that the operating system has been successfully cloned to the new SSD. You can check the drive properties or explore the new SSD to ensure all the files and folders are present.
By properly launching the cloning software and configuring the necessary settings, you are one step closer to successfully cloning your operating system to the new SSD. Now, it’s time to proceed with the cloning process and enjoy the benefits of improved performance and speed.
Selecting the Source and Target Drives
When using a cloning software to transfer your operating system to a new SSD, it’s important to correctly identify and select the source and target drives. Choosing the right drives ensures that the cloning process accurately replicates your operating system and all associated files. Follow these steps to select the source and target drives:
1. Launch the Cloning Software: Open the cloning software on your computer to begin the process. Ensure that the software is properly installed and running without any issues.
2. Identify the Source Drive: The source drive contains your current operating system and all your files. It is the drive that you intend to clone. In the cloning software, select the source drive from the available options.
3. Verify the Source Drive: Double-check that you have correctly identified the source drive. Confirm that the drive size, model, and partition structure match your computer’s configuration. This ensures that you are cloning from the correct drive.
4. Select the Target Drive: The target drive is the new SSD on which you want to clone your operating system. Choose the target drive from the options presented by the cloning software.
5. Check Target Drive Compatibility: Ensure that the target drive is compatible with your computer’s hardware and operating system. Confirm that the target drive supports the necessary interface (e.g., SATA, NVMe) and has sufficient capacity to accommodate the operating system and any additional files.
6. Confirm Source and Target Selection: Once you have identified the correct source and target drives, review your selections before proceeding. Pay attention to the drive names and labels to avoid any confusion or accidental data loss.
7. Adjust Drive Selection, if Needed: If you have mistakenly selected the wrong drive as the source or target, use the cloning software’s options to correct your selection. Double-check the changes to ensure that the correct drives are chosen.
8. Proceed with Cloning: Once you are confident that the correct source and target drives are selected, you can proceed with the cloning process. Confirm your choices, and follow any additional steps or instructions provided by the cloning software to initiate the transfer of your operating system.
By carefully selecting the source and target drives in the cloning software, you ensure that your operating system and all associated files are accurately transferred to the new SSD. Pay attention to the drive names, sizes, and compatibility to avoid any potential data loss or cloning errors. With the correct drives chosen, you can move on to the next stages of the cloning process with confidence.
Configuring Cloning Options
When using cloning software to transfer your operating system to a new SSD, it’s important to configure the cloning options to ensure a successful and customized cloning process. These options allow you to tailor the cloning process to your specific needs and preferences. Follow these steps to configure the cloning options:
1. Choose Cloning Method: Cloning software often provides different methods for cloning, such as “Disk Clone” or “Partition Clone.” Determine which method is appropriate for your needs. If you want to clone the entire disk, including all partitions, select the “Disk Clone” option.
2. Select Source and Target Drives: Verify that you have correctly selected the source and target drives. Double-check their names, sizes, and partition layouts to ensure accuracy. If needed, make adjustments to ensure the correct drives are chosen.
3. Customize Cloning Settings: Most cloning software allows you to customize the cloning settings. These settings may include options related to partition alignment, intelligent sector copying, or excluding specific files or folders. Review the available options and adjust them according to your requirements.
4. Resize Partitions (Optional): If the new SSD has a different capacity than the source drive, you may have the option to resize partitions during the cloning process. This allows you to utilize the full capacity of the new SSD or allocate space for future partitions.
5. Verify Boot Settings: Some cloning software includes options to verify and configure the boot settings of the new SSD. Ensure that the boot sequence is correctly set to prioritize the new SSD as the primary boot device after the cloning process completes.
6. Review Summary of Options: Before proceeding, carefully review a summary of the cloning options you have selected. Verify that all the chosen settings align with your preferences and requirements. Make any necessary adjustments or corrections before starting the cloning process.
7. Start the Cloning Process: Once you are satisfied with the configured cloning options, initiate the cloning process according to the instructions provided by the software. The software will start transferring your operating system, applications, and files from the source drive to the target SSD.
8. Monitor the Cloning Process: While the software is cloning your operating system, keep an eye on the progress to ensure that everything is running smoothly. It’s normal for the process to take some time, depending on the size of the data being cloned and the speed of your computer and SSD.
By configuring the cloning options properly, you can create a customized cloning process tailored to your specific needs. Consider options for resizing partitions, excluding files, or adjusting boot settings. Take your time to review and adjust these settings before starting the cloning process to ensure a successful transfer of your operating system to the new SSD.
Starting the Cloning Process
Once you have configured the cloning options to your satisfaction, it’s time to initiate the cloning process and transfer your operating system to the new SSD. Follow these steps to start the cloning process:
1. Double-Check the Cloning Settings: Before starting the cloning process, carefully review the cloning settings to ensure that everything is configured correctly. Verify that the source and target drives are selected accurately and that any custom options or preferences have been applied as desired.
2. Verify Sufficient Disk Space: Ensure that the new SSD has enough disk space to accommodate the data from the source drive. Check the size of the total data to be cloned and compare it to the available space on the new SSD. If necessary, resize partitions or consider using a larger SSD.
3. Click “Start” or “Clone” button: Locate the button in the cloning software to start the cloning process. It may be labeled as “Start,” “Clone,” or a similar term depending on the specific software you are using. Click the button to initiate the process.
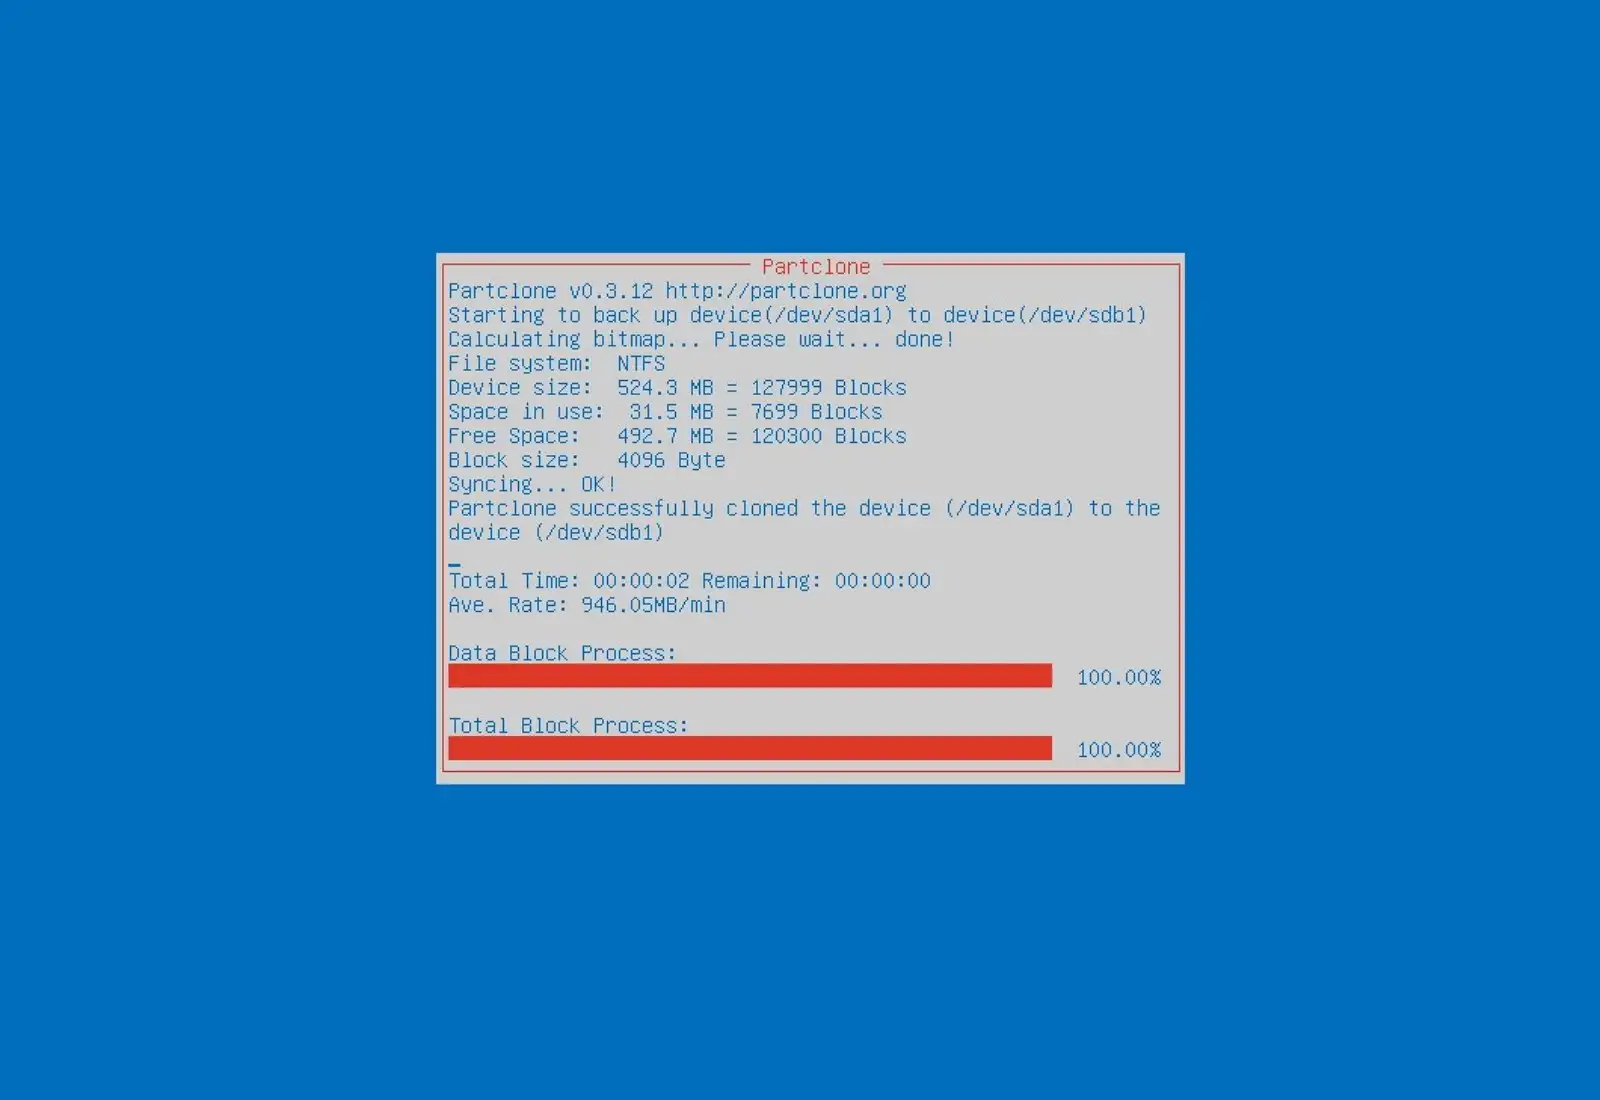
4. Monitor the Cloning Progress: As the cloning process begins, the software will display a progress indicator or a status bar to track the transfer. Monitor the progress to ensure that it is advancing steadily and no errors or interruptions occur.
5. Avoid Interruptions: It is crucial to avoid any interruptions, such as power outages or abrupt system shutdowns, during the cloning process. Interruptions can lead to data corruption or an incomplete transfer. Keep your computer connected to a reliable power source, and refrain from using the computer for other resource-intensive activities during the cloning process.
6. Allow Sufficient Time: Depending on the size of the data being cloned and the speed of your computer and SSD, the cloning process may take some time. Be patient and allow the software to complete the process without rushing it or interrupting it prematurely.
7. Completion Notification: Once the cloning process is complete, the software will provide a notification or status message. It may display a completion percentage of 100% or indicate that the process has been successfully finished.
8. Verify the Cloned Operating System: After the cloning is complete, verify that the operating system has been successfully transferred to the new SSD. Check the properties of the new SSD drive to ensure that all the files and folders are intact. You can also attempt to boot your computer using the new SSD to ensure that everything is functioning as expected.
By carefully starting the cloning process and monitoring its progress, you can ensure a successful transfer of your operating system to the new SSD. Allow enough time for the process to complete, avoid interruptions, and verify the cloned operating system’s integrity to ensure a smooth transition to the new drive.
Verifying the Cloned Operating System
After completing the cloning process, it is important to verify the integrity and functionality of the cloned operating system on the new SSD. By performing a thorough check, you can ensure that the transfer was successful and that your computer is ready to run smoothly on the new drive. Follow these steps to verify the cloned operating system:
1. Check System Boot: Restart your computer and ensure that it boots up properly from the new SSD. Pay attention to any error messages or unusual behavior during the boot process. If your computer successfully starts up without any issues, it is a good sign that the cloned operating system is functioning correctly.
2. Test System Performance: Open various applications and perform regular tasks to assess the overall performance of the cloned operating system. Check for any signs of slowness, lag, or instability. Compare the performance to how your system functioned before the cloning process to determine if there are any noticeable improvements or issues.
3. Verify File Integrity: Take a closer look at your files and ensure that all your important documents, photos, videos, and other files have been successfully transferred to the new SSD. Open a few random files to confirm that they can be accessed without any errors or issues. Pay attention to file sizes and content to ensure that everything matches your expectations.
4. Verify Application Functionality: Test the functionality of your installed applications on the cloned operating system. Open various applications and perform basic tasks to ensure that they are working as expected. Pay attention to any error messages, crashes, or unusual behavior that may indicate issues with the cloned operating system.
5. Check Device Drivers: Verify that all necessary device drivers are installed and functioning correctly on the cloned operating system. Test the functionality of essential hardware components such as sound, graphics, network, and peripherals. If any drivers are missing or not working properly, update or reinstall them as needed.
6. Verify Internet Connectivity: Ensure that your computer can connect to the internet successfully using the cloned operating system. Open a web browser and visit various websites to verify that your internet connection is stable and working correctly. Perform tasks that require internet access, such as downloading files or streaming videos, to confirm the functionality.
7. Perform System Updates: Check for any available system updates and install them on the cloned operating system. Keeping your operating system up to date ensures that it remains secure and compatible with the latest software and hardware. Update any applications or drivers that may require it as well.
8. Monitor System Stability: Keep an eye on your computer’s stability over the following days and weeks. Observe for any sudden crashes, freezes, or abnormal behavior that may indicate potential issues with the cloned operating system. The stability of the system will provide a good indication of the overall success of the cloning process.
By thoroughly verifying the cloned operating system, you can ensure that it is functioning correctly and that all your files and applications are intact. Performing these checks will give you confidence in the reliability and stability of your computer on the new SSD.
Disconnecting the Old Drive
Once you have verified that the cloned operating system is functioning correctly on the new SSD, it is time to disconnect the old drive from your computer. Disconnecting the old drive ensures that your computer boots exclusively from the new SSD and prevents any potential conflicts or issues. Follow these steps to safely disconnect the old drive:
1. Shut Down Your Computer: Before disconnecting any hardware components, properly shut down your computer. This will prevent any accidental damage to the system or data loss.
2. Identify the Old Drive: Locate the old drive that you want to disconnect from your computer. Take note of its physical location and label, if applicable.
3. Disconnect Data Cable: Identify the data cable that connects the old drive to your computer’s motherboard. Gently detach the cable from both the old drive and the motherboard. Be cautious not to apply excessive force or damage the connectors.
4. Disconnect Power Cable: If your old drive is powered separately, locate the power cable connected to it. Disconnect the power cable from the old drive to cut off its power supply.
5. Remove Mounting Screws: In some cases, the old drive may be mounted securely inside your computer with screws or brackets. Use a screwdriver to remove any mounting screws or brackets that are holding the old drive in place.
6. Slide Out the Old Drive: If the old drive is in a drive cage, slide it out gently from the cage. If it is mounted directly in a slot or bay, carefully slide it out of the slot or bay. Handle the drive with caution to avoid dropping or damaging it.
7. Store or Repurpose the Old Drive: Decide what you want to do with the old drive. You can store it as a backup, repurpose it as an external drive, or safely dispose of it following proper electronic waste disposal guidelines.
8. Restart Your Computer: With the old drive disconnected, start your computer and ensure that it boots successfully from the new SSD. Confirm that the operating system, files, and applications are functioning as expected.
By safely disconnecting the old drive, you ensure that your computer is now solely relying on the new SSD for the operating system and data storage. This improves the performance and efficiency of your system while freeing up space for future upgrades or storage needs.
Troubleshooting Common Issues
While the process of cloning your operating system to a new SSD is generally straightforward, you may encounter some common issues along the way. Understanding these issues and having troubleshooting strategies in place can help you overcome any obstacles that may arise during the cloning process. Here are some common issues and their potential solutions:
1. Cloning Failures: Occasionally, the cloning process may fail due to various reasons such as incompatible drives, disk errors, or insufficient disk space. Ensure that the source and target drives are compatible and have enough space for the cloning process. Check for any disk errors and run tools like chkdsk or disk repair utilities to fix any issues before attempting the cloning again.
2. Boot Problems: After cloning, you may encounter boot problems, such as a system that doesn’t recognize the new SSD or displays errors during boot. Verify that the BIOS is set to boot from the new SSD. If problems persist, connect the old drive temporarily and check boot settings and partitions. You may need to repair the Windows bootloader using recovery tools or reinstall the bootloader from scratch.
3. Incompatible Applications or Drivers: Some applications or drivers may not work correctly after cloning, leading to compatibility issues or errors. Ensure that you have the latest versions of applications and drivers installed on the new SSD. Check with the software and hardware manufacturers for any specific instructions or updates regarding the cloning process.
4. Missing Files or Data: Occasionally, certain files or data may not be transferred correctly during the cloning process, resulting in missing files or corrupted data. Double-check your backup to ensure that all essential files are available. If crucial files are missing, restore them from the backup and consider re-cloning the operating system to the new SSD.
5. Performance Issues: If you experience performance issues after cloning, such as slow boot times or sluggish system performance, consider optimizing the new SSD. Trim the SSD to improve its performance, update firmware if available, and ensure that the operating system and applications are up to date. Additionally, check disk health regularly and run optimization tools to maintain SSD performance over time.
6. Data Corruption or Cloning Errors: In rare cases, data corruption or cloning errors can occur, leading to damaged files or an incomplete transfer of the operating system. Ensure that the cloning software you use is reliable and up to date. Run integrity checks on the cloned data, and if errors are detected, perform the cloning process again from scratch.
Remember, troubleshooting can be complex and specific to individual systems and circumstances. If you encounter persistent issues that you’re unable to resolve, seeking assistance from technical support or experienced professionals can help you overcome any challenges you face during the cloning process.
Conclusion
Congratulations! You have successfully completed the process of cloning your operating system to a new SSD. By following the steps outlined in this guide, you have upgraded your computer’s storage, improved its performance, and ensured the seamless transfer of all your files and applications.
Throughout this process, you have learned how to prepare for cloning by backing up important files, choosing the right cloning software, and connecting the new SSD to your computer. You have also explored the steps involved in launching the cloning software, selecting the source and target drives, configuring cloning options, and starting the cloning process.
After verifying the cloned operating system, you safely disconnected the old drive from your computer, eliminating potential conflicts and maximizing the benefits of the new SSD. Additionally, you gained knowledge on troubleshooting common issues that may arise during the cloning process.
Remember to periodically monitor the performance of your new SSD and perform regular maintenance tasks, such as updating firmware and optimizing disk performance. By doing so, you can continue to enjoy the improved speed and efficiency of your computer.
Cloning your operating system to a new SSD is a valuable upgrade that can significantly enhance your computing experience. It allows for faster boot times, quicker application loading, and overall improved system responsiveness. Whether you’re a professional seeking optimal performance or a casual user looking to breathe new life into an aging system, this process offers a cost-effective solution.
Thank you for following this guide! We hope that it has provided you with the knowledge and confidence to successfully clone your operating system to a new SSD. Enjoy the benefits of a faster and more efficient computer!