Introduction
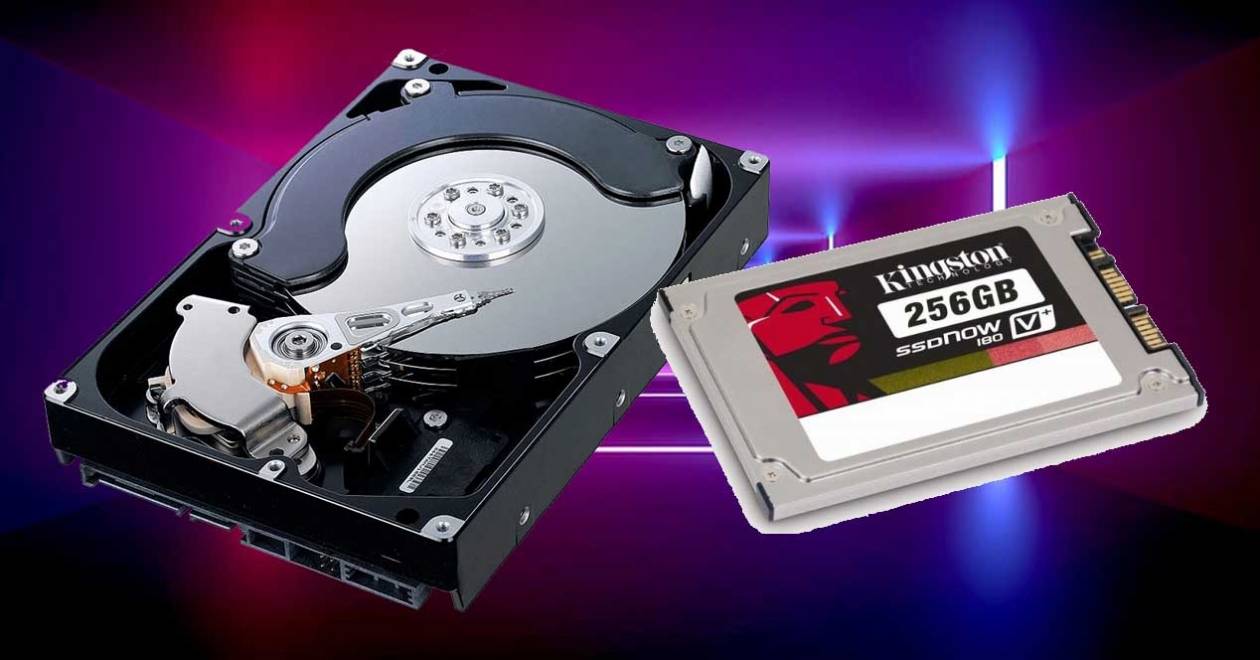
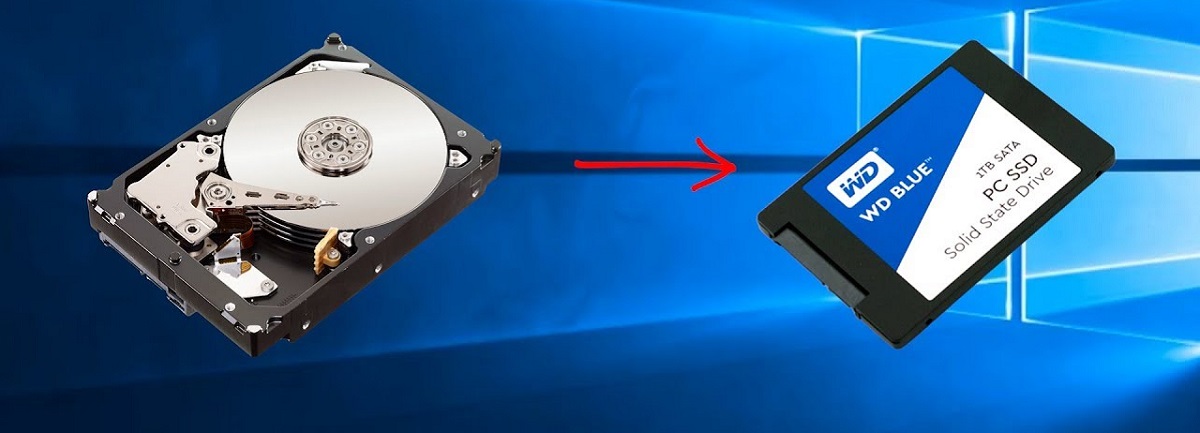
Welcome to our comprehensive guide on how to clone a hard drive to an SSD. As technology advances, solid-state drives (SSDs) have become increasingly popular due to their faster performance and improved reliability compared to traditional hard drives. If you are looking to upgrade your computer’s storage or simply want to transfer your data to a faster drive, cloning your hard drive to an SSD is an efficient and hassle-free solution.
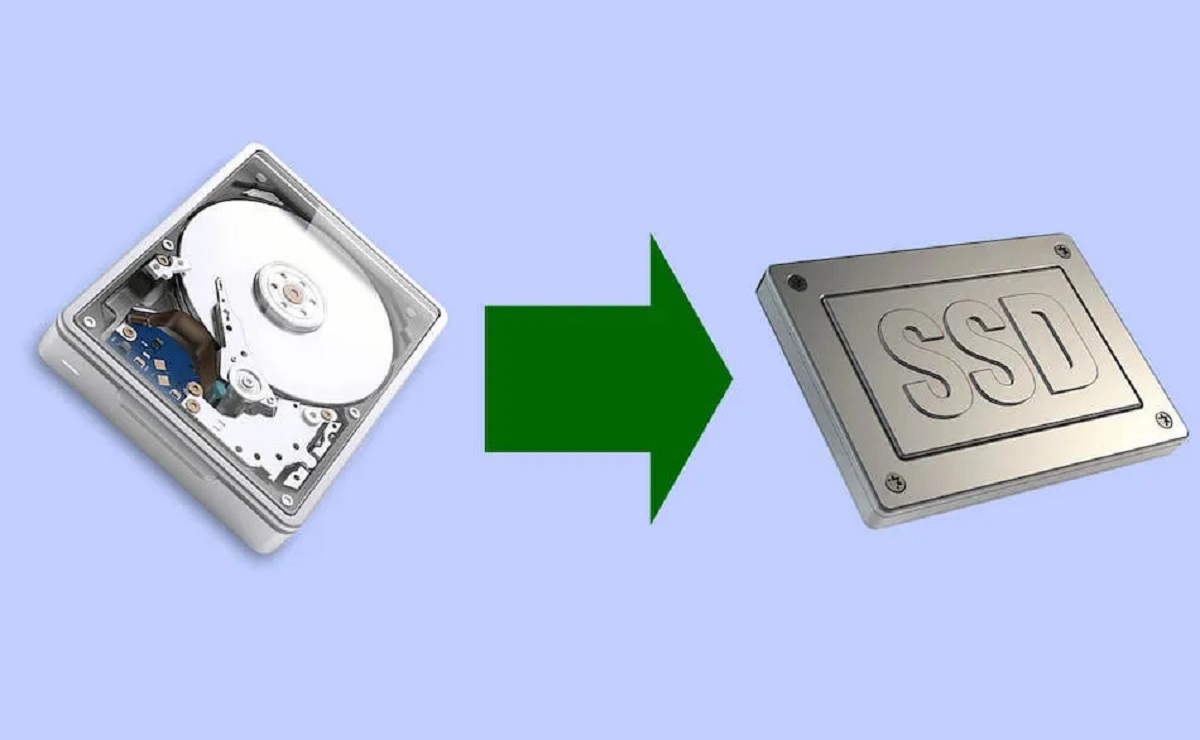
By cloning your hard drive, you can replicate all your existing data, including the operating system, applications, files, and settings, onto the new SSD. This allows you to seamlessly transition from your old hard drive to the faster SSD without the need to reinstall everything from scratch.
In this guide, we will walk you through the step-by-step process of cloning your hard drive to an SSD. We will cover everything you need to know, from preparing your equipment to securely erasing your old hard drive once the cloning process is complete. Whether you are a computer enthusiast or a novice user, we have got you covered.
Before we dive into the details, it is important to note that the process of cloning a hard drive to an SSD involves making an exact replica of your existing data. Therefore, it is crucial to back up all valuable data before proceeding with the cloning process. This ensures that even if something goes wrong during the cloning, your data remains safe and intact.
Are you ready to upgrade your computer’s performance by cloning your hard drive to an SSD? Let’s get started with the first step: preparing your equipment.
Step 1: Prepare your equipment
Before you begin the process of cloning your hard drive to an SSD, there are a few items you will need to gather:
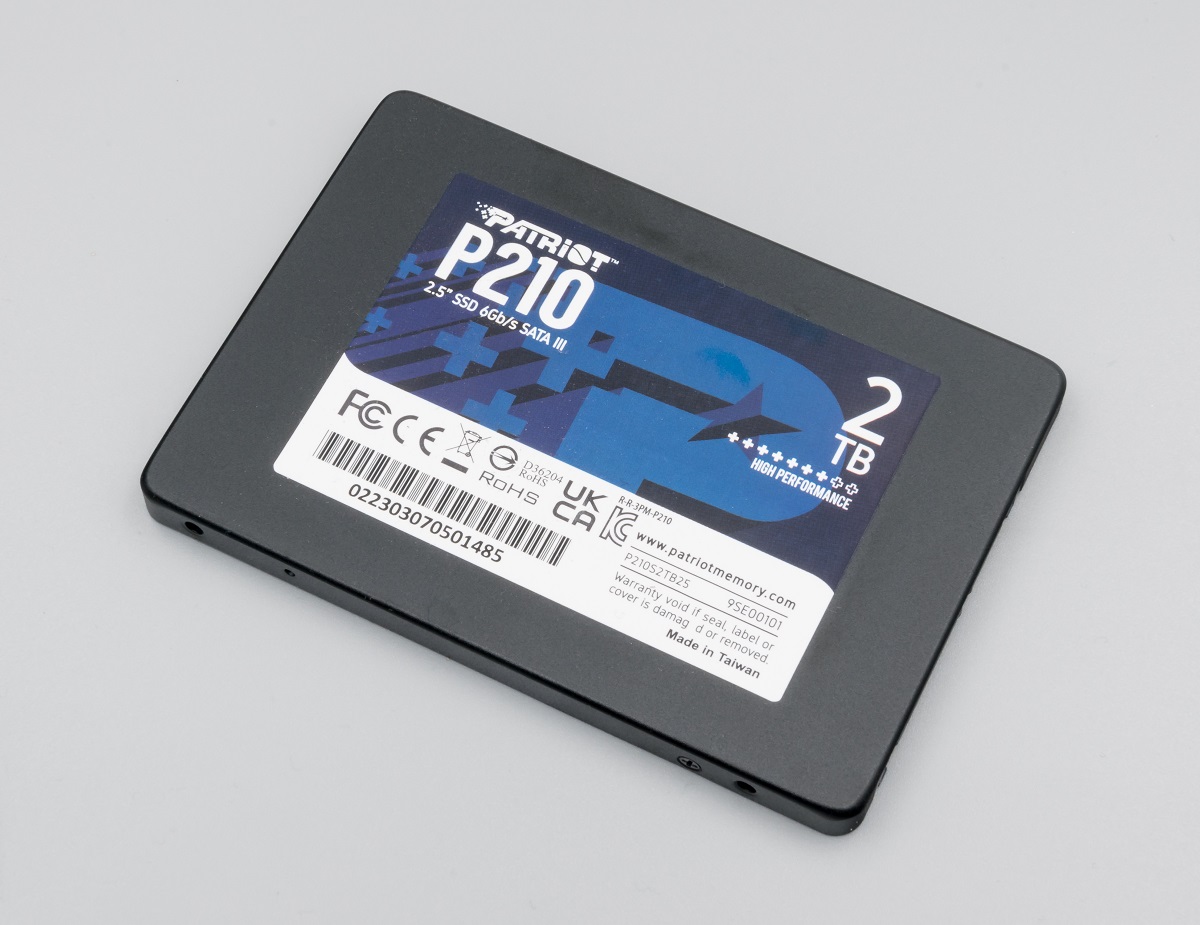
- SSD: First and foremost, you will need an SSD that has enough storage capacity to accommodate all the data from your current hard drive. Make sure to choose a reliable and reputable brand for optimum performance and durability.
- Hard drive cloning software: To clone your hard drive to the SSD, you will require cloning software. There are several options available, both free and paid, such as Clonezilla, Macrium Reflect, and Acronis True Image. Research and choose the software that best suits your needs and operating system.
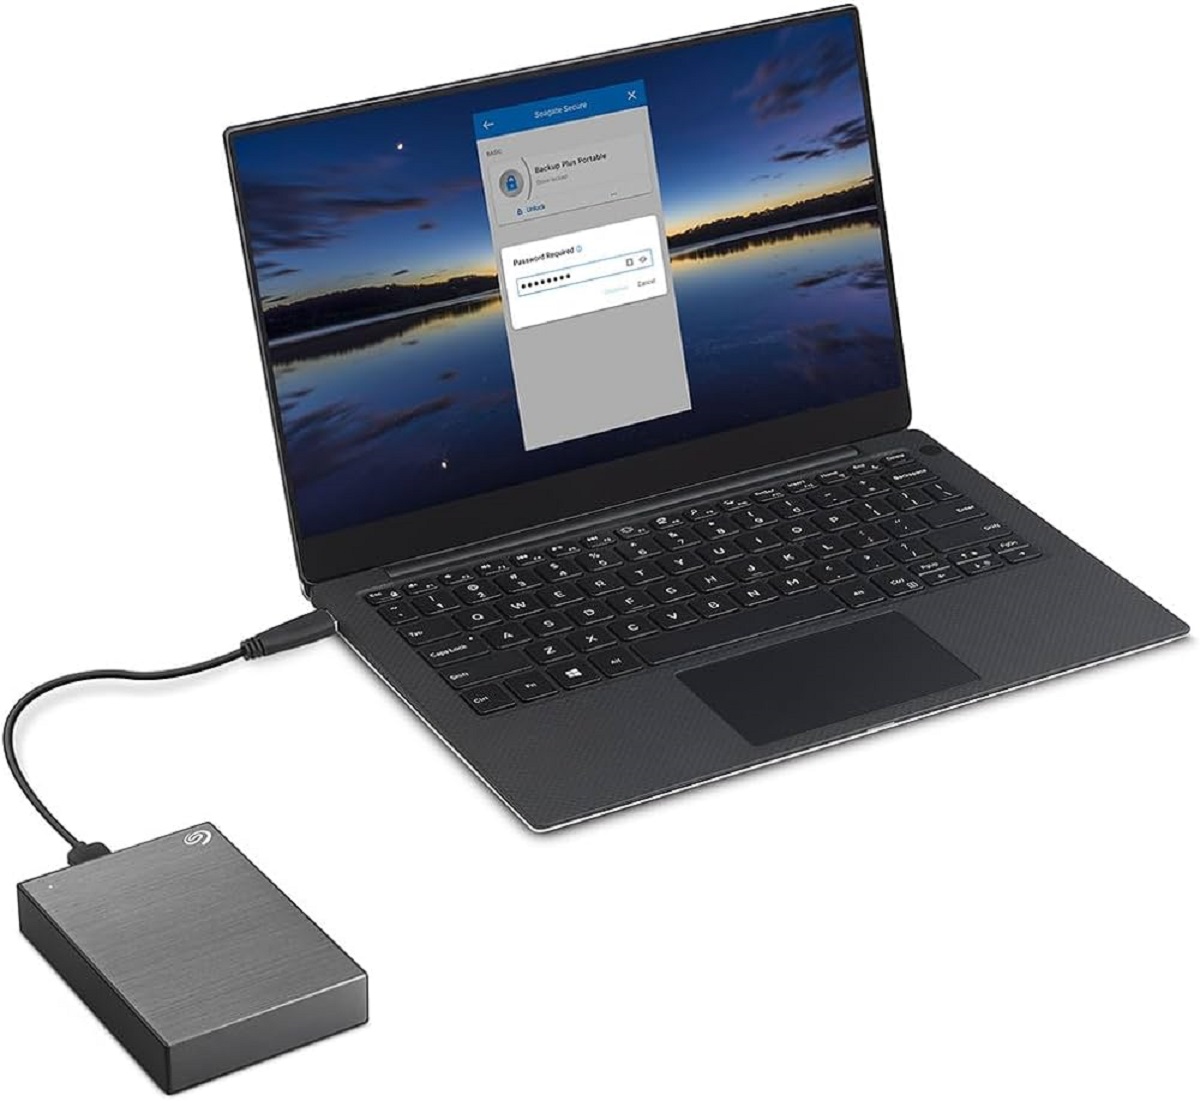
- External enclosure or adapter: If your computer does not have an available slot to connect the SSD directly, you will need an external enclosure or adapter to connect the SSD via USB. This allows you to clone the data from the hard drive to the SSD.
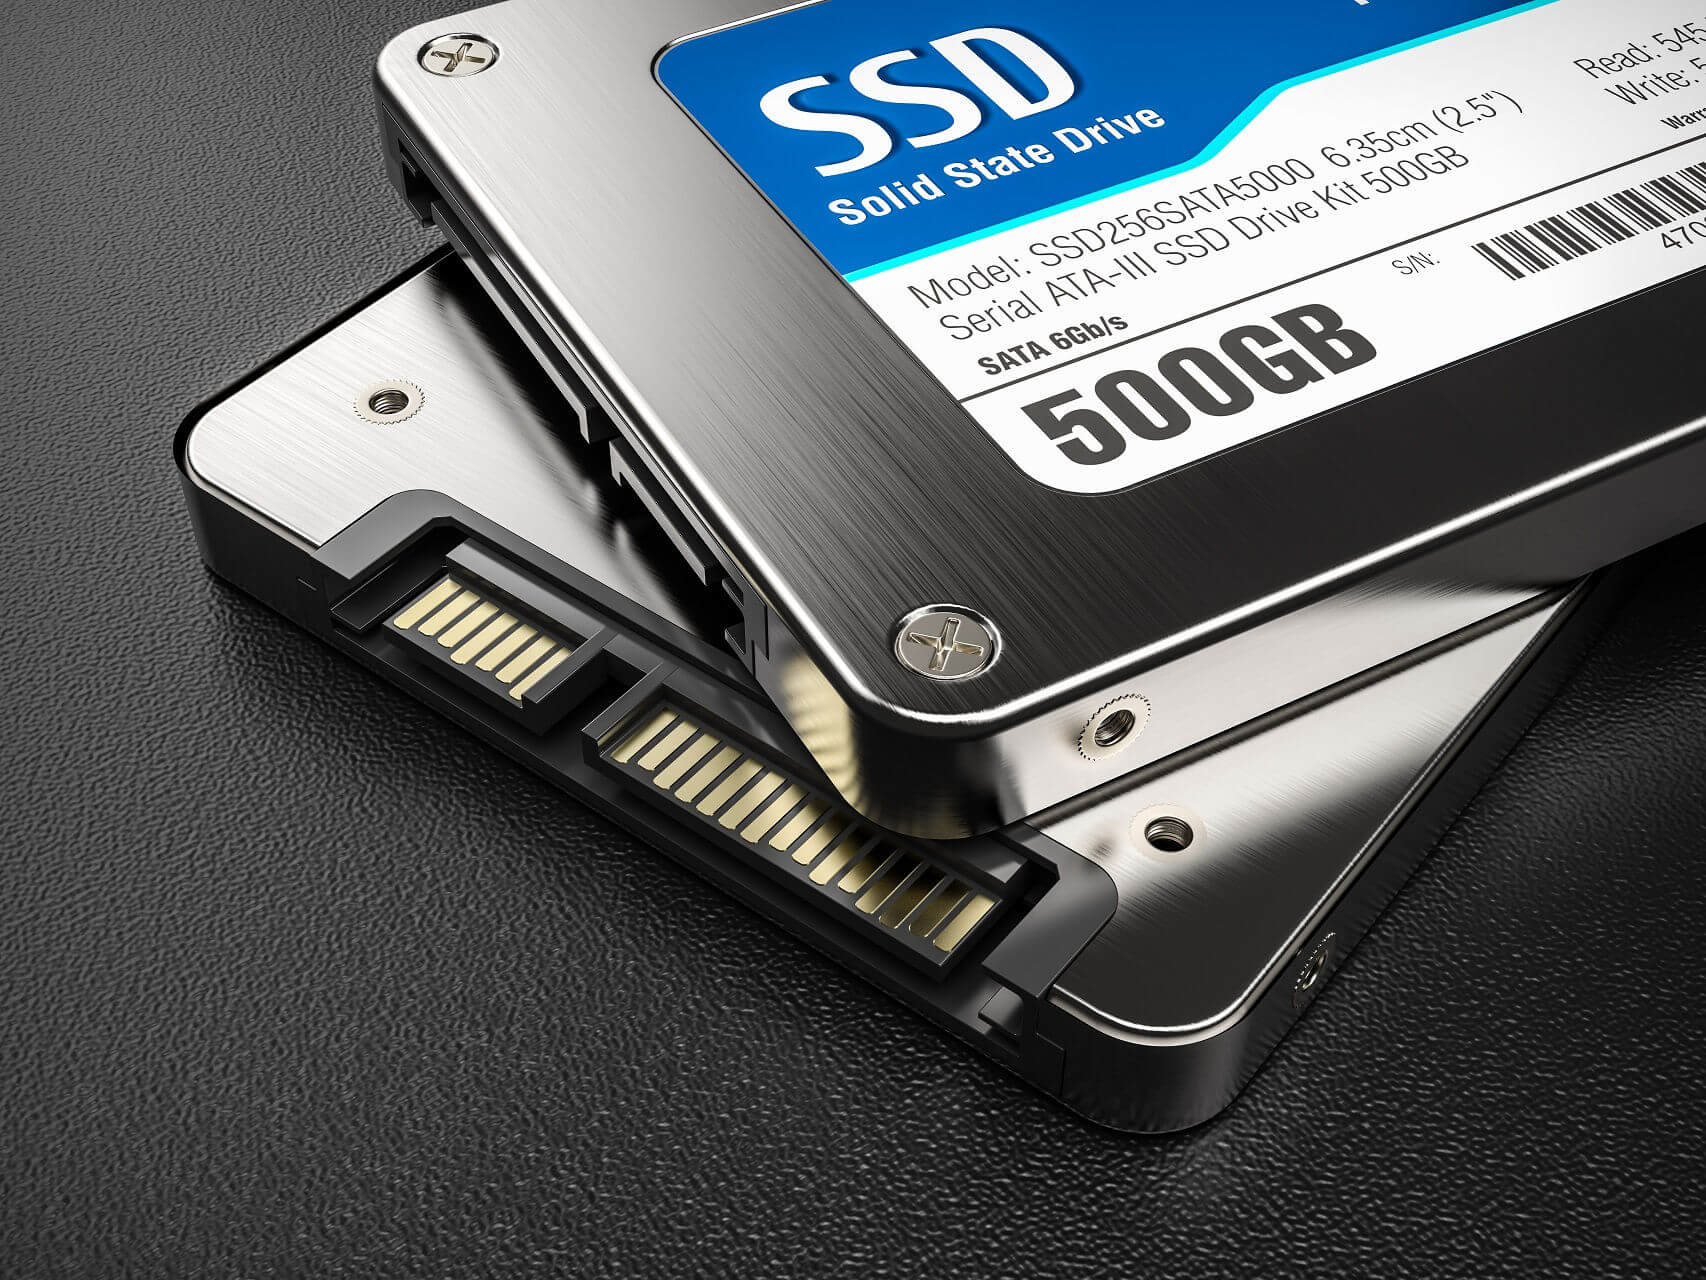
- SATA cables and power cables: If you are connecting the SSD directly to your computer’s motherboard, ensure that you have the necessary SATA cables and power cables to make the connection.
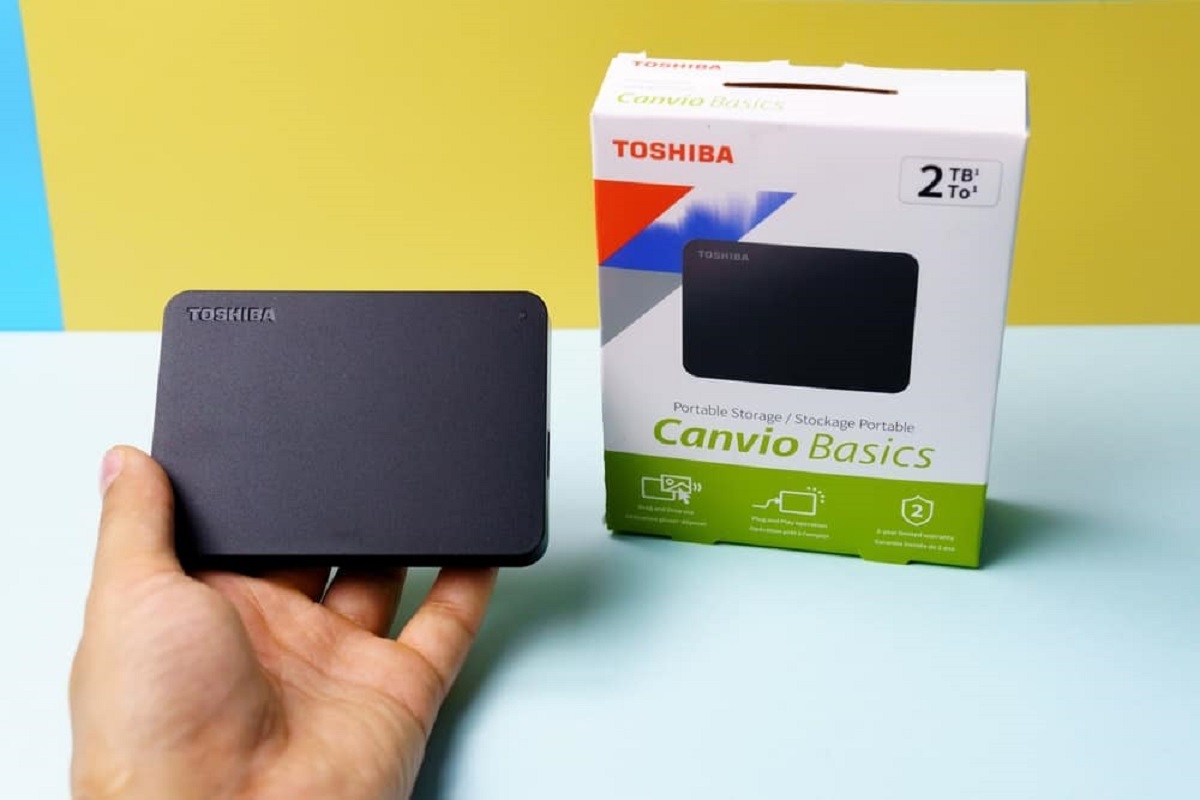
- Backup device: As mentioned earlier, it is essential to back up all your important data before initiating the cloning process. This can be done using an external hard drive, cloud-based storage, or any other reliable backup solution.
Once you have gathered all the necessary equipment, you are ready to move on to the next step: connecting the SSD.
It is worth noting that the specific equipment required may vary depending on your computer’s configuration and the cloning software you choose. Therefore, it is important to read the documentation and follow the instructions provided by the manufacturers of your SSD, cloning software, and computer system.
Step 2: Connect the SSD
Now that you have gathered all the necessary equipment, it’s time to connect the SSD to your computer. The method of connecting the SSD may vary depending on your computer’s configuration and the available slots or ports. Here are the general steps to follow:
- Shutdown your computer: Before you begin connecting any hardware, it is essential to power off your computer properly. This ensures that there is no risk of electrical damage or data corruption during the process.
- Open your computer: Depending on the type of computer you have, you may need to remove the side panel or access a specific compartment to gain access to the internal components. Refer to your computer’s user manual for guidance on how to open it safely.
- Locate the hard drive bay: Identify the location where the existing hard drive is installed. Typically, it is located in a drive bay in the front or bottom of the computer chassis. If you are unsure, consult your computer’s documentation.
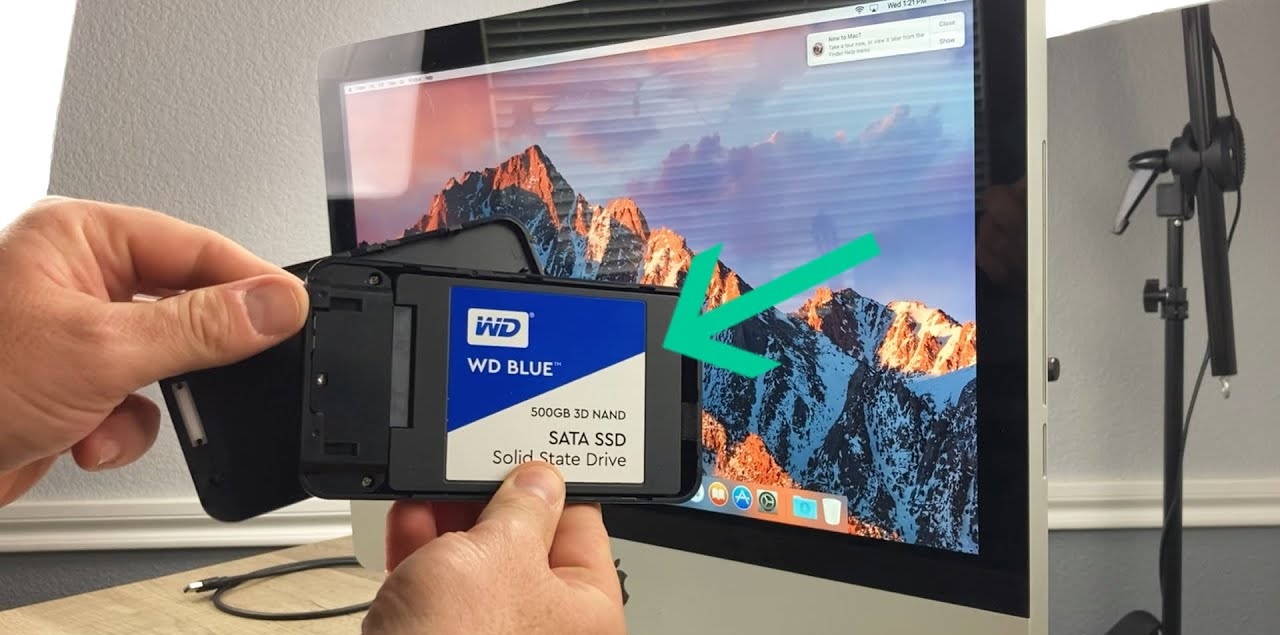
- Connect the SSD: If you have an available SATA port on your motherboard, connect one end of a SATA cable to the SSD and the other end to the motherboard. Ensure that the connection is secure. If necessary, use a power cable to connect the SSD to the power supply unit. Alternatively, if you are using an external enclosure or adapter, follow the manufacturer’s instructions to connect the SSD via USB.
- Close the computer: Once the SSD is securely connected, carefully close the computer and reattach any removed panels or compartments. Ensure that all screws or fasteners are tightened properly.
- Power on your computer: Power on your computer and navigate to the BIOS or UEFI settings to confirm that the SSD is detected and recognized by the system. Consult your motherboard’s manual for instructions on accessing the BIOS or UEFI settings.
Once you have successfully connected the SSD and confirmed the detection, you are ready to move on to the next step: cloning the hard drive.
Remember to handle the SSD and the internal components of your computer with care. Avoid applying excessive force or bending any cables to prevent damage. If you are unsure about the process, it is recommended to seek assistance from a professional or refer to the documentation provided by your computer’s manufacturer.
Step 3: Clone the hard drive
Now that the SSD is connected to your computer, it’s time to clone the data from your existing hard drive to the SSD. Follow these steps to initiate the cloning process:
- Launch the cloning software: Open the hard drive cloning software that you have installed on your computer. Make sure that the software recognizes both your hard drive and the SSD.
- Select the source and destination drives: In the cloning software, select your current hard drive as the source drive and the connected SSD as the destination drive. Double-check that you have selected the correct drives to avoid any data loss or overwriting.
- Choose the cloning method: Most cloning software provides different cloning methods, such as sector-by-sector, file-based, or intelligent cloning. Select the appropriate method based on your needs and preferences. For most users, the intelligent cloning method that copies only the used sectors is sufficient.
- Configure additional settings: Depending on the cloning software you are using, there may be additional settings to configure, such as the partition layout, allocation size, or sector alignment. It is recommended to use the default settings unless you have specific requirements or prior knowledge.
- Start the cloning process: Once you have reviewed and confirmed the settings, begin the cloning process. The software will start copying the data from the hard drive to the SSD. The duration of the process will depend on the size of the data being cloned and the performance of your computer.
- Monitor the progress: Monitor the cloning process to ensure that it completes successfully. Some cloning software provides a progress bar or estimated time remaining. Avoid interrupting or shutting down your computer during the cloning process.
- Verify the cloned data: After the cloning process is complete, it is crucial to verify that the data has been accurately copied to the SSD. Use file explorer or any other file management tool to browse through the SSD and ensure that all files, folders, and applications are present.
Once you have confirmed that the cloning process was successful and all the data is present on the SSD, you can proceed to the next step: setting the SSD as the boot drive.
Keep in mind that the specific steps and options may vary depending on the cloning software you are using. Refer to the documentation or help resources provided with the software for any specific instructions or troubleshooting steps.
Step 4: Verify the cloned data
After completing the cloning process, it is crucial to verify that the data has been successfully copied from the hard drive to the SSD. This step ensures that you have an accurate and functional replica of your data. Follow these steps to verify the cloned data:
- Access the cloned SSD: Open your file explorer or any other file management tool and navigate to the SSD. It should appear as a separate drive in your system.
- Check the file structure: Take a close look at the file structure on the SSD. Ensure that all files, folders, and directories from the original hard drive are present on the SSD. Pay attention to any specific system files or hidden files that may be important for the functioning of your operating system.
- Test file access and functionality: Open a few files and applications from the SSD to confirm that they are accessible and functional. Perform basic operations such as opening, editing, and saving files to ensure that the cloned data is intact and working properly.
- Verify system settings and preferences: Check the settings and preferences of your operating system and applications on the SSD. Ensure that they match the ones from the original hard drive. If you had customized settings or personalized configurations, verify that they are present and applied correctly on the SSD.
- Test booting from the SSD: Restart your computer and ensure that it boots from the SSD instead of the original hard drive. This confirms that the cloning process was successful and that the SSD is now functioning as the primary boot drive.
- Perform additional tests if necessary: If you have specific applications or software that require extensive testing, perform those tests on the SSD to ensure that they work as expected. This may include running benchmark tests, stress tests, or compatibility checks.
If you encounter any issues or notice any missing data during the verification process, it is advisable to consult the documentation provided with your cloning software or seek assistance from a professional. They can provide guidance on troubleshooting steps or alternative solutions.
Once you have verified the cloned data and are confident in its accuracy, you can proceed to the next step: setting the SSD as the boot drive.
Remember that verifying the cloned data is a critical step to ensure a smooth transition to the new SSD and to avoid any data loss or corruption. Take your time to thoroughly check the cloned data before proceeding further.
Step 5: Set the SSD as the boot drive
Now that you have verified the cloned data and ensured its accuracy, it’s time to set the SSD as the boot drive. This step ensures that your computer starts up from the SSD, maximizing its speed and performance. Follow these steps to set the SSD as the boot drive:
- Restart your computer: Save any open files and applications, and then restart your computer. This allows you to access the system settings and make the necessary changes.
- Access the BIOS or UEFI settings: During the restarting process, you will need to enter the BIOS or UEFI settings. The specific key or combination of keys to access these settings may vary depending on your computer’s manufacturer. Common keys include Del, F2, F10, or Esc. Refer to your computer’s manual or documentation to determine the correct key(s) to press.
- Navigate to the boot options: Once you are in the BIOS or UEFI settings, navigate to the boot options menu. Look for an option such as “Boot,” “Boot Options,” or “Boot Order.”
- Select the SSD as the first boot device: In the boot options menu, locate the entry for your SSD and move it to the top of the boot order. This ensures that your computer will prioritize booting from the SSD. Use the instructions provided on-screen or the arrow keys to change the boot order.
- Save and exit the BIOS or UEFI settings: Once you have set the SSD as the first boot device, save the changes and exit the BIOS or UEFI settings. Look for an option such as “Save and Exit” or “Exit and Save Changes.”
- Restart your computer again: After saving the changes, restart your computer one more time. This time, it should boot from the SSD instead of the old hard drive.
- Confirm successful booting from the SSD: Once your computer has restarted, verify that it is indeed booting from the SSD. You can check this by going into the BIOS or UEFI settings again and ensuring that the SSD is listed as the first boot device. Alternatively, you can also check the performance and responsiveness of your computer, which should now be significantly improved.
If for any reason your computer does not boot from the SSD or you encounter any issues during this step, it is recommended to refer to your computer’s manual or seek assistance from a professional. They can help troubleshoot the problem and provide further guidance.
Setting the SSD as the boot drive is an essential step to fully maximize the benefits of the faster storage and ensure optimal performance of your computer. Once you have successfully set the SSD as the boot drive, you can proceed with securely erasing the old hard drive, which will be covered in the next step.
Step 6: Securely erase the old hard drive
Once you have successfully migrated your data to the new SSD and confirmed that it is functioning as the boot drive, it is important to securely erase the data on the old hard drive. This step ensures that your sensitive information does not fall into the wrong hands and maintains your privacy. Follow these steps to securely erase the old hard drive:
- Backup any remaining data: Before proceeding with the secure erase process, make sure to back up any remaining data on the old hard drive that you might want to keep. This includes documents, photos, videos, and any other files that are not already on the SSD.
- Choose a secure erase method: There are several methods available to securely erase a hard drive, ranging from software-based solutions to physically destroying the drive. The method you choose will depend on your specific needs and preferences.
- Software-based secure erase: If you intend to reuse the old hard drive, you can use software tools designed for secure erasing. These tools overwrite the entire drive with patterns of zeros or random data, making it nearly impossible to recover the original data. Examples of such tools include DBAN (Darik’s Boot and Nuke), Eraser, or Parted Magic.
- Physical destruction: If you have no plans to reuse the old hard drive and want to ensure complete data destruction, physical destruction is the most effective method. This can involve using a drill, hammer, or secure hard drive shredding services to render the drive inoperable.
- Follow the instructions carefully: Regardless of the method you choose, it is crucial to follow the instructions provided with the software or adhere to safety guidelines when physically destroying the old hard drive. Take the necessary precautions to protect yourself and others during the process.
- Dispose of the old hard drive responsibly: Once you have securely erased the old hard drive or rendered it inoperable, it is important to dispose of it responsibly. Check with local recycling centers or e-waste disposal services to ensure proper disposal of the drive.
Remember to exercise caution and ensure that you are securely erasing the correct hard drive to avoid any accidental data loss on other storage devices. Double-check the drive labels or consult with a professional if you are uncertain about the process.
By securely erasing the old hard drive, you can have peace of mind knowing that your personal and sensitive information is no longer accessible. With this final step completed, you have successfully cloned your hard drive to an SSD and replaced it as the boot drive.
Conclusion
Congratulations! You have successfully completed the process of cloning your hard drive to an SSD. By following the steps outlined in this guide, you have upgraded your computer’s storage to a faster and more reliable SSD, ensuring improved performance and responsiveness.
Throughout this guide, you learned how to prepare your equipment, connect the SSD, clone the hard drive, verify the cloned data, set the SSD as the boot drive, and securely erase the old hard drive. Each step was carefully explained to help you navigate through the process smoothly and effectively.
It’s important to note that the cloning process may vary slightly depending on your specific computer setup and cloning software. Therefore, it is always recommended to consult the documentation provided by your hardware and software manufacturers.
Now that you have successfully completed the cloning process, take a moment to appreciate the enhanced performance and improved storage capacity provided by the SSD. You can enjoy faster boot times, quicker application launches, and seamless multitasking on your computer.
Remember to securely dispose of the old hard drive if you do not intend to reuse it. It is crucial to protect your personal data and maintain your privacy by following proper disposal methods or physically destroying the drive.
Thank you for choosing this guide to help you through the process of cloning your hard drive to an SSD. We hope that the information provided was clear, concise, and helpful in your journey. If you have any further questions or need additional assistance, feel free to consult with a professional or seek further resources.
Enjoy your upgraded computer and the improved performance brought by your new SSD!