Introduction
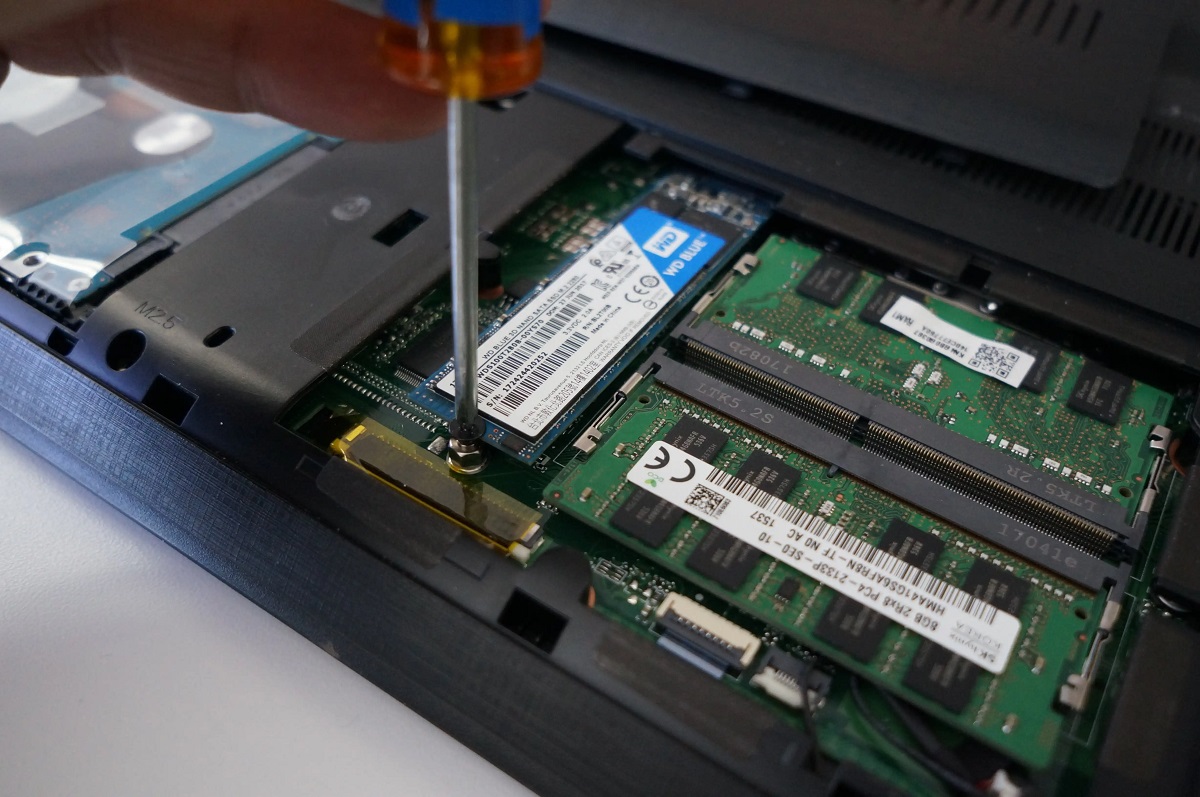
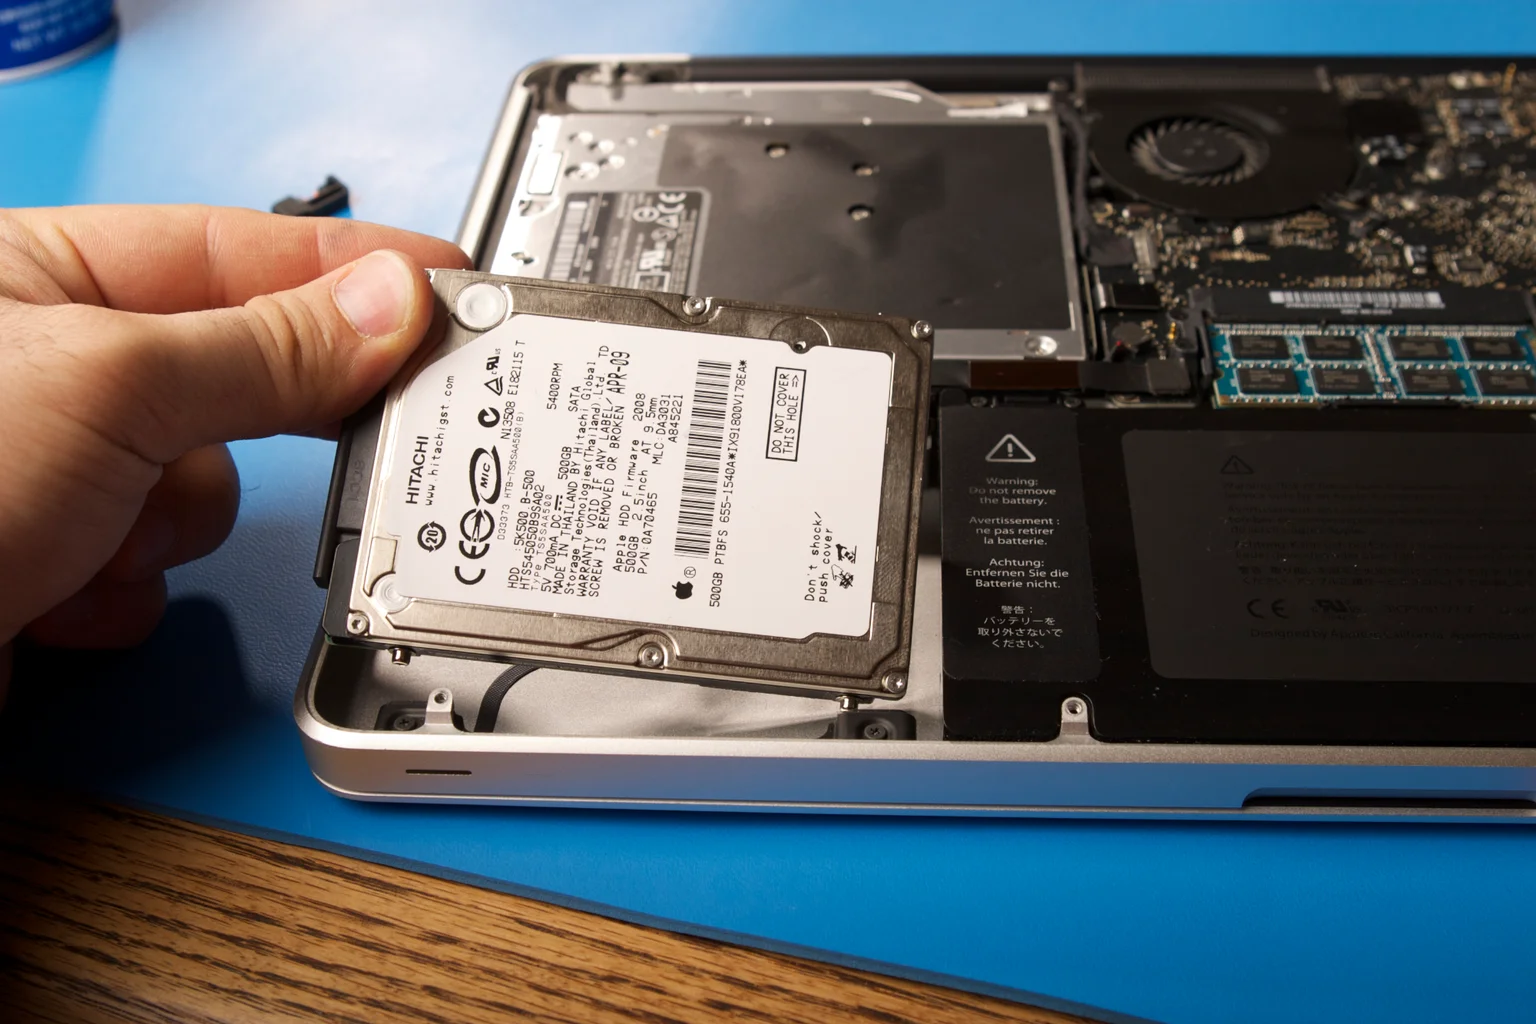
When it comes to keeping your computer running smoothly and efficiently, cleaning up your solid-state drive (SSD) is a crucial maintenance task. An SSD is a type of storage device that uses flash memory to store data, providing faster performance compared to traditional hard disk drives (HDDs). However, over time, SSDs can accumulate unnecessary files, junk data, and fragmented data, which can impact their performance.
In this guide, we will walk you through the steps to clean up your SSD and optimize its performance. By following these steps, you can free up disk space, improve system responsiveness, and ensure that your SSD operates at its best.
Before we begin, it is important to note that cleaning up an SSD is different from cleaning up an HDD. Traditional disk cleanup methods designed for HDDs can potentially cause damage to an SSD by performing excessive read and write operations. Therefore, it is essential to use specific strategies and tools that are suitable for SSDs to ensure their longevity and optimal performance.
In the next sections, we will provide step-by-step instructions on how to effectively clean up your SSD without compromising its integrity. It’s important to follow these steps in the order presented to ensure the best results. So, let’s get started on optimizing your solid-state drive!
Step 1: Backup Your Data
Prior to performing any maintenance or cleaning tasks on your solid-state drive (SSD), it is crucial to create a backup of your important data. While the cleaning process is generally safe, there is always a risk of accidental data loss or unforeseen issues. Having a backup ensures that your files and documents are protected and can be easily restored if something goes wrong.
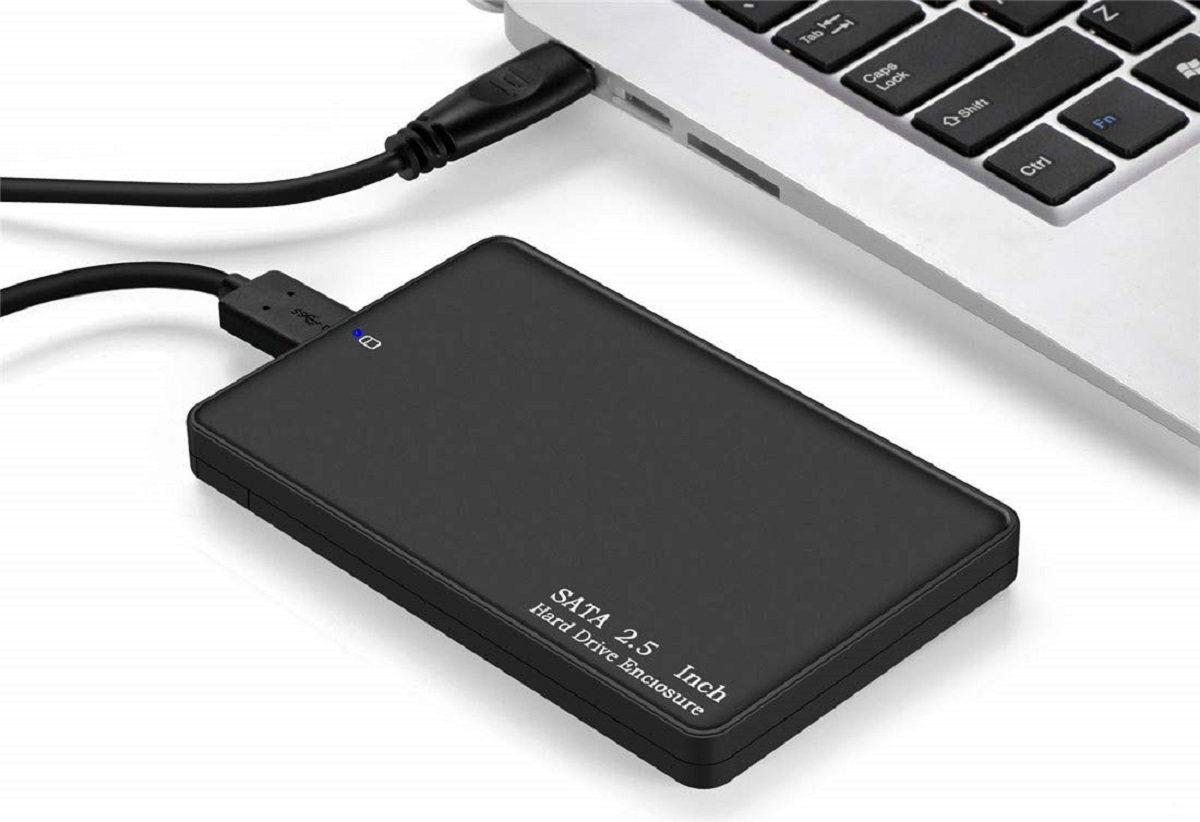
There are several methods you can use to back up your data. One of the most common and convenient ways is to store your files on an external hard drive or a cloud-based storage service. Simply connect your external drive or sign in to your cloud storage account, and copy your important files onto the external drive or upload them to the cloud. This way, even if you encounter any problems during the cleaning process, your files will remain safe and accessible.
Another option is to create a system image backup, which captures an exact snapshot of your entire operating system, applications, and files. In the event of a major issue, a system image can be used to restore your computer to its previous state. Most operating systems provide built-in tools for creating system image backups, and there are also third-party software options available.
Before proceeding with any backup method, it is essential to identify which files are critical and need to be backed up. This includes personal documents, photos, videos, and any other files that would be difficult or impossible to replace. Take the time to organize your files and create a backup plan that suits your specific needs.
Remember to regularly update your backups to ensure that you have the most recent versions of your files. It is a good practice to develop a routine for backing up your data, whether it’s weekly, bi-weekly, or monthly, depending on the frequency of changes to your files.
By taking the time to back up your data before cleaning your SSD, you can have peace of mind knowing that your files are safe and secure. With your data safely backed up, we can now move on to the next step: running disk cleanup.
Step 2: Run Disk Cleanup
Once you have backed up your important data, the next step in cleaning up your solid-state drive (SSD) is to run the Disk Cleanup utility. This built-in tool in your operating system helps you remove unnecessary files and free up disk space, which can ultimately enhance the performance of your SSD.
To run Disk Cleanup, follow these steps:
- Open the File Explorer by pressing the Windows key + E on your keyboard.
- Right-click on the SSD drive that you want to clean up and select “Properties” from the context menu.
- In the Properties window, click on the “Disk Cleanup” button.
- The Disk Cleanup utility will analyze your drive and present a list of file categories that can be safely deleted.
- Select the categories of files you want to remove. Common options include temporary files, downloaded program files, recycle bin, and temporary internet files.
- Click on the “OK” button to initiate the cleanup process.
- Depending on the size of your SSD and the amount of data to be cleaned, the process may take several minutes.
- Once the cleanup is complete, you will see the amount of disk space that has been freed up.
It is advisable to review the file categories carefully before proceeding with the cleanup. Some files, such as downloaded program files, may be necessary for certain applications to run correctly. If you are unsure about a particular file category, it’s best to leave it unchecked to avoid any potential issues.
In addition to the standard categories, you can also click on the “Clean up system files” button to remove even more unnecessary files, including previous Windows installations, Windows upgrade log files, and Windows error reporting files. However, exercise caution with this option, as it cannot be undone and may affect your ability to roll back to a previous version of Windows.
Running Disk Cleanup regularly can help keep your SSD clean and optimized. By removing unnecessary files, you can reclaim valuable disk space, which in turn can improve the speed and performance of your SSD. Now that you have successfully cleaned up your drive using Disk Cleanup, let’s move on to the next step: uninstalling unnecessary programs.
Step 3: Uninstall Unnecessary Programs
As you continue to clean up your solid-state drive (SSD), it’s important to identify and remove any unnecessary programs or applications that are taking up valuable disk space. Uninstalling these programs not only frees up storage but also helps streamline your computer’s performance by reducing the number of background processes.
To uninstall unnecessary programs, follow these steps:
- Open the Control Panel by searching for it in the Start menu.
- In the Control Panel window, click on the “Uninstall a program” link under the “Programs” category.
- A list of installed programs will appear. Take some time to review the list and identify programs that you no longer need or use.
- Select the program you want to uninstall and click on the “Uninstall” button at the top of the window.
- Follow the prompts to complete the uninstallation process. Some programs may require you to confirm the action or provide additional information.
- Repeat this process for all the unnecessary programs you wish to remove.
When deciding which programs to uninstall, consider those that you rarely use or have become obsolete. Examples may include trial software that expired, old games, productivity tools you no longer need, or programs that were pre-installed on your computer but are now irrelevant.
It’s important to be cautious when uninstalling programs, as some may be necessary for your computer’s functionality or for other programs to work correctly. If you are unsure about a particular program, you can do a quick search online to determine its importance.
In addition to using the Control Panel, some programs offer their own uninstallation options through their Start menu shortcuts or in their installation folders. You may need to refer to the program’s documentation or website for specific instructions.
By removing unnecessary programs from your SSD, you not only gain additional storage but also improve system performance by reducing resource usage. With unnecessary programs uninstalled, let’s move on to the next step: deleting temporary files.
Step 4: Delete Temporary Files
Continuing our solid-state drive (SSD) cleanup process, it’s time to tackle temporary files. These files are created and stored by various programs while they are running and are typically not needed once the task is completed. Deleting temporary files helps free up disk space and can improve the overall performance of your SSD.
To delete temporary files, follow these steps:
- Open the File Explorer by pressing the Windows key + E on your keyboard.
- Select your SSD drive from the left-hand side panel.
- Click on the “View” tab on the File Explorer ribbon, and check the box labeled “Hidden items”.
- Navigate to the following directory: C:\Users\[Your Username]\AppData\Local\Temp
- In the Temp folder, select all the files and folders by pressing Ctrl + A on your keyboard.
- Right-click on the selected items and choose “Delete” from the context menu.
- A confirmation dialog may appear, asking if you want to permanently delete the files. Confirm the action and proceed.
- Empty your Recycle Bin to permanently remove the deleted files.
In addition to the Temp folder, it is also recommended to delete temporary files from other locations on your SSD. To achieve this, you can use the built-in Disk Cleanup utility we discussed in Step 2, or you can utilize third-party software specifically designed for temporary file removal.
It is worth noting that some programs may still be using certain temporary files, preventing them from being deleted. If you encounter any error messages during the deletion process, simply skip those files and proceed with the remainder of the cleanup.
Deleting temporary files regularly ensures that your SSD remains clutter-free and performs optimally. These files can accumulate over time and take up a significant amount of space on your drive. Now that you have cleared out temporary files, let’s move on to the next step: cleaning up your browser.
Step 5: Clean Up Your Browser
Keeping your browser clean is an important part of optimizing your solid-state drive (SSD) and ensuring a smooth browsing experience. Over time, browsing history, cookies, cache files, and other temporary data can accumulate and take up valuable storage space on your SSD. Cleaning up your browser can help improve its performance and free up disk space.
The process of cleaning up your browser will vary depending on which browser you are using. Below are the general steps for clearing browsing data in some popular browsers:
- Google Chrome:
- Open Google Chrome and click on the three-dot menu icon in the top-right corner.
- Select “More tools” followed by “Clear browsing data”.
- In the pop-up window, choose the time range for which you want to clear the data (e.g., last hour, last 24 hours, last 7 days, etc.).
- Select the types of data you want to clear, such as browsing history, cookies, cached images and files, and more.
- Click on the “Clear data” button to remove the selected data.
- Firefox:
- Open Firefox and click on the three-line menu icon in the top-right corner.
- Select “Options” and go to the “Privacy & Security” tab.
- Scroll down to the “Cookies and Site Data” section and click on the “Clear Data” button.
- In the pop-up window, check the boxes for the types of data you want to clear, such as cookies, cache, and offline website data.
- Click on the “Clear” button to delete the selected data.
- Microsoft Edge:
- Open Microsoft Edge and click on the three-dot menu icon in the top-right corner.
- Select “Settings” and go to the “Privacy, Search, and Services” tab.
- Under the “Clear browsing data” section, click on the “Choose what to clear” button.
- Check the boxes for the types of data you want to clear, such as browsing history, cookies and other site data, and cached images and files.
- Click on the “Clear” button to remove the selected data.
Remember to review the available options and customize the cleanup process according to your preferences. You may choose to clear only specific types of data or clear data for a specific time range.
Regularly cleaning your browser not only helps improve the performance of your SSD but also enhances your online privacy and security. By removing unnecessary browsing data, you can enjoy a faster and more efficient browsing experience. With your browser cleaned up, let’s move on to the next step: updating your drivers.
Step 6: Update Your Drivers
Updating your drivers is an essential step in optimizing your solid-state drive (SSD) and ensuring compatibility with the latest software and hardware features. Drivers are software programs that allow your computer’s operating system to communicate and interact with various hardware components, such as graphics cards, network adapters, and storage devices like your SSD.
Outdated drivers can lead to performance issues, compatibility problems, and potential security vulnerabilities. By regularly updating your drivers, you can improve the overall stability and performance of your computer, including your SSD.
To update your drivers, follow these steps:
- Identify the hardware components in your computer that require driver updates. Common components include the graphics card, network adapter, chipset, and SSD.
- Visit the manufacturer’s website for each component and navigate to their support or downloads section.
- Search for the latest driver version available for your specific hardware model and operating system.
- Download the driver installation file to your computer.
- Run the driver installation file and follow the on-screen instructions to update the driver.
- Repeat this process for all hardware components that require updates.
- Alternatively, you can use third-party driver update software to automate the process and ensure that all your drivers are up to date. These tools scan your system, identify outdated drivers, and provide download links or automatically update the drivers for you.
It is important to note that when updating drivers, it’s recommended to download them directly from the manufacturer’s website to ensure authenticity and compatibility. Avoid downloading drivers from third-party websites, as they may contain malware or outdated versions.
Updating your drivers not only improves performance but also resolves any known issues or bugs that may affect the functionality of your SSD. Regular driver updates can enhance the overall compatibility and efficiency of your computer system. With your drivers up to date, let’s move on to the next step: cleaning up junk files.
Step 7: Clean Up Junk Files
As we continue our solid-state drive (SSD) cleanup process, it’s time to address the accumulation of junk files. Junk files are temporary, unnecessary files that take up space on your SSD and can slow down system performance. Removing these files will help you reclaim disk space and improve the efficiency of your SSD.
There are several methods you can use to clean up junk files on your SSD:
- Windows Disk Cleanup: As mentioned in Step 2, the Windows Disk Cleanup utility is a built-in tool that allows you to remove various types of junk files. To run Disk Cleanup, simply search for it in the Start menu, select your SSD drive, and choose the file categories you want to clean.
- Third-party Cleanup Tools: There are numerous third-party applications available that specialize in cleaning junk files. Examples include CCleaner, BleachBit, and Wise Disk Cleaner. These tools offer more advanced cleaning options and can help you identify and remove different types of junk files.
- Manually Deleting Junk Files: Alternatively, you can manually identify and delete junk files on your SSD. Common locations for temporary and junk files include the Downloads folder, the Recycle Bin, and the Temporary Files folder. It’s important to exercise caution when manually deleting files to avoid accidentally deleting important data.
When cleaning up junk files, be mindful of system files and folders that are required for your operating system or installed applications to function properly. Avoid deleting files if you are unsure of their purpose or if they are located in critical system directories.
Regularly cleaning up junk files not only helps free up disk space but also ensures that your SSD is functioning optimally. By removing unnecessary files, you can improve system performance and responsiveness. With junk files cleaned up, let’s move on to the next step: defragmenting your drive (if applicable).
Step 8: Defragment Your Drive
In order to further optimize the performance of your solid-state drive (SSD), it is important to defragment your drive. However, it is worth noting that traditional defragmentation methods designed for hard disk drives (HDDs) are not suitable for SSDs. SSDs operate differently from HDDs, and they do not benefit from the same defragmentation process.
Due to the nature of their solid-state structure, SSDs do not experience the same issue of fragmented data as HDDs. In fact, defragmentation can cause unnecessary wear and tear on an SSD without providing any significant performance improvement.
Modern operating systems, such as Windows 10, automatically optimize and manage storage on SSDs using a technique called “trimming.” Trim helps the SSD organize and maintain data efficiently, preventing fragmentation from occurring in the first place.
Therefore, for SSDs, defragmentation is typically not required, and it is generally recommended to leave this task to the operating system’s built-in storage management features. By doing so, you can ensure that your SSD remains in optimal condition without the risk of unnecessary wear and tear.
If you are using an older version of Windows or running a different operating system, it is still advisable to check the documentation or support resources to understand how your specific operating system handles storage management on SSDs.
In summary, defragmentation is not necessary for SSDs. Modern operating systems have built-in mechanisms to efficiently manage and optimize storage on SSDs. By relying on these automated processes, you can ensure the longevity and performance of your SSD without the need for manual defragmentation.
Step 9: Check for Malware
As part of your solid-state drive (SSD) cleanup process, it is crucial to ensure that your system is free from malware and other malicious software. Malware can not only compromise the security of your data but also impact the performance of your SSD and overall system stability.
To check for malware and perform a thorough scan of your system, follow these steps:
- Make sure that your computer is connected to the internet to ensure that your security software has the latest malware definitions.
- If you already have antivirus software installed, open the program and look for the option to run a full system scan. Start the scan and let it complete.
- If you do not have antivirus software installed, consider installing a reputable antivirus program. There are several options available, both free and paid, such as Windows Defender, Avast, AVG, and Malwarebytes.
- Download and install the chosen antivirus software, then open the program and initiate a full system scan.
- The scan may take some time, depending on the size of your SSD and the number of files to be scanned. Allow the antivirus software to complete the scan.
- If the antivirus software detects any malware or suspicious files, follow the instructions provided to remove or quarantine the affected files.
- Once the scan is complete and your system is deemed malware-free, make sure to keep your antivirus software up to date and perform regular scans to prevent future infections.
In addition to antivirus software, it is also important to practice safe browsing habits and exercise caution when downloading files or clicking on suspicious links. Be wary of phishing attempts, avoid visiting untrustworthy websites, and only download files from reputable sources.
By regularly checking for malware and taking appropriate measures to remove any threats, you can ensure that your SSD and overall system remain secure and perform optimally. Now that you have checked for malware, let’s move on to the final step: securely deleting files.
Step 10: Securely Delete Files
The final step in the solid-state drive (SSD) cleanup process is to securely delete files that contain sensitive or confidential information. Merely deleting files using the standard delete function may not completely remove the data from your SSD, making it potentially recoverable. Securely deleting files ensures that they are irrecoverable, enhancing your privacy and data protection.
To securely delete files from your SSD, follow these steps:
- Identify the files that you want to securely delete. This can include personal documents, financial records, login credentials, or any other files containing sensitive information.
- Use a secure file deletion tool or software. There are various tools available, such as Eraser, CCleaner, and BleachBit, that provide secure deletion options. These tools overwrite the deleted file with random data, making it extremely difficult or impossible to recover the original file.
- Download and install the chosen file deletion software.
- Open the software and follow the instructions to select the files you want to securely delete.
- Choose the level of security or number of passes for data overwriting. Higher levels or more passes increase the level of security but might take longer to complete.
- Initiate the secure delete process and allow the software to complete the task.
- Be patient as the secure deletion process may take some time based on the number of files and their sizes.
It is important to note that securely deleting files is irreversible. Once a file is securely deleted, it cannot be recovered. Therefore, double-check that you have selected the correct files for deletion before proceeding.
Another alternative for securely deleting files is encrypting the entire SSD or specific files using encryption software. This adds an extra layer of security, as the files are stored in an encrypted format, and unauthorized access to the SSD or files becomes extremely difficult or impossible.
By securely deleting files, you can protect your sensitive information and ensure that it cannot be accessed by unauthorized individuals. With your files securely deleted, you have completed the final step in the SSD cleanup process. Congratulations!
Conclusion
Congratulations on completing the solid-state drive (SSD) cleanup process! By following the steps outlined in this guide, you have successfully optimized your SSD, improved its performance, and freed up valuable disk space.
Throughout the process, you have learned how to back up your data, run disk cleanup, uninstall unnecessary programs, delete temporary files, clean up your browser, update your drivers, and check for malware. These steps are crucial for maintaining the health and functionality of your SSD.
Remember to regularly perform these maintenance tasks to ensure your SSD continues to operate at its best. By periodically cleaning up your SSD and keeping it optimized, you can prolong its lifespan, enhance system performance, and prevent potential issues from arising.
Additionally, it is important to practice safe computing habits, such as regularly updating your operating system and applications, using strong passwords, and being cautious of suspicious emails or websites. These security measures further contribute to the overall health and security of your SSD and the data it contains.
By taking the time to clean up your SSD and maintain its optimal performance, you can enjoy a faster, more efficient, and more reliable computer experience. Not only will your SSD continue to provide speedy data access, but you’ll also have the peace of mind that your important files and data are protected.
Thank you for following this guide, and we hope it has been helpful in your SSD cleanup journey. Remember to periodically review and repeat these steps to keep your SSD in top shape. Happy computing!