Introduction
Welcome to the world of Chromecast! Whether you’re a tech enthusiast or a casual user, Chromecast has revolutionized the way we stream media on our TVs. With its compact design and easy setup, Chromecast allows you to cast your favorite shows, movies, and music from your phone, tablet, or computer to your television screen. But did you know that you can enhance your Chromecast experience by using a VPN? In this article, we will explore the benefits of using a VPN with Chromecast and guide you through the process of setting it up.
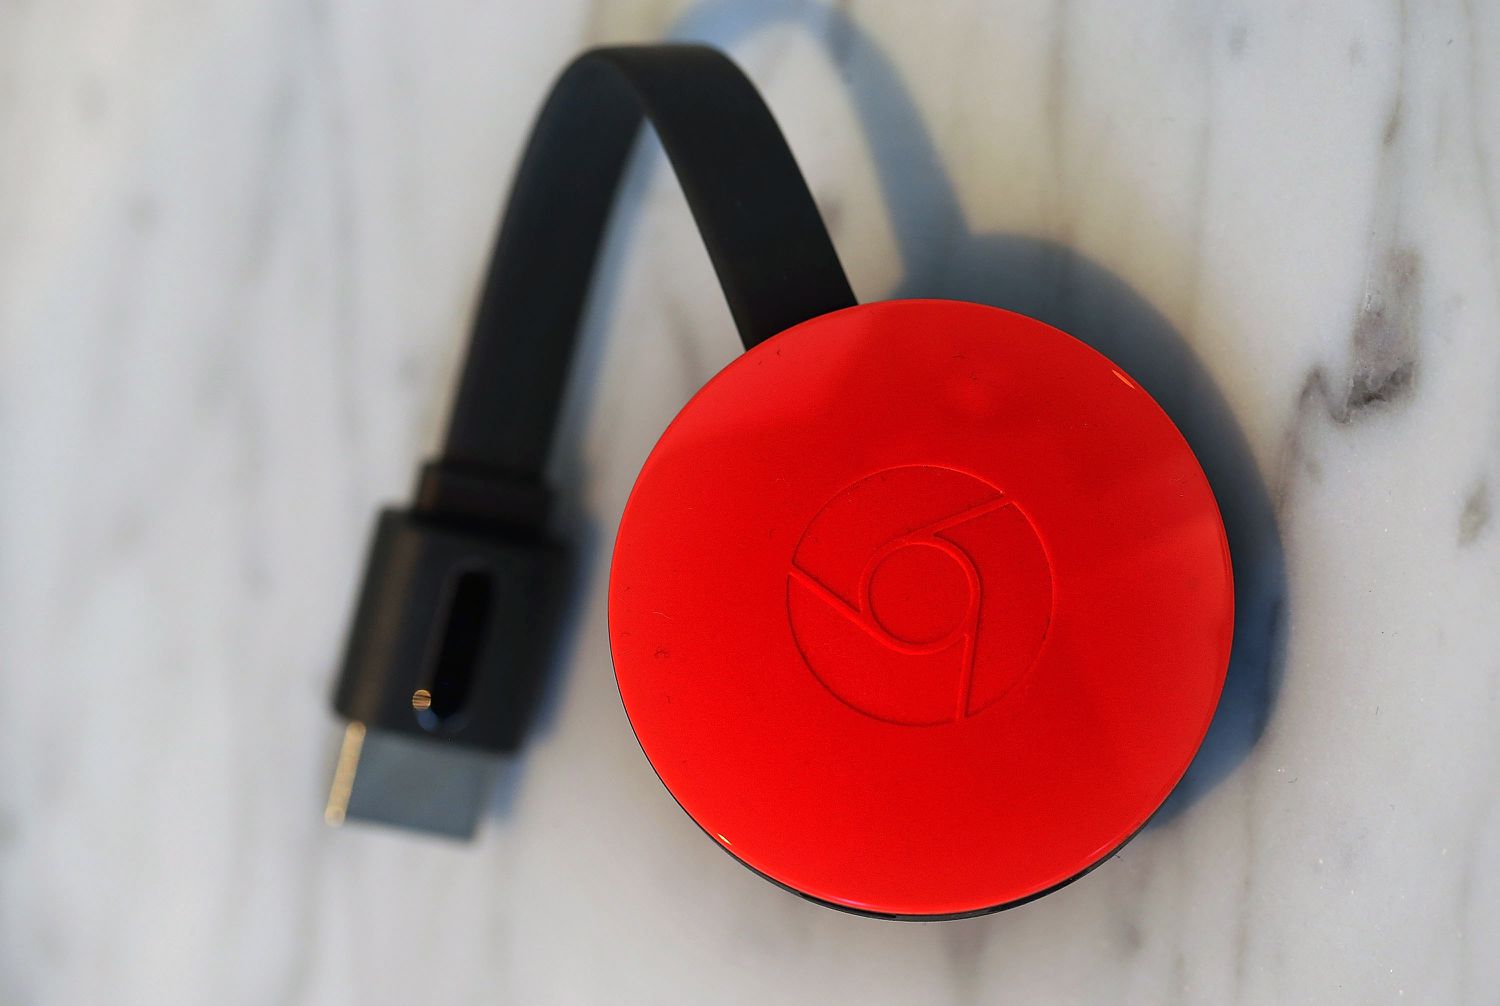
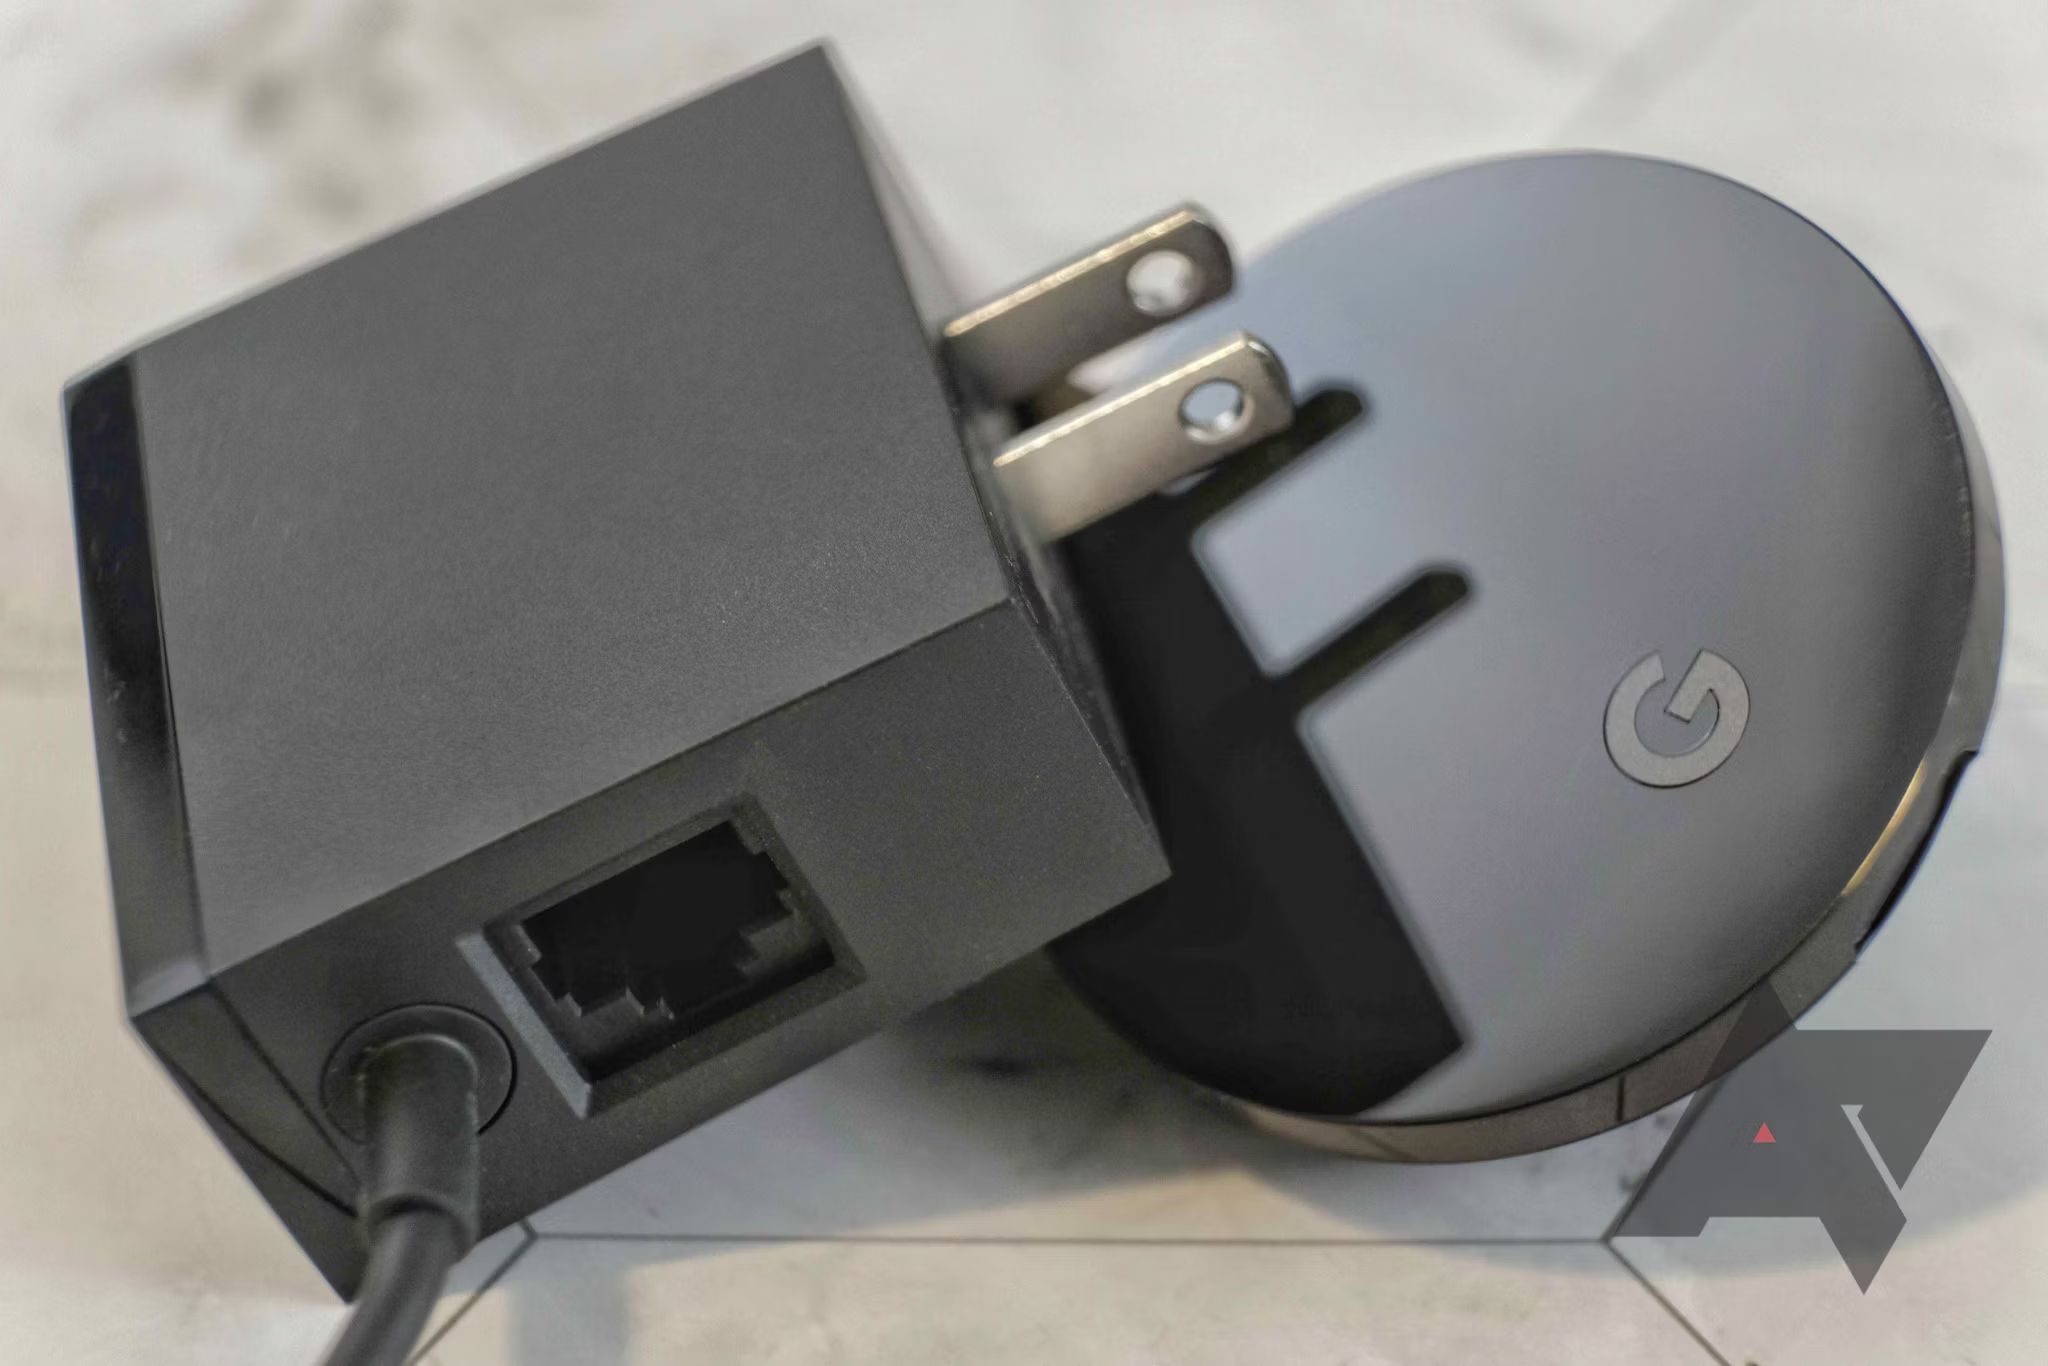
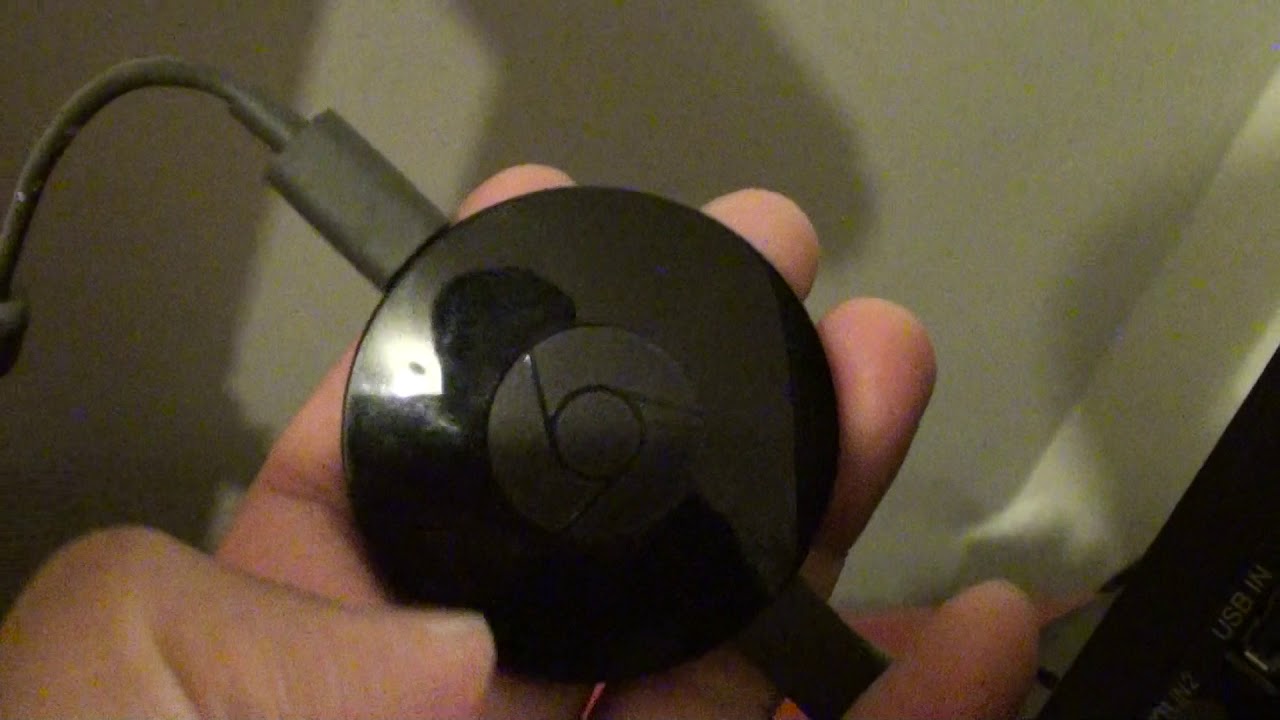
Before we dive into the details, let’s start with the basics. Chromecast is a media streaming device developed by Google that allows you to cast content from various apps and platforms directly to your television. It plugs into the HDMI port of your TV and connects to your Wi-Fi network, turning your TV into a smart entertainment hub.
So why should you consider using a VPN with your Chromecast? A VPN, or Virtual Private Network, encrypts your internet connection and routes it through a remote server, providing you with a secure and private online experience. While a VPN is commonly used for protecting your online privacy and security, it can also unlock a world of possibilities for your Chromecast.
With a VPN, you can bypass geo-restrictions and access content that might be limited or blocked in your region. This means you can watch your favorite shows and movies from different streaming platforms, including Netflix, Hulu, and BBC iPlayer, regardless of your location. Additionally, a VPN can help protect your data and prevent your internet service provider from monitoring your online activities.
Now that we understand the benefits of using a VPN with Chromecast, let’s move on to the practical steps of setting it up. There are two main ways to configure a VPN for use with Chromecast: setting up the VPN on your device or configuring your router with VPN.
In the next sections, we will guide you through the process of setting up a VPN on your device and configuring your router to connect Chromecast to the VPN. We will also provide troubleshooting tips to help you overcome any potential issues along the way. So, let’s get started and unlock a whole new world of streaming possibilities with Chromecast and VPN!
What is Chromecast?
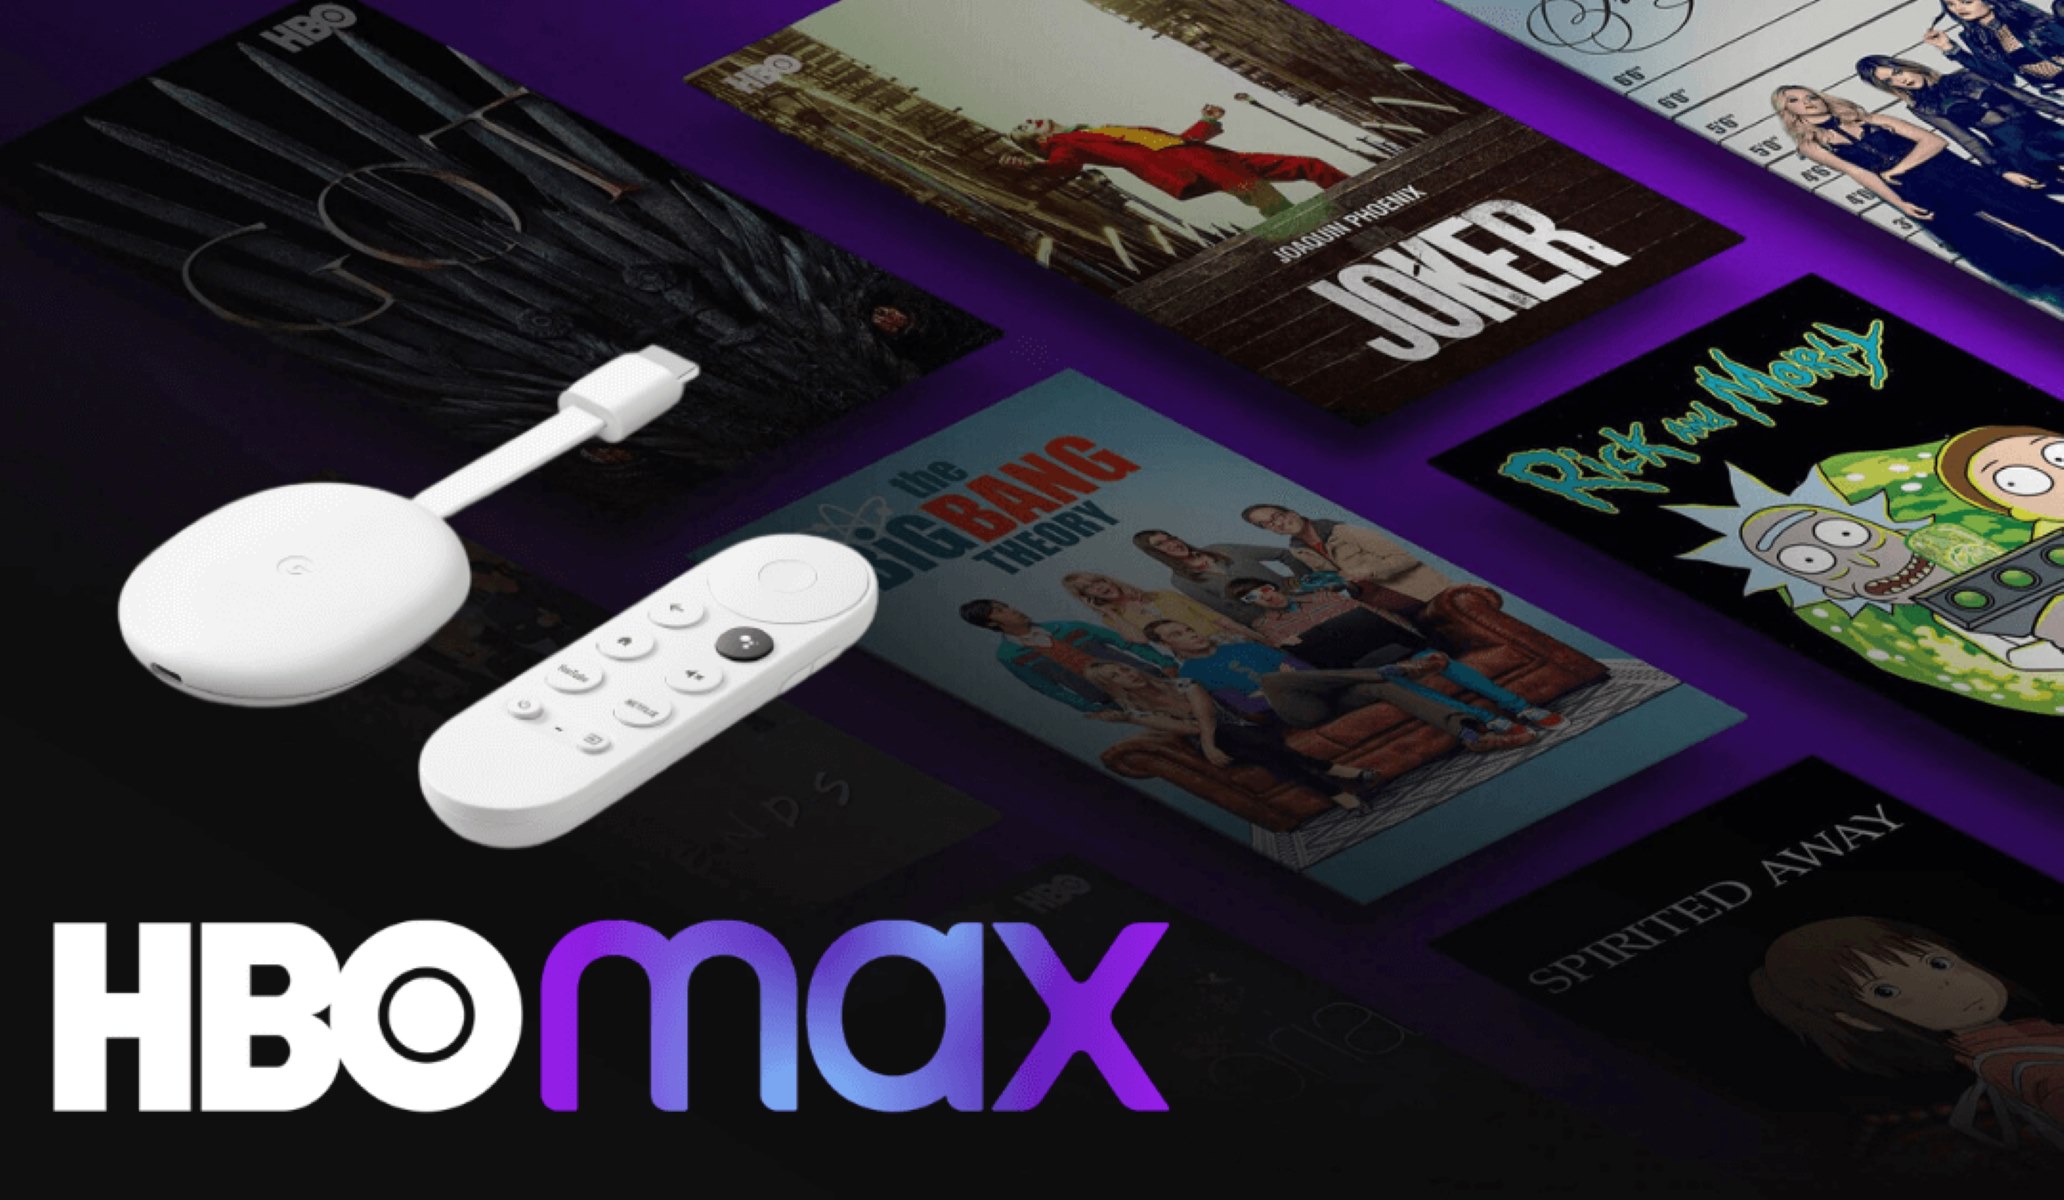
Chromecast is a media streaming device developed by Google that allows users to cast or stream content from their smartphones, tablets, or computers to their TV screens. It revolutionizes the way we consume media by transforming any regular television into a smart TV.
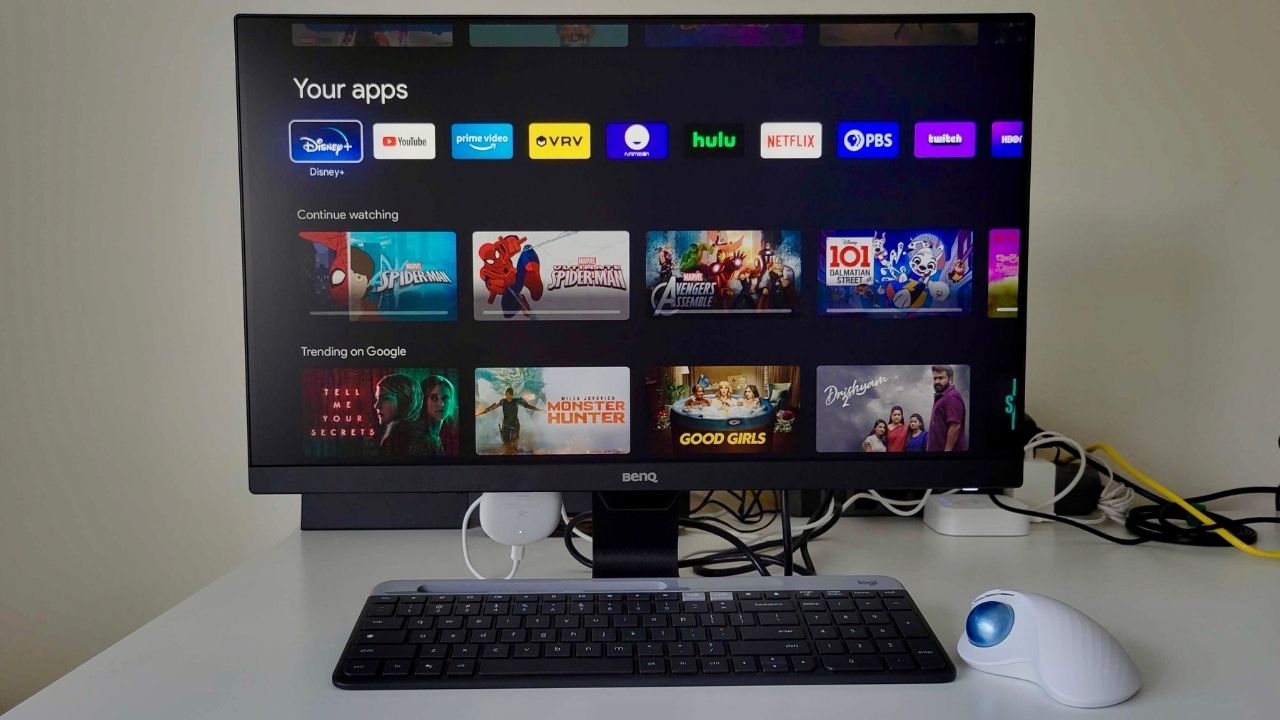
With its compact design, Chromecast plugs into the HDMI port of your TV. Once connected to your home Wi-Fi network, it enables you to cast a wide range of content, including movies, TV shows, music, photos, and even games, directly from your mobile device or computer to the big screen.
One of the key advantages of Chromecast is its versatility and compatibility with various devices and platforms. Chromecast works seamlessly with both Android and iOS devices, allowing users to cast content from popular apps such as Netflix, YouTube, Spotify, Hulu, and many more.
Whether you want to binge-watch your favorite Netflix series, stream live sports events, listen to music on Spotify, or share your vacation photos with friends and family, Chromecast provides a convenient and efficient way to access and enjoy your digital content on the TV.
Another notable feature of Chromecast is its ability to mirror the screen of your device onto the TV. This means that you can display any content or app from your phone or computer on the big screen, making it perfect for presentations, video conferences, or simply sharing content with a larger audience.
Chromecast also offers multi-room audio functionality, allowing users to synchronize music playback on multiple Chromecast devices located in different rooms. Whether you want to create a party atmosphere or simply enjoy music throughout your home, Chromecast provides a seamless audio streaming experience.
In summary, Chromecast is a compact and powerful media streaming device that turns your regular TV into a smart entertainment hub. Its versatility, compatibility, and ability to cast and mirror content from a wide range of devices make it a popular choice for users looking to enhance their TV-watching experience.
In the following sections, we will explore how you can enhance your Chromecast experience by using a VPN, and guide you through the process of setting up and configuring a VPN for use with Chromecast.
Why use a VPN with Chromecast?
Using a VPN, or Virtual Private Network, with Chromecast can greatly enhance your streaming experience and provide you with several benefits. Let’s take a closer look at why you should consider using a VPN with Chromecast.
1. Bypassing Geo-restrictions: One of the main advantages of using a VPN with Chromecast is the ability to bypass geo-restrictions. Streaming services, such as Netflix and Hulu, often have different catalogs of content available in different countries. By connecting to a VPN server in a specific location, you can trick these services into thinking you’re physically located in that country, allowing you to access content that may not be available in your region.
2. Accessing Restricted Content: In addition to bypassing geo-restrictions, a VPN can help you access content that may be restricted or blocked by your internet service provider (ISP). Some ISPs throttle or limit access to certain websites or streaming platforms. By using a VPN, you can encrypt your traffic and prevent your ISP from monitoring or interfering with your online activities, giving you more freedom and privacy.
3. Enhancing Privacy and Security: With cyber threats on the rise, ensuring your privacy and security while streaming is crucial. By encrypting your internet connection, a VPN helps protect your personal information from hackers, government surveillance, and other malicious entities. This is especially important when using public Wi-Fi networks, which are notorious for their lack of security.
4. Preventing Bandwidth Throttling: Some ISPs may intentionally slow down the connection speed to certain streaming services to manage network congestion or promote their own streaming platforms. This practice, known as bandwidth throttling, can negatively impact your streaming experience. By using a VPN, you can prevent your ISP from detecting your streaming activities and potentially improve your streaming speeds.
5. Securely Casting Local Media: While Chromecast primarily focuses on streaming media from online sources, it also allows you to cast local media files stored on your device. By using a VPN, you can ensure the secure transmission of these files to your Chromecast without any potential privacy or security risks.
By combining the power of Chromecast with a VPN, you can unlock a world of streaming possibilities, access a wider range of content, and protect your privacy and security while enjoying your favorite movies, TV shows, and music.
In the next sections, we will guide you through the process of setting up and configuring a VPN for use with Chromecast, ensuring you can maximize your streaming experience while maintaining your privacy and security.
Setting up VPN on your device
To use a VPN with Chromecast, you have two main options: setting up the VPN on your device or configuring your router with VPN. In this section, we will focus on setting up the VPN directly on your device.
The process of setting up a VPN on your device may vary depending on the operating system you’re using. However, the general steps are as follows:
1. Choose a VPN Provider: Start by selecting a reputable VPN provider that offers good speed, a wide range of server locations, and reliable customer support. There are many options available, such as NordVPN, ExpressVPN, and CyberGhost.
2. Subscribe and Download the VPN App: Once you’ve chosen a VPN provider, subscribe to their service and download their app onto your device. Most VPN providers offer apps for various operating systems, including Windows, Mac, Android, and iOS.
3. Install and Launch the App: Follow the instructions provided by the VPN provider to install the app on your device. Once installed, launch the app and log in using the credentials provided by the VPN provider.
4. Select a Server Location: After logging in, you’ll usually have the option to choose a server location. Select a server located in the country where you want to access geo-restricted content. For example, if you want to access US-exclusive content, choose a server located in the United States.
5. Connect to the Server: Click on the “Connect” button within the app to establish a connection to the selected server. Once connected, your internet traffic will be encrypted and routed through the VPN server.
6. Connect your Chromecast: Now that your device is connected to the VPN, you’ll need to ensure that your Chromecast is also connected to the same network. Open the Google Home app on your device and follow the instructions to connect your Chromecast to your Wi-Fi network. If your Chromecast is already connected, make sure it is on the same Wi-Fi network as your device.
7. Start Casting: With both your device and Chromecast connected to the VPN and the same network, you’re now ready to start casting! Open your favorite streaming app, select the content you want to watch, and tap the cast icon to cast it to your Chromecast-connected TV.
It’s important to note that some streaming apps may still detect your actual location despite using a VPN. In such cases, you can try clearing the cache of the streaming app or contacting the VPN provider’s customer support for further assistance.
Now that you know how to set up a VPN on your device, let’s explore configuring your router with a VPN in the next section, which can provide VPN connectivity to all devices connected to your router, including Chromecast.
Configuring your router with VPN
Configuring your router with a VPN is an alternative method to provide VPN connectivity to all devices, including your Chromecast, that are connected to your home network. By setting up VPN on your router, you can ensure that all internet traffic flowing through the router is encrypted and routed through the VPN server. Here’s how you can configure your router with VPN:
1. Choose a VPN-compatible Router: Not all routers support VPN configurations. Check if your router is compatible with VPN protocols such as OpenVPN, PPTP, or L2TP. If your current router doesn’t support VPN, you can replace it with a VPN-compatible router or use a flashed router with custom firmware that supports VPN.
2. Select a VPN Provider: Choose a VPN provider that offers router compatibility and provides configuration files for your specific router model. Ensure that the VPN provider offers the VPN protocol supported by your router.
3. Sign Up and Gather Information: Sign up for the VPN service and gather the necessary information, such as server addresses, VPN username, and password, provided by the VPN provider. This information will be needed for the router configuration.
4. Access Router Settings: Open a web browser on a device connected to your router and enter the router’s IP address in the address bar. This will open the router’s configuration page. The IP address is typically something like 192.168.1.1 or 192.168.0.1, but it may vary depending on the router model.
5. Set up VPN on the Router: Look for the VPN section or settings in the router’s configuration page. The location and naming of the VPN settings may vary depending on the router model. In this section, you’ll need to enter the VPN server addresses and other configuration details provided by the VPN provider. Follow the instructions provided by the VPN provider for the specific router model.
6. Connect Chromecast to VPN: Once the VPN is set up on your router, all devices connected to the router, including your Chromecast, will automatically be routed through the VPN. To ensure Chromecast connectivity to the VPN, make sure the Chromecast is connected to the same Wi-Fi network as your router.
7. Test the Connection: After configuring the router, it’s important to test the VPN connection to ensure it’s working properly. You can do this by checking your IP address location or using online tools that test VPN connectivity. Also, test casting content to your Chromecast to verify that it’s being routed through the VPN.
It’s worth noting that setting up VPN on your router may require technical knowledge, and the process may vary depending on the router model and VPN provider. If you’re unsure or encounter any difficulties, consult the router’s manual or reach out to the VPN provider’s customer support for assistance.
Now that you’ve learned how to configure your router with VPN, you can enjoy the benefits of VPN connectivity not just for Chromecast but for all your devices connected to your home network.
Connecting Chromecast to VPN
Connecting your Chromecast to a VPN is a crucial step in ensuring that all the content you stream through it is routed through the VPN server, providing you with enhanced privacy and access to geo-restricted content. Although Chromecast does not natively support VPN configurations, there are still ways to connect it to a VPN. Here’s how to do it:
Option 1: Use a VPN-enabled Router: If you have already configured a VPN on your router, connecting Chromecast to the VPN is straightforward. Since the router routes all of your internet traffic through the VPN, any device, including the Chromecast, that connects to the router’s network will automatically use the VPN connection. Simply ensure that your Chromecast is connected to the same Wi-Fi network as the VPN-enabled router, and you’re all set.
Option 2: VPN via Virtual Router: If you don’t have a VPN-enabled router, an alternative method is to create a virtual router on your computer and connect the Chromecast to it. This involves utilizing the VPN connection on your computer and broadcasting a Wi-Fi hotspot that the Chromecast can connect to. There are third-party applications available, such as Virtual Router or Connectify, that can help you create a virtual router. Once the virtual router is set up and connected to the VPN, you can connect your Chromecast to the newly created Wi-Fi hotspot.
Option 3: VPN via Smartphone Hotspot: Another option is to connect your Chromecast to a VPN using your smartphone’s hotspot. Many VPN providers offer dedicated apps for mobile devices. Simply connect your smartphone to the VPN using the VPN provider’s app, and then enable the mobile hotspot feature. Connect your Chromecast to the hotspot network, and it will utilize the VPN connection established on your smartphone. This method allows you to enjoy VPN connectivity on your Chromecast without the need for a VPN-enabled router.
Remember that when using either the virtual router or smartphone hotspot methods, all of the data usage will be counted towards your computer or smartphone’s data plan rather than the Chromecast itself, so be mindful of any data usage restrictions.
Regardless of the method you choose, it’s important to verify that your Chromecast is successfully connected to the VPN. You can check this by ensuring that your IP address is that of the VPN server location or by using online tools that test VPN connectivity. Additionally, you can try casting content from a streaming app and confirm that it is being routed through the VPN.
By connecting your Chromecast to a VPN, you can ensure that your streaming activities are secured, your privacy is protected, and you have access to geo-restricted content from anywhere in the world.
In the next section, we will provide some troubleshooting tips to help you resolve common issues and ensure a smooth Chromecast VPN experience.
Troubleshooting tips
While setting up and connecting Chromecast to a VPN can greatly enhance your streaming experience, you might encounter some common issues along the way. Here are some troubleshooting tips to help you resolve any potential problems:
1. Ensure Compatibility: Make sure that your Chromecast is compatible with the VPN configuration method you have chosen. Some older models may not work with certain methods, such as connecting via a virtual router or smartphone hotspot. Check the specifications and documentation provided by the VPN provider and the Chromecast manufacturer to ensure compatibility.
2. Double-check Network Connections: Ensure that your Chromecast, VPN-enabled router, and all other devices are connected to the same Wi-Fi network. This is essential for the Chromecast to successfully utilize the VPN connection. Go through the network settings on each device and confirm that they are connected to the correct Wi-Fi network.
3. Restart the Devices: Sometimes, a simple restart can resolve connectivity issues. Try restarting your Chromecast, router, and any other devices involved in the VPN setup process. This can help refresh the network connections and resolve any temporary issues that might be causing connectivity problems.
4. Check VPN Configuration: If you are using a VPN-enabled router, ensure that the VPN configuration settings are correct. Revisit the router’s configuration page and cross-check the server addresses, usernames, and passwords provided by the VPN provider. Incorrect settings can prevent the VPN from working properly with Chromecast.
5. Verify Internet Speed: Slow internet speeds can impact streaming performance, especially when using a VPN. Run a speed test to confirm that your internet connection is stable and fast enough to support streaming content. You can use online speed test tools or dedicated speed test apps to check your connection speed.
6. Try a Different VPN Server: If you are experiencing issues with accessing certain content or are facing slow streaming speeds, try connecting to a different VPN server. Sometimes, certain servers may be congested or have limited access to specific streaming platforms. Experiment with different server locations to find the one that works best for your streaming needs.
7. Update Firmware and Software: Ensure that your Chromecast, router, and other devices involved in the setup are running the latest firmware or software updates. Manufacturers often release updates to fix bugs and improve compatibility, so keeping your devices up to date can help resolve any potential issues.
8. Contact VPN Provider’s Support: If all else fails and you are still experiencing difficulties, reach out to the customer support of your VPN provider. They will have specialized knowledge and troubleshooting steps to assist you in resolving any VPN-related issues you may encounter.
By following these troubleshooting tips, you can overcome common obstacles and ensure a smooth and enjoyable Chromecast VPN experience. Remember to be patient and persistent in troubleshooting, as each setup may have unique challenges.
Now that you are equipped with troubleshooting tips, you can confidently set up and connect your Chromecast to a VPN and enjoy unrestricted access to your favorite streaming content while maintaining privacy and security.
Conclusion
Using a VPN with Chromecast can significantly enhance your streaming experience by providing you with access to geo-restricted content, ensuring your privacy and security, and overcoming bandwidth throttling. Whether you choose to set up the VPN on your device or configure your router with VPN, both methods allow you to enjoy streaming content on your Chromecast while benefiting from the security and flexibility provided by a VPN.
By bypassing geo-restrictions, you can unlock a world of content from different regions and enjoy your favorite shows, movies, and music regardless of your physical location. Additionally, a VPN protects your online privacy and safeguards your personal information from hackers and surveillance. It also prevents your internet service provider from monitoring your streaming activities and potentially throttling your connection speed.
Setting up a VPN on your device or configuring your router may require some technical knowledge, but the benefits are well worth the effort. Once connected to a VPN, you can cast content from various streaming platforms with the assurance that your data is encrypted and your online activities are private.
While setting up and connecting Chromecast to a VPN may come with some challenges, such as compatibility issues or connectivity problems, following troubleshooting steps can generally resolve these issues and ensure a smooth experience. Restarting devices, verifying network connections, and updating firmware or software are a few steps that can help troubleshoot common problems.
Remember to choose a reputable VPN provider that supports your desired streaming platforms and offers good speed and a wide range of server locations. Additionally, keep in mind that VPN usage may impact your internet connection speed due to encryption and routing through VPN servers.
In conclusion, by utilizing a VPN with Chromecast, you can unlock a world of streaming possibilities, protect your privacy, and access geo-restricted content. Whether you set up the VPN on your device or configure your router, the integration of VPN enhances your streaming experience and provides you with greater control and security over your online activities. So, follow the steps outlined in this article, troubleshoot any issues that arise, and enjoy a seamless and secure streaming experience on your Chromecast with a VPN.


