Introduction
Knowing the specifications of your computer’s motherboard can be crucial when troubleshooting hardware issues, upgrading components, or ensuring system compatibility. Windows 11 provides various methods to check what motherboard you have and gather relevant information about it. In this article, we will explore five different methods that can help you easily identify the motherboard model on your Windows 11 machine.
Whether you are a tech enthusiast or someone who just wants to learn more about their computer, understanding the intricacies of your motherboard can be fascinating. The motherboard is like the backbone of your computer, connecting all the different components together and allowing them to communicate with each other.
Identifying your motherboard model can come in handy if you need to perform a BIOS update, upgrade your RAM or CPU, or troubleshoot hardware issues. By knowing your motherboard’s specifications, you can ensure compatibility with new components and make informed decisions about upgrades or replacements.
Fortunately, Windows 11 provides several built-in methods for checking your motherboard information. Each method has its own advantages and can be utilized based on your familiarity with Windows tools or personal preferences. Additionally, third-party software can also be used to gather motherboard information, which we will explore later in this article.
So, if you’ve ever wondered what motherboard you have on your Windows 11 computer and how to find out, continue reading as we walk you through five different methods to retrieve this important information. Whether you’re a novice user or an experienced tech enthusiast, you’ll be able to identify your motherboard model effortlessly with these methods.
Method 1: Using System Information
One of the easiest ways to check what motherboard you have on Windows 11 is by using the built-in System Information tool. Here’s how you can do it:
- Press the Windows key + R to open the Run dialog box.
- Type “msinfo32” (without quotes) and hit Enter. This will launch the System Information window.
- In the left pane, navigate to the “System Summary” section and expand it.
- Scroll down and look for the “BaseBoard Manufacturer” and “BaseBoard Model” entries. These will provide the information about your motherboard manufacturer and model.
- You can also find additional details about your motherboard, such as its version, serial number, and BIOS version, in the same window. Simply explore the different categories on the left pane to access this information.
Using the System Information tool is a convenient method to quickly gather information about your motherboard. It presents the details in a concise and organized format, making it easy to identify your motherboard model without the need for any third-party software.
It is worth noting that the System Information tool provides comprehensive hardware information for your entire system, not just the motherboard. So, if you need to check other hardware details or diagnose any issues, this tool can be a valuable resource.
Method 2: Using Command Prompt
If you prefer using the command line interface, you can also check what motherboard you have on Windows 11 using the Command Prompt. Follow the steps below:
- Open the Command Prompt by pressing the Windows key + X and selecting “Command Prompt” from the menu. Alternatively, you can search for “Command Prompt” in the Start menu and open it.
- In the Command Prompt window, type or copy and paste the following command:
wmic baseboard get product, manufacturer, version, serialnumber - Press Enter to execute the command.
- The command will retrieve information about your motherboard, including the product name, manufacturer, version, and serial number.
- The “Manufacturer” field will display the name of your motherboard’s manufacturer, while the “Product” field will indicate the model of your motherboard.
- You can use this information to identify your motherboard and gather other important details.
Using the Command Prompt provides a quick and efficient way to check your motherboard information, especially for users who are comfortable with the command line interface. It eliminates the need to navigate through multiple windows and menus, providing the necessary details with just a simple command.
With the Command Prompt, you can easily access various other system information by executing different commands. This flexibility makes it a versatile tool for advanced users who prefer using command line utilities.
Method 3: Using Windows PowerShell
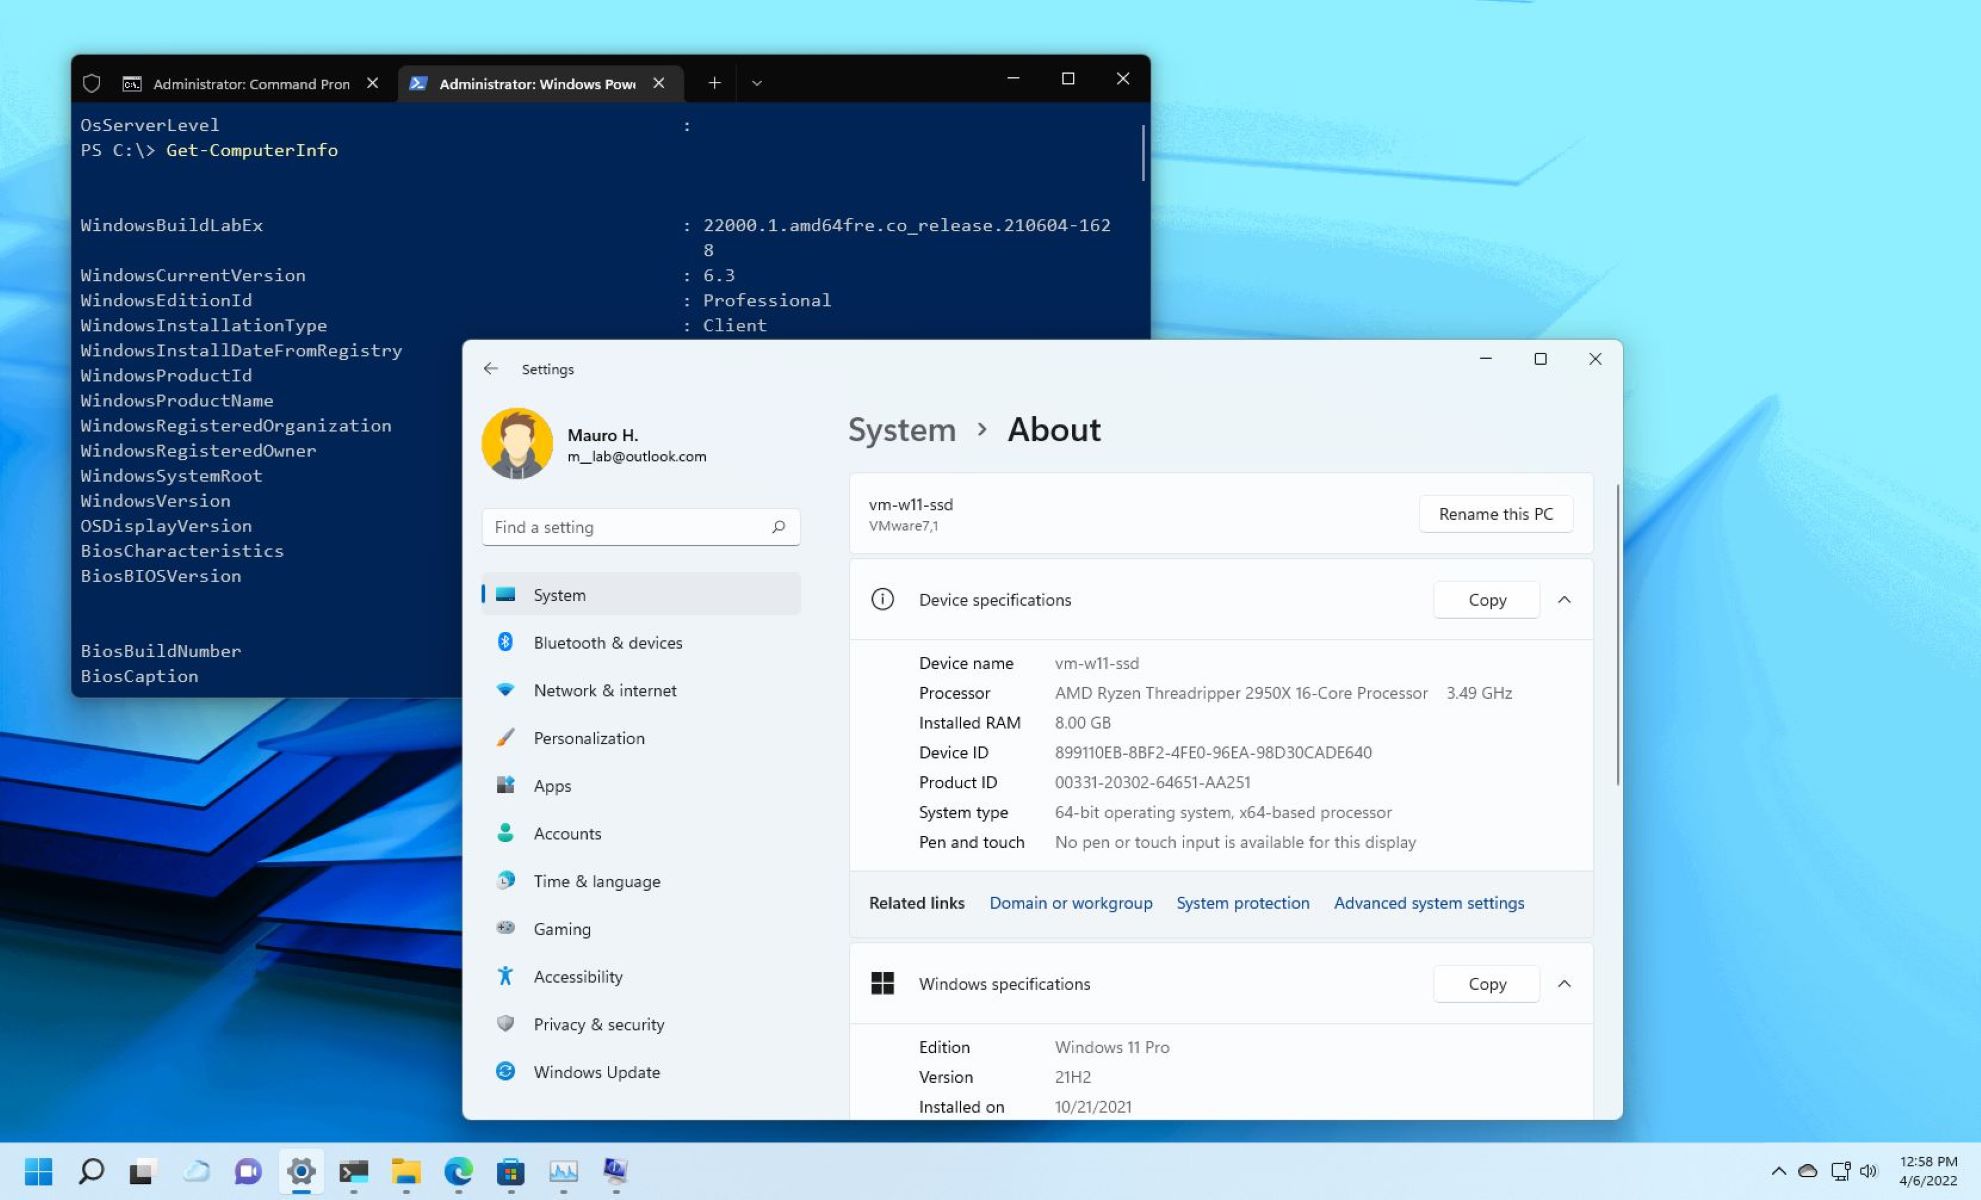
Windows PowerShell is a powerful command-line tool that provides advanced scripting capabilities and access to system information. You can also use it to check what motherboard you have on Windows 11. Here’s how:
- Open Windows PowerShell by right-clicking on the Start button and selecting “Windows PowerShell” from the menu. Alternatively, you can search for “Windows PowerShell” in the Start menu and open it.
- In the PowerShell window, type or copy and paste the following command:
Get-WmiObject -Class Win32_BaseBoard | Select-Object Manufacturer, Product - Press Enter to execute the command.
- The command will retrieve the manufacturer and product information of your motherboard.
- The “Manufacturer” field will display the name of your motherboard’s manufacturer, while the “Product” field will indicate the model of your motherboard.
- This information will help you identify your motherboard and gather relevant details.
Windows PowerShell offers a more advanced and flexible command-line interface compared to the Command Prompt. It provides additional features and functionalities that can be leveraged for system administration and automation tasks.
By using Windows PowerShell, you can not only check your motherboard information but also access a wide range of system data and perform various actions on your Windows 11 machine.
Method 4: Using Task Manager
Another quick and easy way to check what motherboard you have on Windows 11 is by using the Task Manager. The Task Manager provides real-time information about system performance and processes, including your motherboard details. Follow the steps below to access this information:
- Right-click on the taskbar and select “Task Manager” from the context menu. Alternatively, you can press the Ctrl + Shift + Esc keys to directly open the Task Manager.
- In the Task Manager window, click on the “Performance” tab at the top.
- On the left-hand side of the Performance tab, click on “CPU” or “Memory” to expand the respective category.
- Scroll down and locate the “BaseBoard” section. Here, you will find the manufacturer and product information about your motherboard.
- The “Manufacturer” field displays your motherboard’s manufacturer name, and the “Product” field indicates the model of your motherboard.
- Make a note of this information for future reference or troubleshooting purposes.
Using the Task Manager to check your motherboard details offers the advantage of quick access, as the Task Manager is a commonly used utility that is readily available on Windows 11.
Additionally, the Task Manager provides essential performance monitoring features, making it a valuable tool to keep an eye on your system’s resources while also providing access to critical hardware information like the motherboard model.
Method 5: Using Third-Party Software
If you prefer a more user-friendly and comprehensive approach to check what motherboard you have on Windows 11, you can utilize third-party software specifically designed for this purpose. There are several reliable programs available that can provide detailed information about your motherboard and other hardware components. Here’s how you can use third-party software to retrieve your motherboard details:
- Visit the website of a reputable software vendor that offers hardware information tools.
- Download and install the software on your Windows 11 machine.
- Launch the installed software and navigate to the appropriate section for motherboard information. This may vary depending on the software you choose.
- The third-party software will provide comprehensive details about your motherboard, including the manufacturer, model, chipset, BIOS version, and more.
- Make a note of the relevant information or use any additional features offered by the software, such as system diagnostics or monitoring.
Using third-party software can be beneficial if you desire a more user-friendly and feature-rich experience. These programs often provide a wealth of information about your motherboard and other components in a consolidated and easy-to-understand format.
However, it’s important to choose reputable software from trusted sources to ensure the safety and reliability of your system. Additionally, keep in mind that some third-party software may have limitations or may require a paid license for accessing all features.
By leveraging the capabilities of third-party software, you can obtain comprehensive details about your motherboard, making it easier to perform upgrades, troubleshoot issues, or make informed decisions about hardware compatibility.
Conclusion
Identifying the motherboard model on your Windows 11 machine is an essential step in understanding your computer’s hardware and ensuring compatibility for upgrades or troubleshooting. In this article, we explored five different methods to check what motherboard you have.
We started with the built-in System Information tool, which provides a user-friendly interface to access hardware details, including your motherboard model and manufacturer. The Command Prompt and Windows PowerShell methods offered command-line alternatives for users who prefer a more technical approach.
Additionally, we learned that the Task Manager can provide quick access to your motherboard information along with real-time performance monitoring features. Lastly, we discussed the use of third-party software, which can offer a more comprehensive and user-friendly experience for identifying your motherboard and obtaining additional hardware details.
Whether you prefer using built-in Windows utilities or third-party software, knowing your motherboard information can be helpful in various scenarios, such as performing hardware upgrades, diagnosing issues, or ensuring compatibility with new components.
Remember to exercise caution when downloading and installing third-party software, and always choose reputable sources to ensure the safety and reliability of your system.
By using the methods outlined in this article, you can easily determine what motherboard you have on your Windows 11 machine, empowering you to make informed decisions and troubleshoot effectively. Whether you’re a tech enthusiast or a regular user, having this knowledge can enhance your overall computing experience.


