Introduction
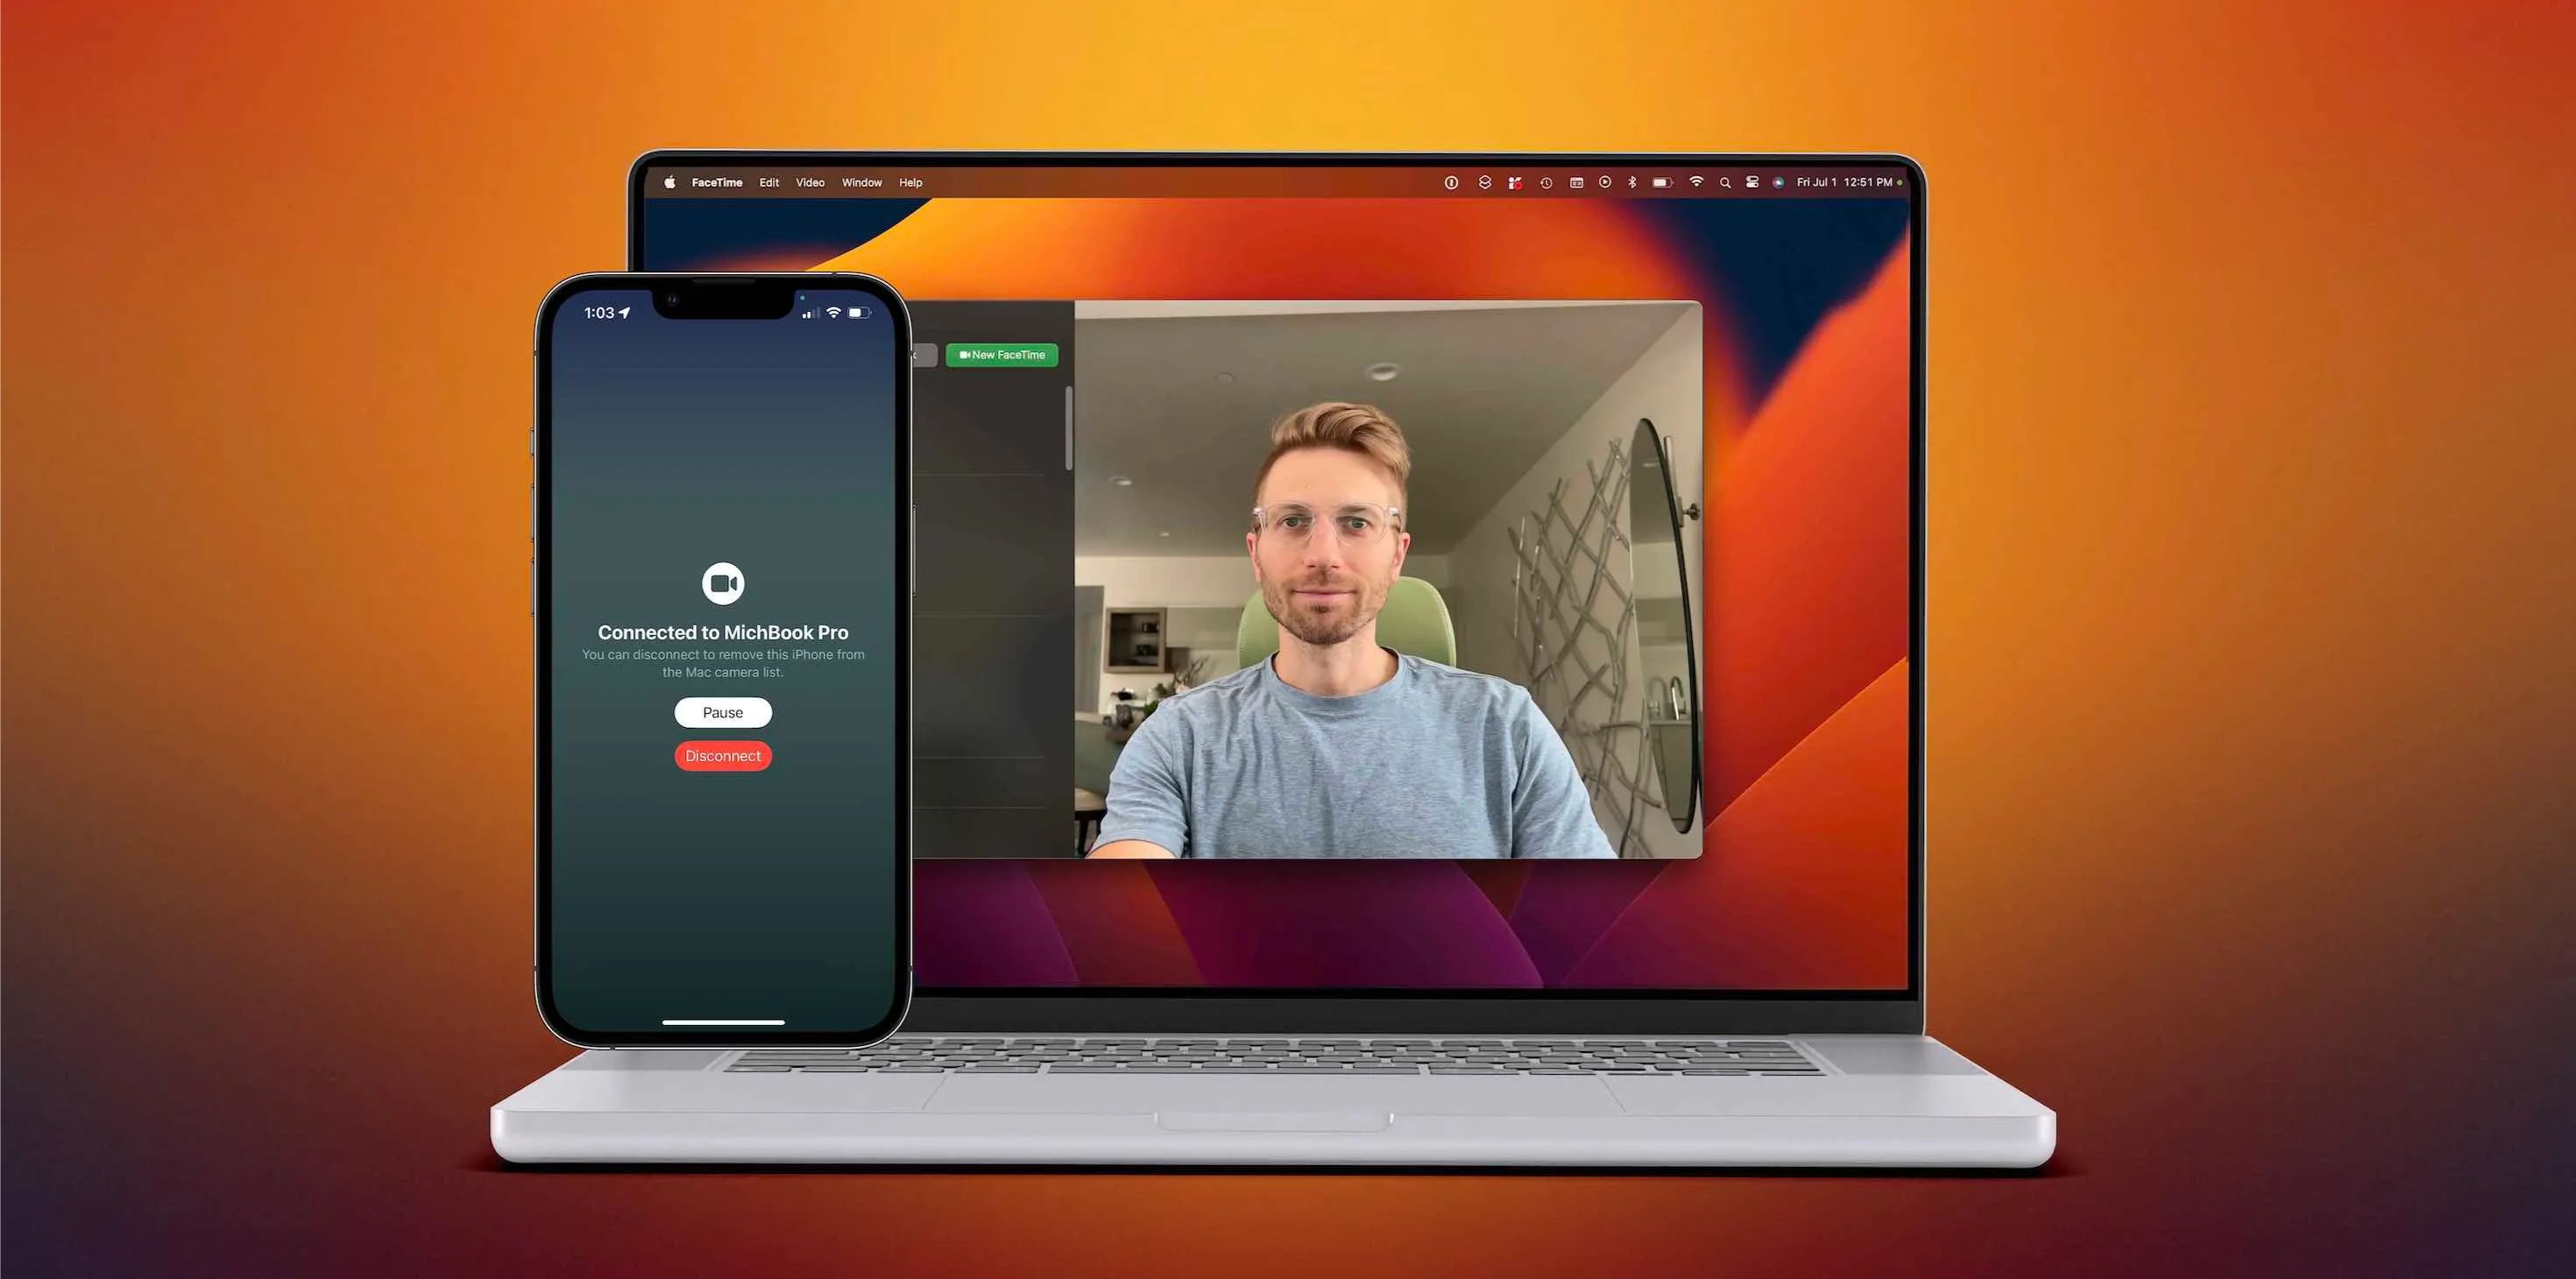
Changing the webcam settings on your Mac can make a big difference in your video calls, online meetings, and even when recording videos. Whether you need to adjust the resolution, brightness, or other camera preferences, Mac offers a user-friendly interface to customize your webcam settings.
In this guide, we will walk you through the step-by-step process of changing your webcam settings on a Mac. By following these instructions, you can optimize the video quality, enhance the lighting conditions, and ensure your camera works flawlessly with various applications.
Whether you are using the built-in webcam on your MacBook or an external camera, the process of changing the webcam settings remains quite similar. With just a few clicks, you can access the necessary settings and customize them according to your preferences.
So, if you’re ready to take control of your webcam and improve your video experience, let’s dive into the details and learn how to change webcam settings on a Mac.
Step 1: Launch the System Preferences
The first step to changing the webcam settings on your Mac is to open the System Preferences. To do this, you can either click on the Apple menu in the top-left corner of your screen and select “System Preferences” or use the keyboard shortcut by pressing the Command key (⌘) and the Spacebar simultaneously and then typing “System Preferences” in the Spotlight search bar.
Once the System Preferences window is open, you will see various icons representing different settings categories. Look for the icon labeled “Security & Privacy” and click on it to proceed.
Note that depending on the version of macOS you are using, the icons and their arrangement may vary slightly, but you will generally find the “Security & Privacy” icon in the first row or search for it using the search bar at the top right corner of the System Preferences window.
Opening the “Security & Privacy” settings is essential as it allows you to control the privacy settings of your Mac, including the permissions granted to applications to access your webcam.
In the next steps, we will explore how to navigate to the specific webcam settings within the “Security & Privacy” preferences.
Step 2: Choose the “Security & Privacy” option
After launching the System Preferences window, you will see several icons representing different settings categories. Look for and click on the icon labeled “Security & Privacy” to proceed with changing your webcam settings.
The “Security & Privacy” settings allow you to manage the privacy and security aspects of your Mac, including the permissions granted to applications and devices. By accessing this option, you can control which applications have access to your webcam and modify their permissions accordingly.
Upon clicking on the “Security & Privacy” icon, a new window will open with the “General” tab selected by default. This tab displays essential security settings for your Mac, such as enabling FileVault, enabling Firewall, and enabling automatic updates.
To access the webcam settings, you need to navigate to the “Privacy” tab. Click on the “Privacy” tab at the top of the window to proceed.
At this stage, it is important to note that you may need administrative privileges to make changes to the privacy settings. If prompted, enter your administrator username and password to authenticate and continue.
By choosing the “Security & Privacy” option and accessing the “Privacy” tab, you are now ready to move on to the next step of changing your webcam settings on your Mac.
Step 3: Click on the “Privacy” tab
Once you have accessed the “Security & Privacy” settings by following the previous step, it’s time to navigate to the “Privacy” tab. The “Privacy” tab allows you to control the permissions granted to various applications, including access to your webcam.
In the “Privacy” tab, you will find a list of different categories on the left sidebar, such as Location Services, Contacts, Microphone, and Camera. To modify the webcam settings, you need to locate and click on the “Camera” option.
Clicking on the “Camera” option will display a list of applications on the right side of the window that have requested access to your webcam or have previously been granted permission. The applications with a checkmark next to them are the ones that currently have access to your camera.
It’s essential to review this list and ensure that only the applications you trust and want to have access to your webcam are included. If there are any applications you want to remove from the list or grant access to, you can do so in the next step.
If you don’t see the application you want to modify in the list, don’t worry. In the upcoming steps, we will explore how to manage webcam settings for specific applications, even if they do not initially appear in the list.
By clicking on the “Privacy” tab and selecting the “Camera” option, you have taken the necessary steps to proceed with changing the webcam settings on your Mac.
Step 4: Locate and select the “Camera” option on the left sidebar
Once you are in the “Privacy” tab of the “Security & Privacy” settings, it’s time to locate and select the “Camera” option on the left sidebar. This option allows you to manage the permissions for different applications to access your webcam.
On the left sidebar, you will see a list of different categories, such as Location Services, Contacts, Microphone, and Camera. Look for and click on the “Camera” option to proceed.
By selecting the “Camera” option, the main window will display a list of applications that have requested access to your webcam or have been granted permission in the past. Applications with a checkmark next to them already have access to your camera.
If you want to remove an application’s access to your webcam, simply uncheck the box next to its name. Conversely, if there is an application that you want to grant access to, make sure to check the box next to its name.
Keep in mind that some applications may require webcam access for essential features or functionalities. It is important to exercise caution when modifying the permissions and only grant access to applications that you trust.
If you cannot find the application you want to modify in the list, don’t worry. In the next step, we will discover how to manage webcam settings for specific applications, even if they are not initially displayed in the list.
By locating and selecting the “Camera” option on the left sidebar, you are ready to move forward with adjusting the webcam settings for specific applications on your Mac.
Step 5: Manage webcam settings for specific applications
After selecting the “Camera” option on the left sidebar of the “Privacy” tab in the “Security & Privacy” settings, you can now manage the webcam settings for specific applications on your Mac.
If you want to grant or revoke webcam access for a specific application, you can do so by checking or unchecking the box next to its name in the main window.
If you don’t see the application you want to manage in the list, click on the “+” button at the bottom of the application list. This will allow you to browse your Mac and select the desired application that you want to modify the webcam settings for.
Once you have selected an application, you can customize its webcam access by checking or unchecking the box next to its name.
It’s important to regularly review and manage the webcam settings for your applications to ensure privacy and security. By only granting access to trusted applications, you can have more control over your webcam usage and protect your privacy.
Remember that some applications may require webcam access for essential functionalities. Exercise caution when modifying permissions and only allow webcam access to applications that you trust.
By managing the webcam settings for specific applications, you are taking a proactive step in ensuring the safety and privacy of your webcam usage on your Mac.
Step 6: Adjust camera settings and preferences
Once you have managed the webcam settings for specific applications, you can proceed to adjust the camera settings and preferences on your Mac. By customizing these settings, you can improve the video quality, adjust the resolution, and enhance the overall webcam experience.
To adjust the camera settings, you will need to access the settings within the application that you are using your webcam with. Different applications may have varying options and menus to access the camera settings.
Typically, you can find camera settings options within the application’s preferences or settings menu. Look for options such as “Camera Settings,” “Video Settings,” or similar labels.
Once you locate the camera settings, you may have the ability to adjust various parameters, including brightness, contrast, saturation, white balance, exposure, and more. These settings allow you to fine-tune the camera’s performance according to your preferences and the specific lighting conditions.
Experiment with the different camera settings and see how they affect the video output. Make adjustments accordingly until you achieve the desired video quality and appearance.
It is important to note that not all applications may offer extensive camera settings options. In such cases, you may need to rely on the default settings provided by the application or make adjustments using external software or hardware tools.
By adjusting camera settings and preferences, you can optimize the video quality and ensure that your webcam performs at its best.
Step 7: Test the changes and ensure your webcam is working properly
After adjusting the camera settings and preferences, it’s important to test the changes and ensure that your webcam is functioning properly. This will help you verify that the modifications you made have had the desired effect and improve your overall video experience.
To test your webcam, open an application that utilizes the webcam, such as a video call application or a video recording software. Start a video call or initiate a recording to see the real-time feed from your webcam.
During the test, pay attention to the image quality, clarity, and any improvements or adjustments you made to the camera settings. Ensure that the changes you made have resulted in a better video output.
If you encounter any issues, such as a black screen, a frozen image, or poor video quality, you may need to revisit the camera settings and make further adjustments accordingly. It may also be helpful to restart your computer and try again to resolve any potential software conflicts.
Additionally, check if the application you are using has its own video settings or preferences that may affect the webcam functionality. Explore the application’s settings and make any necessary changes to optimize the video quality.
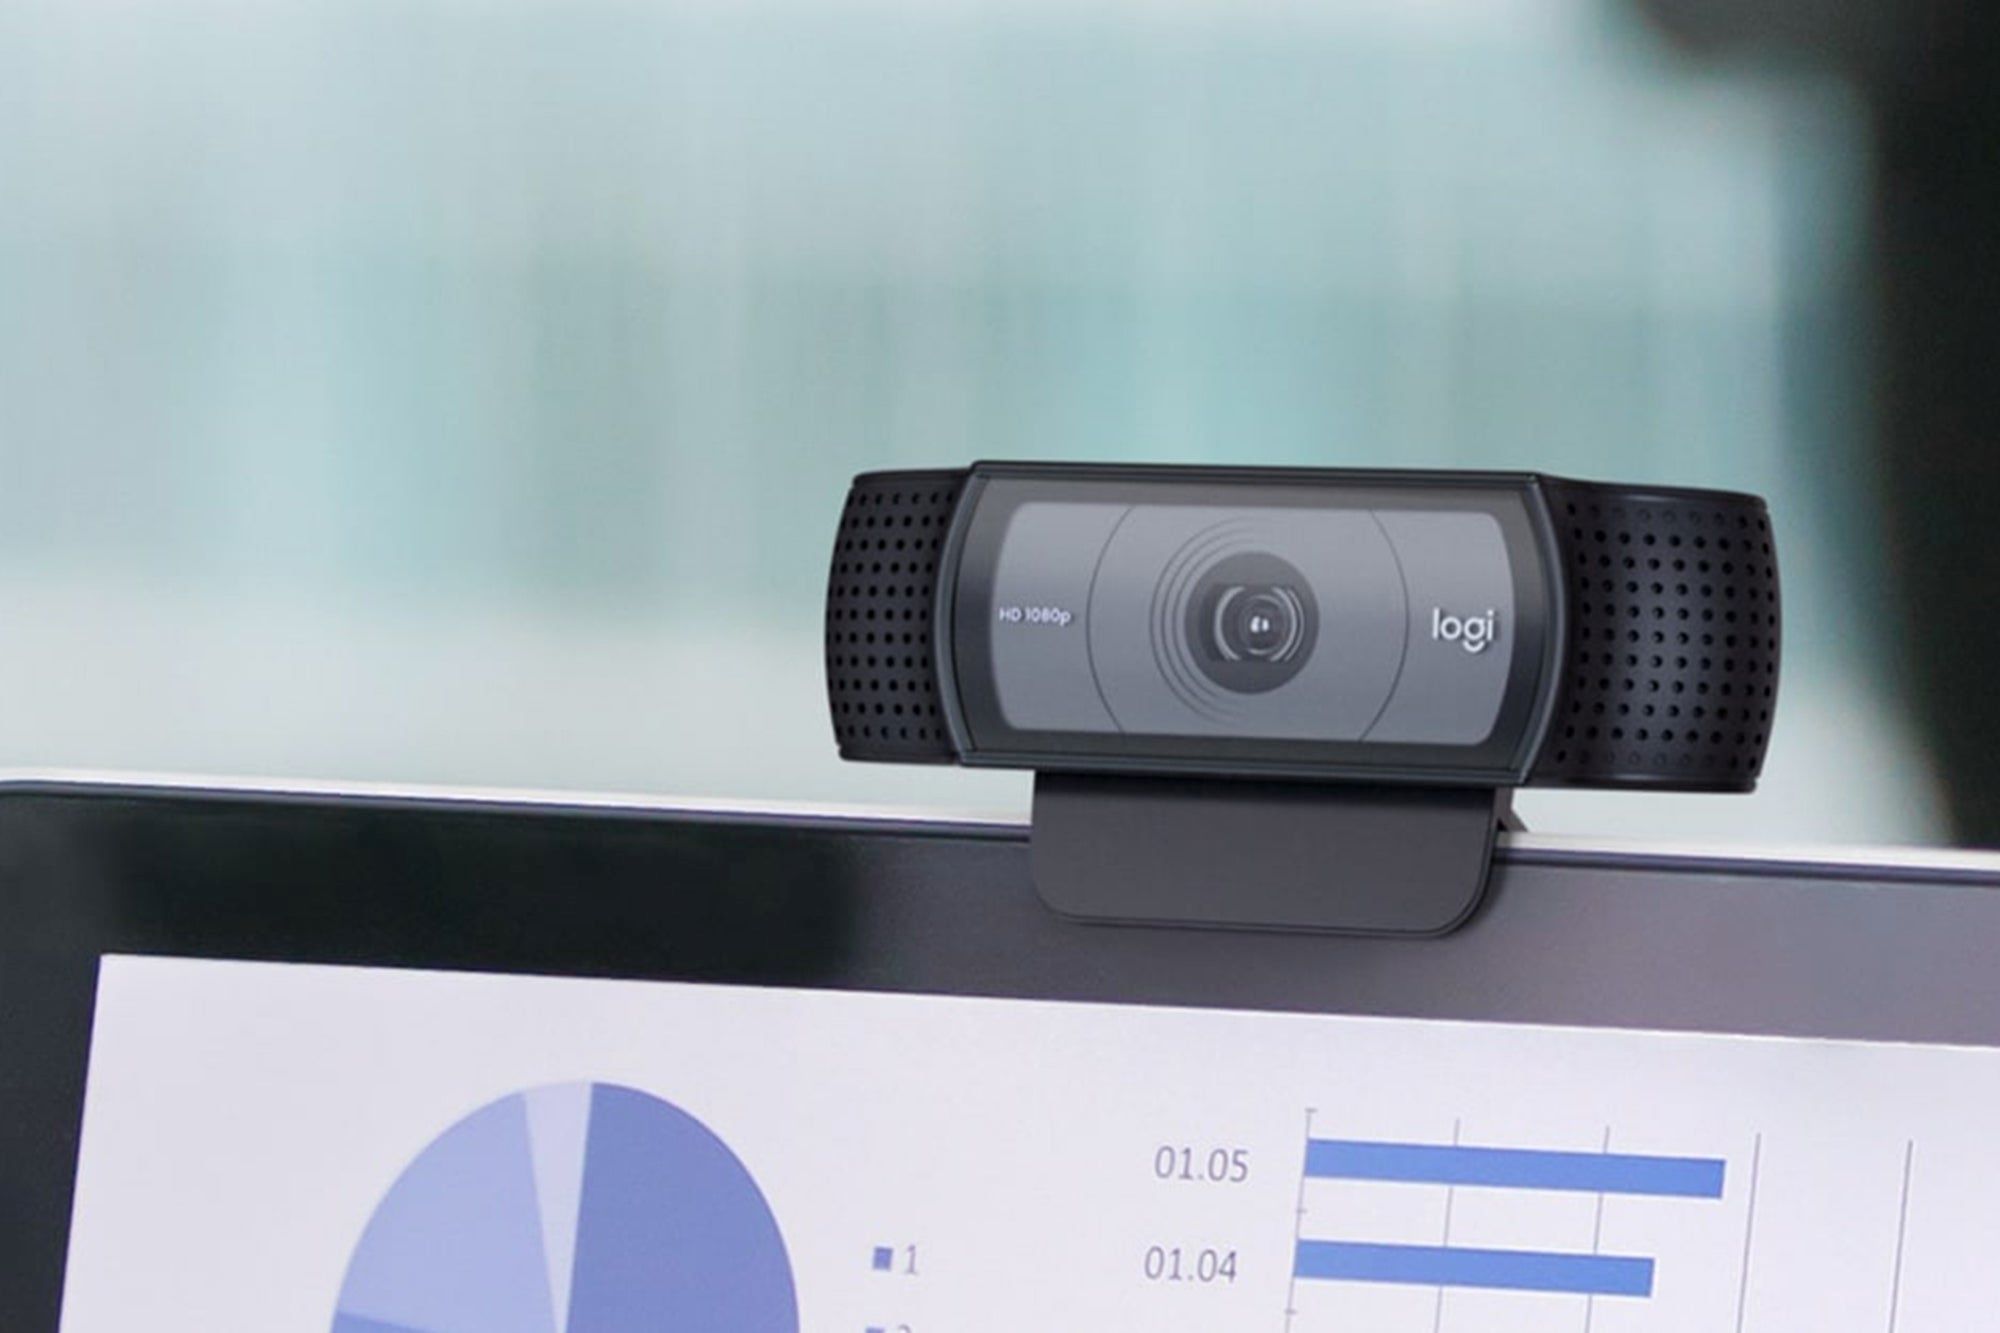
If you are using an external webcam, double-check the connections to ensure they are secure and properly connected. Sometimes, a loose connection can lead to issues with the webcam’s performance.
By testing the changes you made to the camera settings and ensuring the proper functioning of your webcam, you can guarantee an improved video experience and avoid any potential issues during important video calls or recordings.
Conclusion
Changing the webcam settings on your Mac can significantly enhance your video calls, online meetings, and video recordings. By following the steps outlined in this guide, you can easily customize the camera settings, manage application permissions, and optimize the performance of your webcam.
The process starts with launching the System Preferences and navigating to the “Security & Privacy” settings. From there, you can access the “Privacy” tab and select the “Camera” option to manage the permissions for individual applications. By carefully reviewing and adjusting these settings, you can ensure that only trusted apps have access to your webcam.
Additionally, it is important to explore the camera settings and preferences within the application you are using your webcam with. Adjusting parameters such as brightness, contrast, and exposure can greatly improve the video quality according to your preferences and lighting conditions.
After making the necessary changes, it is crucial to test your webcam and ensure it is functioning properly. Open an application that utilizes the webcam and check if the modifications you made have resulted in desired improvements. If any issues arise, revisit the camera settings, check the connections, and troubleshoot as needed.
By following these steps, you can take control of your webcam settings on your Mac and optimize your video experience for various purposes. Whether it’s for work, online classes, or personal use, tweaking your webcam settings can make a significant difference in the quality of your video interactions.
Remember that privacy and security should always be prioritized when granting webcam access to applications. Only allow access to trusted apps and regularly review and manage the permissions to protect your privacy.
With these steps at your disposal, you can confidently change and customize the webcam settings on your Mac, ensuring that your webcam delivers the best performance possible.


