Introduction
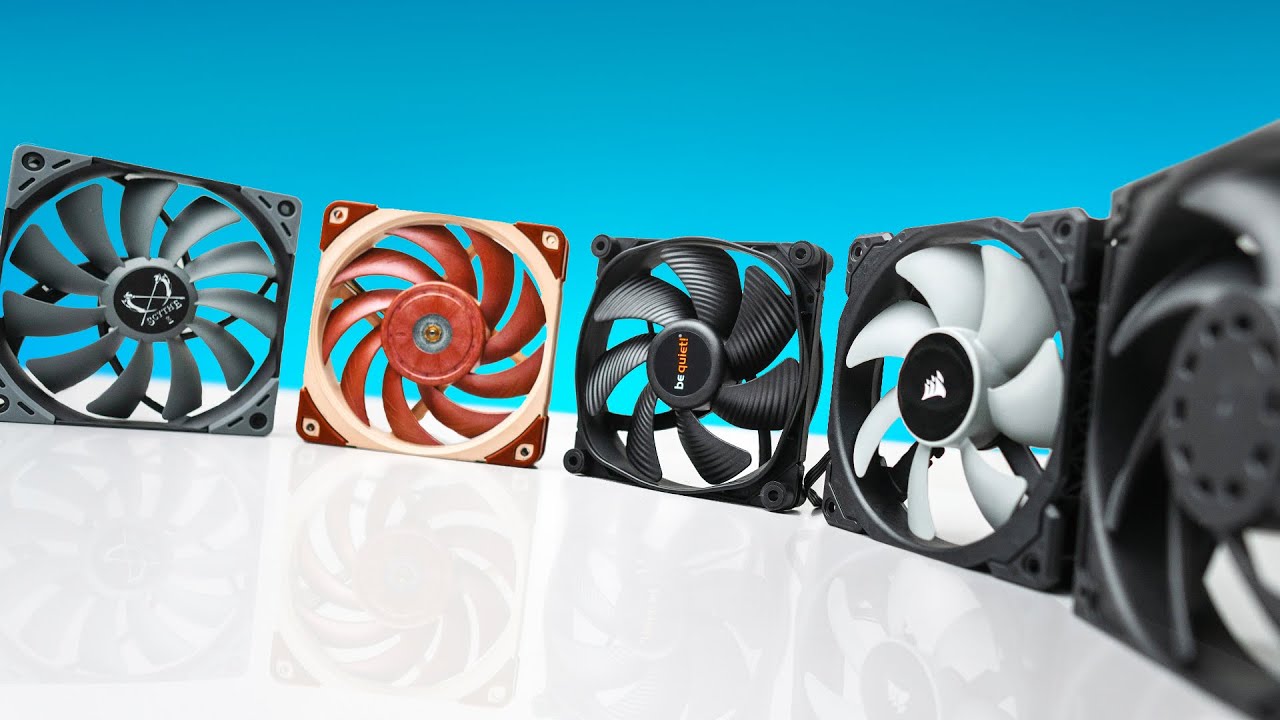
Case fans play a crucial role in maintaining the temperature and airflow within your computer system. They help prevent overheating and ensure optimal performance of hardware components. However, there may be instances where you want to change the speed of your case fan to achieve better cooling or reduce noise levels. This guide will provide step-by-step instructions on how to change the speed of a 3-pin case fan.
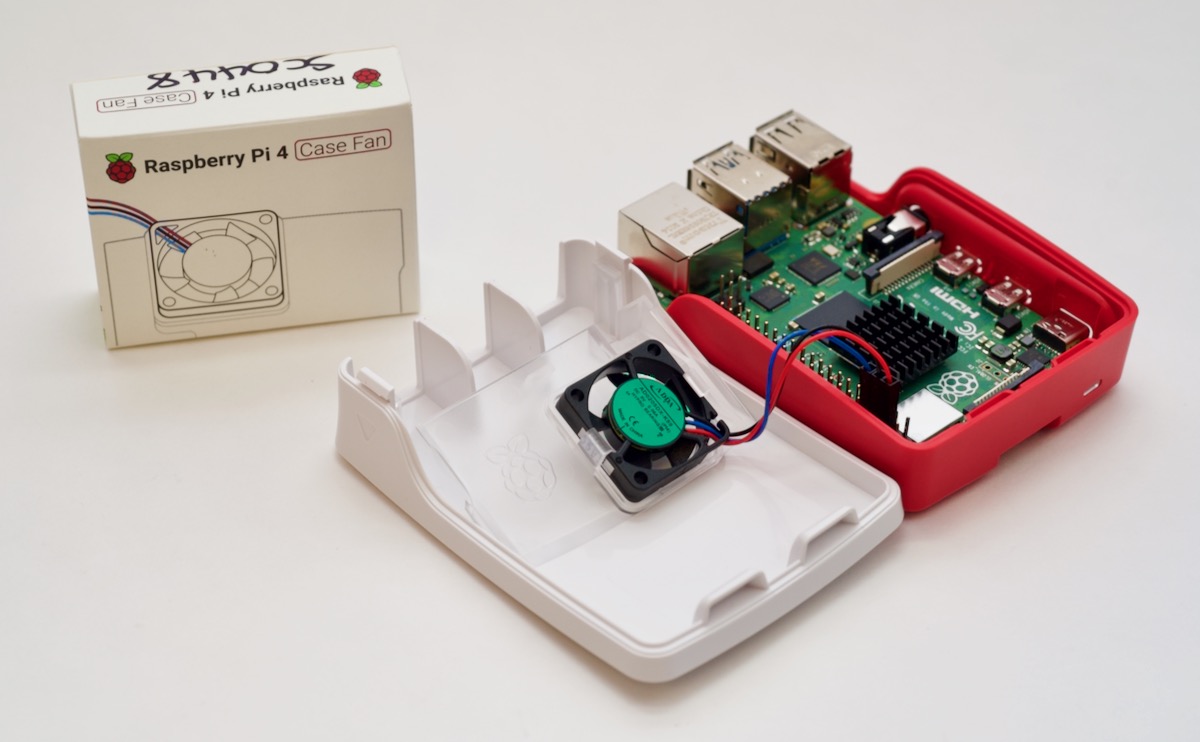
Understanding the basics of 3-pin case fans is essential before delving into the process of changing their speed. Unlike 4-pin PWM (Pulse Width Modulation) fans, which have dedicated control signals for adjusting speed, 3-pin fans do not possess this feature. Instead, their speed is directly tied to the voltage supplied to them. By modifying the voltage, you can effectively change the rotational speed of the fan blades.
Changing the speed of your case fan can have significant benefits. Firstly, it allows you to fine-tune the cooling performance of your system. By increasing the speed, you can maximize airflow, which is particularly useful during intense gaming sessions or resource-intensive tasks that generate a lot of heat. Conversely, reducing the speed can help decrease noise levels, making for a quieter computing experience.
Before we dive into the methods of changing the fan speed, let’s go over the tools and equipment you’ll need. These include:
- A screwdriver (if necessary for accessing the fan)
- A motherboard with PWM or voltage control capabilities
- Optional: Fan speed control software or a dedicated fan controller
Now that we have a basic understanding of case fans and the importance of changing their speed, let’s explore the various methods you can use to achieve this.
Understanding 3-Pin Case Fans
In order to change the speed of a 3-pin case fan, it’s crucial to have a clear understanding of how these fans operate. Unlike their 4-pin PWM counterparts, which have a dedicated control signal for adjusting speed, 3-pin fans use a different system.
A 3-pin fan is designed to be controlled by varying the voltage supplied to it. The fan speed is directly proportional to the voltage it receives. When the voltage is increased, the fan will spin faster, resulting in higher airflow and cooling capacity. Conversely, reducing the voltage will slow down the fan, reducing noise levels but also potentially limiting cooling performance.
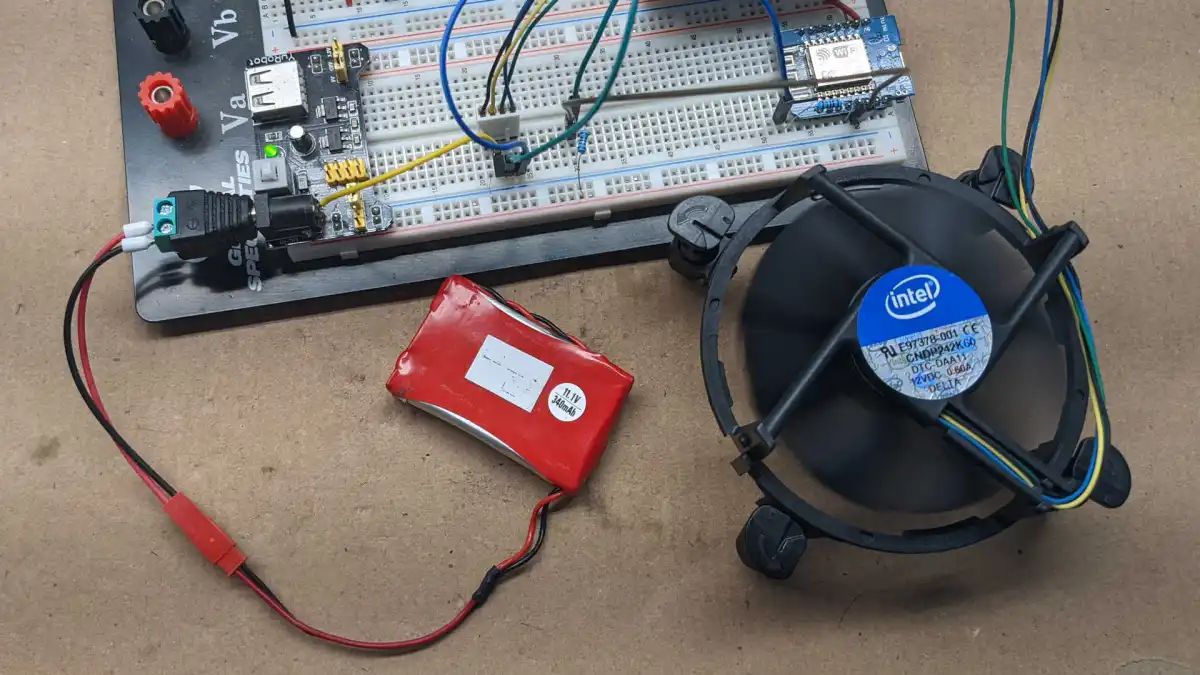
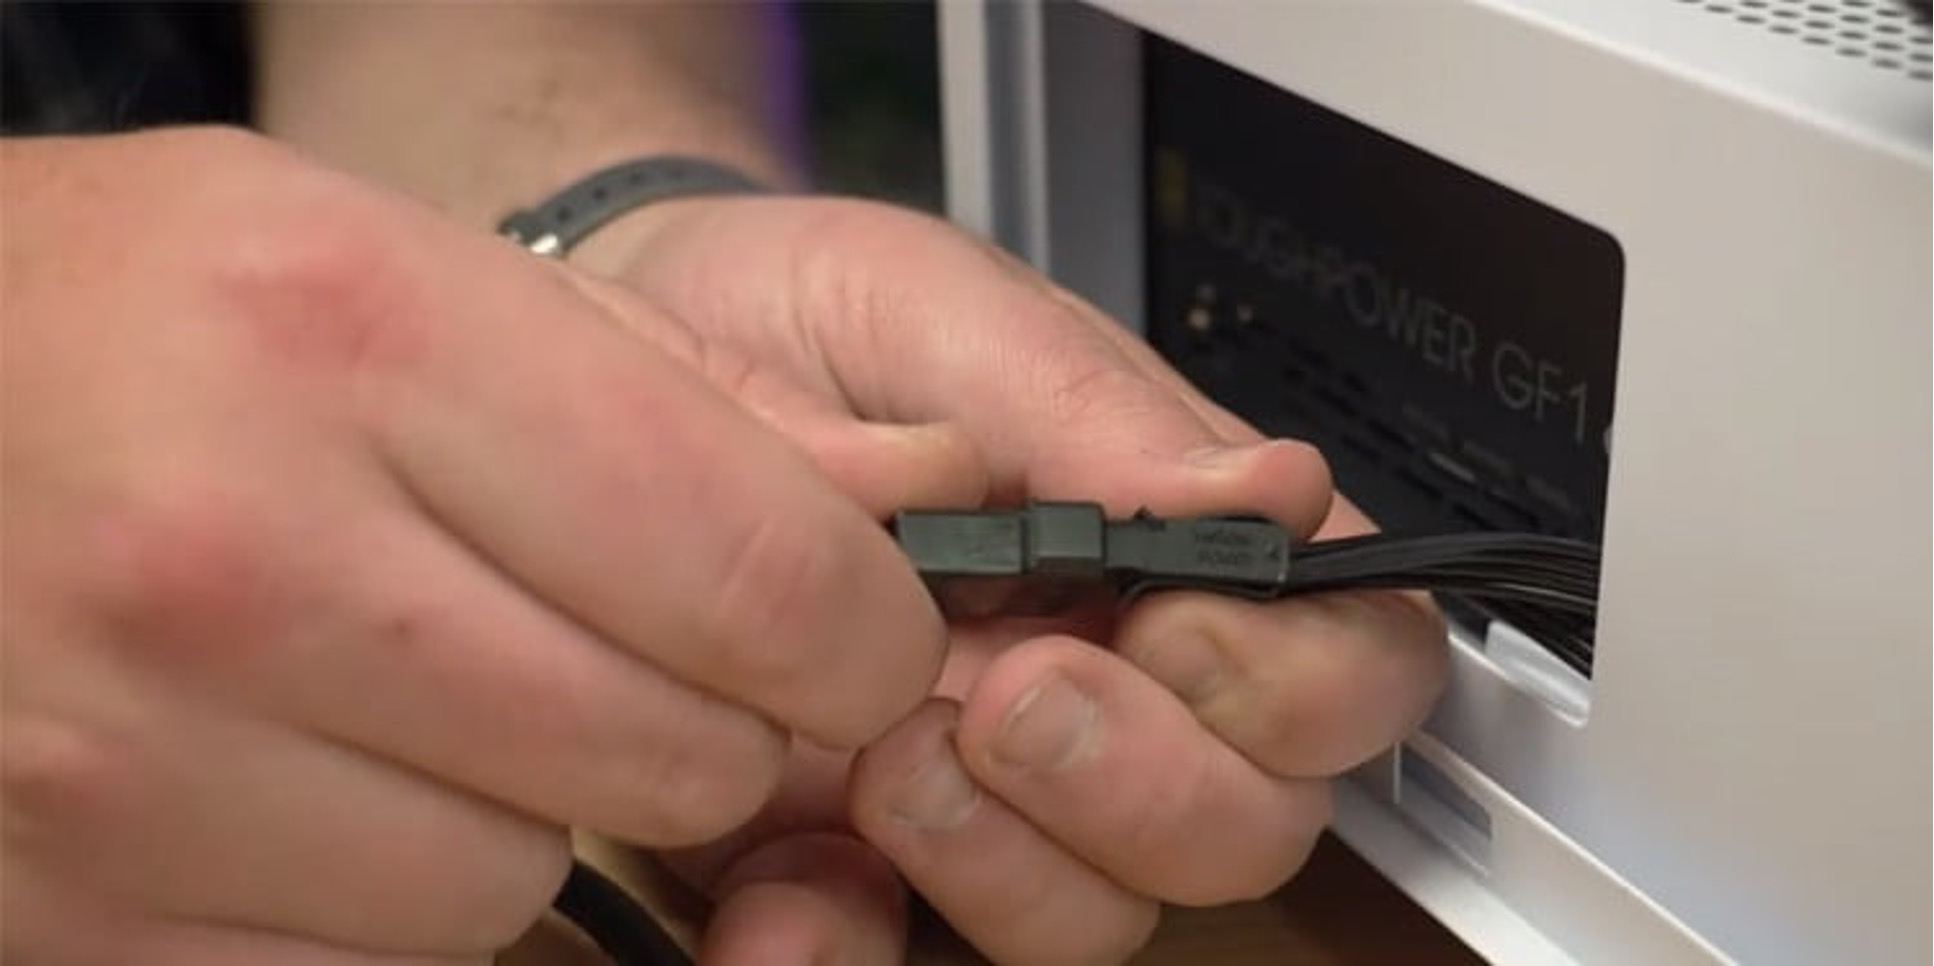
Each 3-pin fan has three individual wires, each serving a specific purpose:
- The black wire is the ground wire, providing the electrical reference for the fan.
- The red wire is the main power wire, supplying the fan with the necessary voltage to operate.
- The yellow (or sometimes white) wire is the tachometer wire, used by the motherboard to monitor the fan speed.
When connected to a motherboard or fan controller, the PWM (Pulse Width Modulation) pin is left unconnected, as it is not used by 3-pin fans. It is important to note that 3-pin fans do not have the same level of control as PWM fans. While PWM fans have a wide range of speeds and precise control, 3-pin fans have more limited speed options. The available speed settings are typically determined by the voltage options provided by the motherboard or fan controller.
In summary, 3-pin case fans do not have the same level of speed control as PWM fans. Instead, their speed is determined by the voltage they receive. Understanding this fundamental principle is key to effectively changing the speed of a 3-pin case fan.
The Importance of Changing Fan Speed
The speed at which your case fans operate can significantly impact the performance and longevity of your computer system. Understanding the importance of changing fan speed is essential for maintaining optimal cooling and reducing potential issues.
One of the primary reasons to change fan speed is to regulate the temperature of your computer components. As your computer operates, heat is generated by the CPU, GPU, and other hardware. If the temperature inside the case increases too much, it can lead to thermal throttling, decreased performance, or even hardware failure. By increasing the fan speed, you can improve the airflow within the case and effectively dissipate heat, ensuring your components operate within their safe temperature range.
On the other hand, reducing fan speed can be beneficial for noise reduction. High fan speeds can generate considerable noise, which can be bothersome, especially if you use your computer in a quiet environment. By adjusting the fan speed to a lower level, you can achieve a more peaceful computing experience without compromising the cooling efficiency of your system, especially during less demanding tasks.
The ability to change fan speed also provides the opportunity for customization and personalization. Some users may prefer higher fan speeds for maximum cooling, while others may prioritize a quieter operation. By having control over the fan speed, you can tailor it to your specific needs and preferences.
Furthermore, changing fan speed can extend the lifespan of your case fans. Running fans at high speeds for extended periods can lead to increased wear and tear, potentially shortening their lifespan. By adjusting the speed to a suitable level, you can reduce the strain on the fan motor and prolong its operational lifespan, saving you the cost of frequent replacements.
Overall, changing fan speed is essential for maintaining optimal temperature levels, reducing noise, customizing your system, and increasing the lifespan of your case fans. By carefully adjusting the fan speed, you can strike a balance between cooling efficiency and noise levels, ensuring a reliable and pleasant computing experience.
Tools and Equipment Needed
Before you can change the speed of your 3-pin case fan, it’s important to gather the necessary tools and equipment. Having the right tools ensures a smooth and hassle-free process. Here’s a list of what you’ll need:
- A screwdriver: Depending on your case’s design, you may need a screwdriver to access the fan. Make sure you have a compatible screwdriver for the screws holding the case panels or fan brackets in place.
- A motherboard with PWM or voltage control capabilities: To adjust the speed of your 3-pin case fan, you’ll need a motherboard that offers either PWM or voltage control options. Most modern motherboards have these capabilities, but it’s important to check the specifications of your specific motherboard model.
- Optional: Fan speed control software: While not essential, using fan speed control software can provide more flexibility and ease of use. Many motherboard manufacturers offer their own software for controlling fan speeds, or you can use third-party software like SpeedFan or HWiNFO. Ensure that the software is compatible with your motherboard model.
- Optional: A dedicated fan controller: If your motherboard lacks the necessary controls or you prefer a standalone solution, a fan controller can be a viable option. Fan controllers allow you to independently adjust the speed of multiple fans using knobs or buttons on a dedicated device. Keep in mind that not all cases have built-in support for fan controllers, so check your case specifications beforehand.
Having these tools and equipment ready ensures a smooth process in changing the speed of your 3-pin case fan. Remember to consult your motherboard manual or manufacturer’s website for specific instructions on accessing and controlling fan speeds.
Method 1: Using the Motherboard BIOS
One of the most common and straightforward methods for changing the speed of a 3-pin case fan is through the motherboard BIOS (Basic Input/Output System). The BIOS provides control options for various hardware components, including fan speeds. Here’s a step-by-step guide on how to change the fan speed using the motherboard BIOS:
- Start by powering off your computer. Make sure it is completely shut down before proceeding.
- Turn on your computer and enter the BIOS settings. The method to access BIOS varies depending on the motherboard manufacturer, but commonly it involves pressing a specific key (such as Del, F2, or F10) during the boot-up process. Refer to your motherboard manual or manufacturer’s website for the exact key or combination of keys.
- Navigate through the BIOS menus to locate the fan control settings. These settings may be under a section labeled “Hardware,” “PC Health,” or similar. Look for options related to fan speed control or PWM/voltage control.
- Enable fan speed control. This will allow you to adjust the fan speed based on temperature or manually set a specific speed.
- Locate the setting that corresponds to the fan you want to adjust. It may be listed by the fan’s header location (e.g., “Chassis Fan 1”).
- Choose the control mode. Depending on your motherboard, you may have options such as PWM or voltage control. Select the appropriate mode for the 3-pin fan.
- Adjust the fan speed. Some BIOS allows you to set a percentage value (0-100%) or select preset profiles (e.g., Silent, Performance). Experiment with different settings to find the optimal balance between cooling performance and noise level.
- Save and exit the BIOS settings. Follow the on-screen instructions to save the changes and exit the BIOS. Your computer will reboot with the new fan speed settings.
It’s important to note that the BIOS options and terminology may vary depending on the motherboard manufacturer and BIOS version. Consult your motherboard manual or manufacturer’s website for more precise instructions specific to your system.
Using the motherboard BIOS to change the fan speed provides a reliable and straightforward method for controlling your 3-pin case fan. However, if you prefer a more intuitive interface or more granular control over fan speeds, you may consider using fan speed control software, which we’ll discuss in the next section.
Method 2: Using Fan Speed Control Software
Another method for changing the speed of a 3-pin case fan is by utilizing fan speed control software. This software provides a more user-friendly interface and allows for more precise control over fan speeds compared to the BIOS. Here’s a step-by-step guide on how to use fan speed control software:
- Start by identifying compatible fan speed control software for your motherboard. Some motherboard manufacturers offer their own software, while there are also third-party options available, such as SpeedFan or HWiNFO. Ensure that the software is compatible with your specific motherboard model.
- Download and install the fan speed control software. Follow the provided instructions to install the software onto your computer.
- Open the fan speed control software. It may take a moment to detect and display the available fans connected to your system.
- Select the 3-pin case fan you wish to adjust. Typically, the software will display a list of fans with corresponding labels or identifiers.
- Adjust the fan speed. Depending on the software, you may have options such as setting a percentage value (0-100%) or choosing from predefined profiles (e.g., Silent, Performance). Experiment with different settings to find the desired fan speed.
- Apply the changes. Once you have adjusted the fan speed, click on the “Apply” or “Save” button within the software to implement the new settings.
It’s important to note that the available features and interface of different fan speed control software may vary. Some software may provide additional advanced options, such as creating custom cooling profiles, setting fan curves based on temperature, or monitoring fan speeds and system temperatures in real-time.
When using fan speed control software, it’s recommended to monitor your system’s temperatures to ensure adequate cooling. Excessive reduction in fan speed may result in increased temperatures, which can affect the stability and longevity of your computer components.
Using fan speed control software provides a more intuitive and flexible approach to adjusting the speed of your 3-pin case fan. It allows for fine-tuning and customization based on your specific needs and preferences.
Method 3: Using a Fan Controller
If you prefer a standalone solution that provides independent control over multiple fans, using a dedicated fan controller is an excellent option. A fan controller is a device that allows you to adjust the speed of your 3-pin case fans using knobs or buttons on the controller itself. Here’s a step-by-step guide on how to use a fan controller:
- Choose a compatible fan controller. There are several options available, ranging from simple manual controllers to more advanced models with digital displays and programmable settings. Consider factors such as the number of fans you want to control, the available space in your case, and the features you desire.
- Install the fan controller into your computer case. Depending on the model and design of your case, this may involve mounting the controller in an available drive bay or using adhesive or screws to secure it in a convenient location.
- Connect your 3-pin case fans to the fan controller. Most fan controllers have multiple fan headers, allowing you to connect and control several fans simultaneously. Follow the instructions provided with the controller to ensure proper connections.
- Power on your computer. Once the fans are connected to the fan controller, turn on your computer and ensure that the controller is receiving power.
- Adjust the fan speed using the fan controller. Depending on the model, the fan controller may have knobs, buttons, or a touchscreen interface for adjusting the fan speed. Each fan header on the controller can usually be controlled independently, allowing you to set different speeds for each fan.
- Monitor your system temperatures. As you adjust the fan speed using a fan controller, it’s crucial to monitor your system temperatures. Keep an eye on your CPU and GPU temperatures to ensure that they remain within safe operating limits.
Fan controllers offer a convenient and centralized way to control the speed of your 3-pin case fans. They provide independent control over multiple fans, allowing you to fine-tune the cooling performance and noise levels of your computer system.
While fan controllers can be an effective solution, it’s essential to ensure compatibility with your case and fans before making a purchase. Additionally, consider the space requirements and features you desire to meet your specific needs.
Precautions to Take
When changing the speed of a 3-pin case fan, it’s important to take certain precautions to ensure the smooth operation and longevity of your computer system. Here are some precautions to keep in mind:
- Check compatibility: Before making any changes, verify that your motherboard, fan control software, or fan controller is compatible with your 3-pin case fans. Refer to the specifications and documentation of each component to ensure compatibility.
- Monitor system temperatures: Pay attention to your system temperatures when adjusting fan speeds. Keep an eye on your CPU and GPU temperatures to make sure they are within safe operating limits. Excessive reduction in fan speed may result in increased temperatures and potentially compromise the stability and performance of your system.
- Gradually adjust fan speeds: When changing fan speeds, it’s best to make gradual adjustments and monitor the impact on your system. Sudden changes in fan speeds can cause temperature fluctuations and potentially introduce instability. Incrementally increase or decrease fan speeds and observe the effects before making further adjustments.
- Ensure proper airflow: Maintaining proper airflow within your computer case is crucial for effective cooling. Ensure that the airflow paths are clear and unobstructed. Proper cable management and adequate spacing between components can help optimize airflow and enhance cooling performance.
- Regularly clean your case fans: Over time, dust and debris can accumulate on your case fans, affecting their performance and airflow. Regularly clean your case fans using compressed air or a soft brush to remove any dust build-up. This will help maintain optimal cooling efficiency and prolong the lifespan of your fans.
- Refer to manufacturer guidelines: Always consult the documentation and guidelines provided by the manufacturer of your motherboard, fan speed control software, or fan controller. They may have specific instructions or recommendations for adjusting fan speeds based on your specific hardware configuration.
By following these precautions, you can ensure a safe and stable environment while adjusting the speed of your 3-pin case fans. It’s essential to strike a balance between cooling performance and noise levels while considering the specific needs and requirements of your computer system.
Troubleshooting Common Issues
While changing the speed of a 3-pin case fan is generally a straightforward process, you may encounter some common issues along the way. Here are a few troubleshooting tips to help resolve these issues:
1. Fan not responding or running at full speed: If the fan is not responding or running at maximum speed, ensure that it is properly connected to the power source. Check the wiring and connections to ensure they are secure. Additionally, confirm that the fan control settings in the BIOS, fan speed control software, or fan controller are properly adjusted to the desired speed.
2. Unstable system or high temperatures: If your system becomes unstable or if temperatures rise excessively after changing fan speed, it may indicate inadequate cooling. Ensure that your case fans are properly positioned to provide optimal airflow. Consider adding additional fans or adjusting the fan speeds to increase cooling capacity. It may also be necessary to clean your case and components to remove dust build-up, which can hinder airflow.
3. Incompatibility issues: If you encounter compatibility issues with your motherboard, fan control software, or fan controller, ensure that you have the latest drivers and firmware updates installed. Check the manufacturer’s website for any available updates or compatibility guidelines.
4. Strange noises or vibrations: If you notice unusual noises or vibrations coming from your case fans after adjusting the speed, it may indicate a problem. Check for any obstructions or loose components that may be interfering with the fan’s operation. If the issue persists, consider replacing the fan with a new one.
5. Fan control options not available: If you find that your motherboard BIOS does not provide fan control options or the fan speed control software lacks the necessary features, it may be due to limitations of your hardware. In such cases, consider using a dedicated fan controller, which offers more comprehensive control over fan speeds.
6. Consult technical support: If you have tried troubleshooting the issues on your own but continue to experience difficulties, it may be advantageous to reach out to technical support from the manufacturer of your motherboard, fan control software, or fan controller. They can provide further guidance and assistance tailored to your specific hardware configuration.
Remember, every computer system is unique, and troubleshooting steps may vary depending on your specific hardware and software setup. It’s essential to remain patient and methodical in identifying and resolving any issues that may arise during the process of adjusting fan speeds.
Conclusion
Changing the speed of a 3-pin case fan is a valuable technique for optimizing cooling performance and reducing noise levels in your computer system. By understanding the principles of 3-pin case fans and the methods available for adjusting their speed, you can achieve a well-balanced and efficient cooling solution.
We explored three methods: using the motherboard BIOS, utilizing fan speed control software, and employing a dedicated fan controller. Each method offers its own advantages, allowing you to choose the one that best suits your needs and preferences.
When embarking on the process, it’s essential to take precautions, such as checking compatibility, monitoring system temperatures, and gradually adjusting fan speeds. Additionally, troubleshooting common issues, like unresponsive fans or stability concerns, ensures a smooth and successful experience.
Remember to consult the guidelines and documentation provided by your motherboard, fan control software, or fan controller manufacturers for specific instructions and recommendations tailored to your specific hardware configuration.
By taking the time to adjust the speed of your 3-pin case fans, you can optimize cooling performance, reduce noise levels, and extend the lifespan of your fans. This allows for a more enjoyable and efficient computing experience, no matter your specific needs or preferences.
Now armed with the knowledge and techniques outlined in this guide, you are ready to embark on the journey of adjusting the speed of your 3-pin case fans to achieve the perfect balance of cooling and noise control for your computer system.