Introduction
Welcome to this guide on how to change permissions for an external hard drive on a Mac. Managing permissions is an important aspect of ensuring the security and privacy of your data. By adjusting permissions, you can control who has access to your external hard drive and determine the level of access they have. Whether you want to grant or restrict access for specific users or adjust permissions for all users, this guide will walk you through the process step by step.
As a Mac user, you may already be aware of the importance of permissions in the operating system. Permissions define the level of access that users have to files, folders, and devices. They provide a layer of security and control over your data, allowing you to determine who can view, modify, or delete files on your external hard drive.
Understanding how to change permissions for your external hard drive is particularly useful when you need to share files with others or restrict access to specific folders or documents. By following the steps outlined in this guide, you will be able to adjust permissions to suit your needs and maintain the privacy and security of your data.
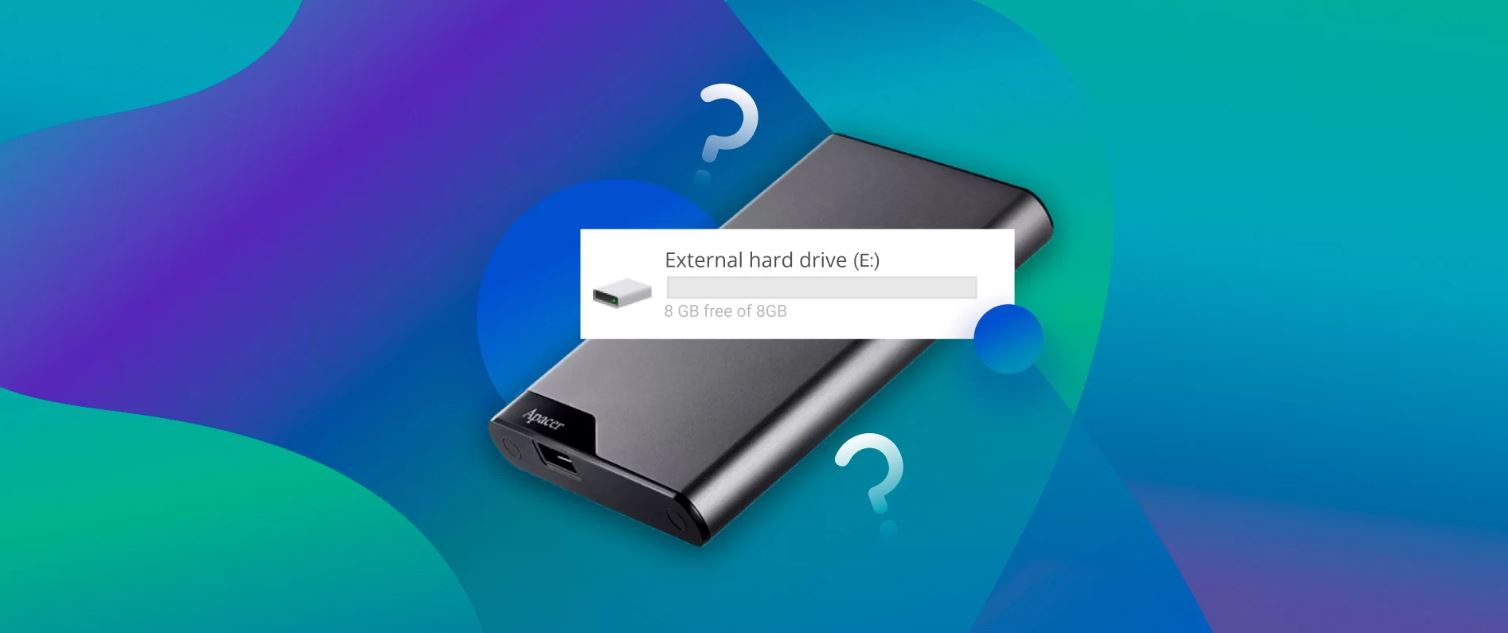
Before we dive into the process, let’s go over how to locate your external hard drive on your Mac. Once we have the drive identified, we can then proceed with adjusting its permissions.
Understanding Permissions on Mac
Permissions on a Mac determine the level of access and control that users have over files, folders, and devices. There are three main levels of permissions:
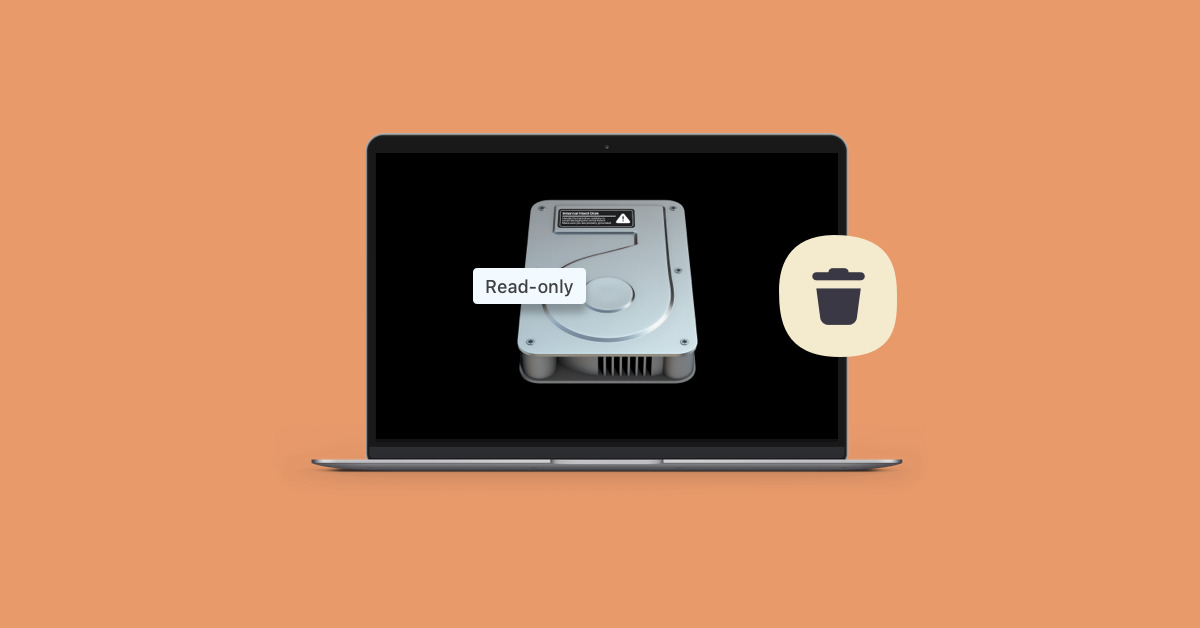
- Read: Users with read-only access can view the contents of files and folders, but they cannot make any changes or modifications.
- Write: Users with write permissions can not only view the contents but also make changes, modify, and delete files and folders.
- No Access: Users with no access permissions are completely restricted from viewing or interacting with the files or folders.
In addition to these three main permissions, there are also advanced permissions where you can specify custom access for users or groups.
When it comes to external hard drives, the default permissions are usually set to allow read and write access for the user who is currently logged in. However, if you want to grant or restrict access for specific users or groups, you need to adjust the permissions accordingly.
It’s important to note that changing the permissions for an external hard drive will only affect the external drive itself and not the files and folders stored on your Mac’s internal hard drive. Each external hard drive has its own set of permissions that can be modified independently.
Now that you have a basic understanding of permissions on a Mac, let’s move on to finding your external hard drive on your Mac so that we can begin adjusting its permissions.
Finding the External Hard Drive
Before you can change the permissions for your external hard drive on a Mac, you need to locate it. Follow these steps to find your external hard drive:
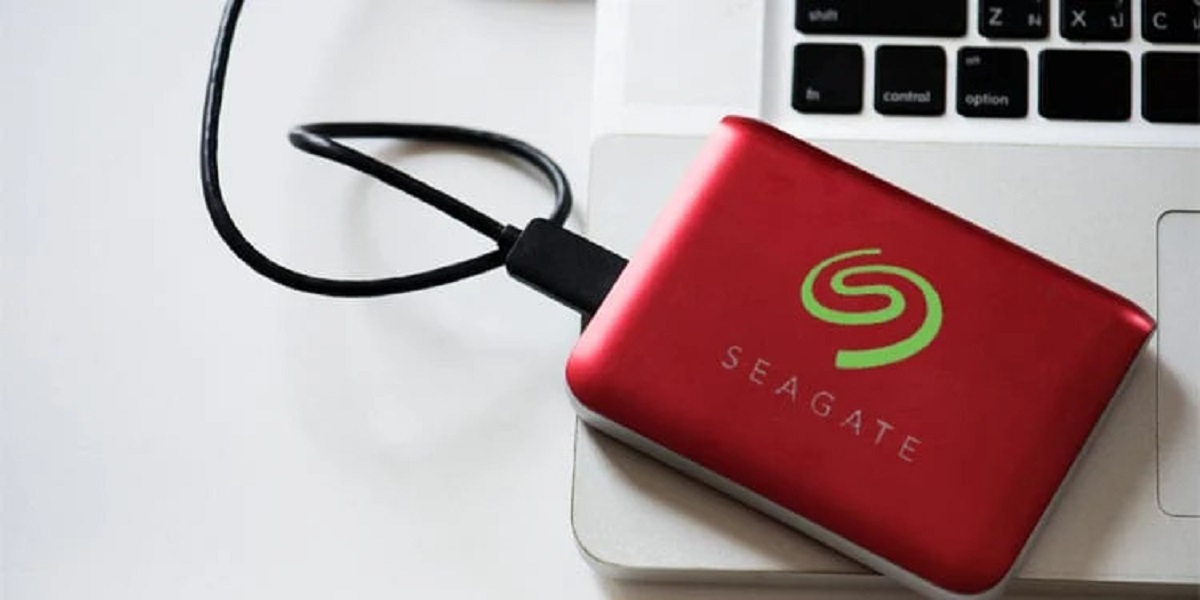
- Make sure your external hard drive is connected to your Mac.
- Open a new Finder window by clicking on the Finder icon in the Dock.
- In the sidebar of the Finder window, you should see a list of locations, including Devices. Your external hard drive should be listed under Devices with its name or a generic label like “Untitled.”
- If you don’t see your external hard drive listed, try disconnecting and reconnecting the drive to your Mac. Also, check the connections and ensure that the drive is powered on.
- Once you have located your external hard drive, you are ready to proceed with changing its permissions.
It’s worth mentioning that the name of your external hard drive may vary depending on how it is formatted and if you have given it a specific name. The important thing is to identify the drive that corresponds to your external hard drive.
Now that you have located your external hard drive, let’s move on to the next step: opening the external hard drive’s info window to access its permissions settings.
Opening the External Hard Drive’s Info Window
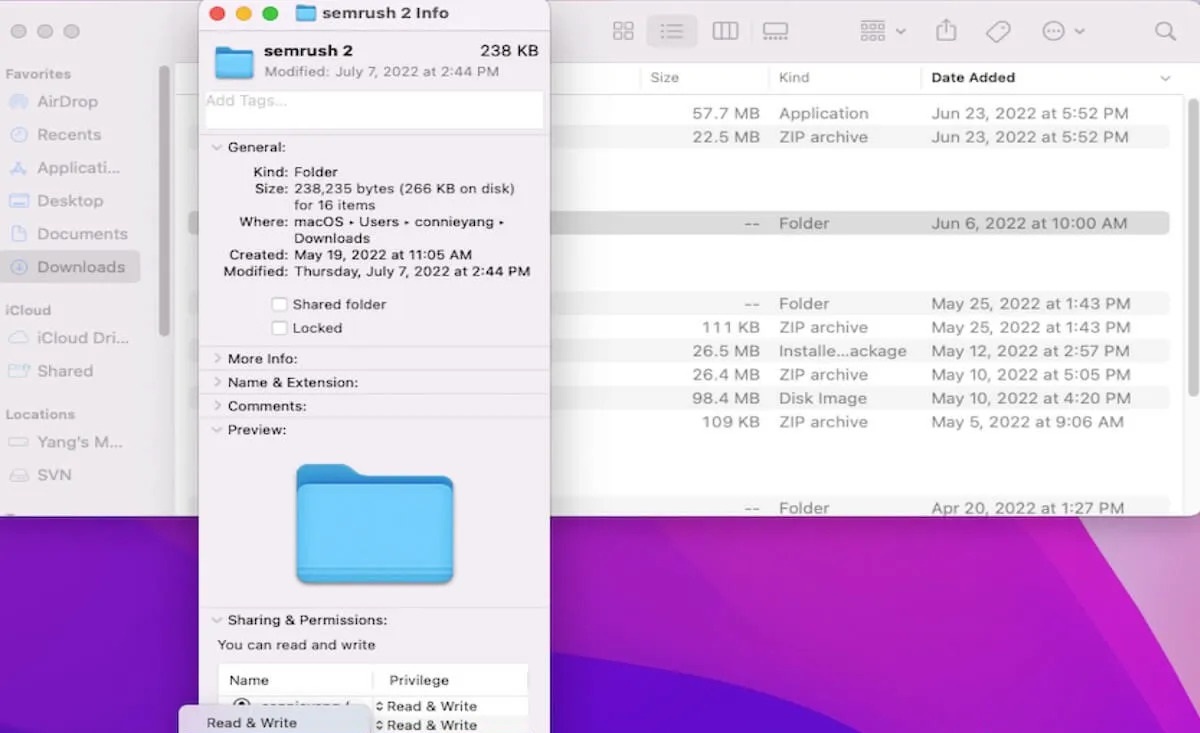
To change the permissions for your external hard drive on a Mac, you will need to access its Info window. The Info window provides a range of settings and options for the selected drive. Follow these steps to open the Info window for your external hard drive:
- Make sure your external hard drive is connected to your Mac.
- Locate the external hard drive in the Finder window.
- Right-click on the external hard drive’s icon and select “Get Info” from the drop-down menu. Alternatively, you can also press the Command key and the “I” key simultaneously.
- The Info window for your external hard drive will appear.
Alternatively, you can also access the Info window by selecting the external hard drive and clicking on “File” in the menu bar at the top of your screen, then selecting “Get Info” from the drop-down menu.
Once you have the Info window open, you will have access to various settings including the permissions for the external hard drive. In the next sections, we will explore how to adjust permissions for specific users and for everyone or other users.
Now that you have opened the Info window for your external hard drive, let’s move on to the next step: adjusting permissions for a specific user.
Adjusting Permissions for a Specific User
If you want to change the permissions for a specific user on your external hard drive, follow these steps:
- Open the Info window for your external hard drive by following the steps mentioned earlier.
- In the Info window, you will see a section called “Sharing & Permissions.” This section displays the current permissions settings for the external hard drive.
- Click on the lock icon in the bottom right corner of the Info window. You may be prompted to enter your administrator password.
- Once the lock is unlocked, click on the ‘+’ (plus) icon below the list of users and groups.
- Select the user for whom you want to change the permissions from the list of users and groups.
- Choose the desired level of access for the selected user from the drop-down menu next to their name. The options include Read & Write, Read-only, or No access.
- If you want to apply the new permissions to all items within the external hard drive, click on the gear icon below the list of users and select “Apply to enclosed items.”
- Close the Info window to save the changes.
By following these steps, you can adjust the permissions for a specific user on your external hard drive. You can modify the access level to Read & Write, Read-only, or completely restrict access by choosing No access. Additionally, applying the new permissions to enclosed items ensures that the changes are applied to all files and folders within the external hard drive.
In the next section, we will explore how to adjust permissions for everyone or other users on your external hard drive.
Adjusting Permissions for Everyone and Other Users
If you want to change the permissions for everyone or other users on your external hard drive, follow these steps:
- Open the Info window for your external hard drive by following the steps mentioned earlier.
- In the Info window, locate the section called “Sharing & Permissions.”
- Click on the lock icon in the bottom right corner of the Info window and enter your administrator password if prompted.
- To adjust permissions for everyone, click on the dropdown menu next to “everyone” in the list of users and select the desired access level. This determines the permissions for all users who have access to the external hard drive.
- To adjust permissions for other users, click on the ‘+’ (plus) icon below the list of users and groups.
- From the list of users and groups that appear, select the user or group for whom you want to change the permissions.
- Choose the desired level of access from the drop-down menu next to the selected user or group. The options include Read & Write, Read-only, or No access.
- If you want to apply the new permissions to all items within the external hard drive, click on the gear icon below the list of users and select “Apply to enclosed items.”
- Close the Info window to save the changes.
By following these steps, you can adjust the permissions for everyone or other specific users on your external hard drive. You have the flexibility to choose different access levels such as Read & Write, Read-only, or No access. Applying the new permissions to enclosed items ensures that the changes affect all files and folders within the external hard drive.
In the next section, we will discuss how to revert back to the default permissions in case you need to undo any changes.
Applying Changes to Subfolders and Files
When you change the permissions for a folder on your external hard drive, you have the option to apply those changes to subfolders and files within that folder. This allows you to easily propagate the new permissions to all items within the external hard drive. Follow these steps to apply changes to subfolders and files:
- Open the Info window for your external hard drive by following the steps mentioned earlier.
- In the Info window, locate the section called “Sharing & Permissions.”
- Click on the lock icon in the bottom right corner of the Info window and enter your administrator password if prompted.
- Click on the gear icon below the list of users and select “Apply to enclosed items.” A confirmation dialog will appear.
- Click on “OK” to confirm that you want to apply the new permissions to all subfolders and files within the external hard drive.
- The changes will be applied, and the permissions for subfolders and files will be updated according to the new settings.
By applying changes to subfolders and files, you can ensure that the permissions you set for the main folder are propagated throughout the entire external hard drive. This makes managing permissions more efficient and convenient, especially when you want consistent access levels for all items.
Now that you know how to apply changes to subfolders and files, let’s move on to the next section, which covers reverting back to the default permissions if necessary.
Reverting Back to Default Permissions
If you need to undo any changes you made and revert back to the default permissions on your external hard drive, follow these steps:
- Open the Info window for your external hard drive by following the steps mentioned earlier.
- In the Info window, locate the section called “Sharing & Permissions.”
- Click on the lock icon in the bottom right corner of the Info window and enter your administrator password if prompted.
- Click on the ‘-‘ (minus) icon below the list of users and groups.
- Select the user or group for which you want to revert the permissions back to default.
- Click on the ‘-‘ (minus) icon again to remove the user or group from the list.
- Repeat these steps for any other users or groups you want to revert the permissions for.
- Close the Info window to save the changes.
By removing specific users or groups from the permissions list, you effectively revert their permissions back to the default settings. Keep in mind that this will not affect the permissions of other users or groups that remain in the list.
It’s important to note that reverting back to default permissions will remove any custom access levels you previously set. The external hard drive will go back to the default settings which usually allow read and write access for the user who is currently logged in.
In the next section, we will summarize the key points covered in this guide on changing permissions for an external hard drive on a Mac.
Conclusion
Managing permissions for your external hard drive on a Mac is a crucial aspect of ensuring the security and privacy of your data. By adjusting permissions, you can control who has access to your files and folders, and define the level of access for each user or group.
In this guide, we covered the step-by-step process of changing permissions for an external hard drive on a Mac. We started by understanding the different permission levels: read, write, and no access. We then learned how to locate the external hard drive and open the Info window to access the permissions settings.
Next, we explored how to adjust permissions for specific users, granting them read and write access or restricting their access to read-only or no access. We also discussed how to apply changes to subfolders and files to ensure consistent permissions throughout the external hard drive.
Furthermore, we covered how to adjust permissions for everyone or other users, providing flexibility in managing access levels for different groups of individuals. Additionally, we learned how to revert back to the default permissions if necessary, removing any custom access settings.
By following the steps outlined in this guide, you now have the knowledge and skills to effectively change permissions for an external hard drive on your Mac. You can confidently manage access to your files and folders, keeping your data safe and secure.
Remember, proper permission management is crucial to maintain the privacy and security of your data. Regularly review and adjust permissions as needed to ensure that your external hard drive remains protected.