Introduction
Managing payroll is an essential task for businesses of all sizes. As a QuickBooks Online user, you have the flexibility to set up and customize your payroll settings according to your specific needs. One of the key settings you can adjust is the pay period – the time frame in which your employees are paid.
Changing the pay period in QuickBooks Online is a straightforward process that can be easily done with a few simple steps. Whether you need to switch from a weekly to a bi-weekly pay schedule, adjust the pay period end dates, or create a completely new pay schedule, QuickBooks Online provides you with the tools to make these modifications hassle-free.
In this guide, we will walk you through the step-by-step process of changing the pay period in QuickBooks Online. We will cover how to access the payroll settings, select pay schedules, create new pay schedules, modify existing pay schedules, change the pay period end dates, and review and confirm the changes. By following these instructions, you will be able to adjust the pay period in QuickBooks Online to align with your preferred schedule.
Before you begin the process of changing the pay period, it is important to note that altering the pay period can have implications for payroll processing and tax reporting. Therefore, it is recommended that you consult with your accountant or tax advisor to ensure that the changes you make comply with legal requirements and align with your business’s needs.
Step 1: Accessing the Payroll Settings
The first step in changing the pay period in QuickBooks Online is to access the payroll settings. Here’s how:
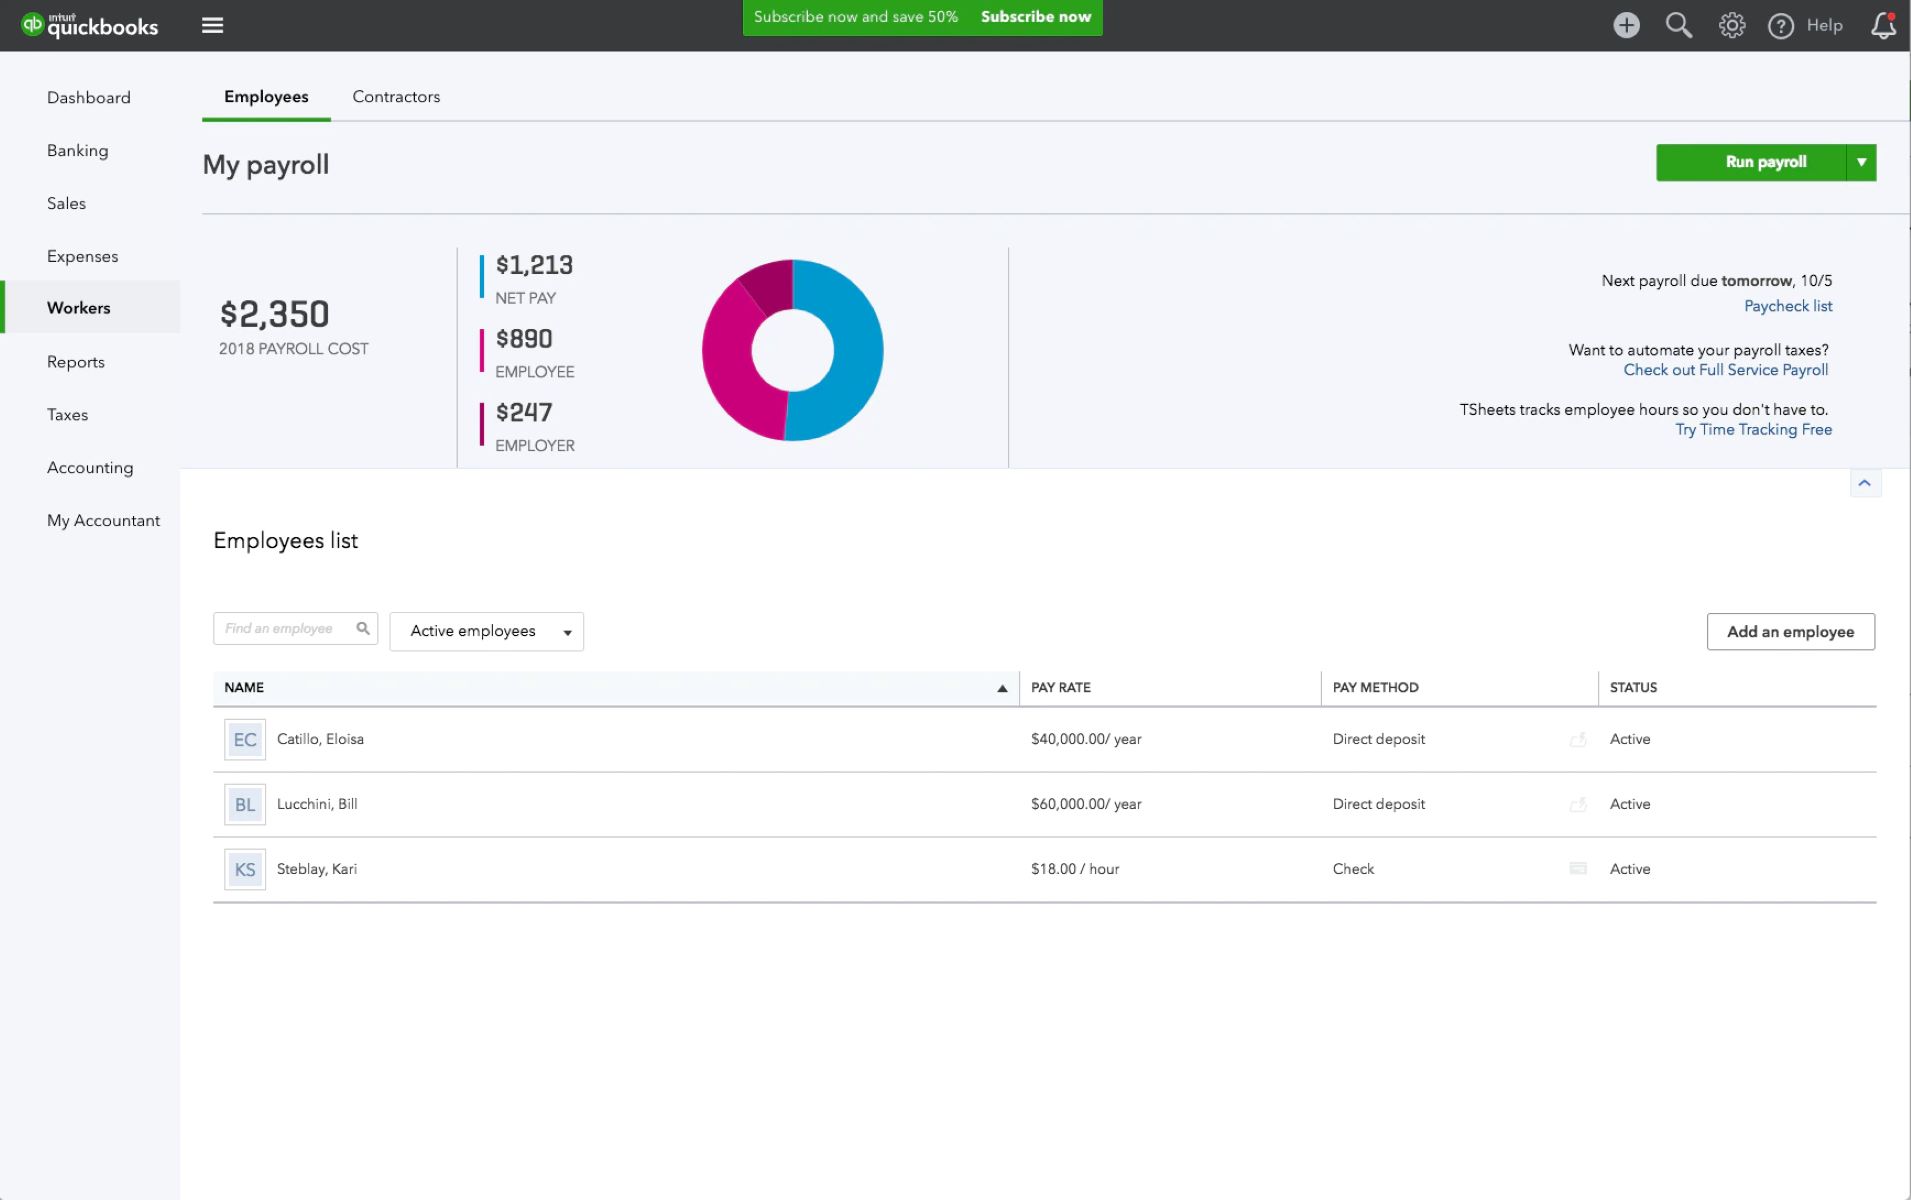
- Login to your QuickBooks Online account and navigate to the dashboard.
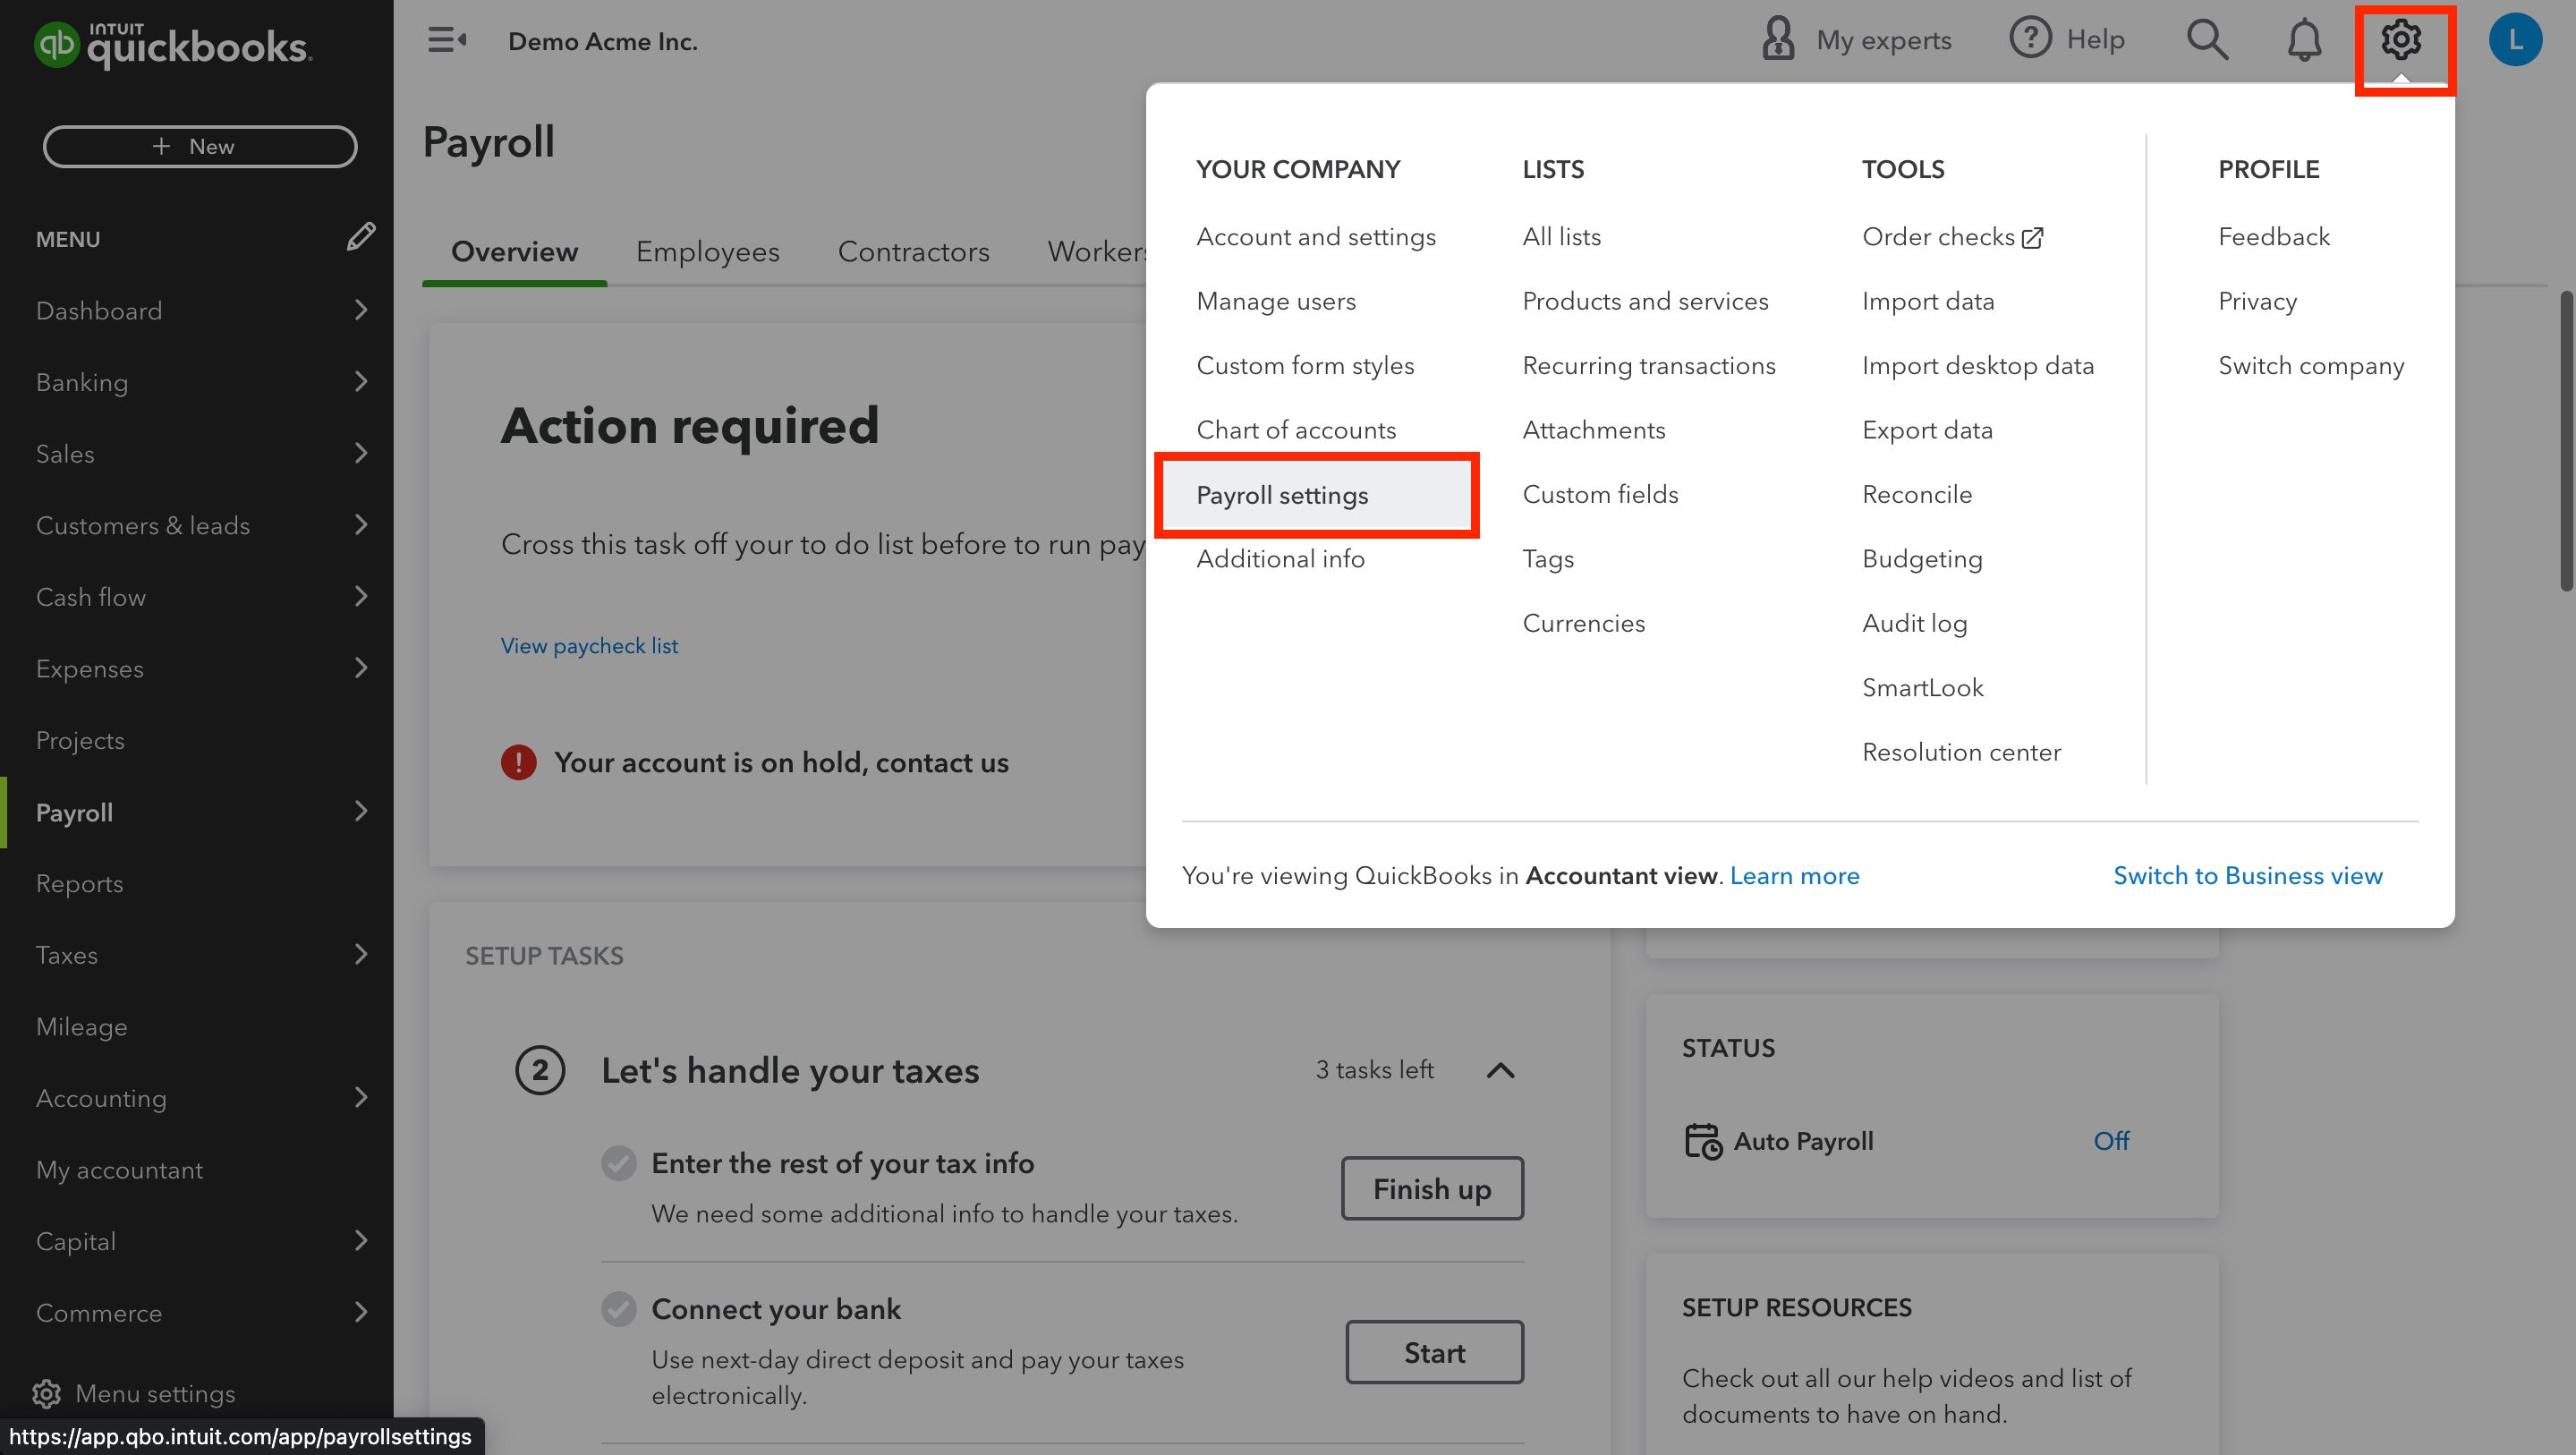
- From the left menu, select “Payroll.”
- Click on the “Payroll Settings” tab.
- Scroll down to the “Pay Schedules” section and click on it.
Once you have followed these steps, you will have successfully accessed the payroll settings page in QuickBooks Online, where you can make changes to the pay period.
It’s important to note that only users with administrative access to the QuickBooks Online account will be able to access and modify the payroll settings. If you don’t have administrative privileges, reach out to the account owner or the person in charge of the QuickBooks Online account to request access or assistance with changing the pay period.
Keep in mind that altering the pay period will impact how often you run payroll and when your employees receive their payments. Before proceeding with the next steps, it’s important to plan and consider the effects of the change on your business operations and cash flow.
Step 2: Selecting Pay Schedules
After accessing the payroll settings in QuickBooks Online, the next step is to select the pay schedule that you would like to modify or create. QuickBooks Online offers various pre-defined pay schedules to choose from, such as weekly, bi-weekly, semi-monthly, and monthly. Here’s how you can select a pay schedule:
- In the “Pay Schedules” section of the payroll settings page, click on the “Create” button if you want to create a new pay schedule. If you want to modify an existing pay schedule, locate the specific schedule in the list and click on it.
- Review the details of the selected pay schedule, such as the pay frequency, start date, and end date. If you are creating a new pay schedule, you will need to enter these details.
- Double-check that the pay frequency aligns with your desired pay period. For example, if you want a weekly pay period, ensure that the pay frequency is set to “Weekly.”
By following these steps, you will have successfully selected the pay schedule that you want to modify or create. The chosen pay schedule will form the basis for the pay period settings in QuickBooks Online.
It’s important to choose a pay schedule that suits your business needs and meets legal requirements. Consider factors such as your cash flow, employee preferences, and any local regulations regarding pay frequency. Consulting with your accountant or tax advisor can help you make an informed decision about the best pay schedule for your business.
Step 3: Creating a New Pay Schedule
If you need to create a new pay schedule in QuickBooks Online, follow these steps:
- In the “Pay Schedules” section of the payroll settings page, click on the “Create” button.
- Enter a name for the new pay schedule. It’s recommended to choose a descriptive name that reflects the pay frequency, such as “Bi-Weekly Payroll” or “Semi-Monthly Payroll.”
- Select the pay frequency from the drop-down menu. Choose from options like weekly, bi-weekly, semi-monthly, or monthly, depending on your preferred pay period.
- Specify the start date and end date for the pay schedule. These dates determine the duration of each pay period and should align with your business requirements.
- Review the settings to ensure accuracy and click “Save” to create the new pay schedule.
Once you have created the new pay schedule, it will be listed in the “Pay Schedules” section of the payroll settings page. You can further modify the pay schedule if needed, as discussed in the next step.
Creating a new pay schedule is useful when you want to set up a unique pay period beyond the available pre-defined options. It allows you to tailor the pay periods to match the requirements of your business or comply with any specific regulations that apply to your industry.
Remember to communicate the new pay schedule to your employees, ensuring they are aware of the changes and understand the timing of their payments. Open and transparent communication is crucial to maintain a positive working relationship with your staff.
Step 4: Modifying an Existing Pay Schedule
If you need to make changes to an existing pay schedule in QuickBooks Online, follow these steps:
- In the “Pay Schedules” section of the payroll settings page, locate the pay schedule that you want to modify.
- Click on the pay schedule to open its settings for editing.
- Review the details of the pay schedule, such as the pay frequency, start date, and end date.
- To modify the pay frequency, select a different option from the available drop-down menu. Choose from weekly, bi-weekly, semi-monthly, or monthly, depending on the desired pay period.
- If needed, update the start date and end date to reflect the revised pay period. Ensure that the dates align with your business requirements.
- Save the changes by clicking the “Save” button.
By following these steps, you will successfully modify an existing pay schedule in QuickBooks Online. The changes will be applied to future pay periods, while past pay periods will remain unaffected.
Modifying an existing pay schedule allows you to adapt the pay period to better suit your evolving business needs. It could be due to changes in your cash flow, employee preferences, or compliance requirements.
Keep in mind that when you modify a pay schedule, it’s crucial to communicate the changes to your employees. Make sure they are aware of the new pay period and understand how it will impact their pay dates. Providing ample notice and clear communication helps avoid confusion and ensures a smooth transition.
Step 5: Changing the Pay Period End Dates
QuickBooks Online allows you to change the pay period end dates for your existing pay schedules. Follow these steps to adjust the pay period end dates:
- In the “Pay Schedules” section of the payroll settings page, locate the pay schedule for which you want to change the pay period end dates.
- Click on the pay schedule to open its settings for editing.
- Review the details of the pay schedule, including the start date and end date.
- To change the pay period end date, update the end date to the desired date. Ensure that the new date aligns with your business requirements and chosen pay frequency.
- Save the changes by clicking the “Save” button.
By following these steps, you can easily change the pay period end dates for your pay schedules in QuickBooks Online. Updating the pay period end dates enables you to align the pay periods with the specific needs of your business and employees.
It’s important to note that changing the pay period end dates may impact the timing of payroll processing and employee payments. As a result, it’s essential to communicate any changes to your employees well in advance and ensure that they understand how the new pay period end dates will affect their pay cycles.
In addition, adjusting the pay period end dates could trigger adjustments in tax calculations, especially if the change affects the frequency of payroll tax filing or reporting. To ensure compliance with tax regulations, consult with your accountant or tax advisor before making any changes to the pay period end dates.
Step 6: Reviewing and Confirming Changes
Before finalizing the changes to the pay period in QuickBooks Online, it’s important to review and confirm the modifications. Follow these steps to ensure accuracy:
- Double-check the pay schedules in the “Pay Schedules” section of the payroll settings page to verify that the changes were applied correctly.
- Review the details of each pay schedule, including the pay frequency, start date, end date, and any other relevant settings.
- Ensure that the pay period and pay dates align with your intended schedule and comply with legal requirements.
- If any adjustments or corrections are needed, go back to the respective step to modify the pay schedule or pay period end dates accordingly.
- Once you are satisfied with the changes, click the “Save” button to confirm and save the modifications.
By following these steps, you can review and confirm the changes you made to the pay period in QuickBooks Online. It’s crucial to take the time for this review process to avoid any potential errors or discrepancies in payroll processing.
After confirming the changes, it’s recommended to communicate the modified pay period to your employees. Make sure they are aware of the new pay dates and understand how the changes may impact their pay cycles.
Lastly, keep in mind that any modifications to the pay period in QuickBooks Online may have effects on payroll tax calculations, reporting, and other financial aspects. To ensure compliance and accuracy, consult with your accountant or tax advisor throughout the review and confirmation process.
Conclusion
Changing the pay period in QuickBooks Online is a straightforward process that allows you to customize your payroll settings to align with your business needs. By following the steps outlined in this guide, you can easily access the payroll settings, select pay schedules, create new pay schedules, modify existing pay schedules, change pay period end dates, and review and confirm the changes.
However, it’s important to approach changing the pay period with careful consideration and planning. Understand the implications of the changes on payroll processing, tax reporting, and employee payments. Consulting with your accountant or tax advisor can help ensure compliance with legal requirements and mitigate any potential issues.
Remember to communicate any changes in the pay period to your employees. It is essential to provide clear and timely information about the new pay schedule and its impact on their pay cycles. Open communication helps maintain a positive working relationship and avoid any confusion or misunderstandings.
By effectively managing the pay period in QuickBooks Online, you can streamline your payroll processes and ensure accurate and timely payment to your employees. Regularly reviewing and adjusting the pay period can help accommodate changes in your business and maintain financial stability.
Take advantage of the flexibility offered by QuickBooks Online to adapt your pay periods to the unique requirements of your business. Whether you need to switch from a weekly to a bi-weekly pay schedule, modify existing pay schedules, or create new ones, QuickBooks Online provides the tools you need to make these changes efficiently.
By mastering the process of changing the pay period in QuickBooks Online, you can optimize your payroll management and focus on growing your business with confidence.