Introduction
Welcome to our guide on how to change your email in Slack. Slack is a popular communication and collaboration tool used by teams around the world, making it essential to ensure that your contact information is up to date. Whether you’ve recently changed your email address or simply want to switch to a different one, we’ll walk you through the process step by step.
Changing your email in Slack is a straightforward process that can be completed in just a few minutes. By updating your email, you’ll ensure that you receive important notifications, messages, and updates from your team without any interruptions. Additionally, having the right email address associated with your Slack account will make it easier for your colleagues to find and connect with you.
In this guide, we’ll cover the necessary steps to change your email address in Slack. We’ll also discuss how to verify the new email address and update your notification settings. Let’s get started with step one: accessing your Slack profile.
Step 1: Accessing your Slack profile
To change your email in Slack, you’ll need to access your Slack profile settings. Here’s how you can do it:
- Open the Slack application or visit the Slack website and sign in to your account using your current email address and password.
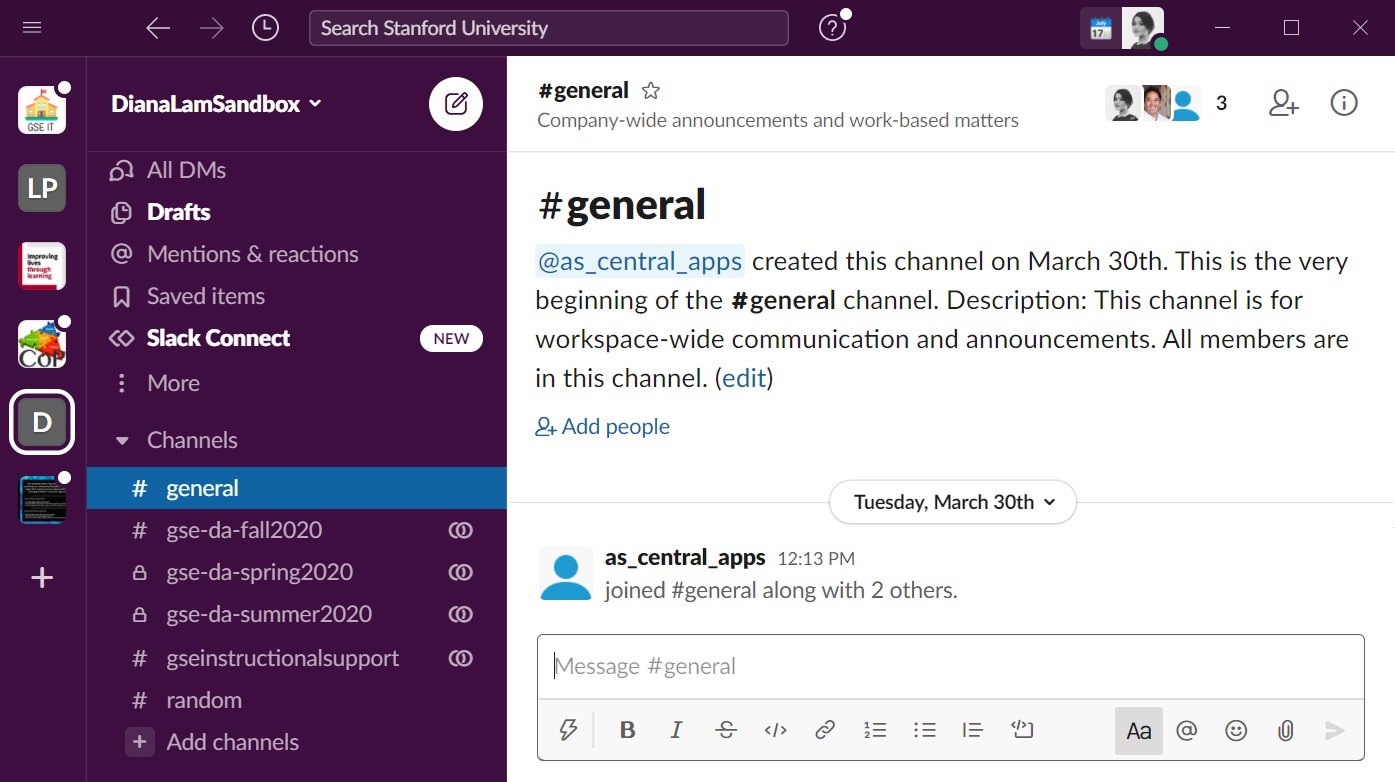
- Once you’re logged in, locate your profile picture or initials at the top left corner of the screen. Click on it to open a dropdown menu.
- In the dropdown menu, you’ll find the “View profile” option. Click on it to navigate to your profile page.
- On your profile page, you’ll see your basic information, including your profile picture, name, and current email address. Locate the “Edit” button next to your email address and click on it.
Note: If you’re unable to find the “Edit” button next to your email address, it might be because your Slack workspace restricts members from changing their email addresses. In this case, you may need to reach out to your workspace administrator for assistance.
Great! Now that you’ve accessed your Slack profile and located the “Edit” button, you’re ready to move on to the next step: editing your email address. Let’s proceed!
Step 2: Editing your email address
Now that you’ve accessed your Slack profile, it’s time to make the necessary changes to your email address. Follow these steps:
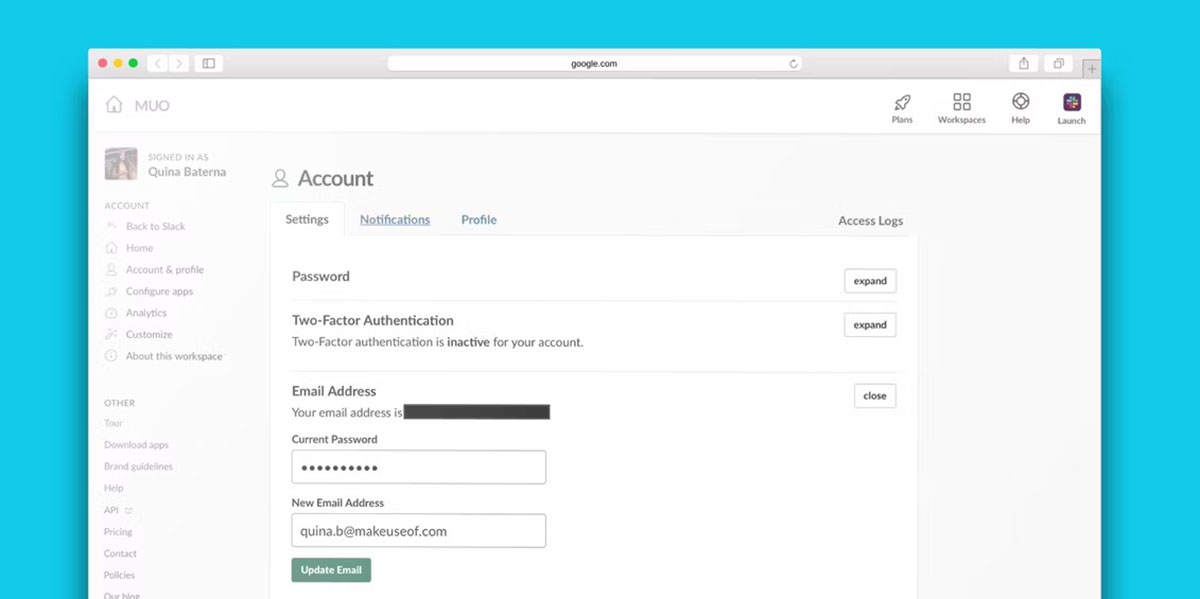
- After clicking on the “Edit” button next to your email address, a text field will appear where you can enter your new email address. Type in the new email address you want to use.
- Double-check the email address you entered to ensure it’s correct. It’s important to provide an email address that you have access to, as Slack will send a verification email to confirm the change.
- Once you’ve entered the new email address, click on the “Save” or “Update” button to save the changes.
After clicking “Save” or “Update,” Slack will update your email address in its system. You will also receive a verification email at your new email address to confirm the change. It’s essential to verify your new email address to ensure it’s linked to your Slack account.
Now that you’ve successfully edited your email address, let’s move on to the next step: verifying the new email address.
Step 3: Verifying the new email address
To complete the process of changing your email address in Slack, you’ll need to verify the new email address. Here’s what you need to do:
- Check your inbox for an email from Slack with the subject line “Confirm your email address.”
- Open the email and look for the verification link provided. Click on the link to verify your new email address.
- You will be redirected to a confirmation page on the Slack website, indicating that your email address has been successfully verified.
By verifying your email address, you’re ensuring that Slack recognizes your new email as the valid contact information associated with your account. This step is crucial to ensure seamless communication and to receive important notifications and updates from your team.
If you don’t receive the verification email, check your spam or junk folder to make sure it hasn’t been filtered there. If you still can’t find it, you can request a new verification email within Slack.
Once you’ve verified your new email address, you’re almost done! The final step is to update your email settings for notifications to ensure you receive important messages and updates from your Slack workspace. Let’s move on to step four.
Step 4: Updating email settings for notifications
After successfully changing your email address and verifying it, it’s important to update your email settings for notifications to ensure you receive the right information at the right time. Here’s how you can do it:
- Go back to your Slack profile page by clicking on your profile picture or initials at the top left corner of the screen and selecting “View profile.”
- On your profile page, click on the “More” button (represented by three dots) located next to your email address.
- A dropdown menu will appear. Select “Preferences” from the menu options.
- In the preferences page, navigate to the “Notifications” tab.
- From here, you can customize your email notification settings according to your preferences. You have the option to choose when and how often you receive email notifications for various activities on Slack, such as mentions, direct messages, channel activity, and more.
- Make the desired changes to your email notification settings, and ensure that the “Email Notifications” toggle is turned on.
- Once you’ve made the necessary adjustments, click on the “Save Changes” or “Update” button at the bottom of the page.
By updating your email notification settings, you can tailor the notifications you receive in your inbox, ensuring that you stay informed about important conversations and updates happening within your Slack workspace.
Great job! You’ve successfully changed your email address, verified it, and updated your email settings for notifications. Your Slack account is now fully updated and ready for seamless communication with your team.
Now that you’ve completed all the necessary steps, you can start enjoying the benefits of having your new email address linked to your Slack account. Stay connected, communicate effectively, and collaborate effortlessly with your team through Slack.
Conclusion
Changing your email address in Slack is a simple process that can be completed in just a few steps. By keeping your contact information up to date, you ensure that you never miss important notifications, messages, and updates from your team.
In this guide, we walked you through the process of changing your email address in Slack. We covered steps like accessing your Slack profile, editing your email address, verifying the new email address, and updating your email notification settings. By following these steps, you can successfully update your email and ensure seamless communication within your Slack workspace.
Remember, it’s crucial to verify your new email address to confirm its association with your Slack account. Additionally, adjusting your email notification settings allows you to customize the frequency and types of notifications you receive, keeping you informed without overwhelming your inbox.
Now that you have the knowledge to change your email address in Slack, you can confidently update your contact information as needed. Whether you’ve switched to a new email or simply want to use a different one, making this change will streamline your communication and collaboration experience in Slack.
Thank you for following this guide, and we hope it has been helpful to you. Enjoy using Slack with your new email address!