Introduction
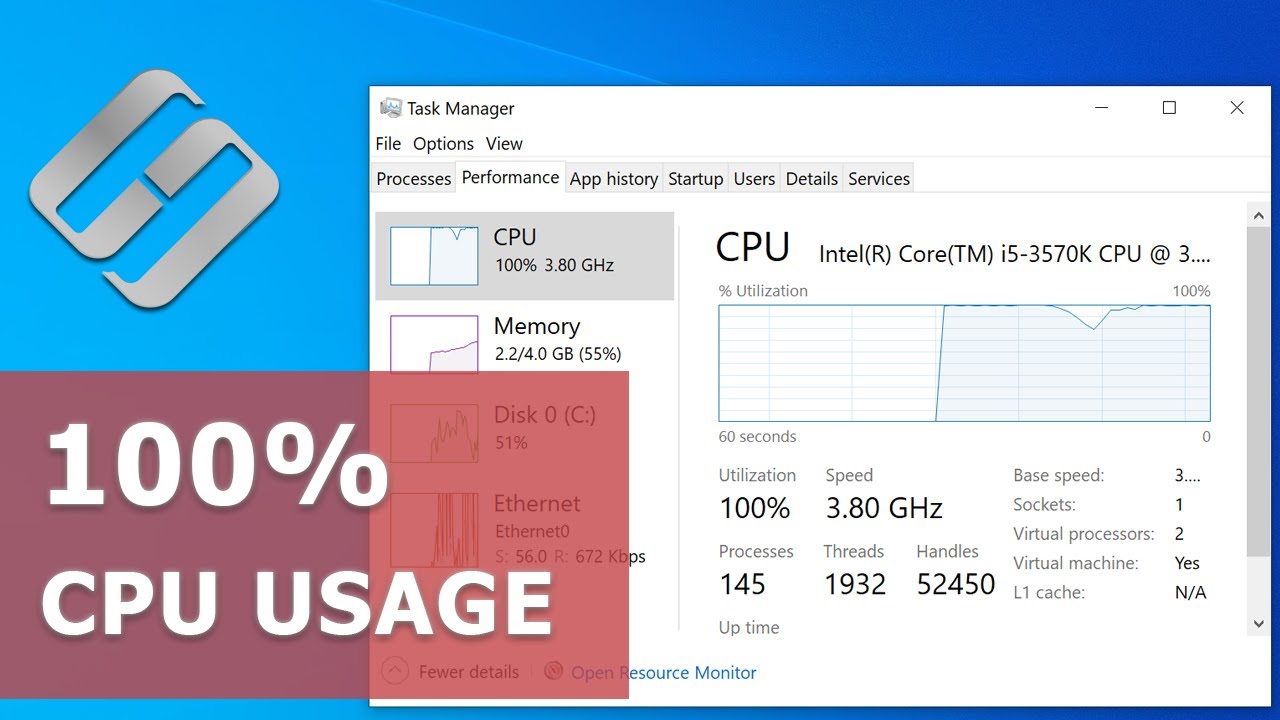
When it comes to optimizing the performance of your Windows 8 computer, adjusting the CPU priority can often make a significant difference. CPU priority determines how much processing power is allocated to various tasks and processes running on your system. By changing the CPU priority, you can prioritize certain programs or tasks over others, ensuring that critical applications receive the necessary resources to run smoothly.
In this article, we will explore the process of changing CPU priority in Windows 8. We will discuss various methods that allow you to adjust CPU priority for both individual processes and system-wide settings. Whether you’re a power user looking to allocate more resources to resource-intensive applications or simply looking to improve overall system performance, understanding how to change CPU priority in Windows 8 is a valuable skill.
By modifying CPU priority, you can control how your computer utilizes its processing power, which can have a direct impact on system responsiveness, multitasking capabilities, and overall efficiency. Whether you’re a gamer seeking a seamless gaming experience, a content creator working with resource-demanding software, or just someone who wants to improve their everyday computing experience, changing CPU priority can be a game-changer.
Now, let’s dive into the world of CPU priority and explore the different methods you can use to change it in Windows 8.
Understanding CPU Priority
Before we delve into the methods of changing CPU priority in Windows 8, let’s take a moment to understand what CPU priority actually means. CPU priority refers to the priority level at which a particular task or process is assigned in terms of accessing the CPU’s processing power. It determines the order in which tasks are executed and how much CPU time they receive.
Windows 8, like any other operating system, utilizes CPU scheduling algorithms to manage the allocation of CPU resources to different programs and processes running on the system. By default, the operating system employs a dynamic priority scheme, allocating CPU time to tasks based on their importance and the demands they place on the system.
The CPU priority levels in Windows 8 are typically categorized into six different levels, ranging from lowest to highest priority. These levels include:
- Lowest priority
- Below normal priority
- Normal priority
- Above normal priority
- High priority
- Real-time priority
While most programs and processes operate at the default normal priority level, certain tasks or applications may require higher priority to ensure their smooth execution. For example, real-time applications like audio or video editing programs may benefit from being assigned a higher CPU priority to achieve uninterrupted playback or processing.
It’s important to note that changing CPU priority is a powerful tool, but it should be used judiciously. Assigning high priority to resource-intensive applications can create imbalances in the system, potentially impacting the performance of other tasks and processes. Therefore, it’s essential to understand the specific requirements of the programs you want to prioritize and consider the overall system workload before making any changes.
Now that we have a basic understanding of CPU priority, let’s explore the methods you can use to change it in Windows 8.
Changing CPU Priority in Windows 8
When it comes to changing CPU priority in Windows 8, there are several methods you can use. In this section, we will discuss three common methods that allow you to adjust CPU priority for different scenarios.
Method 1: Using Task Manager
The easiest way to change CPU priority in Windows 8 is through the built-in Task Manager tool. Here’s how you can do it:
- Press Ctrl + Shift + Esc to open Task Manager.
- Go to the Processes tab.
- Right-click on the desired process and select Set Priority.
- Choose the desired priority level from the list. (Note: Be cautious while selecting higher priority levels, as it can affect the performance of other processes)
- Click Change priority to apply the changes.
Method 2: Using Command Prompt
If you prefer a command-line interface, you can change CPU priority using the Command Prompt. Here’s how:
- Press Win + X and select Command Prompt (Admin) to open Command Prompt with administrative privileges.
- Type the command wmic process where name=”process_name.exe” CALL setpriority “priority_level”, replacing process_name with the actual name of the process you want to change and priority_level with the desired priority level (values: 32, 64, 128, 16384, 32768, 32769).
- Press Enter to execute the command and change the CPU priority.
Method 3: Changing Priority for Specific Processes
If you want to change the CPU priority for specific processes every time they are launched, you can do so through the program’s properties. Here’s how:
- Locate the executable file (.exe) of the program you want to change the priority for.
- Right-click on the file and select Properties.
- Navigate to the Compatibility tab.
- Check the box that says Run this program in compatibility mode for:
- Choose the desired Windows version from the drop-down menu.
- Below that, check the box that says Run this program as an administrator.
- Click Apply and then OK.
These methods provide you with the flexibility to change CPU priority in Windows 8 according to your specific needs. However, remember to use caution when adjusting priority levels, as improper settings can lead to system instability or poor performance.
Method 1: Using Task Manager
One of the easiest ways to change CPU priority in Windows 8 is by using the Task Manager. The Task Manager is a powerful tool that allows you to monitor and control various aspects of your system’s performance. Here’s how you can use it to adjust CPU priority:
- Press Ctrl + Shift + Esc to open the Task Manager.
- Go to the Processes tab. This tab displays all the currently running processes on your system.
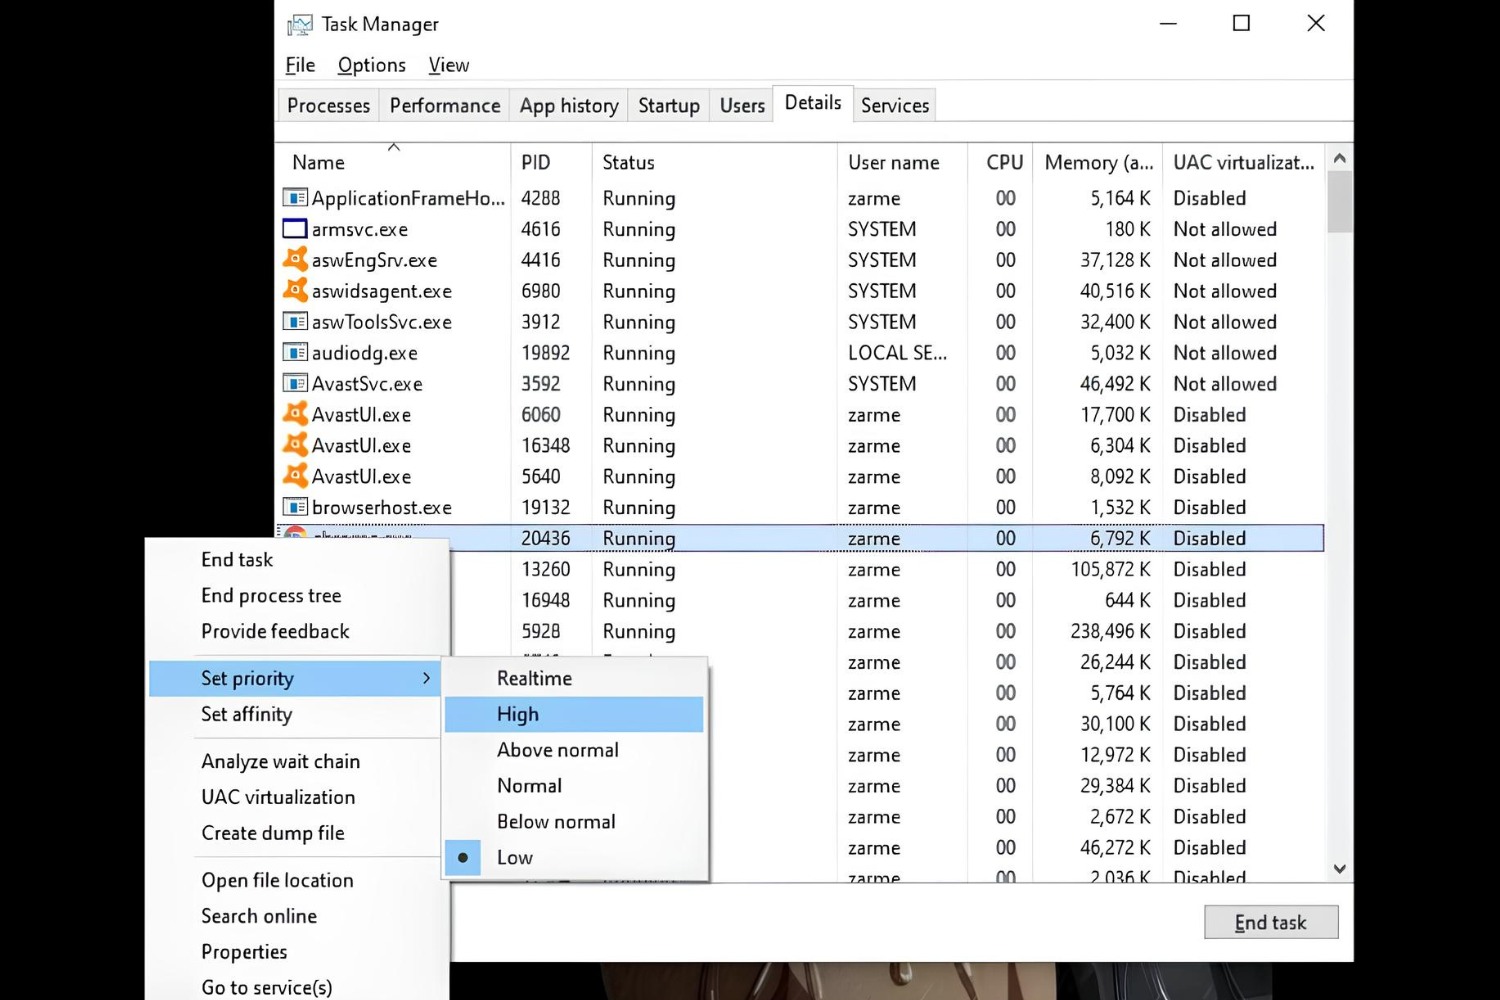
- Right-click on the desired process for which you want to change the CPU priority.
- In the context menu that appears, select Set Priority.
- A list of priority options will be displayed, ranging from Real-time to Low.
- Choose the desired priority level based on your requirements. It’s important to note that setting a process to a higher priority level may cause other processes to receive fewer resources and could impact overall system performance.
- Click Change priority to apply the changes.
By following these steps, you can easily change the CPU priority of a specific process using the Task Manager in Windows 8. However, it’s worth mentioning that these changes are temporary and will revert to the default settings once you close the process or restart your system. If you want to prioritize a process consistently, you might want to consider using other methods, such as changing the compatibility settings for the specific program.
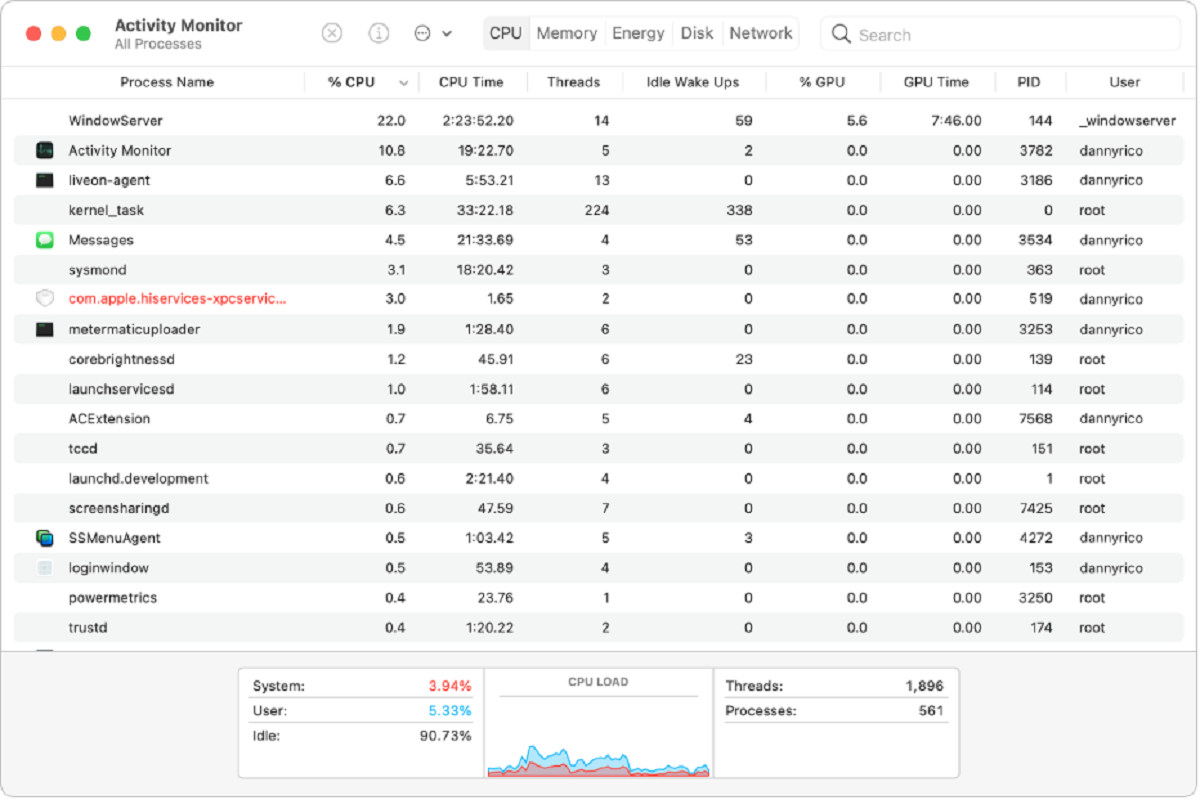
The Task Manager is a versatile tool that not only allows you to adjust CPU priority but also provides insights into various system performance metrics. It is a valuable resource for monitoring and managing your system, enabling you to optimize performance according to your needs.
Method 2: Using Command Prompt
If you prefer using the command line interface, you can change CPU priority in Windows 8 by utilizing the Command Prompt. Below, we outline the steps to adjust the CPU priority using this method:
- Press Win + X on your keyboard to open the Power User Menu.
- From the menu, select Command Prompt (Admin). This launches the Command Prompt with administrative privileges, allowing you to make system-level changes.
- In the Command Prompt window, type the following command:
wmic process where name="process_name.exe" CALL setpriority "priority_level" - Replace process_name with the actual name of the process for which you want to change the CPU priority.
- Replace priority_level with the desired priority level; available options include 32, 64, 128, 16384, 32768, and 32769.
- Press Enter to execute the command and change the CPU priority for the specified process.
Using the Command Prompt to change CPU priority provides a more direct and precise way of adjusting the priority level for a specific process. However, it is essential to exercise caution when making changes via the Command Prompt, as incorrect commands or settings may lead to system issues.
This method allows you to have more granular control over CPU priority, especially when dealing with specific processes that require special attention. By using the Command Prompt, you can modify CPU priority without the need for a graphical user interface.
Keep in mind that the changes made through the Command Prompt are also temporary and will revert to default settings once the process is closed or the system is restarted. If you want to make permanent changes to the CPU priority, you may need to explore other methods or modify the compatibility settings of the specific program.
Method 3: Changing Priority for Specific Processes
If you want to change the CPU priority for specific processes every time they are launched, you can do so by modifying the properties of the program. By changing the compatibility settings, you can set a higher priority for the process. Here’s how:
- Locate the executable file (.exe) of the program for which you want to change the CPU priority.
- Right-click on the file and select Properties from the context menu.
- In the Properties window that appears, navigate to the Compatibility tab.
- Under the Compatibility tab, check the box that says Run this program in compatibility mode for:
- From the drop-down menu, choose the desired Windows version that the program is compatible with. If you are unsure, select the latest version.
- Beneath the compatibility mode settings, check the box that says Run this program as an administrator.
- Click Apply and then OK to save the changes.
By modifying these settings, you are instructing Windows to assign a higher priority to the specific process whenever it is launched. This can help ensure that the process receives more CPU resources, enhancing its performance.
It’s important to note that changing the priority of a process in this manner affects only that specific program and not the system as a whole. Prioritizing certain processes can be useful for applications that require more resources, such as video editing software or virtual machines.
If you no longer wish to prioritize a specific process, you can simply revert the compatibility settings back to their default values by following the same steps and unchecking the compatibility mode and “Run as administrator” boxes.
This method is especially handy for users who frequently run resource-intensive applications and want to ensure that these programs have access to the necessary CPU power to perform optimally. Setting the priority for specific processes through compatibility settings provides a convenient and consistent way to manage CPU resources.
Conclusion
Changing CPU priority in Windows 8 can greatly impact system performance and resource allocation, ensuring that critical programs receive the necessary processing power. By adjusting CPU priority, you can optimize your system’s responsiveness, multitasking capabilities, and overall efficiency.
In this article, we explored three different methods for changing CPU priority in Windows 8:
- Using Task Manager: A user-friendly method that allows you to adjust CPU priority for specific processes quickly.
- Using Command Prompt: This method provides a more direct approach, allowing for precise control over CPU priority for specific processes.
- Changing Priority for Specific Processes: Modifying compatibility settings enables you to prioritize certain programs every time they are launched.
It’s important to note that when adjusting CPU priority, caution should be exercised to avoid potential system instabilities or poor performance. Assigning excessively high priority levels to certain processes can negatively impact the overall performance of the system.
By understanding CPU priority and implementing the appropriate changes, you can enhance your Windows 8 experience. Whether you’re a power user or simply seeking to improve system performance, adjusting CPU priority provides a valuable tool for optimizing the utilization of processing power.
Remember to consider the specific needs of your applications and the overall system workload before changing CPU priorities. Finding the right balance ensures a stable and efficient computing environment.
Now that you have a better understanding of how to change CPU priority in Windows 8, you can fine-tune your system to suit your specific requirements and achieve optimal performance.