Introduction
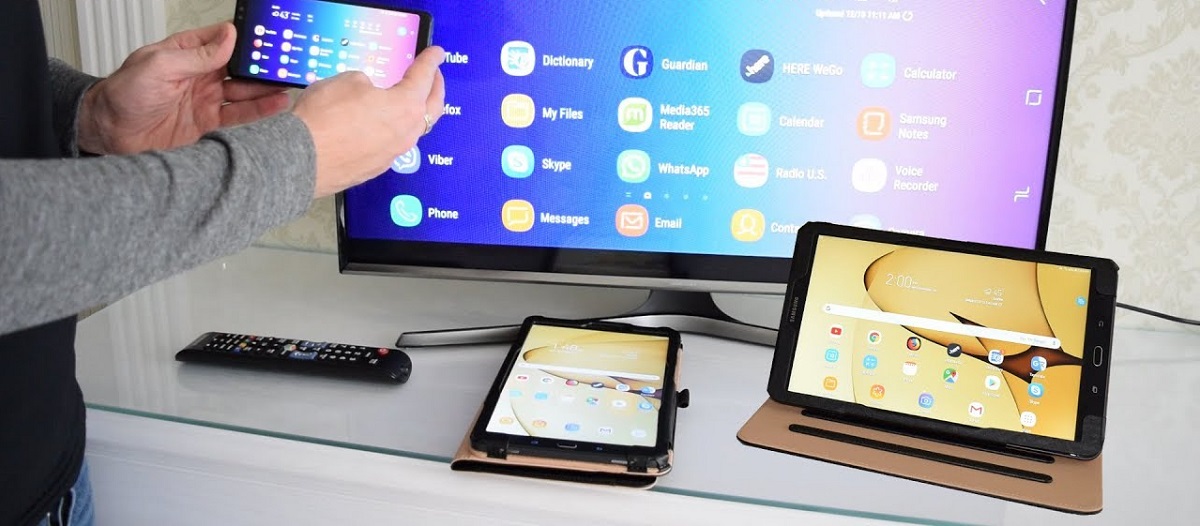
With the rise of streaming services and the popularity of smart TVs, it’s now easier than ever to enjoy your favorite content on the big screen. If you have an iPad and a Chromecast, you can easily cast videos, movies, photos, and more from your iPad to your TV.
The Chromecast is a small device that plugs into your TV’s HDMI port and allows you to stream content from your iPad, smartphone, or computer directly to your TV. With the Google Home app and a few simple steps, you can set up your Chromecast and start casting in no time.
Whether you want to share a funny video with your friends, watch a movie on a bigger screen, or give a presentation, casting to Chromecast from your iPad is a convenient and user-friendly option.
In this article, we will guide you through the steps to cast to Chromecast from your iPad. By following these steps, you’ll be able to enjoy your favorite content on the larger screen of your TV and enhance your viewing experience.
Step 1: Connect iPad and Chromecast to the same Wi-Fi network
Before you can start casting from your iPad to Chromecast, it’s essential to ensure that both devices are connected to the same Wi-Fi network. This is because the casting process relies on the network connection to communicate between the devices.
To connect your iPad and Chromecast to the same Wi-Fi network, follow these steps:
- On your iPad, open the Settings app.
- Select Wi-Fi from the menu.
- Make sure that Wi-Fi is turned on and that your iPad is connected to your home Wi-Fi network.
- On your TV, ensure that your Chromecast is plugged in and powered on.
- Using your TV remote, navigate to the HDMI input where your Chromecast is connected.
- On the Chromecast screen, you should see a Wi-Fi network name displayed. This is the network your Chromecast is currently connected to.
- If the Wi-Fi network name displayed on your Chromecast screen matches the network name of your home Wi-Fi, then your Chromecast is already connected to the same network as your iPad.
- If the Wi-Fi network name displayed on your Chromecast screen is different, it means your Chromecast is connected to a different Wi-Fi network. In this case, you will need to disconnect and reconnect your Chromecast to your home Wi-Fi network. To do this, follow the on-screen instructions on your TV and use the Google Home app on your iPad.
Once your iPad and Chromecast are connected to the same Wi-Fi network, you’re ready to proceed to the next step of the casting process.
Step 2: Set up Chromecast on your TV
Before you can start casting from your iPad to your TV using Chromecast, you need to set up the Chromecast device on your TV. This involves connecting the Chromecast to your TV and completing the initial setup process.
Follow these steps to set up Chromecast on your TV:
- Plug the Chromecast into an available HDMI port on your TV.
- Connect the USB power cable to the Chromecast and an available USB port on your TV or use the provided power adapter and connect it to a power outlet.
- Switch your TV to the HDMI input where your Chromecast is connected.
- On your TV screen, you should see the Chromecast welcome screen.
- Download and install the Google Home app on your iPad from the App Store.
- Open the Google Home app on your iPad and sign in with your Google account. If you don’t have a Google account, you can create one for free.
- The app should automatically detect the Chromecast device connected to your TV. If it doesn’t, tap on the “+” button at the top left corner of the screen and select “Set up device”.
- Follow the on-screen instructions in the Google Home app to complete the setup process for the Chromecast. This may include connecting the Chromecast to your Wi-Fi network and performing any necessary updates.
- Once the setup process is complete, your Chromecast will be ready to use.
Setting up your Chromecast on your TV is a quick and straightforward process. Once completed, you can move on to the next step to configure the Google Home app on your iPad for casting.
Step 3: Download and install the Google Home app on your iPad
To cast content from your iPad to Chromecast, you need to download and install the Google Home app. This app acts as the central hub for managing your Chromecast devices and controlling the casting process.
Follow these steps to download and install the Google Home app on your iPad:
- Open the App Store on your iPad by tapping on the App Store icon.
- In the search bar at the top, type “Google Home” and tap the search button.
- From the search results, locate the official Google Home app and tap on it.
- On the Google Home app page, tap the “Get” or “Download” button to start the installation process.
- Enter your Apple ID password or use Touch ID/Face ID to confirm the download.
- Wait for the app to download and install on your iPad. This may take a few moments depending on your internet speed.
- Once the installation is complete, you will see the Google Home app icon on your iPad’s home screen.
With the Google Home app installed on your iPad, you’re ready to proceed to the next step of signing in with your Google account and setting up your Chromecast.
It’s important to note that the Google Home app is an essential tool for managing your Chromecast devices and accessing various features and settings. Make sure to keep the app updated to benefit from the latest improvements and features released by Google.
Step 4: Launch the Google Home app and sign in with your Google account
Now that you have installed the Google Home app on your iPad, it’s time to launch the app and sign in with your Google account. This will allow you to access and manage your Chromecast devices, customize settings, and control the casting process.
Follow these steps to launch the Google Home app and sign in:
- Locate the Google Home app icon on your iPad’s home screen and tap on it to launch the app.
- On the welcome screen, you will see a “Get Started” button. Tap on it to proceed.
- On the next screen, you will be prompted to sign in with your Google account. If you don’t have a Google account, you can create one for free by tapping on the “Create account” link.
- Enter your Google account email address or phone number, then tap “Next”.
- Enter your Google account password and tap “Next” to sign in.
- If you have set up two-step verification for your Google account, you may be asked to enter the verification code that is sent to your device.
- Once you have successfully signed in, the Google Home app will display a list of available devices, including any Chromecast devices that are connected to your Wi-Fi network.
Signing in with your Google account is essential for managing your Chromecast devices and accessing all the features and settings available in the Google Home app. It will also allow you to personalize your casting experience and integrate with other Google services.
Now that you are signed in, you are ready to proceed with setting up your Chromecast device within the Google Home app.
Step 5: Tap on the “+” button to add a device
After signing in with your Google account, you can now add your Chromecast device to the Google Home app. This step is crucial to ensure that your iPad can communicate with your Chromecast and initiate the casting process.
Follow these steps to add a device in the Google Home app:
- Open the Google Home app on your iPad.
- On the home screen of the app, you will see a “+” button in the top left or top right corner (depending on the app version). Tap on this button to proceed.
- A menu will appear with different options. Tap on the “Set up device” option.
- In the next menu, tap on the “New devices” option to start the device setup process.
- The Google Home app will start searching for nearby devices, including your Chromecast.
- Once your Chromecast is detected, it will appear on the screen. Tap on it to select it as the device you want to set up.
- Follow the on-screen instructions in the Google Home app to complete the setup process for your Chromecast. This may include verifying that the code displayed on your TV matches the code shown on your iPad.
- Once the setup process is complete, your Chromecast will be successfully added to the Google Home app and ready to use.
By tapping the “+” button and adding your Chromecast device to the Google Home app, you establish a connection between your iPad and the Chromecast. This connection enables you to easily cast content from your iPad to your TV.
With your Chromecast successfully added to the app, you’re now ready to move on to the next step: selecting your Chromecast and initiating the casting process.
Step 6: Select “Set up device”, then “New devices” and choose your Chromecast
Once you have launched the Google Home app and signed in with your Google account, the next step is to select “Set up device” and then “New devices” to choose your Chromecast. This process ensures that your Chromecast is properly configured within the app and ready for casting from your iPad.
Here’s how to select “Set up device” and choose your Chromecast:
- Open the Google Home app on your iPad.
- On the home screen, tap on the “+” button in the top left or top right corner.
- In the menu that appears, tap on “Set up device” to proceed.
- In the next menu, select “New devices” to start the process of adding a new device to the app.
- The Google Home app will begin searching for nearby devices, including your Chromecast.
- Once your Chromecast device is detected, it will be displayed on the screen. Tap on your Chromecast to select it as the device you want to set up.
- Follow the on-screen instructions provided by the Google Home app to complete the setup process for your Chromecast. This may include verifying that the code displayed on your TV matches the code shown on your iPad.
- Once the setup process is finished, your Chromecast will be successfully added to the Google Home app and ready for casting.
By selecting “Set up device” and “New devices” in the Google Home app, you ensure that your Chromecast is properly recognized and connected to your iPad. This step is crucial for seamless casting and allows you to enjoy your favorite content on the big screen of your TV.
Now that your Chromecast is set up within the Google Home app, you can move on to the next step: following the on-screen instructions to complete the setup and start casting from your iPad.
Step 7: Follow the on-screen instructions to complete the setup
Once you have selected your Chromecast device in the Google Home app, the next step is to follow the on-screen instructions to complete the setup process. These instructions will guide you through the necessary configurations and ensure that your Chromecast is ready to receive content from your iPad.
Here’s how to follow the on-screen instructions to complete the setup:
- Open the Google Home app on your iPad.
- If you haven’t done so already, select “Set up device” and then “New devices” to choose your Chromecast.
- Once you have selected your Chromecast, the app will prompt you to follow specific on-screen instructions.
- These instructions may vary depending on the version of the Google Home app and any updates that have been made.
- Typically, you will be asked to confirm that the code on your TV matches the one shown on your iPad.
- Make sure to read and follow each instruction carefully to ensure a successful setup.
- If you encounter any issues or have trouble completing the setup process, refer to the troubleshooting options provided in the app or visit the Google Support website for assistance.
- Once you have completed the on-screen instructions and the setup process, your Chromecast will be fully configured and ready to use.
Following the on-screen instructions is essential to ensure that your Chromecast is properly set up within the Google Home app. Completing this step will establish the necessary connections and settings for seamless casting from your iPad to your TV.
Now that your Chromecast setup is complete, you can move on to the next step: opening the app that you want to cast from on your iPad.
Step 8: Open the app that you want to cast from on your iPad
Now that your Chromecast is properly set up within the Google Home app, you can proceed to open the app from which you want to cast content on your iPad. Whether it’s a streaming service, a video player, a photo gallery, or any other compatible app, opening it is the next step to start casting to your TV.
Here’s how to open the app that you want to cast from on your iPad:
- Ensure that your iPad and Chromecast are connected to the same Wi-Fi network.
- On your iPad’s home screen, locate the app that you want to cast from. This can be a video streaming app like Netflix or YouTube, a music app like Spotify, or a photo gallery app.
- Tap on the app’s icon to launch it.
- Make sure that the app is updated to its latest version for optimal compatibility with Chromecast.
Opening the app you want to cast from is an important step to enable the casting feature within the app. Different apps may have unique ways of enabling casting, so it’s essential to explore and familiarize yourself with the app’s interface and settings to locate the casting feature.
Now that you have opened the app you want to cast from on your iPad, you can proceed to the next step: looking for the Cast icon within the app.
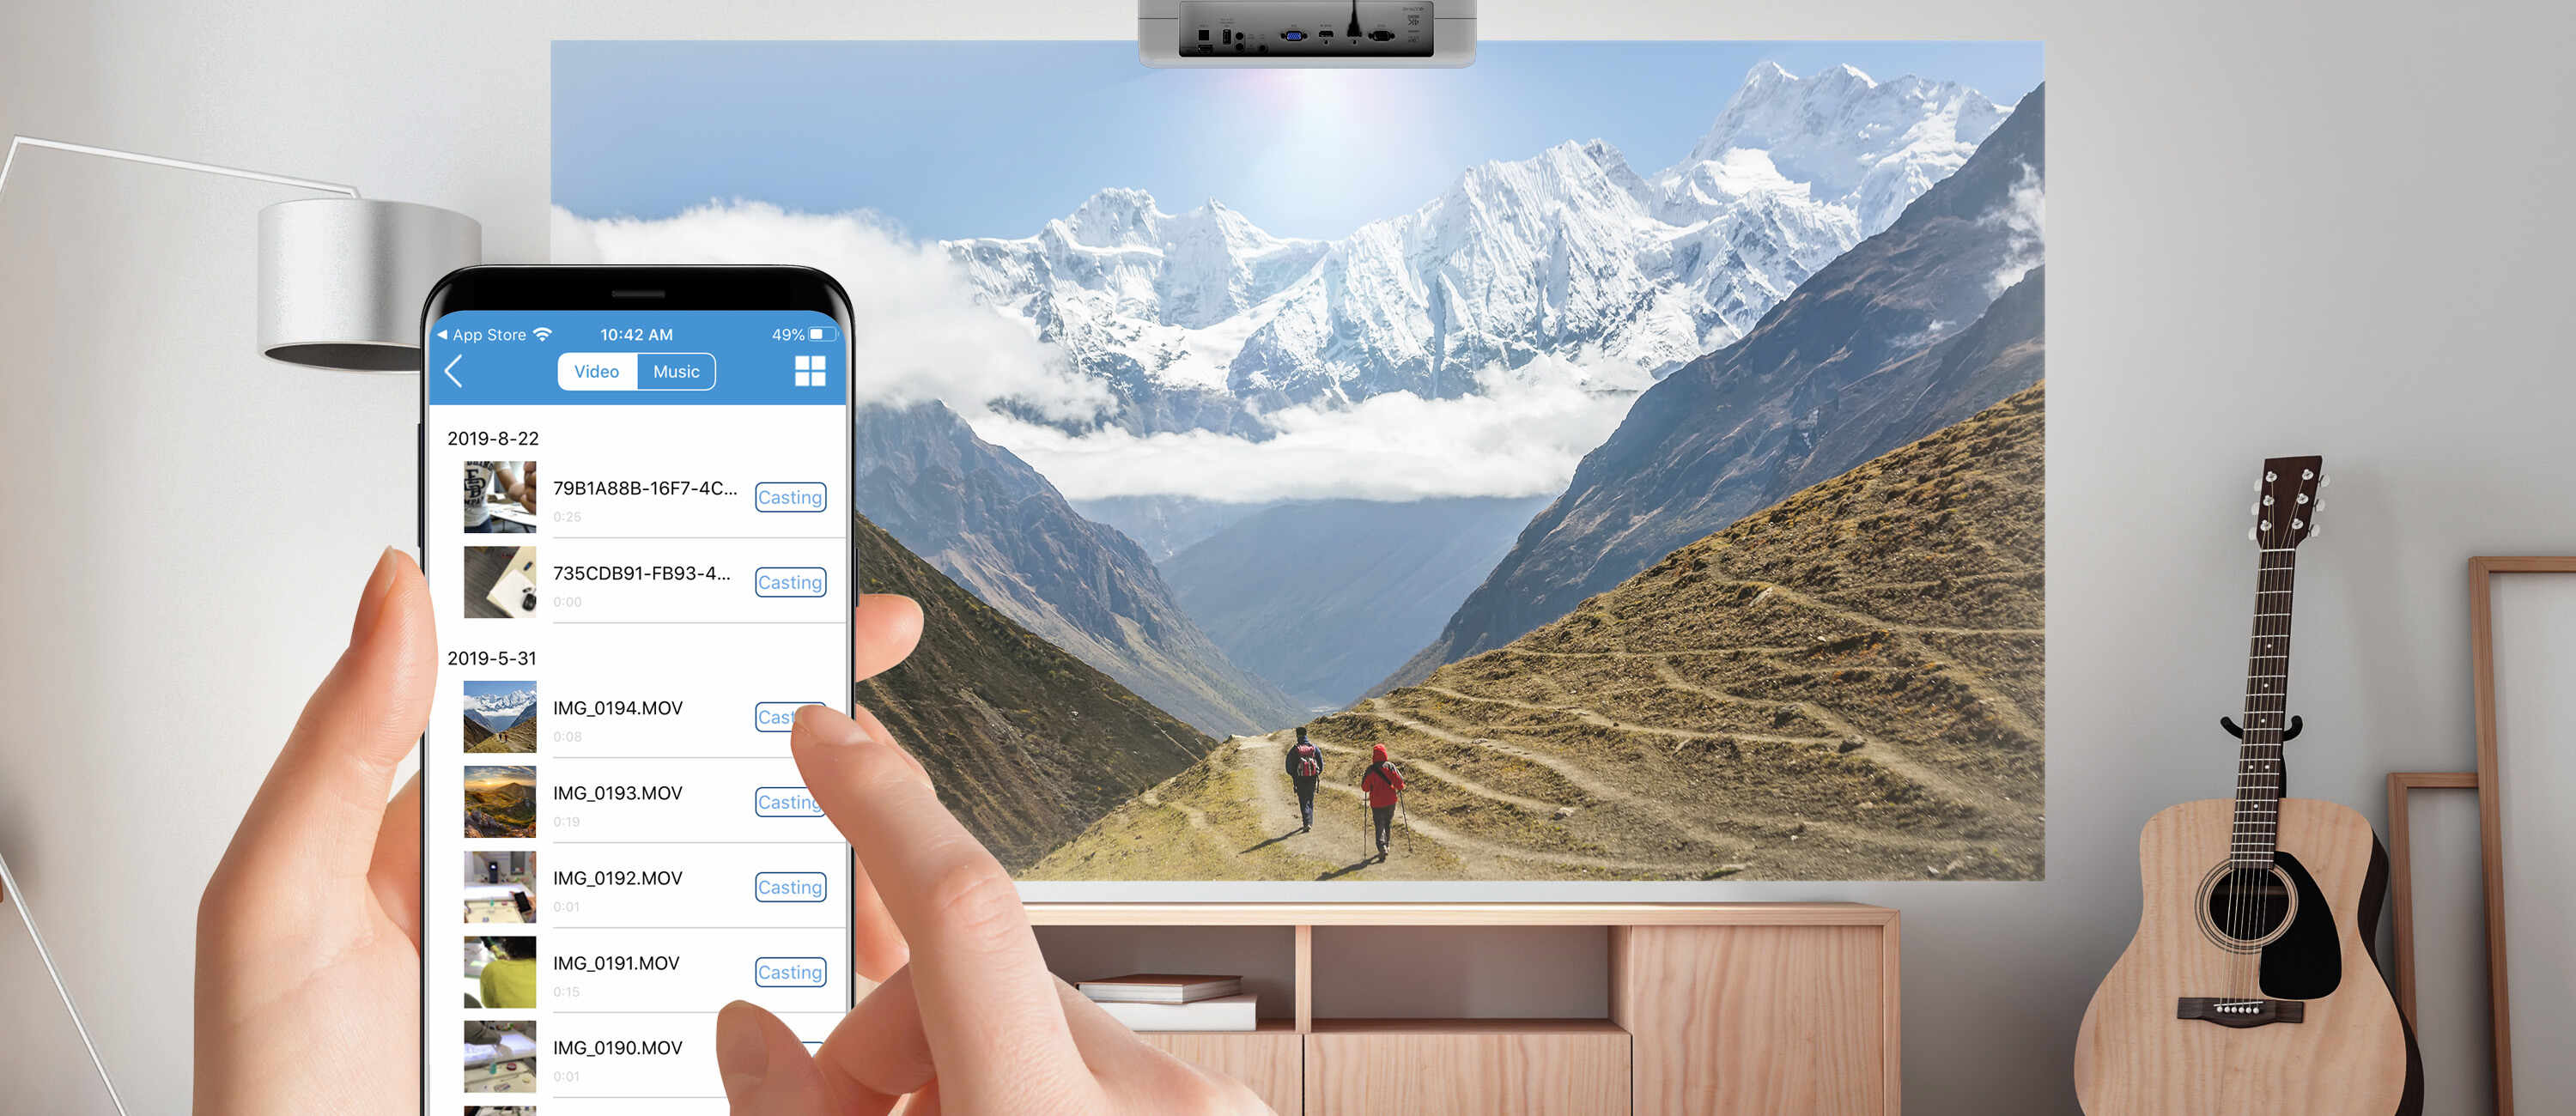
Step 9: Look for the Cast icon in the app and tap it
Once you have opened the app that you want to cast from on your iPad, the next step is to look for the Cast icon within the app’s interface. The Cast icon is a universal symbol used in many apps to indicate the availability of casting functionality. Tapping this icon will allow you to select your Chromecast device and start casting your content to your TV.
Here’s how to look for the Cast icon in the app and tap it:
- Ensure that your iPad and Chromecast are connected to the same Wi-Fi network.
- Open the app on your iPad that you want to cast from.
- Navigate to the content you want to cast, whether it’s a video, music playlist, photo album, or any other multimedia.
- Look for the Cast icon within the app’s interface. It is usually represented by a small rectangle with a Wi-Fi-like symbol or an icon indicating casting.
- The location of the Cast icon may vary depending on the app. It is often found in the top or bottom navigation bar, or within the playback controls.
- Tap on the Cast icon to open the casting options.
- A list of available devices will appear. Select your Chromecast from the list.
- The app will establish a connection with your Chromecast and start casting the selected content to your TV.
Looking for the Cast icon within the app is an essential step to initiate the casting process. It allows you to select your Chromecast as the destination device and start enjoying your content on the big screen of your TV.
Now that you have tapped the Cast icon and selected your Chromecast, you can move on to the next step: starting to cast your content to Chromecast.
Step 10: Select your Chromecast from the list of available devices
After tapping the Cast icon within the app on your iPad, you will be presented with a list of available devices to cast your content to. In this step, you need to select your Chromecast device from the list to establish a connection between your iPad and your TV.
Follow these steps to select your Chromecast from the list of available devices:
- Make sure your iPad and Chromecast are connected to the same Wi-Fi network.
- Open the app on your iPad that supports casting.
- Locate and tap on the Cast icon within the app’s interface.
- A list of available devices will appear. Look for the name of your Chromecast in the list.
- Select your Chromecast device from the list by tapping on it.
- Your iPad will establish a connection with the Chromecast and prepare to cast the selected content to your TV.
Selecting your Chromecast from the list of available devices is a crucial step to ensure that your content is directed to the correct destination. By choosing your Chromecast, you establish a connection between your iPad and your TV, allowing you to stream and enjoy your content on the big screen.
Now that you have selected your Chromecast, it’s time to move on to the final step: starting to cast your content to your Chromecast device.
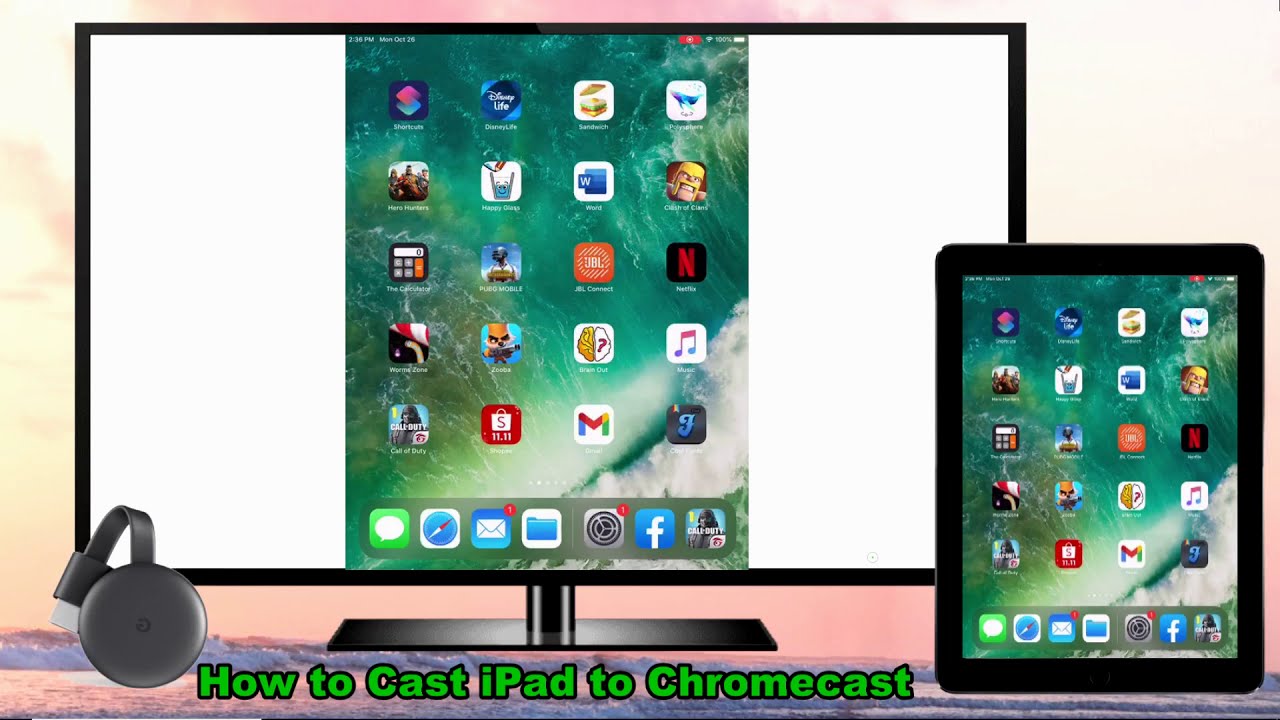
Step 11: Start casting your content to Chromecast
Now that you have selected your Chromecast device from the list of available devices, you are ready to start casting your content from your iPad to your TV. Whether it’s a video, music, or photos, casting allows you to enjoy your favorite content on the larger screen.
Here’s how to start casting your content to Chromecast:
- Ensure that your iPad and Chromecast are connected to the same Wi-Fi network.
- Open the app on your iPad that supports casting.
- Select the specific content you want to cast, such as a video, music playlist, or photo album.
- Tap the Cast icon within the app’s interface to open the casting options.
- Choose your Chromecast from the list of available devices.
- Once you have selected your Chromecast, the casting process will begin.
- The selected content will appear on your TV screen, and the audio will be played through your TV’s speakers.
Once the casting process has started, you can control the playback and volume using the controls within the app on your iPad. You can also use your TV’s remote control to adjust the volume or pause/play the content.
Enjoy the immersive experience of watching your favorite videos, listening to music, or viewing your photos on the larger screen of your TV with the help of Chromecast and your iPad.
It’s important to note that while casting, your iPad acts as a remote control for the content playback on your TV. You can continue to use your iPad for other tasks while the content is playing on your TV.
Congratulations! You have successfully completed all the steps and are now casting your content from your iPad to Chromecast. Sit back, relax, and enjoy the show!
Conclusion
Casting content from your iPad to Chromecast is a convenient way to enjoy your favorite videos, music, and photos on the big screen of your TV. By following the steps outlined in this guide, you can easily set up and start casting from your iPad in no time.
First, make sure your iPad and Chromecast are connected to the same Wi-Fi network. Then, set up your Chromecast on your TV using the Google Home app on your iPad. Once set up, launch the Google Home app, sign in with your Google account, and add your Chromecast device.
Next, open the app you want to cast from on your iPad and look for the Cast icon within the app’s interface. Tap on the Cast icon and select your Chromecast from the list of available devices. Finally, start casting your desired content to your Chromecast, and enjoy the immersive experience on your TV.
Remember, the Google Home app is your go-to tool for managing your Chromecast devices and accessing various features and settings. Keep the app updated to benefit from the latest improvements and features released by Google.
Now that you have learned how to cast to Chromecast from your iPad, you can take full advantage of the seamless streaming capabilities and indulge in a personalized entertainment experience on your TV screen.
So, gather your friends and family, grab some popcorn, and let your iPad and Chromecast elevate your entertainment to new heights!