Introduction
Are you a fishing enthusiast who loves the taste of freshly caught trout? If so, then you’ll want to learn how to can trout with an electric pressure cooker. Canning trout not only preserves their delicious flavor but also allows you to enjoy your catch all year round.
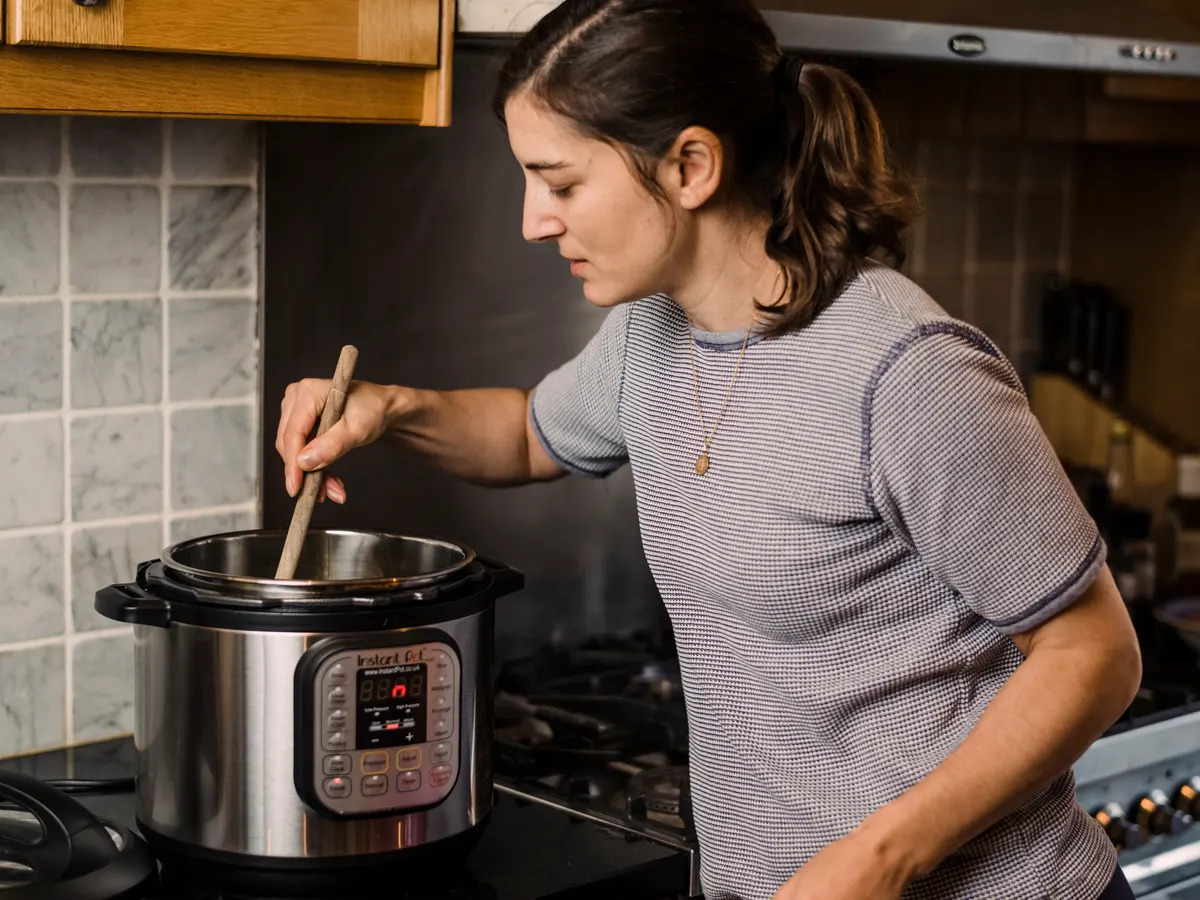
Using an electric pressure cooker to can trout is a quick and easy method that ensures the fish remains tender and succulent. You can preserve the freshness of the trout and savor its taste whenever you are in the mood for a delicious meal.
With the right equipment and a few simple steps, you can safely can trout at home. In this guide, we will walk you through the process of canning trout with an electric pressure cooker, from selecting and cleaning the fish to filling the jars and processing them in the pressure cooker.
Before we dive into the details, it’s important to note that proper canning techniques should always be followed to prevent the growth of harmful bacteria and ensure the safety of the canned trout. Now, let’s gather our supplies and get started on this delightful journey of canning trout.
Equipment Needed
Canning trout with an electric pressure cooker requires a few essential tools to ensure a successful outcome. Before you begin, make sure you have the following equipment:
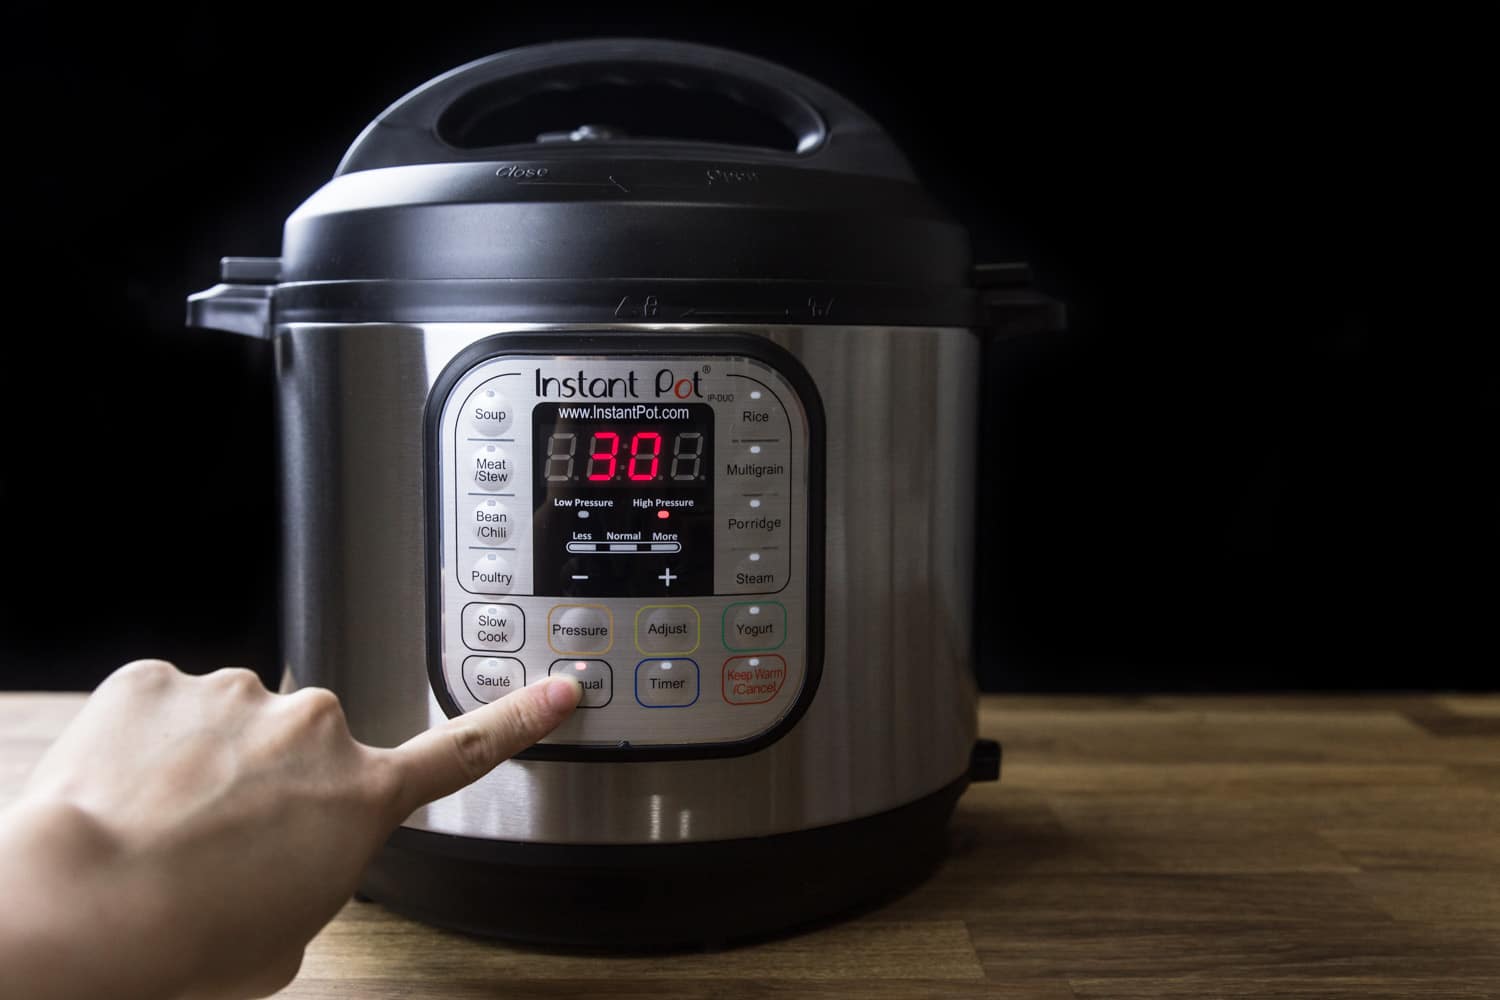
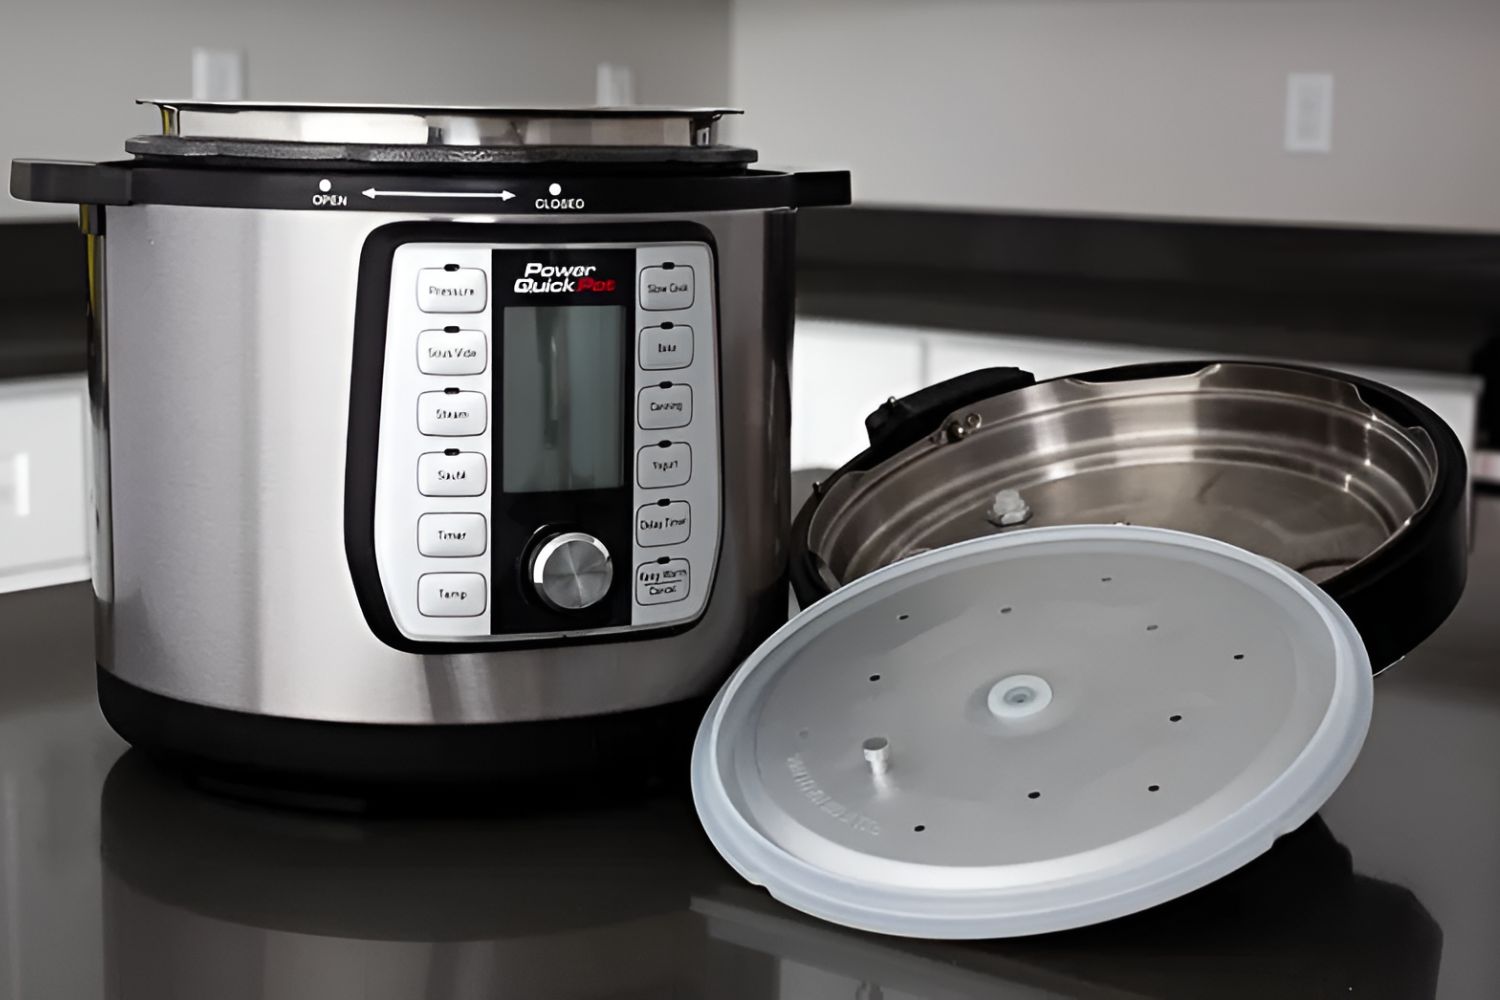
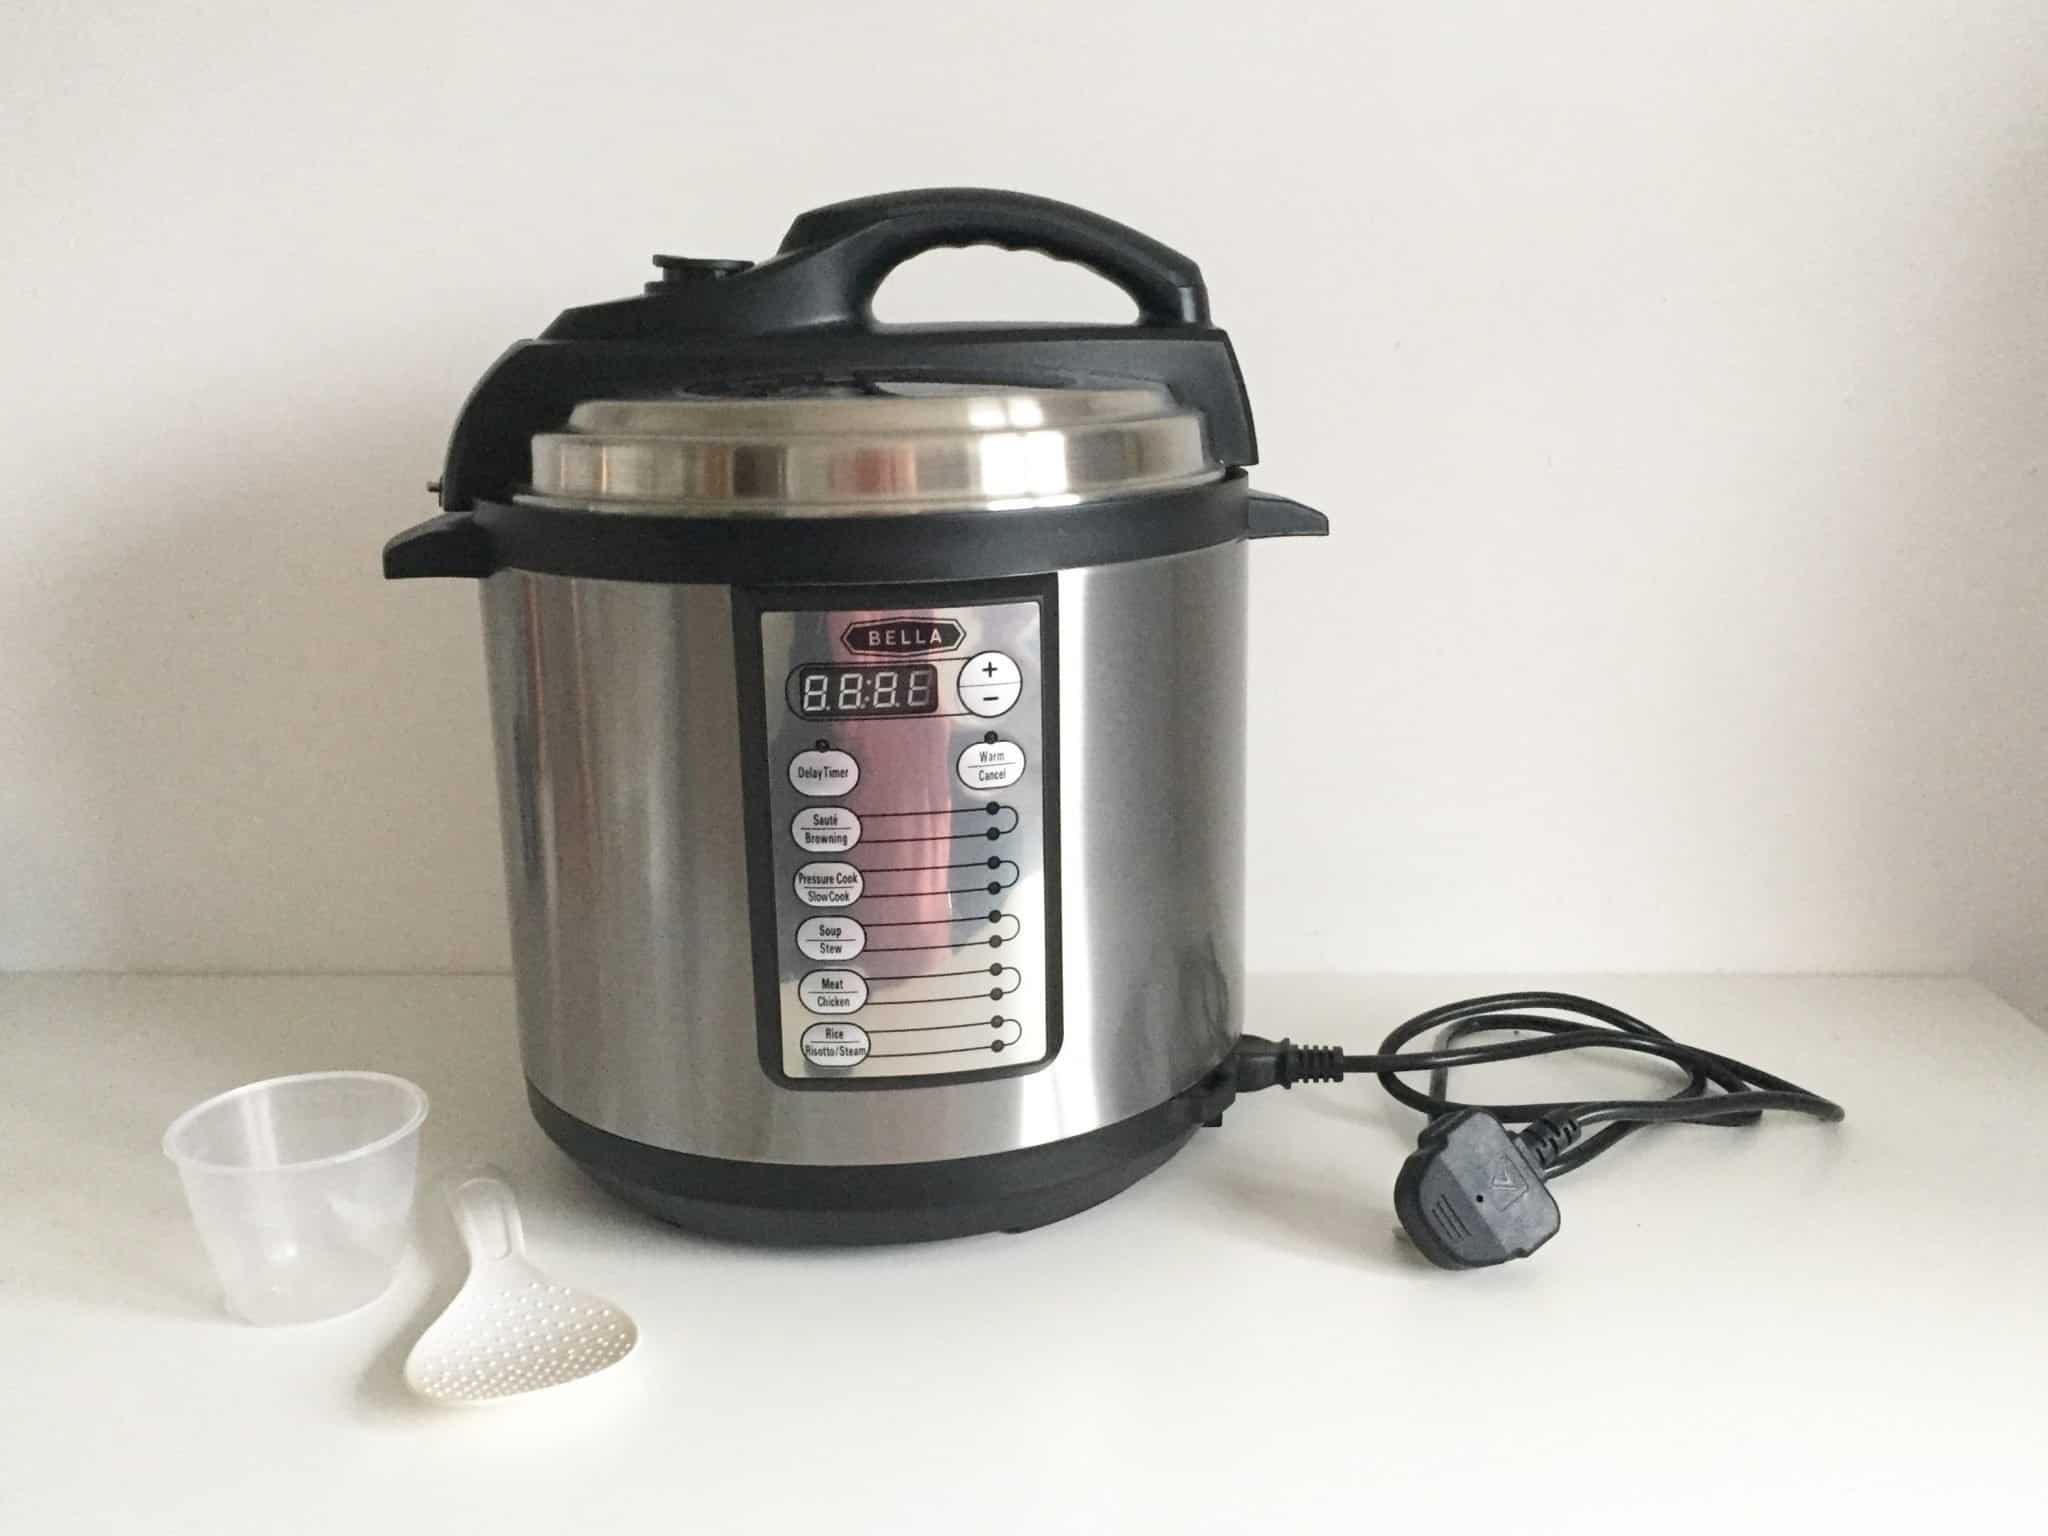
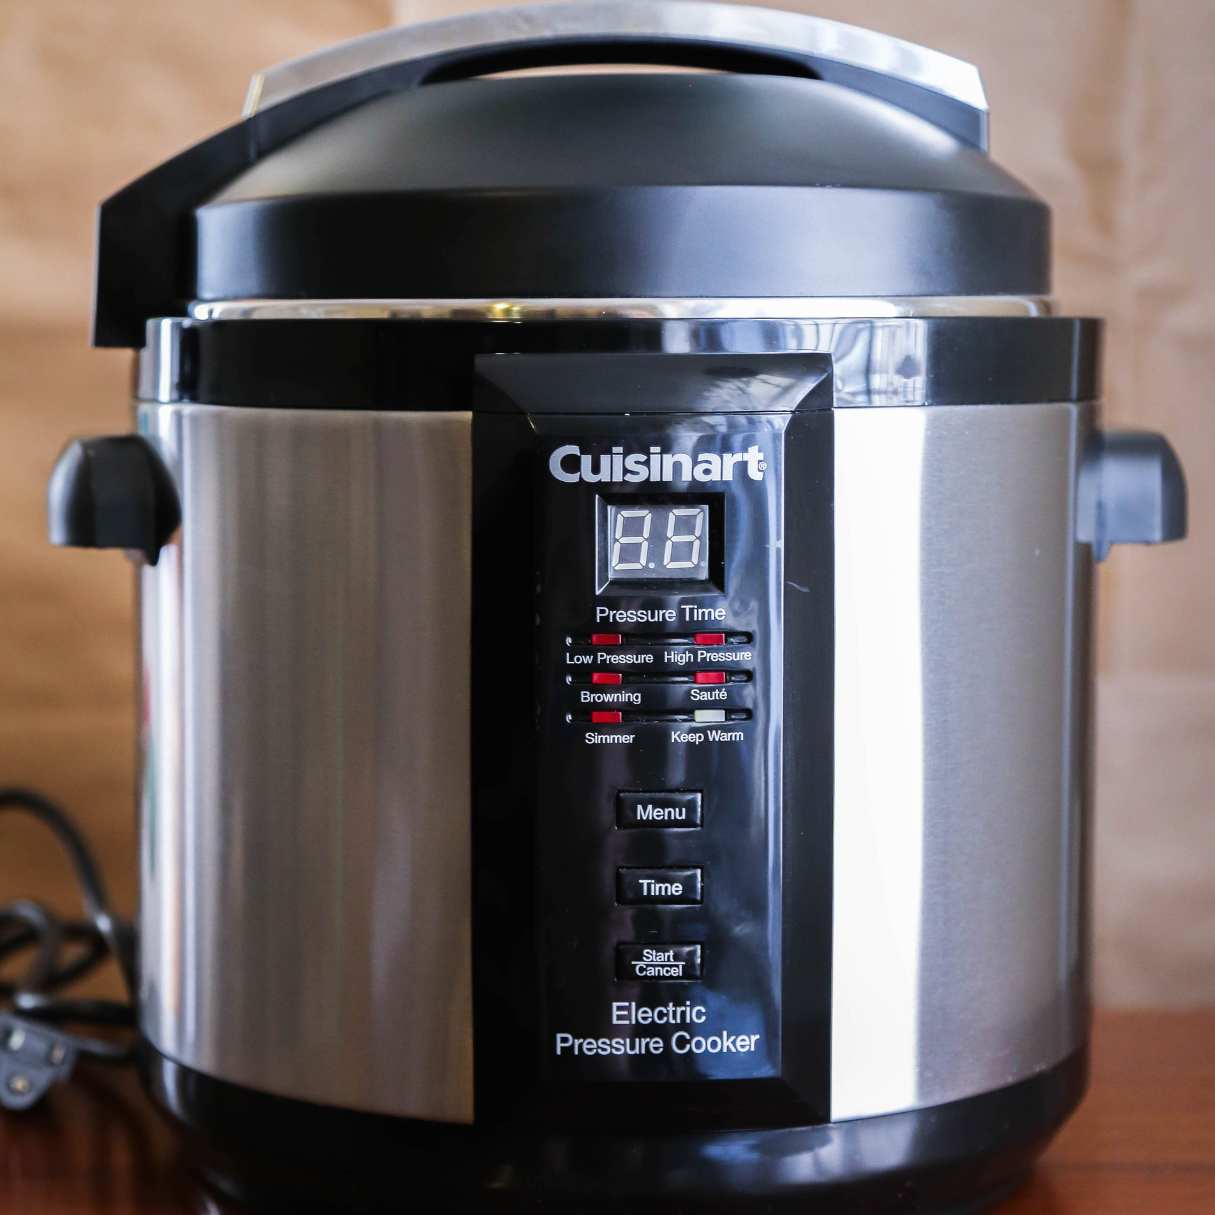
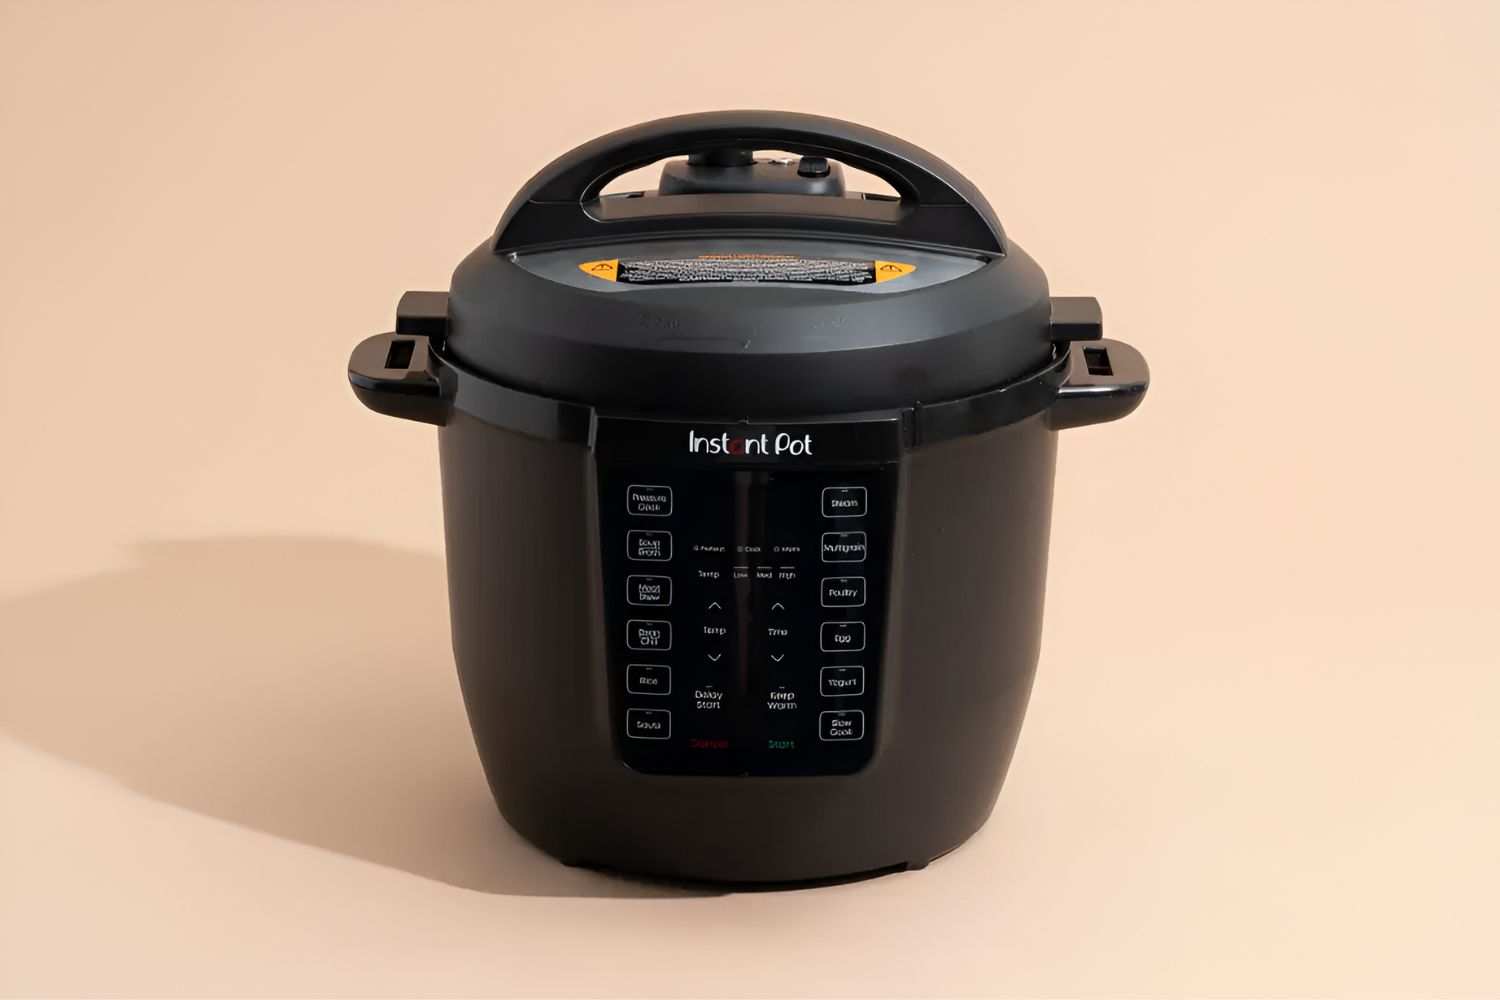
- Electric Pressure Cooker: An electric pressure cooker is a versatile appliance that will serve as the main tool for canning your trout. Make sure it is in good working condition and has a capacity large enough for your canning needs.
- Canning Jars: Choose glass jars specifically designed for canning, with airtight lids and appropriate size for the amount of trout you plan to can.
- Canning Rack: A canning rack keeps the jars elevated during the canning process, ensuring even heat distribution and preventing them from touching the bottom of the pressure cooker.
- Jar Lifter: A jar lifter is a specialized tool that allows you to safely and easily lift hot jars in and out of the pressure cooker.
- Canning Funnel: A canning funnel makes it easier to fill the jars without spilling or wasting the brine solution.
- Sharp Knife: A sharp knife is needed for gutting and cleaning the trout before canning.
- Cutting Board: Use a cutting board to safely prepare the trout without damaging your countertop or work surface.
- Measuring Cups and Spoons: Accurate measurements are crucial when preparing the brine solution, so make sure you have measuring cups and spoons handy.
- Brine Ingredients: Depending on your recipe, you may need salt, sugar, vinegar, herbs, and spices to create the brine solution that will enhance the flavor of your canned trout.
Having these essential tools on hand will ensure that the canning process goes smoothly and that you are well-prepared to preserve your trout effectively. With everything in place, it’s time to move on to the next step in the canning process: selecting and cleaning the trout.
Selecting and Cleaning the Trout
Choosing the right trout for canning is essential to ensure the best quality and taste. When selecting trout, look for fresh fish with bright, clear eyes and shiny scales. Avoid trout with dull, sunken eyes or discolored flesh.
Once you have selected your trout, it’s time to clean them. Follow these steps to properly clean the fish:
- Gutting the Trout: Lay the trout on a clean cutting board and use a sharp knife to make a shallow incision along the belly from the anal vent to the gills. Remove the entrails by carefully pulling them out from the throat end.
- Removing the Gills: Use your knife or scissors to carefully remove the gills on each side of the fish’s head. This step is optional, but it helps reduce fishy flavors in the canned trout.
- Rinsing the Trout: Rinse the trout thoroughly under cold running water, inside and out, to remove any blood or debris. Pat the fish dry with paper towels.
Make sure to clean your workspace and tools after gutting and cleaning each trout to prevent cross-contamination.
After cleaning, you can choose to leave the trout whole or cut them into more manageable pieces, depending on the size of your jars and personal preference. If you decide to cut the trout, make sure the pieces are small enough to fit easily into the jars but large enough to retain their flavor and texture during canning.
Now that you have successfully selected and cleaned your trout, it’s time to move on to the next step: preparing the brine solution.
Preparing the Brine Solution
A brine solution is a crucial element in canning trout as it helps enhance the flavor, preserve the fish, and prevent spoilage. Follow these steps to prepare the brine solution:
- Choose a Brine Recipe: There are various brine recipes available, each with its own combination of flavors. Select a recipe that aligns with your taste preferences and gather the necessary ingredients.
- Measure the Ingredients: Use measuring cups and spoons to accurately measure the ingredients according to your chosen recipe. Typically, the brine solution consists of water, salt, sugar, vinegar, and optional herbs and spices.
- Dissolve the Salt and Sugar: In a large pot, bring the water to a boil and add the salt and sugar. Stir continuously until the salt and sugar are completely dissolved.
- Add Vinegar and Flavorings: Once the salt and sugar are dissolved, add vinegar, herbs, and spices according to your recipe. Stir well to combine the ingredients and allow the flavors to infuse into the brine.
- Let the Brine Cool: Allow the brine solution to cool completely before using it to pack the trout in jars. This ensures that the heat won’t cook the fish prematurely and allows for safe handling during the canning process.
Remember to follow the proportions and measurements specified in your chosen brine recipe to ensure the proper balance of flavors and preservation. It’s also important to taste the brine solution before adding the trout to adjust the seasoning if needed.
With the brine solution prepared, you are now ready to move on to the next step: filling the jars with the trout and the brine solution.
Filling the Jars
Now that you have your cleaned and prepared trout, along with the brine solution, it’s time to fill the jars. Follow these steps to ensure a successful canning process:
- Prepare the Jars: Wash the canning jars, lids, and rings in hot soapy water, then rinse them thoroughly. Inspect the jars for any cracks or damages and discard any that are not in good condition. Place the jars in a large pot and cover them with water. Bring the water to a simmer to keep the jars hot until they are ready to be filled.
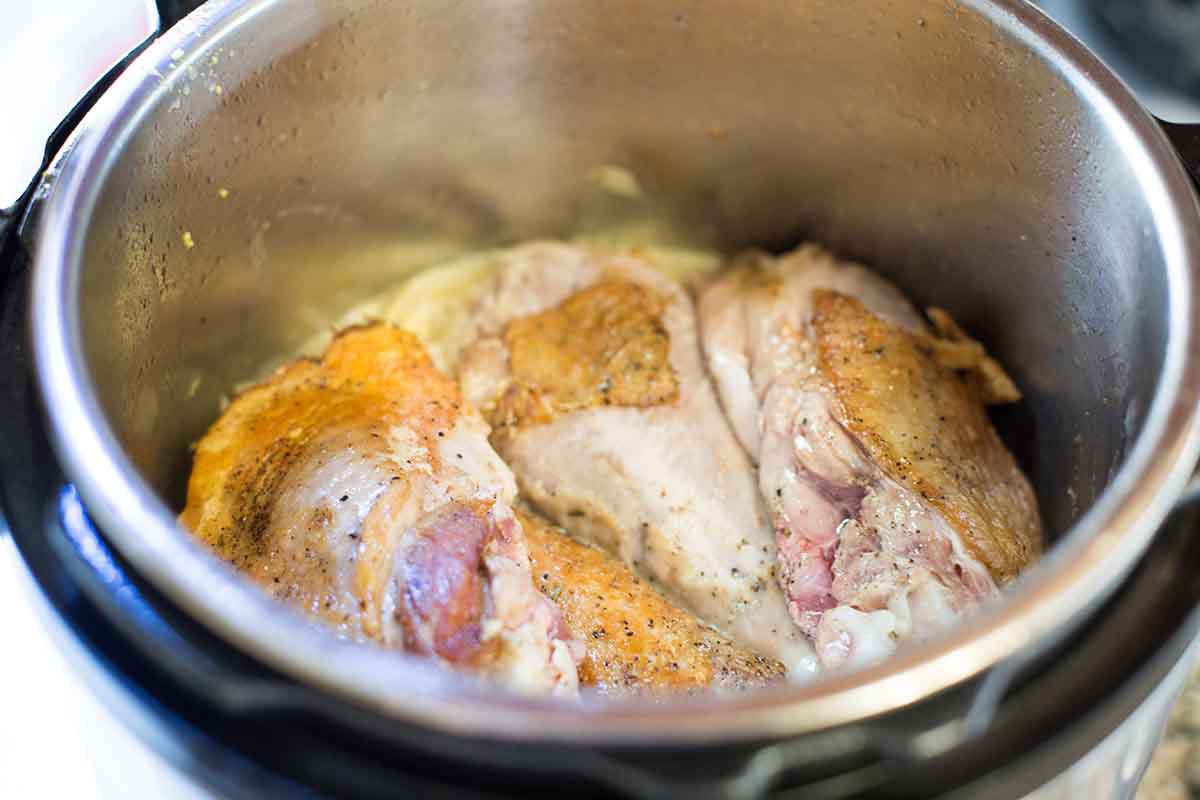
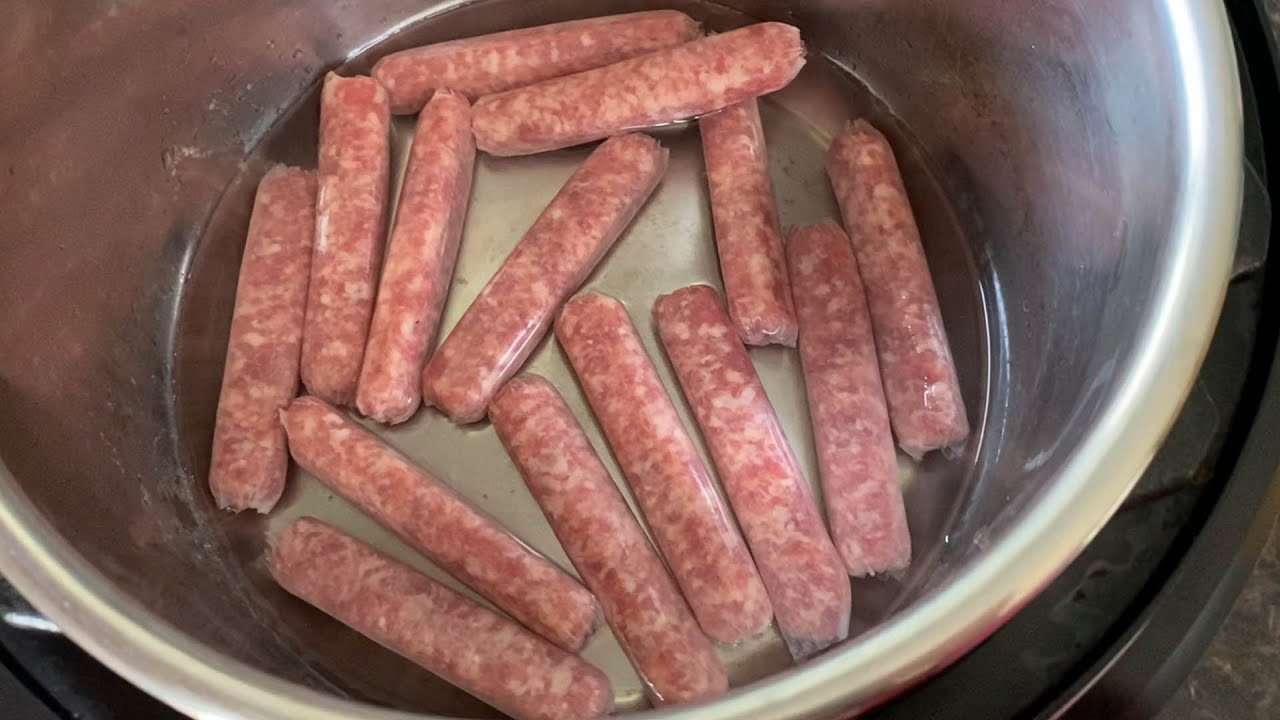
- Pack the Trout: Take one hot jar out of the pot using a jar lifter. Fill the jar, leaving about 1 inch of headspace at the top. Pack the trout tightly into the jar, ensuring there are no gaps or air pockets. Leave enough room for the brine to cover the fish completely.
- Add the Brine Solution: Pour the prepared brine solution into the jar, covering the trout completely while maintaining the 1 inch headspace. Use a canning funnel to prevent spillage and ensure the brine reaches all parts of the jar.
- Remove Air Bubbles: Run a thin spatula or a plastic utensil around the inside edge of the jar to remove any air bubbles trapped between the fish and the brine solution. This step helps maintain proper conditions inside the jar and aids in preservation.
- Wipe the Jar Rim: Moisten a clean cloth or paper towel with vinegar or hot water and wipe the rim of the jar to remove any brine residue or oils. This ensures a clean seal and prevents contamination.
- Secure the Lid: Place a lid on the jar and screw the ring on tightly, but not overly tight. This allows air to escape during the canning process but still creates a secure seal.
Repeat these steps for each jar until all the trout and brine solution are used. Remember to work efficiently and quickly to maintain a consistent temperature in the jars and reduce the risk of bacterial growth.
With the jars filled, it’s time to move on to the crucial step of using the electric pressure cooker to can the trout and preserve their fresh flavor.
Using the Electric Pressure Cooker
Now that your jars are filled with trout and the brine solution, it’s time to use the electric pressure cooker to complete the canning process. Follow these steps to safely and effectively can the trout:
- Check the Pressure Cooker: Ensure that your electric pressure cooker is clean and in good working condition. Make sure the rubber gasket and pressure release valve are properly seated and free from any obstructions.
- Add Water: Place the canning rack at the bottom of the pressure cooker. Add the required amount of water according to the manufacturer’s instructions. The water should be enough to cover the jars at least halfway but should not exceed the maximum fill line specified by the cooker.
- Arrange the Jars: Using a jar lifter, carefully place the filled jars onto the canning rack in the pressure cooker. Make sure there is enough space between the jars for the steam to circulate freely.
- Secure the Lid: Close and lock the lid of the pressure cooker, ensuring that it is properly sealed. Follow the instructions of your specific pressure cooker model to lock the lid securely in place.
- Select Pressure Setting and Time: Set the pressure cooker to the appropriate pressure setting for canning trout. Refer to your pressure cooker’s manual or consult a trusted recipe for the correct pressure and processing time.
- Start the Pressure Cooker: Turn on the electric pressure cooker and set the timer according to the recommended processing time for canning trout. The pressure cooker will begin heating up and building pressure.
- Monitor the Pressure: Once the pressure cooker reaches the desired pressure level, the pressure indicator will rise, and the cooking process will begin. Keep an eye on the pressure gauge and ensure that it stays within the recommended range throughout the canning process.
- Process the Trout: Allow the jars to process inside the pressure cooker for the designated amount of time. The heat and pressure will ensure that the trout are safely preserved and cooked to the desired level of doneness.
- Release Pressure and Remove Jars: After the processing time is complete, carefully perform a natural pressure release or follow the instructions for your specific pressure cooker to safely release the pressure. Once the pressure is fully released, unlock and remove the lid. Use a jar lifter to carefully remove the jars from the pressure cooker and place them on a heat-resistant surface.
Allow the jars to cool undisturbed for several hours. As they cool, you may hear the satisfying “ping” sound as the jars seal. This indicates a successful canning process.
With the trout safely canned, it’s time to move on to the final step: cooling and storing the canned trout.
Cooling and Storing the Canned Trout
After the trout has been safely canned using the electric pressure cooker, it’s important to let the jars cool and properly store them to maintain the quality and taste of the fish. Follow these steps to complete the process:
- Cooling the Jars: Once the jars are removed from the pressure cooker, place them on a heat-resistant surface and allow them to cool undisturbed for several hours. Letting them cool slowly prevents the jars from cracking due to rapid temperature changes.
- Checking the Seals: After the jars have cooled, check the seals by gently pressing down on the center of each lid. If the lid stays down and does not flex or move, the jar is properly sealed. Any unsealed jars should be refrigerated and consumed within a few days or reprocessed using a new lid.
- Label and Store: Once the seals are confirmed, label each jar with the date of canning. Choose a cool, dry, and dark storage area, such as a pantry or a cellar, that is free from extreme temperature fluctuations. Properly stored canned trout can last for up to 1 year.
- Inspecting for Spoilage: Before consuming any canned trout, inspect the jar for any signs of spoilage. This includes bulging lids, leaking liquid, off odors, or any visible mold or discoloration. If any of these signs are present, discard the jar immediately.
It’s important to note that the quality of the canned trout may gradually decline over time. To fully enjoy the freshness of the trout, it is recommended to consume within the first several months of canning.
Now that the trout is safely canned and properly stored, you can enjoy the delicious taste of your catch at any time of the year. Whether you use it in recipes or as a standalone meal, the canned trout will surely provide a delightful culinary experience.
Conclusion
Canning trout with an electric pressure cooker is not only a practical way to preserve your catch but also a means to enjoy the delicious flavor of trout all year round. By following the steps outlined in this guide, you can safely and efficiently can trout at home.
Remember to start by selecting fresh trout and properly cleaning them before preparing the brine solution. Filling the jars with the trout and brine requires careful attention to detail, ensuring each jar is packed tightly and free of air bubbles. The electric pressure cooker then becomes the key tool in the canning process, allowing for safe and effective preservation.
After the trout is canned, it’s important to let the jars cool undisturbed and check for proper seals before storing them in a cool, dry place. Always inspect each jar for signs of spoilage before consumption.
Canning trout not only offers a convenient way to enjoy the flavors of fresh-caught fish but also provides the satisfaction of knowing you have preserved nature’s bounty. With a little practice and the right equipment, you can create jars of delicious canned trout that will make for delightful meals and snacks.
So, whether you’re an avid angler or simply looking for a way to make your catch last longer, give canning trout with an electric pressure cooker a try. It’s a rewarding process that allows you to savor the taste of your fishing success for months to come.