Introduction
Welcome to your comprehensive guide on how to can carrots using an electric pressure cooker. Canning your own carrots not only allows you to preserve their freshness and flavor, but it also ensures that you have a readily available supply of this versatile vegetable for use in various recipes throughout the year. With the help of an electric pressure cooker, the process becomes easier and more efficient, saving you time and effort.
In this article, we will provide you with step-by-step instructions on how to properly can carrots using an electric pressure cooker. We will cover everything you need to know, from choosing and preparing the carrots to packing the jars, pressure cooking them, and properly storing the finished product. So, let’s get started and enjoy the satisfaction of having homemade canned carrots at your fingertips!
Before we delve into the process, it is important to note that canning vegetables, including carrots, requires following specific safety guidelines. It is crucial to ensure that all equipment, jars, and lids are properly sanitized. Additionally, it is essential to accurately measure and follow the instructions for preparing the brine solution and processing the jars to prevent any risk of foodborne illnesses.
Now that we’ve set the stage, let’s gather our supplies and get ready to can some delicious carrots!
Equipment Needed
Before you begin the canning process, it’s important to gather all the necessary equipment. Having everything prepared and within reach will make the process more efficient and enjoyable. Here’s a list of the essential equipment you’ll need:
- Electric Pressure Cooker: Make sure you have an electric pressure cooker that is suitable for canning. Check the manufacturer’s instructions to ensure it is equipped with the necessary features for safe and effective canning.
- Canning Jars: Opt for glass canning jars that are specifically designed for canning. Choose the appropriate size, depending on your needs. Quart-sized jars are commonly used for canning carrots.
- Canning Lids and Rings: Ensure you have enough lids and rings to seal all the jars. It’s important to use new lids for each canning session to ensure a proper seal.
- Jar Lifter: This tool is essential for safely lifting hot jars in and out of the pressure cooker.
- Canning Funnel: A canning funnel helps to prevent spills and allows for easy and precise pouring of liquid and vegetables into the jars.
- Large Pot: You’ll need a large pot for blanching the carrots and preparing the brine solution.
- Cutting Board and Knife: A sturdy cutting board and a sharp knife will be necessary for peeling, trimming, and cutting the carrots into the desired shape.
- Measuring Cups and Spoons: Accurate measurements are crucial for preparing the brine solution and ensuring the correct ratio of ingredients.
- Kitchen Towels and Oven Mitts: These will come in handy for handling hot jars and lids during the canning process.
- Timer: A timer will help you keep track of the processing time to ensure the carrots are properly cooked and safe to consume.
It’s important to note that proper sanitation of all equipment is essential when canning. Before starting the process, ensure that all jars, lids, rings, and utensils are thoroughly cleaned and sterilized. This will help prevent bacterial contamination and ensure the longevity and safety of your canned carrots.
Now that you have all the necessary equipment, let’s move on to the next step in the canning process: choosing and preparing the carrots!
Choosing and Preparing Carrots
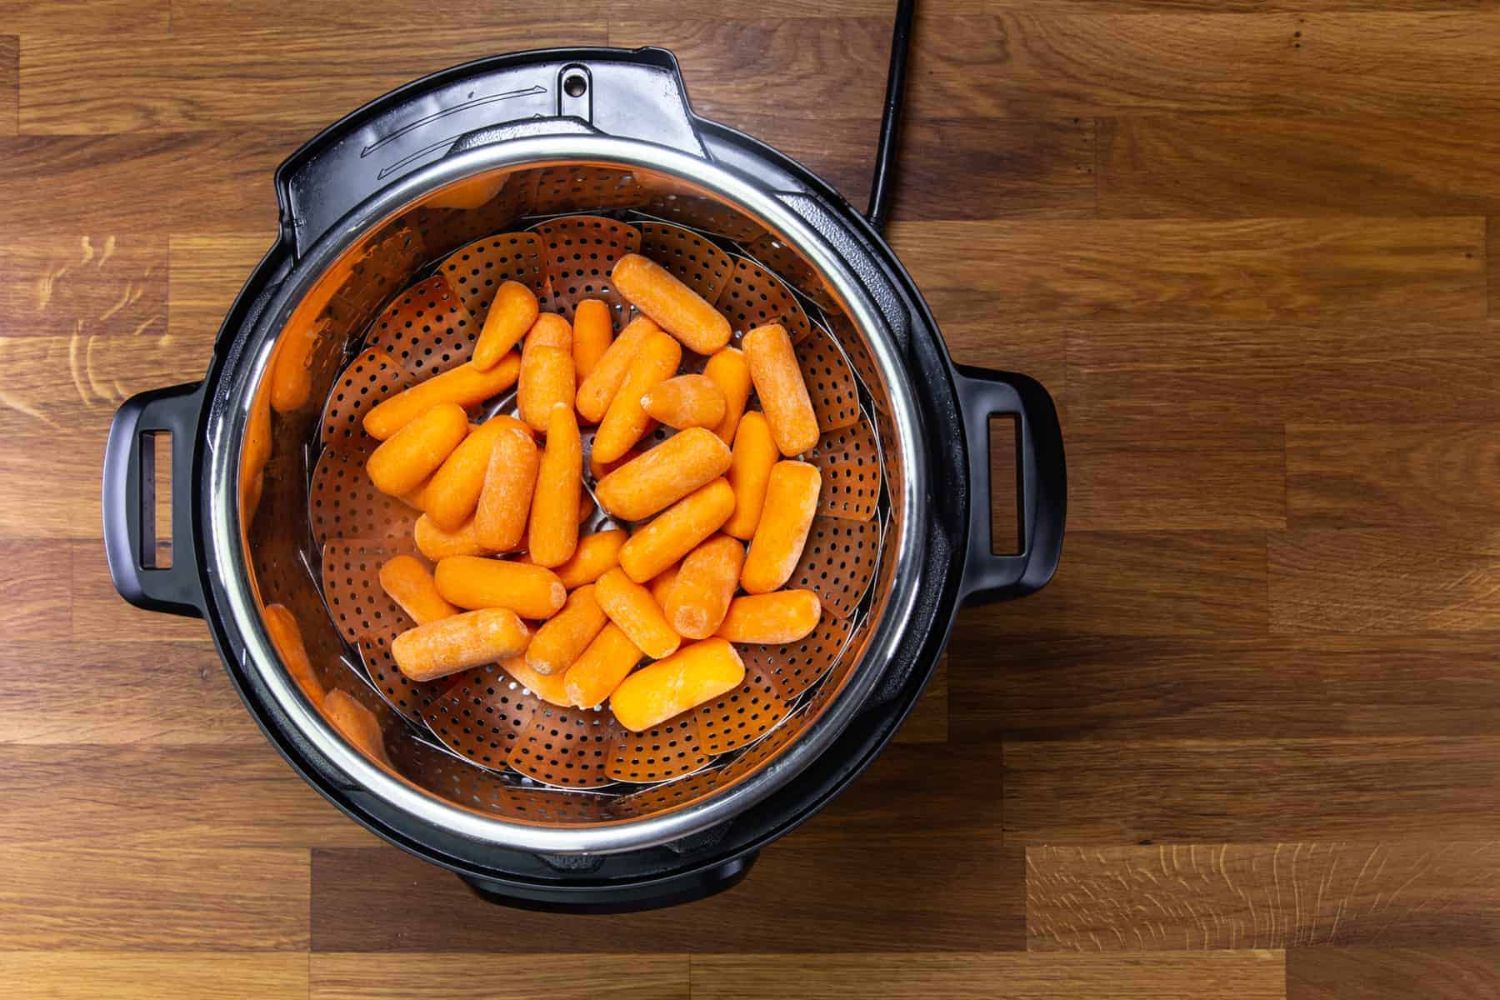
When it comes to canning carrots, choosing the right ones is essential for a successful end result. Here’s how to select and prepare the best carrots for canning:
Choosing Carrots:
Look for carrots that are firm, fresh, and free from blemishes or soft spots. The ideal size for canning is medium to large carrots, as they are easier to handle and pack into the jars. Organic carrots are a great option if available, as they are free of pesticides and chemicals.
Washing and Peeling:
Begin by washing the carrots thoroughly under running water to remove any dirt or debris. Use a vegetable brush to scrub the carrots gently, paying extra attention to the crevices. If the carrots are organic and the skin is in good condition, you can choose to leave the skin on. Otherwise, peel the carrots using a vegetable peeler, ensuring that all outer layers are removed.
Trimming and Cutting:
After washing and peeling the carrots, trim off the tops and root ends. Cut the carrots into your preferred size and shape. You can choose to slice them into rounds, cut them into sticks, or even dice them, depending on your preference and intended use.
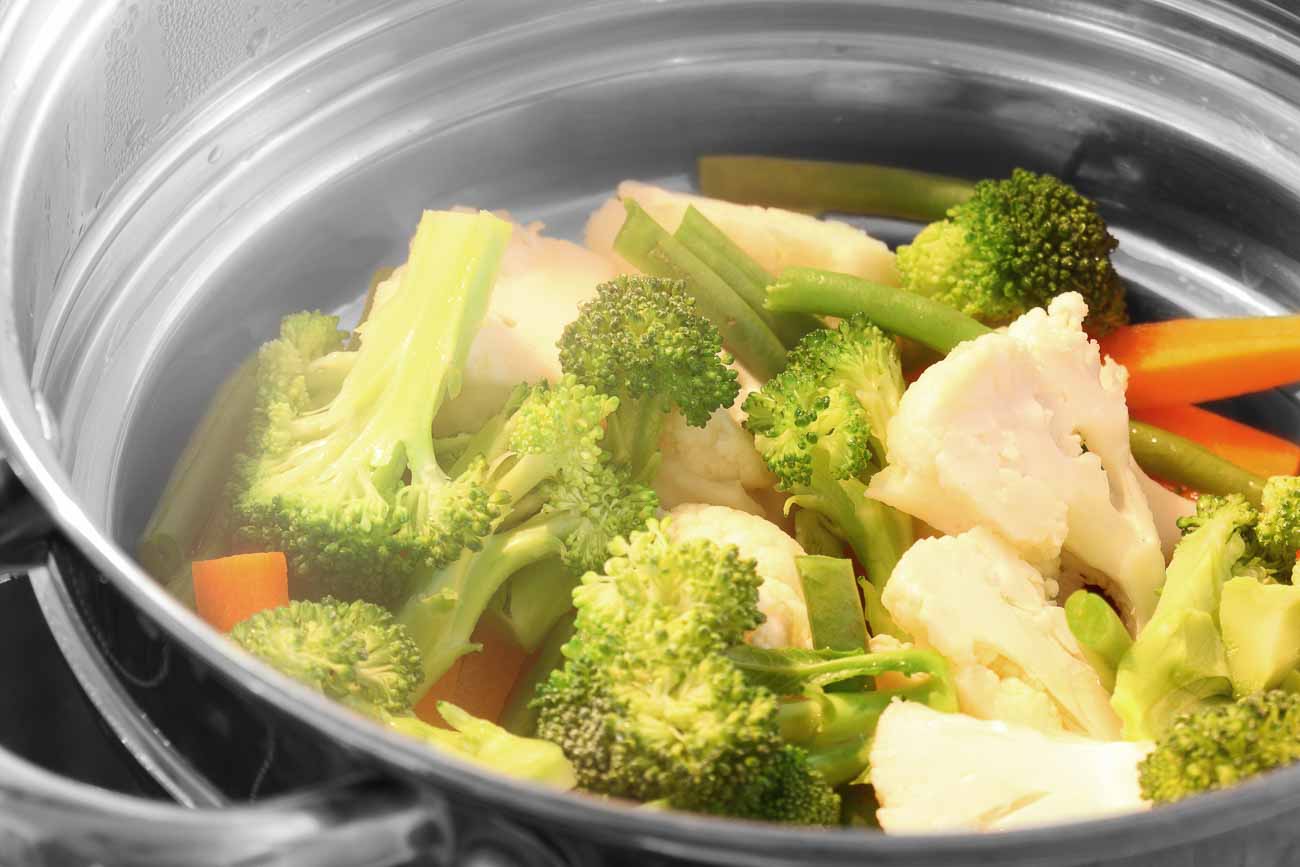
Blanching:
Blanching is an important step that helps to preserve the color, texture, and flavor of the carrots. It also helps kill any potential bacteria present on the surface. To blanch the carrots, bring a large pot of water to a boil. Carefully add the carrot slices or pieces to the boiling water and cook them for about 2-3 minutes. After blanching, immediately transfer the carrots to an ice bath to cool and stop the cooking process. Once cooled, drain the carrots and set them aside.
Now that your carrots are prepared and ready, it’s time to move on to the next step: preparing the jars and lids.
Preparing Jars and Lids
Properly preparing the jars and lids is crucial for ensuring the safety and longevity of your canned carrots. Follow these steps to prepare your jars and lids before packing them with the carrots:
Washing the Jars:
Start by washing the canning jars with warm water and soap. Rinse them thoroughly to remove any soap residue. You can also run the jars through the dishwasher on a hot water cycle. Ensure that the jars are completely clean and free of any debris.
Sterilizing the Jars:
To ensure that the jars are properly sterilized, there are a couple of methods you can use. One option is to place the clean jars, along with their lids and rings, in a large pot. Fill the pot with enough water to cover the jars, and bring it to a boil. Let the jars boil for 10 minutes to ensure sterilization. Alternatively, you can place the clean jars on a baking sheet and place them in a preheated oven at 225°F (107°C) for 10 minutes.
Heating the Lids:
While the jars are sterilizing, you can prepare the lids. Place the lids in a heatproof bowl and pour boiling water over them. Let them sit in the hot water for a few minutes to soften the sealing compound and ensure a proper seal.
Preparing the Rings:
The rings are reusable and do not require sterilization. Simply wash them with warm, soapy water, rinse, and set aside until you’re ready to use them.
By following these steps to clean, sterilize, and prepare your jars and lids, you’ll ensure that your canned carrots are stored in a safe and airtight environment. With your jars and lids ready, it’s time to move on to the next step: preparing the pressure cooker.
Preparing the Pressure Cooker
Before you can start the canning process, it’s important to properly prepare your electric pressure cooker to ensure it’s ready for use. Here are the steps to prepare your pressure cooker:
Read the Manual:
Every electric pressure cooker model is slightly different, so it is essential to carefully read and understand the manufacturer’s instructions. Familiarize yourself with the specific guidelines and safety precautions for canning in your particular model.
Inspect the Pressure Cooker:
Before using the pressure cooker, thoroughly inspect it for any signs of damage or wear. Check the gasket, pressure release valve, and the overall condition of the cooker. If there are any concerns, consult the manufacturer or consider replacing the damaged parts before proceeding.
Ensure Proper Sealing:
Check that the sealing ring is properly seated in the lid of the pressure cooker. If it appears loose or damaged, replace it with a new one. A tight seal is crucial for the pressure cooker to function effectively during the canning process.
Add Water to the Pressure Cooker:
Most electric pressure cookers require a specific amount of water to create the necessary steam for canning. Refer to the manufacturer’s instructions to determine the recommended water level. Pour the required amount of water into the pressure cooker pot, ensuring it does not exceed the maximum fill line.
Preheat the Pressure Cooker:
Place the lid on the pressure cooker and ensure it is locked securely. Set the pressure cooker to the preheat or canning function, following the instructions provided with your model. Allow the pressure cooker to heat up until the recommended temperature is reached.
By properly preparing your electric pressure cooker, you’ll ensure that it is in optimal condition and ready to provide the necessary heat and pressure for safe and effective canning. Once your pressure cooker is preheated, it’s time to move on to preparing the brine solution for your carrots.
Preparing the Brine Solution
The brine solution is an important element in the canning process as it helps preserve the flavor and texture of the carrots. Follow these steps to prepare the brine solution:
Gather the Ingredients:
To make the brine solution, you’ll need water, vinegar, and salt. The ratio of these ingredients may vary depending on personal preference and recipe, but a common ratio is 1 cup of vinegar, 1 cup of water, and 1 tablespoon of salt. Adjust these measurements as needed, keeping in mind that the total volume of the brine should be enough to cover all the carrots in the jars.
Combine the Ingredients:
In a large pot, combine the water, vinegar, and salt. Stir the mixture well to ensure the salt is fully dissolved. Place the pot over medium heat and bring the brine solution to a gentle boil, stirring occasionally to prevent the salt from settling at the bottom of the pot.
Taste and Adjust:
Once the brine solution reaches a boil, you can taste it and adjust the flavors if necessary. If you prefer a tangier taste, you can add more vinegar. If you prefer a less salty brine, reduce the amount of salt. The goal is to create a brine that enhances the flavor of the carrots without overpowering them.
Keep Brine Warm:
While you are preparing the jars and packing the carrots, keep the brine solution warm on the stovetop on low heat. This will prevent it from cooling down too quickly and ensure that it is ready to be poured over the carrots in the jars.
By following these steps, you’ll be able to prepare a flavorful brine solution that will enhance the taste and preservation of your canned carrots. With your brine ready, it’s time to move on to packing the jars with the prepared carrots.
Packing the Jars with Carrots
Now that you’ve prepared your jars, it’s time to start packing them with the carrots. Follow these steps to ensure proper packing:
Fill Jars with Carrots:
Start by packing the blanched and drained carrots into the prepared jars. Place the carrot pieces into the jars, leaving about 1 inch of headspace at the top. This space allows for expansion during processing and helps create a proper seal.
Pour the Brine Solution:
Once the jars are filled with carrots, carefully pour the warm brine solution into each jar, covering the carrots completely. Ensure that the brine reaches the top of the jars, leaving the recommended 1 inch of headspace. Use a canning funnel to minimize spills and ensure accurate pouring.
Remove Air Bubbles:
After pouring the brine, use a non-metallic utensil, such as a plastic spatula or a chopstick, to gently remove any air bubbles trapped in the jar. Insert the utensil along the sides of the jar and move it around to release the bubbles. This step is important for proper preservation and ensuring a tight seal.
Wipe Jar Rims:
Once the jars are filled and the air bubbles are removed, use a clean, damp cloth or paper towel to wipe the rims of the jars. This will remove any brine or debris that could prevent a proper seal. Ensure that the rims are clean and dry before placing the lids and rings.
Seal the Jars:
Using a jar lifter, carefully place the lids onto the jars, ensuring they are centered. Then, secure the lids with the rings, tightening them until they are just snug. Avoid over-tightening, as this can interfere with the proper sealing process.
By following these steps, you’ll have properly packed jars ready for the next stage: pressure cooking the carrots.
Pressure Cooking the Carrots
Now that the jars are packed and sealed, it’s time to move on to the pressure cooking stage of the canning process. Follow these steps to pressure cook the carrots:
Place Jars in the Pressure Cooker:
Using a jar lifter, carefully place the packed jars into the preheated pressure cooker, ensuring that they are not touching each other or the sides of the cooker. Make sure to follow the recommended maximum capacity of your pressure cooker.
Secure the Lid:
Place the lid securely onto the pressure cooker, ensuring it is properly locked in place. Depending on your pressure cooker model, this may involve aligning arrows or turning the lid to lock it.
Set the Pressure:
Refer to your pressure cooker’s manual to determine the appropriate pressure for canning carrots. Set the pressure to the recommended level, which is typically 10 or 15 PSI (pounds per square inch) for most electric pressure cookers.
Start the Cooking Process:
Turn on the pressure cooker and start the cooking process. The pressure cooker will begin to build pressure and reach the specified level. Once the desired pressure is reached, the timer will start counting down the processing time.
Process the Carrots:
Refer to a trusted canning resource or recipe for the recommended processing time for carrots in your electric pressure cooker. The processing time typically ranges from 25-30 minutes for quart-sized jars. It’s important to maintain the pressure at the recommended level throughout the entire processing time.
Allow Pressure to Release:
Once the processing time is complete, turn off the heat and let the pressure inside the cooker naturally release. Do not attempt to open the pressure cooker until the pressure has completely released. This process may take some time, so be patient and do not rush the cooling process.
Remove Jars from the Pressure Cooker:
Once the pressure has fully released, use a jar lifter to carefully remove the jars from the pressure cooker. Place them on a heatproof surface or a cooling rack to cool completely.
By following these steps, you’ll successfully pressure cook your jars of carrots, ensuring their safety and long shelf-life. Now, all that’s left to do is let the jars cool and move on to the final step: cooling and storing the jars.
Cooling and Storing the Jars
After pressure cooking the jars of carrots, it’s essential to properly cool and store them to maintain their freshness and safety. Follow these steps to ensure proper cooling and storage:
Cooling the Jars:
Once the jars are removed from the pressure cooker, allow them to cool completely at room temperature. Avoid placing them in a cold environment or exposing them to extreme temperature changes, as this can cause the jars to break or compromise the seal. It’s recommended to let the jars cool for at least 12-24 hours to allow for proper sealing and development of flavors.
Check for Proper Sealing:
After the jars have cooled, carefully check the lids for proper sealing. Press down on the center of each lid to check for a concave or indented shape, which indicates a successful seal. If a lid pops up and down when pressed, it may not have properly sealed. In such cases, refrigerate or consume the contents promptly, or reprocess the jars to ensure a proper seal.
Label and Store:
Once you have confirmed that the jars are properly sealed, label them with the contents and the date of canning. This will help you keep track of the freshness and rotation of your canned carrots. Store the jars in a cool, dry, and dark area such as a pantry or cellar, where they will be protected from direct sunlight and extreme temperature fluctuations.
Shelf Life:
When properly stored, canned carrots can have a shelf life of up to one year. However, it’s important to regularly inspect the jars for any signs of spoilage, such as bulging lids, unusual odors, or discoloration. If you come across any spoiled jars, discard them immediately to ensure your safety.
Usage:
When you’re ready to use your canned carrots, open the jars by carefully prying up the lids with a bottle opener or a similar tool. Once opened, the carrots can be used in various recipes such as stews, soups, stir-fries, or enjoyed as a simple side dish.
By following these steps, you’ll ensure that your canned carrots are properly cooled, stored, and ready for future use. Enjoy the convenience of having your homemade carrots readily available whenever you need them!
Conclusion
Canning carrots in an electric pressure cooker is a rewarding and practical way to preserve the freshness and flavor of this versatile vegetable. With the step-by-step guide provided in this article, you now have the knowledge and instructions to successfully can your own carrots at home.
By carefully selecting and preparing your carrots, sterilizing your jars and lids, and following proper canning techniques, you can create jars of delicious carrots that will be available for use in various recipes throughout the year.
Remember to always prioritize safety when canning. It’s important to adhere to the guidelines and instructions provided by your pressure cooker’s manufacturer and reputable canning resources. Properly sanitizing equipment, accurately measuring ingredients, and following recommended processing times are crucial steps to ensure the longevity and safety of your canned carrots.
Whether you’re looking to stock up on carrots from your garden or making use of a great deal on fresh carrots at the grocery store, canning them in an electric pressure cooker is a fantastic option. Not only does it allow you to enjoy the benefits of home-canned produce, but it also gives you the satisfaction of knowing exactly what goes into your jars.
So, why not give it a try? With a bit of preparation, time, and attention to detail, you’ll soon have jars of delicious and nutritious canned carrots that will elevate your meals and provide a convenient and long-lasting source of this wonderful vegetable.
Happy canning!