Introduction
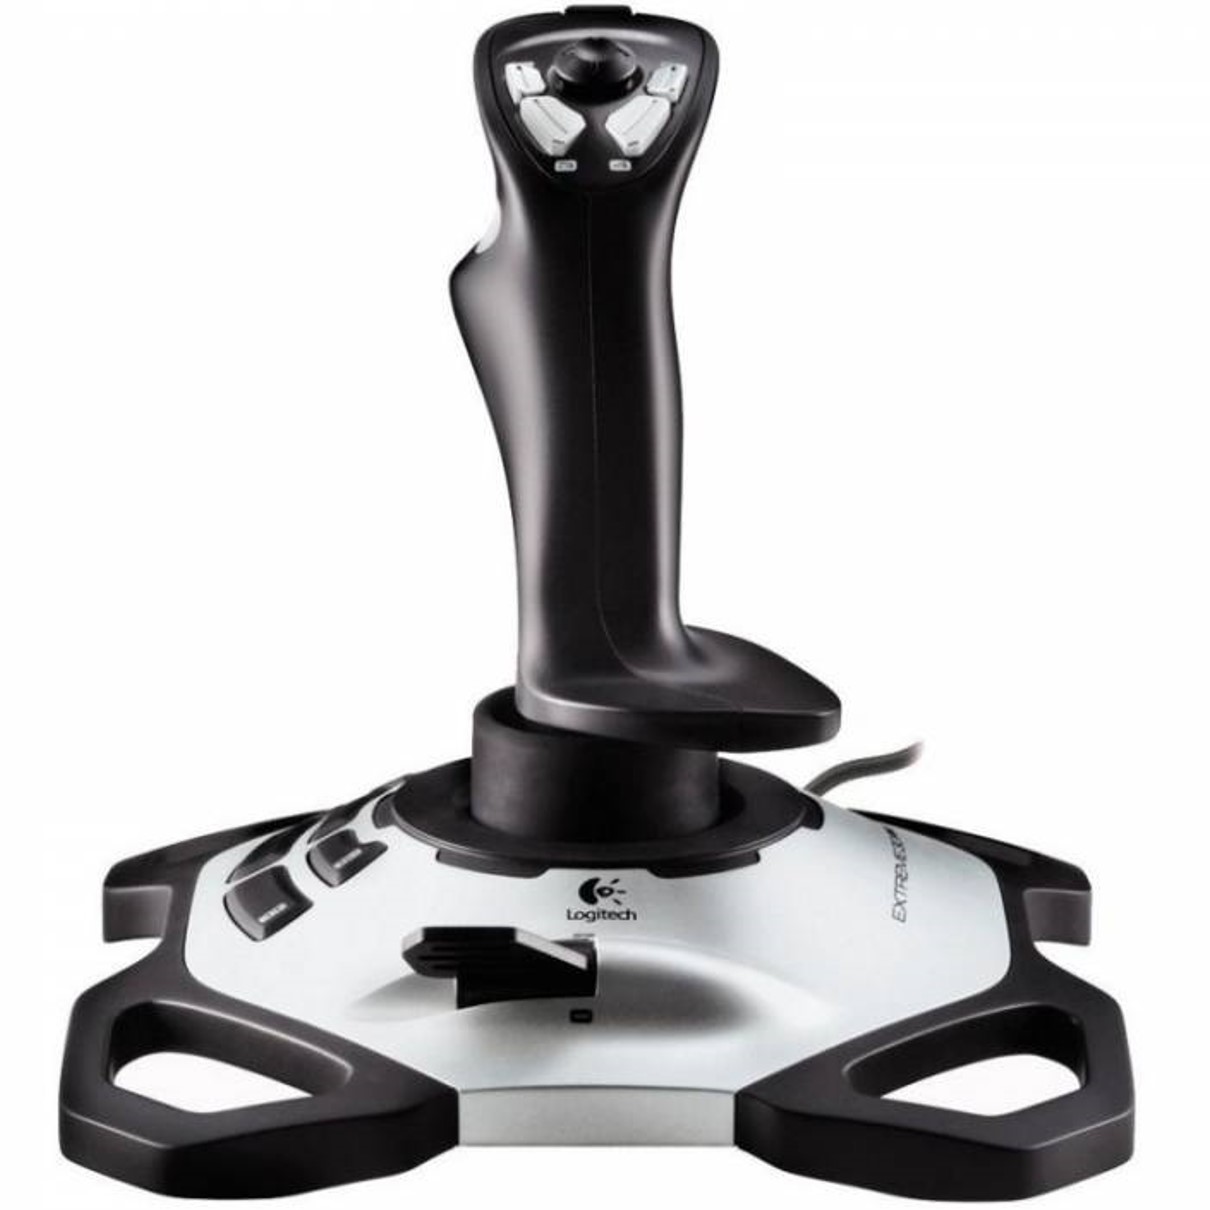
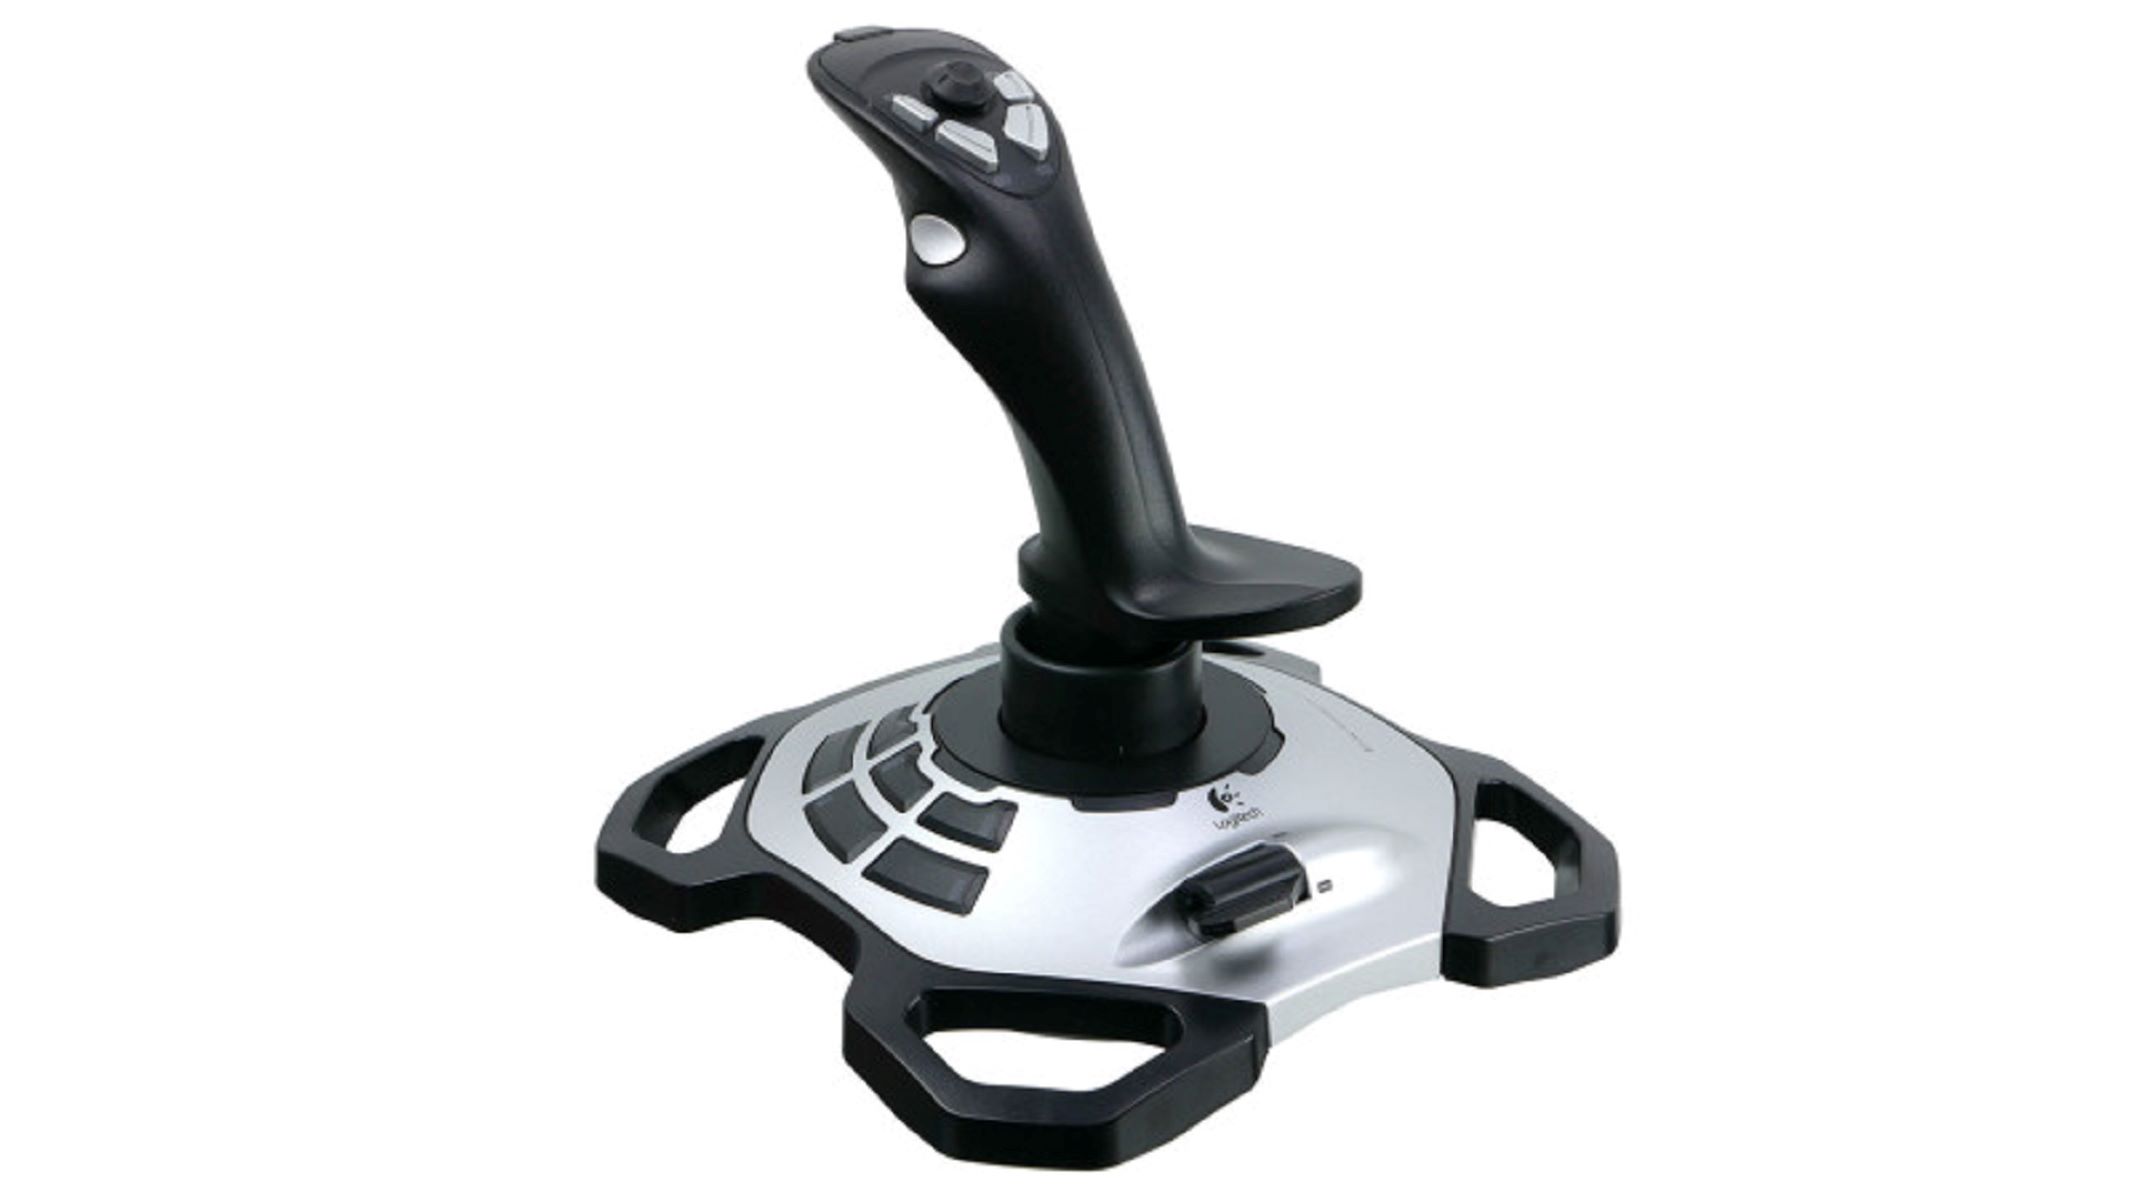
Welcome to this guide on how to calibrate the Logitech Extreme 3D Pro joystick! If you’re a gaming enthusiast or a passionate flight simulator player, you know the importance of having precise and accurate control over your joystick. The Logitech Extreme 3D Pro is a popular choice for gamers due to its sturdy build quality and ergonomic design.
Calibrating your joystick is an essential step in ensuring that it functions optimally. By calibrating your Logitech Extreme 3D Pro, you can eliminate any problems with mismatched controls, reduce input lag, and have a smoother gaming experience. Calibration involves adjusting the joystick’s sensitivity and deadzone settings to suit your preferences and to match the game or simulator you’re using.
In this guide, we will take you through the step-by-step process of calibrating your Logitech Extreme 3D Pro joystick. Whether you’re a beginner or an experienced gamer, this guide will help you fine-tune your joystick settings to enhance your gaming performance.
Before we dive into the calibration process, it’s worth noting that the calibration steps we outline here are specific to the Logitech Extreme 3D Pro joystick. This joystick comes with its own software, known as the Logitech Gaming Software, which is necessary for calibrating the joystick and accessing advanced settings. Make sure you have the Logitech Gaming Software installed on your computer before proceeding.
So, if you’re ready to take your gaming experience to the next level and ensure that your Logitech Extreme 3D Pro joystick is perfectly calibrated for maximum precision, let’s get started with the calibration process!
The Importance of Calibration
Calibrating your Logitech Extreme 3D Pro joystick is not just a technicality; it plays a critical role in achieving optimal performance. Let’s explore why calibration is important for your gaming experience.
One of the key benefits of calibration is ensuring that your joystick accurately responds to your movements. Over time, joystick components may experience wear and tear, causing them to become less sensitive or misaligned. Calibration helps to rectify these issues, allowing for precise control and reducing the chances of input lag.
Another reason calibration is important is to eliminate any deadzone present in your joystick. Deadzone refers to an area on the joystick where slight movement does not register. This can lead to imprecise controls, making it harder to execute precise maneuvers in games or simulators. By calibrating your joystick, you can adjust the deadzone to your preference, ensuring that even the slightest movements are translated accurately.
Additionally, calibration allows you to customize your joystick settings based on personal preferences and the specific game or simulator you are playing. Every player has a different playstyle and sensitivity preference. Calibration provides the opportunity to fine-tune the joystick sensitivity, allowing you to achieve the level of control that suits your style of play.
Moreover, calibration helps to establish a foundation for accurate input across various games or simulators. Different games may have different default control settings, and by calibrating your joystick, you can create a consistent experience across all your games. This eliminates the need to constantly adjust your controls when switching between different titles, saving you time and frustration.
Lastly, proper joystick calibration can prolong the lifespan of your Logitech Extreme 3D Pro. By ensuring that the joystick is functioning optimally, you reduce the chances of excessive wear and tear on the components. This can ultimately extend the lifespan of your joystick, saving you the trouble and cost of having to replace it prematurely.
Now that you understand the significance of calibration, let’s move on to the step-by-step process of calibrating your Logitech Extreme 3D Pro joystick.
Step 1: Connect the Joystick to Your Computer
The first step in calibrating your Logitech Extreme 3D Pro joystick is to ensure that it is properly connected to your computer. Follow these simple instructions to connect your joystick:
- Locate an available USB port on your computer.
- Take the USB cable that came with your Logitech Extreme 3D Pro joystick and connect one end to the joystick itself.
- Connect the other end of the USB cable to the USB port on your computer.
- Wait for a moment as your computer recognizes the joystick and installs any necessary drivers or software.
- You will know that the joystick is successfully connected when the LED lights on the joystick illuminate, indicating power and connection status.
It’s important to note that some operating systems, such as Windows, may automatically detect and configure the joystick without requiring any additional steps. However, if the joystick is not recognized or doesn’t function properly, you may need to install the Logitech Gaming Software, which we will cover in the next step.
Once your Logitech Extreme 3D Pro joystick is successfully connected to your computer, you’re ready to move on to the next step: installing the Logitech Gaming Software.
Step 2: Install the Logitech Gaming Software
The Logitech Gaming Software is a vital tool for calibrating your Logitech Extreme 3D Pro joystick and accessing its advanced settings. Follow these steps to install the Logitech Gaming Software:
- Visit the official Logitech website (www.logitech.com) to download the Logitech Gaming Software.
- Navigate to the Downloads or Support section of the Logitech website.
- Search for the Logitech Gaming Software, ensuring that you download the version compatible with your operating system.
- Click on the download link, and the software will begin to download.
- Once the download is complete, locate the downloaded file and double-click it to initiate the installation process.
- Follow the on-screen instructions provided by the Logitech Gaming Software installer.
- Accept the terms and conditions and select the desired installation location.
- Wait for the software to install on your computer. This may take a few moments.
- Once the installation is finished, click on the “Finish” button to exit the installer.
After successfully installing the Logitech Gaming Software, you will have access to a range of features and settings for your Logitech Extreme 3D Pro joystick, including calibration options.
Now that you have the Logitech Gaming Software installed on your computer, it’s time to proceed to the next step: launching the software.
Step 3: Launch the Logitech Gaming Software
Now that you have installed the Logitech Gaming Software, it’s time to launch the software and prepare for the calibration process. Follow these steps to launch the Logitech Gaming Software:
- Locate the Logitech Gaming Software icon on your desktop or in your list of installed programs.
- Double-click the icon to launch the Logitech Gaming Software.
- Alternatively, you can access the software by searching for “Logitech Gaming Software” in the Windows search bar or by navigating to the installed directory on your computer.
- Wait for the Logitech Gaming Software to load. It may take a few moments.
- Once the software is open, you will be greeted with a user-friendly interface that provides access to various settings and features for your Logitech Extreme 3D Pro joystick.
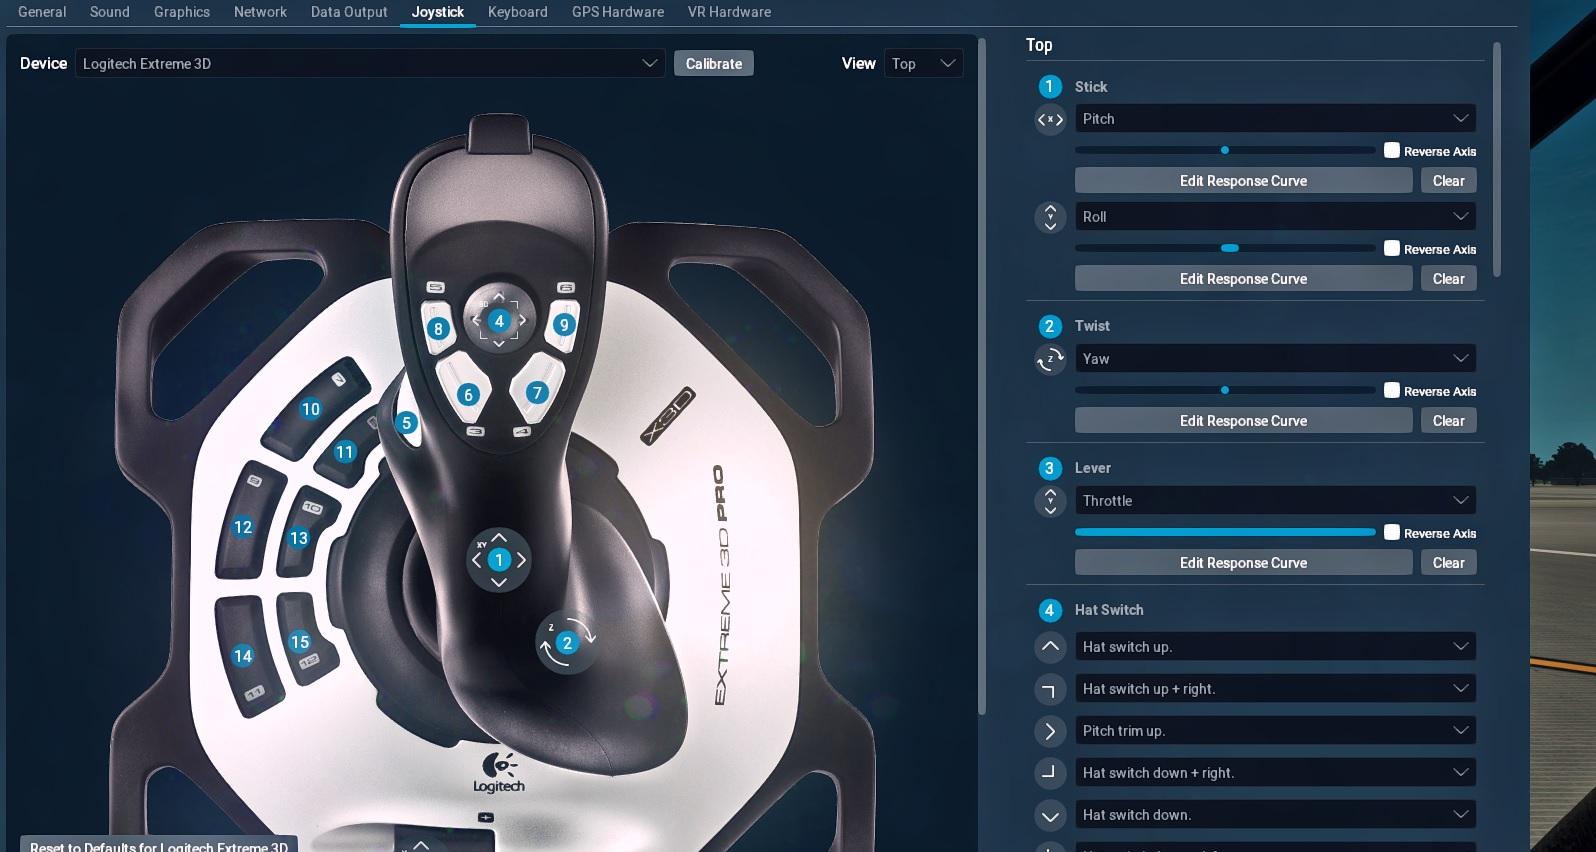
- Take a moment to familiarize yourself with the different tabs and options available in the Logitech Gaming Software. These include the joystick’s button configuration, profile settings, and, most importantly for calibration, the “Calibration” tab.
By launching the Logitech Gaming Software, you have taken the crucial step of accessing the software’s interface, from which you can customize and calibrate your Logitech Extreme 3D Pro joystick.
With the Logitech Gaming Software up and running, you’re now ready to move on to the next step: clicking on the “Calibration” tab to begin the calibration process.
Step 4: Click on the “Calibration” Tab
Once you’ve launched the Logitech Gaming Software, the next step in calibrating your Logitech Extreme 3D Pro joystick is to navigate to the “Calibration” tab. Follow these instructions to access the calibration settings:
- Look for the different tabs or options available in the Logitech Gaming Software interface.
- Locate and click on the “Calibration” tab. It may be labeled as “Calibrate” or “Joystick Calibration” depending on the version of the software.
- After clicking on the “Calibration” tab, a new window or panel will open, displaying the calibration options for your Logitech Extreme 3D Pro joystick.
Once you have clicked on the “Calibration” tab, you have accessed the settings specifically designed for calibrating your joystick. These settings will allow you to fine-tune the sensitivity and deadzone of your Logitech Extreme 3D Pro, ensuring optimal performance during gameplay.
In the next step, we will guide you through the process of following the on-screen instructions provided by the Logitech Gaming Software for calibrating your joystick. This step is crucial for achieving accurate and precise control over your Logitech Extreme 3D Pro joystick.
Step 5: Follow the On-Screen Instructions
After accessing the “Calibration” tab in the Logitech Gaming Software, you are ready to follow the on-screen instructions to calibrate your Logitech Extreme 3D Pro joystick. Here’s how to proceed:
- Within the “Calibration” tab, look for a button or option that says “Start Calibration” or something similar.
- Click on the “Start Calibration” button to begin the calibration process.
- A calibration wizard or series of on-screen instructions will appear, guiding you through the necessary steps to calibrate your Logitech Extreme 3D Pro joystick.
- The wizard may prompt you to perform specific actions, such as moving the joystick through its full range of motion or pressing all the buttons on the joystick.
- Follow the on-screen instructions carefully, ensuring that you complete each step as directed.
- While following the on-screen instructions, pay attention to any visual or audio cues that can help you determine the correct calibration settings.
- Once you have completed the calibration process according to the on-screen instructions, click on the “Finish” or “Done” button to save your calibration settings.
By following the on-screen instructions provided by the Logitech Gaming Software, you will perform the necessary actions to calibrate your Logitech Extreme 3D Pro joystick. This step is crucial for fine-tuning the sensitivity, deadzone, and other settings to ensure optimal performance during your gaming sessions.
Now that you have followed the on-screen instructions and completed the calibration process, it’s time to proceed to the next step: testing and fine-tuning the calibration settings.
Step 6: Test and Fine-Tune the Calibration Settings
After calibrating your Logitech Extreme 3D Pro joystick and saving the settings, it’s important to test and fine-tune the calibration to ensure optimal performance. Follow these steps to test and fine-tune the calibration settings:
- Launch a game or simulator that supports joystick input. It can be a flight simulator, a racing game, or any other game that utilizes a joystick.
- Start playing the game and pay close attention to how your Logitech Extreme 3D Pro joystick responds to your inputs.
- If you notice any issues, such as laggy or unresponsive controls, or if the joystick doesn’t feel comfortable to use, it may be necessary to fine-tune the calibration further.
- Return to the Logitech Gaming Software and access the “Calibration” tab once again.
- Within the “Calibration” settings, you may find additional options to adjust the sensitivity, deadzone, or other parameters of your joystick.
- Make incremental changes to these settings and test the joystick’s response in your game or simulator. Repeat this process until you find the optimal configuration that suits your preferences and gameplay style.
- Take the time to experiment and find the right balance that provides both precision and comfort while using the Logitech Extreme 3D Pro joystick.
Testing and fine-tuning the calibration settings is a crucial step to ensure that your Logitech Extreme 3D Pro joystick performs optimally during gameplay. By making small adjustments and testing them in your chosen game or simulator, you can achieve the ideal configuration for a seamless and immersive gaming experience.
Once you are satisfied with the results of your testing and fine-tuning, you can now enjoy your Logitech Extreme 3D Pro joystick with confidence, knowing that it is perfectly calibrated to your liking.
Conclusion
Congratulations! You have successfully calibrated your Logitech Extreme 3D Pro joystick and optimized its performance for an enhanced gaming experience. By following the step-by-step process outlined in this guide, you have fine-tuned the sensitivity, deadzone, and other settings of your joystick to match your preferences and gameplay style.
Remember, calibration is an essential step to achieve precise control over your Logitech Extreme 3D Pro joystick. It helps eliminate input lag, ensures accurate response to your movements, and provides a personalized gaming experience.
Throughout the calibration process, you connected your joystick to your computer, installed the Logitech Gaming Software, launched the software, accessed the “Calibration” tab, followed the on-screen instructions, and tested and fine-tuned the calibration settings. Each step was crucial in achieving optimal performance.
Now that your Logitech Extreme 3D Pro joystick is calibrated, take some time to enjoy your favorite games or simulators with enhanced control and responsiveness. Whether you’re engaging in thrilling dogfights, racing against the clock, or exploring the virtual skies, your joystick will ensure a more immersive and enjoyable experience.
Remember that calibration is not a one-time process. Over time, you may find the need to readjust and refine your joystick’s calibration settings based on your changing preferences or different games you play. Luckily, you now have the knowledge and understanding to repeat the calibration process whenever necessary.
Thank you for following this guide on how to calibrate your Logitech Extreme 3D Pro joystick. We hope this information has been helpful in enhancing your gaming experience and allowing you to excel in your virtual adventures. Happy gaming!