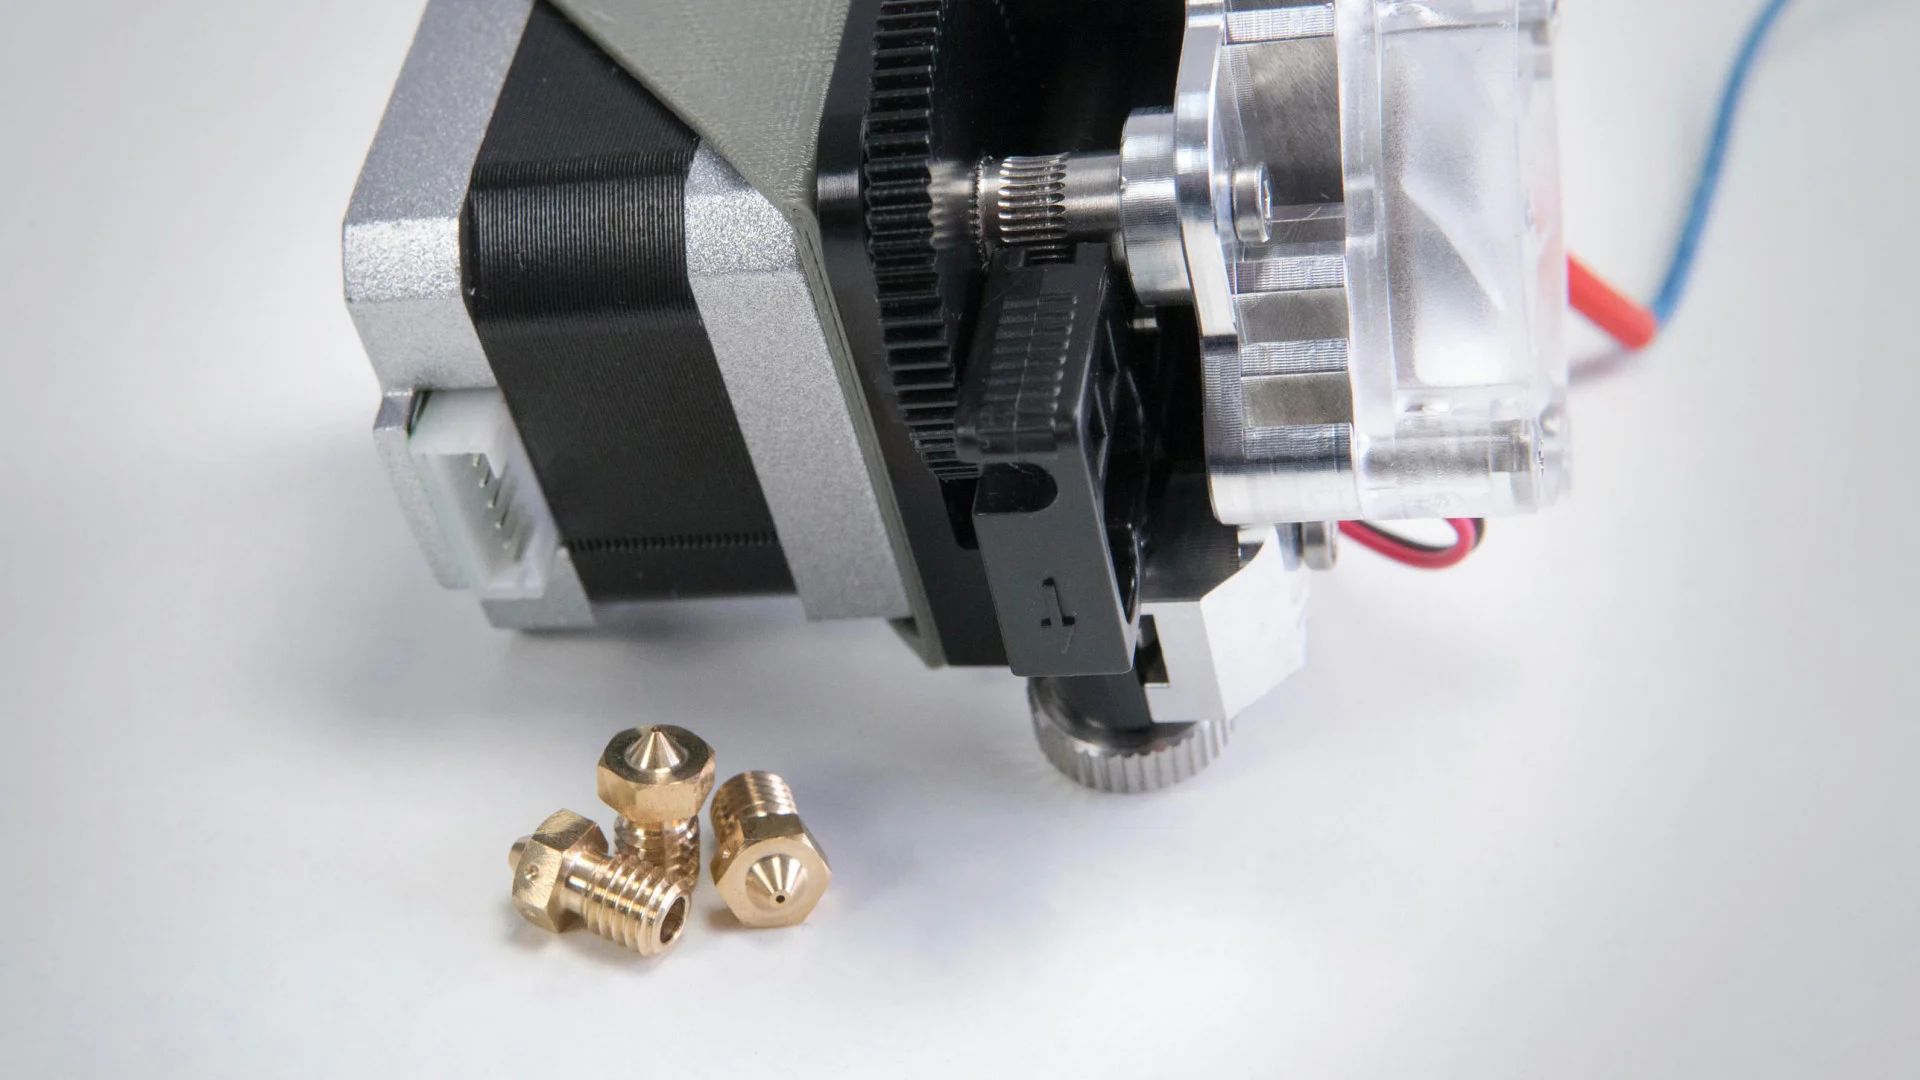
Why Calibrating Your 3D Printer Extruder is Important
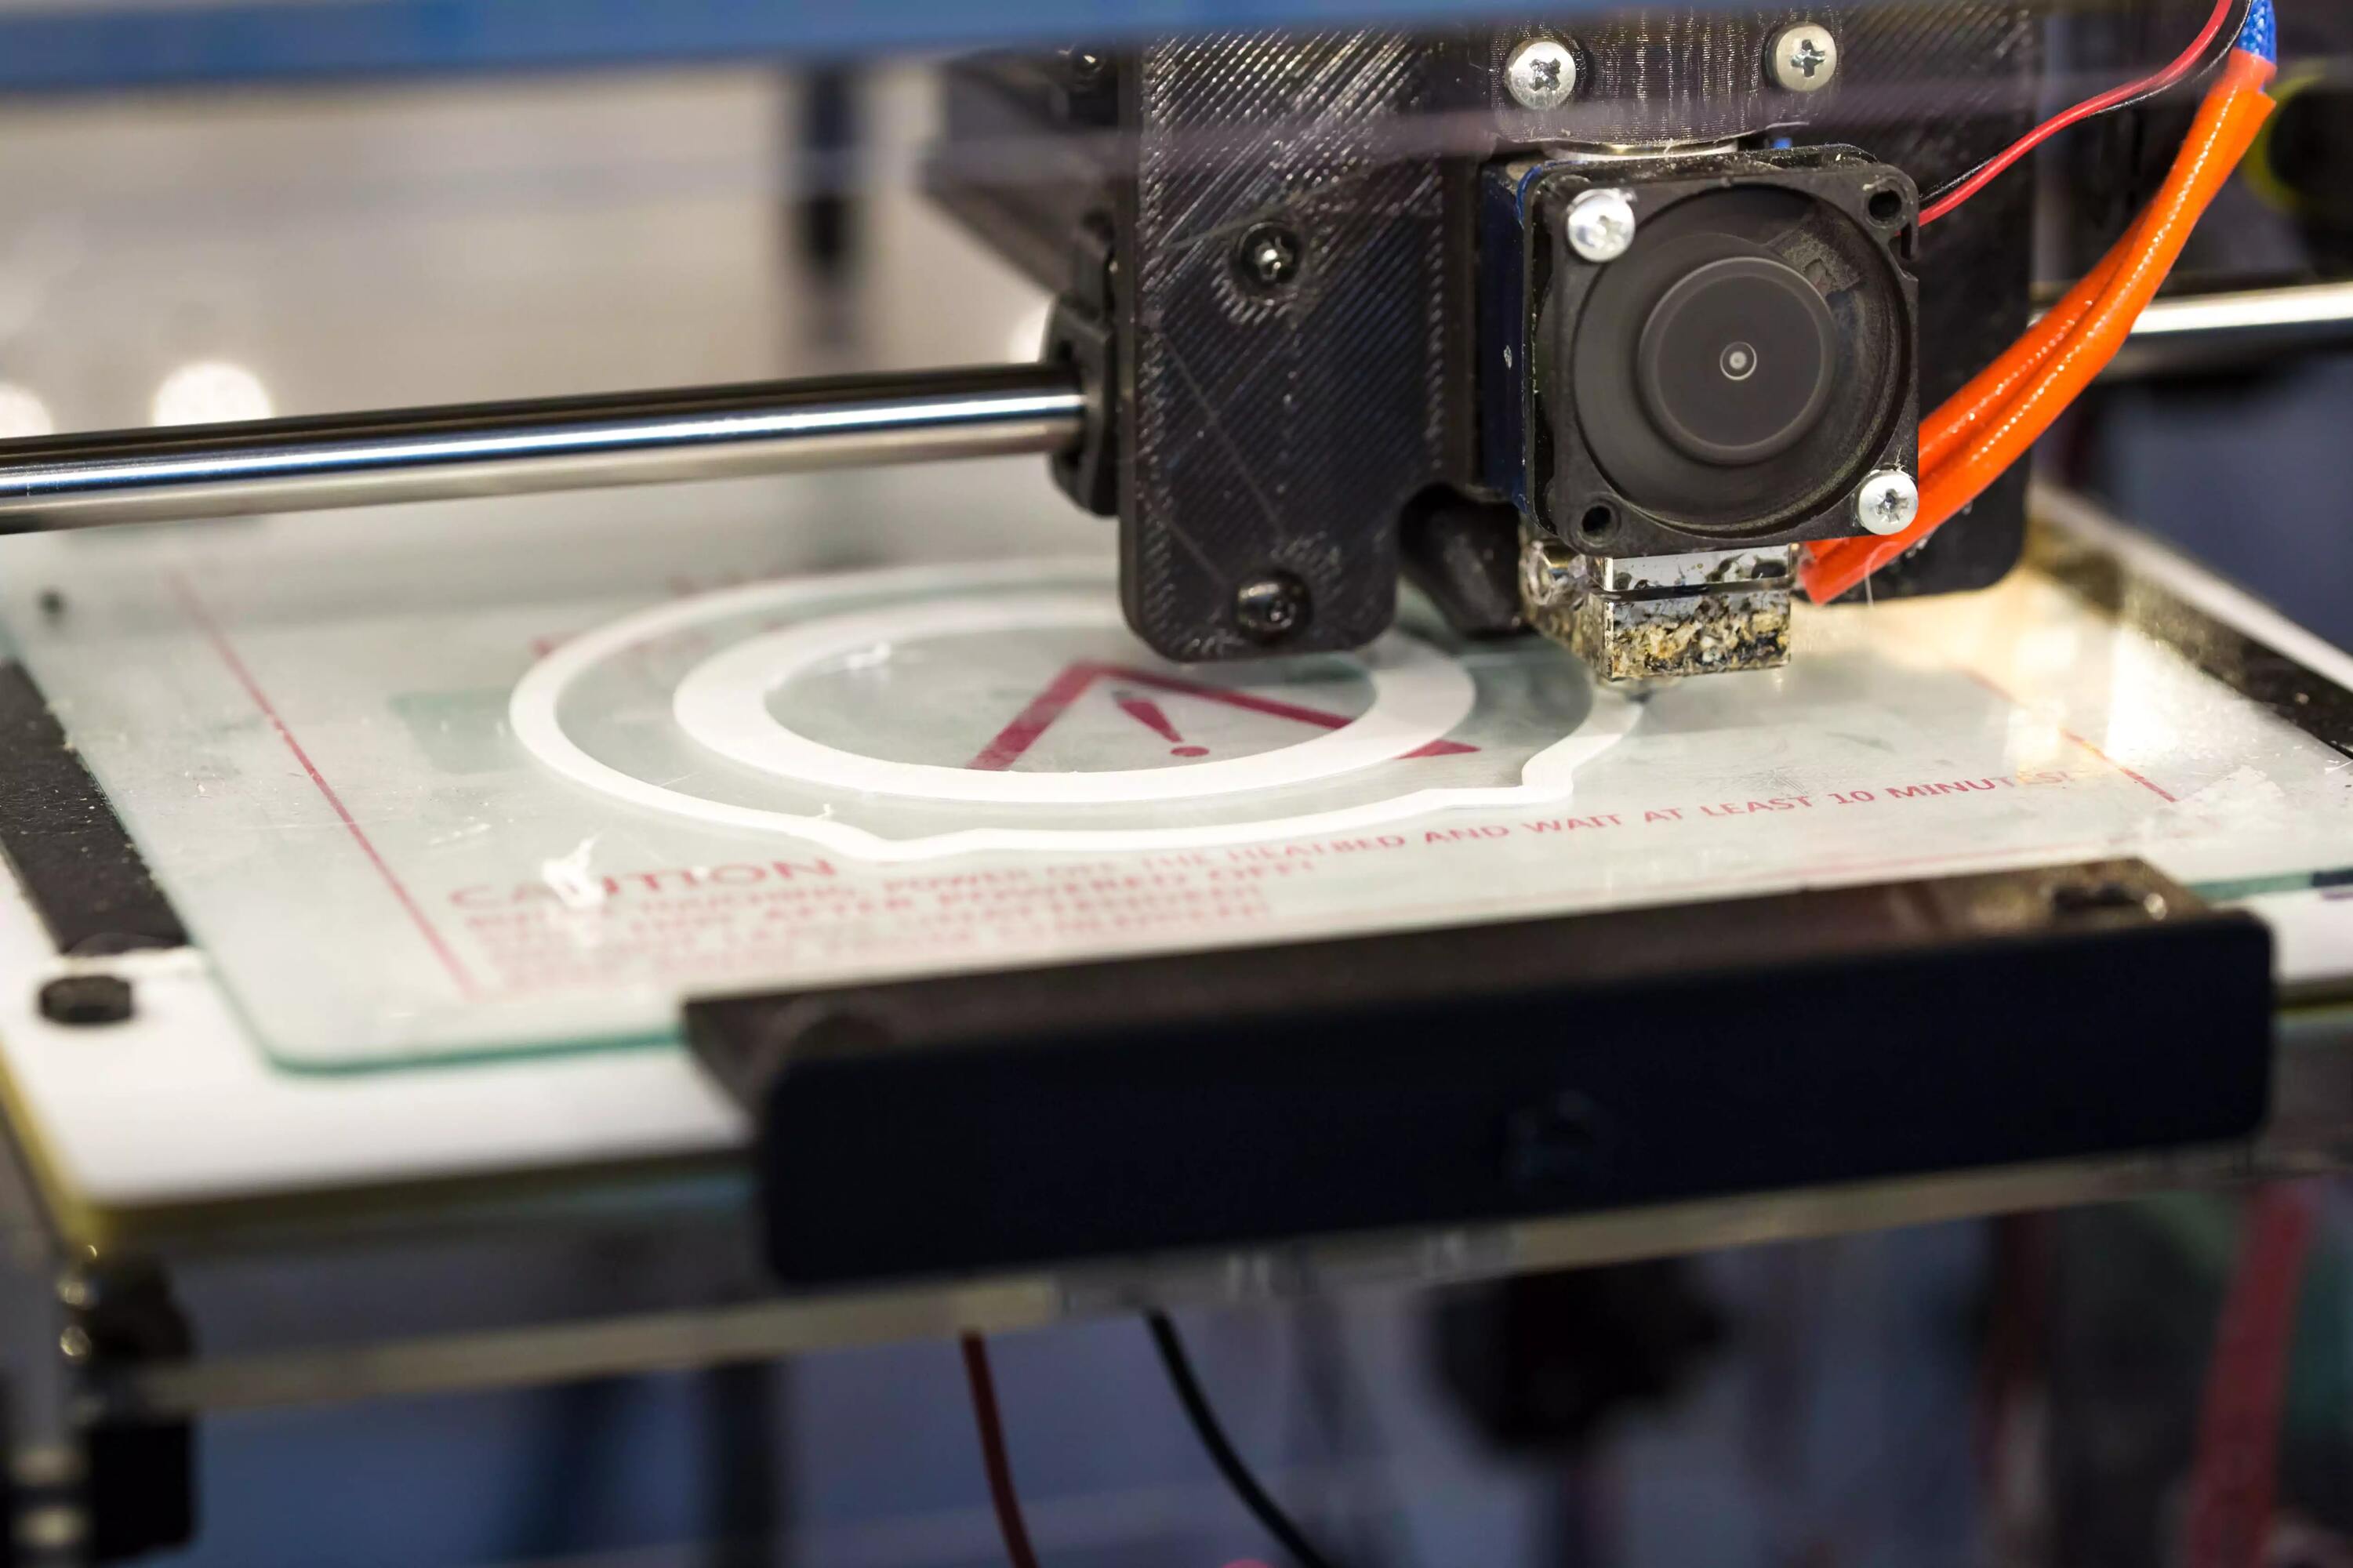
When it comes to achieving high-quality 3D prints, one crucial factor that often gets overlooked is the calibration of the extruder. The extruder is responsible for pushing the filament through the printer’s nozzle, determining the precise amount of material that gets deposited layer by layer. Calibrating your 3D printer extruder is essential to ensure accurate filament deposition, improve print quality, and minimize the chances of print failures.
By calibrating your extruder, you can achieve several important benefits. Firstly, it allows you to accurately control the extrusion rate, ensuring that your prints have the correct dimensions and are not over or under-extruded. This is especially important when printing intricate details or functional parts that have specific tolerances.
Calibrating the extruder also helps eliminate common printing issues such as uneven layers, gaps, and inconsistent flow. When the extruder is not properly calibrated, it can result in under-extrusion, where not enough filament is being pushed out, leading to weak and flimsy parts. On the other hand, over-extrusion can cause excessive material buildup, resulting in blobbing and oozing, which can ruin the overall finish of your prints.
Another reason why extruder calibration is vital is filament compatibility. Different filament brands and types have slight variations in diameter, which can affect the extrusion rate. By calibrating your extruder, you can adjust for these discrepancies and ensure consistent print quality across different materials.
Furthermore, calibrating the extruder helps identify potential mechanical issues such as loose belts, clogged nozzles, or slipping gears. These issues can affect the extrusion process and lead to poor print quality or failed prints. By regularly calibrating your extruder, you can detect and address these issues promptly, ensuring smooth and reliable printing operations.
Overall, calibrating your 3D printer extruder is a crucial step in achieving optimal print quality and reliability. It ensures accurate filament deposition, minimizes printing issues, and improves compatibility with different filaments. By taking the time to properly calibrate your extruder, you can maximize the potential of your 3D printer and produce high-quality prints that meet your expectations.
Tools You Will Need
Before you begin calibrating your 3D printer extruder, there are a few essential tools you will need to ensure a successful calibration process. While the specific tools required may vary depending on your printer model and preferences, here are some commonly needed tools:
- Calipers: A digital caliper is an indispensable tool for measuring filament diameter and determining the accuracy of your extruder calibration. Make sure you have a reliable caliper with at least 0.1mm precision.
- Marker or tape: You will need a marker or tape to make reference marks on your filament for measuring extrusion output. This will help you determine if the extruder is properly calibrated.
- Computer: You will need a computer with 3D printer control software installed to execute the necessary commands for extruder calibration. Make sure your computer is compatible with your printer’s software.
- Reference object: Having a reference object, such as a cube or a calibration print, can be helpful for visually evaluating the quality of your prints during the calibration process.
- Heat-resistant gloves: Since you will be working with a heated extruder, it is advisable to have heat-resistant gloves to protect your hands from accidental burns.
- Screwdriver or wrench: Depending on your printer model, you might need a screwdriver or wrench to adjust certain components during the calibration process, such as tensioning the extruder’s idler or adjusting the tension on the filament feeder. Check your printer’s documentation for specific requirements.
Having these tools readily available before you start the calibration process will help ensure a smooth and efficient experience. It is always a good idea to double-check the manufacturer’s recommendations and specific requirements for your printer model to ensure you have all the necessary tools and equipment.
Step 1: Acquiring the Correct Filament Diameter
Before you can start calibrating your 3D printer extruder, it is crucial to know the correct filament diameter that your printer is designed to use. Most filament spools will have the diameter specified on the packaging or the spool itself. The most common filament diameter used in consumer-grade 3D printers is 1.75mm or 2.85mm. It is essential to acquire the filament with the exact diameter specified for your printer.
To ensure accurate calibration, it is recommended to measure the filament diameter using a digital caliper. Measure the filament at multiple points along its length to account for any variance in thickness. It’s important to be as precise as possible, as even a slight difference in filament diameter can affect the extrusion rate and ultimately impact print quality.
If you find that the filament diameter varies significantly from the specified diameter, it may be necessary to adjust your slicer settings to compensate for the difference. Some slicer software allows you to input the precise filament diameter, enabling the software to calculate the appropriate extrusion rate. Alternatively, you can adjust the extrusion multiplier in your 3D printer’s firmware to compensate for the variation.
It is worth mentioning that not all filament manufacturers produce filaments with consistent diameters. Even within the same spool, there may be slight variations. Therefore, it is always a good practice to measure the filament diameter of a new spool before calibrating the extruder and making any necessary adjustments.
By acquiring the correct filament diameter and making any needed adjustments to your slicer settings or extrusion multiplier, you can ensure that the extruder calibration process is accurate and reliable. This will help in achieving optimal print quality and dimensional accuracy throughout your 3D printing projects.
Step 2: Measuring the Extrusion Output
Once you have acquired the correct filament diameter, the next step in calibrating your 3D printer extruder is to measure the extrusion output. This step will help you determine if your extruder is over-extruding or under-extruding and will serve as a baseline for making the necessary adjustments.
To measure the extrusion output, start by preparing your printer for a calibration test. This typically involves heating the extruder to the desired printing temperature and loading the filament into the extruder mechanism.
With the printer ready, mark a specific point on the filament a few centimeters above the extruder. Using your printer’s control software, extrude a specific length of filament, such as 100mm. Make sure to measure the length of filament that was extruded using a ruler or calipers.
Compare the measured length of the extruded filament with the desired length. If the measured length is less than the desired length, it indicates under-extrusion, meaning that the extruder is not pushing out enough filament. Conversely, if the measured length is greater than the desired length, it indicates over-extrusion, which means that the extruder is pushing out more filament than needed.
Repeat this measurement process several times for accuracy and consistency. Calculate the average extrusion output from the various measurements to get a reliable result.
By measuring the extrusion output, you can determine the initial state of your extruder calibration and identify any deviation from the desired output. This step provides valuable information for adjusting the extrusion multiplier or making further calibration tweaks to achieve precise and accurate extrusion in later steps of the calibration process.
Remember to record the measurement results for reference as you proceed with the remaining calibration steps. These measurements will help you assess the effectiveness of the adjustments made and track the improvement in print quality as you fine-tune the extrusion settings.
Step 3: Adjusting the Extrusion Multiplier
After measuring the extrusion output in the previous step, it’s time to make adjustments to the extrusion multiplier. The extrusion multiplier, also known as the flow rate or filament multiplier, determines how much filament is actually extruded compared to the software’s designated amount. By adjusting this setting, you can fine-tune the amount of filament being extruded and achieve more accurate prints.
To adjust the extrusion multiplier, you will need to access your printer’s firmware or slicer software settings. The location and terminology may vary depending on your printer model and software, but you’re generally looking for a setting related to the flow rate or extrusion multiplier.
If you determined that your extruder was under-extruding in the previous step (measured extrusion output was less than the desired length), you will need to increase the extrusion multiplier. This will tell the printer to push out more filament during the printing process. On the other hand, if the measured extrusion output was greater than the desired length, indicating over-extrusion, you should decrease the extrusion multiplier to reduce the amount of filament being extruded.
Adjust the extrusion multiplier in small increments, such as 5% at a time, and perform test prints to assess the impact of the changes. You can use calibration prints, such as calibration cubes or specific test models that are designed to evaluate extrusion quality and dimensional accuracy.
With each adjustment, closely examine the printed result. Look for any signs of over or under-extrusion, such as gaps, inconsistent layer heights, or visible artifacts. Make note of the changes made and the resulting effect on the print quality.
Continue iterating this process of adjusting the extrusion multiplier and evaluating the print quality until you achieve the desired extrusion output. Aim for a dimensionally accurate print that exhibits consistent layer adhesion, minimal stringing, and clean surface finishes.
Remember to take your time with this step and make incremental changes. Rushing through the process or making drastic adjustments can lead to inaccurate calibration and result in print quality issues. Patience and careful observation are key to achieving optimal extrusion settings.
Once you are satisfied with the extrusion multiplier adjustment and obtain consistent, high-quality prints, you can move on to the next step of the extruder calibration process.
Step 4: Retesting the Extrusion Output
After adjusting the extrusion multiplier in the previous step, it is essential to retest the extrusion output to evaluate the effectiveness of the changes made. This step allows you to verify if the calibration adjustments have resulted in the desired extrusion consistency and accuracy.
Begin by following the same process as in Step 2, where you mark a point on the filament a few centimeters above the extruder and extrude a specific length of filament, such as 100mm. Measure the length of the extruded filament and compare it to the desired length.
If the measured extrusion length is now closer to the desired length and falls within an acceptable range, it indicates that the adjustment made to the extrusion multiplier was successful in improving the extrusion accuracy. However, if there is still a significant deviation between the measured and desired lengths, further adjustments may be necessary.
Based on the results of the retest, you can fine-tune the extrusion multiplier again by making smaller adjustments. Incrementally increase or decrease the extrusion multiplier until you achieve a more precise and accurate extrusion output. It is important to find a balance where the extrusion output aligns closely with the desired length, ensuring consistent and accurate filament deposition.
As you continue to retest and make adjustments, remember to record the measurement results. Keeping track of the changes made and their impact on the extrusion output allows you to evaluate the overall calibration process and make informed decisions for further adjustments if needed.
It may be necessary to go through multiple iterations of retesting and adjusting the extrusion multiplier to achieve the desired extrusion output. Patience and attention to detail are crucial during this step to ensure accurate calibration and consistent print quality.
Once you are satisfied with the extrusion output and retesting results, you can proceed to the next step of the extruder calibration process with the confidence that your printer’s extrusion settings are finely tuned for optimal performance.
Step 5: Fine-tuning the Extrusion Multiplier
After retesting the extrusion output and making necessary adjustments, you may find that your 3D printer’s extruder is functioning better but still requires some fine-tuning. In this step, you will focus on achieving even greater precision and accuracy in filament deposition by fine-tuning the extrusion multiplier.
Start by selecting a specific print that allows for detailed evaluation of extrusion quality and dimensional accuracy. This can be a calibration print or a model that showcases intricate features and fine details.
Print the chosen model and carefully analyze the resulting print. Pay close attention to features such as overhangs, small holes, and intricate details. Look for signs of under or over-extrusion, such as gaps or excessive material buildup. Assess the overall surface finish and dimensional accuracy of the print.
If you notice any inconsistencies or imperfections, adjust the extrusion multiplier in small increments and repeat the printing process. For example, if you observed under-extrusion, increase the multiplier slightly to provide a higher extrusion rate. Conversely, if you observed over-extrusion, decrease the multiplier to reduce the extrusion rate.
Continue this iterative process of fine-tuning the extrusion multiplier, analyzing the print results, and making incremental adjustments until you achieve the desired level of print quality. Each adjustment should bring you closer to a well-calibrated extruder that consistently produces high-quality prints.
Take note of the changes made and their impact on the print quality. Keep a record of the optimal extrusion multiplier setting that produces the best results for future reference.
It’s important to note that fine-tuning the extrusion multiplier is an iterative process that requires patience and attention to detail. It may take multiple iterations of adjustment and testing before achieving the desired level of precision and accuracy. Be prepared to invest time and effort in this step to optimize your 3D printer’s extruder performance.
By fine-tuning the extrusion multiplier and achieving precise filament deposition, you can ensure consistent and reliable print quality, high dimensional accuracy, and improved overall performance of your 3D printer.
Step 6: Verifying the Calibration Accuracy with Test Prints
After going through the steps of measuring, adjusting, and fine-tuning your 3D printer extruder, it is crucial to verify the calibration accuracy with test prints. Test prints serve as a practical way to assess the effectiveness of the calibration process and ensure that your printer is capable of producing high-quality prints consistently.
Choose a selection of test prints that cover a range of features and complexities, such as overhangs, bridges, and intricate details. These test prints are specifically designed to challenge different aspects of your printer’s capabilities and can help identify any calibration issues that may still exist.
Print the test models using your calibrated extruder settings and carefully examine the results. Pay close attention to the quality of overhangs and bridges, fine details, layer adhesion, dimensional accuracy, and surface finish. Look for any signs of under-extrusion, over-extrusion, or other printing defects that may indicate calibration problems.
Compare the test prints with reference models or guidelines provided by the test files’ creators. Evaluate how closely your prints match the expected results and adjust your extruder settings further if necessary.
Take into account that test prints are an essential tool for evaluating your printer’s performance, and they may highlight additional printer-specific settings that may need adjustment, such as temperature, cooling, or retraction settings. These factors can also contribute to the overall print quality and should be considered during the calibration process.
Continue to fine-tune your extruder settings based on the results of the test prints, making incremental adjustments as needed. Reprint the test models and compare them with previous prints to assess the calibration accuracy and ensure that the desired improvements are achieved.
Testing and verifying the calibration accuracy with test prints should not be rushed. It may require multiple iterations of adjustments and retesting to achieve the desired print quality. Take the time to thoroughly evaluate the results and make any necessary refinements to your printer’s settings.
By diligently verifying the calibration accuracy through test prints, you can ensure that your 3D printer is operating at its optimal performance level, delivering consistent, high-quality prints for all your future projects.
Common Issues and Troubleshooting Tips
During the calibration process of your 3D printer extruder, you may encounter certain common issues that can affect the quality of your prints. Understanding these issues and having troubleshooting techniques at hand can help you overcome them effectively. Here are some common issues and tips to address them:
- Under-Extrusion: If you observe weak or inconsistent filament deposition, it may indicate under-extrusion. Check if the filament is properly loaded, the nozzle is not clogged, and the extruder tension is appropriately adjusted.
- Over-Extrusion: Excessive material buildup, blobbing, or a rough surface finish are signs of over-extrusion. Ensure that the extruder tension is not too high, the filament is clean and free from debris, and the extrusion multiplier is properly calibrated.
- Stringing: Thin strands of filament appearing between different parts of your print are known as stringing. Adjusting the retraction settings in your slicer software can help reduce or eliminate stringing issues.
- Layer Shifting: If you notice that the layers of your print are misaligned or shifted, it may be due to loose belts, incorrect stepper motor current, or mechanical issues. Tighten the belts, check the motor settings, and ensure the printer frame is stable.
- Print Warping: Warping occurs when the corners or edges of your print lift up from the print bed. Ensure that the print bed is properly leveled, heated if needed, and consider adding a brim or raft to improve adhesion.
- Poor Layer Adhesion: Weak layer adhesion can result in prints that easily break or split apart. Optimize your printer settings to ensure proper temperature, cooling, and print speed, and consider using an adhesive like a glue stick or blue painter’s tape on the print bed.
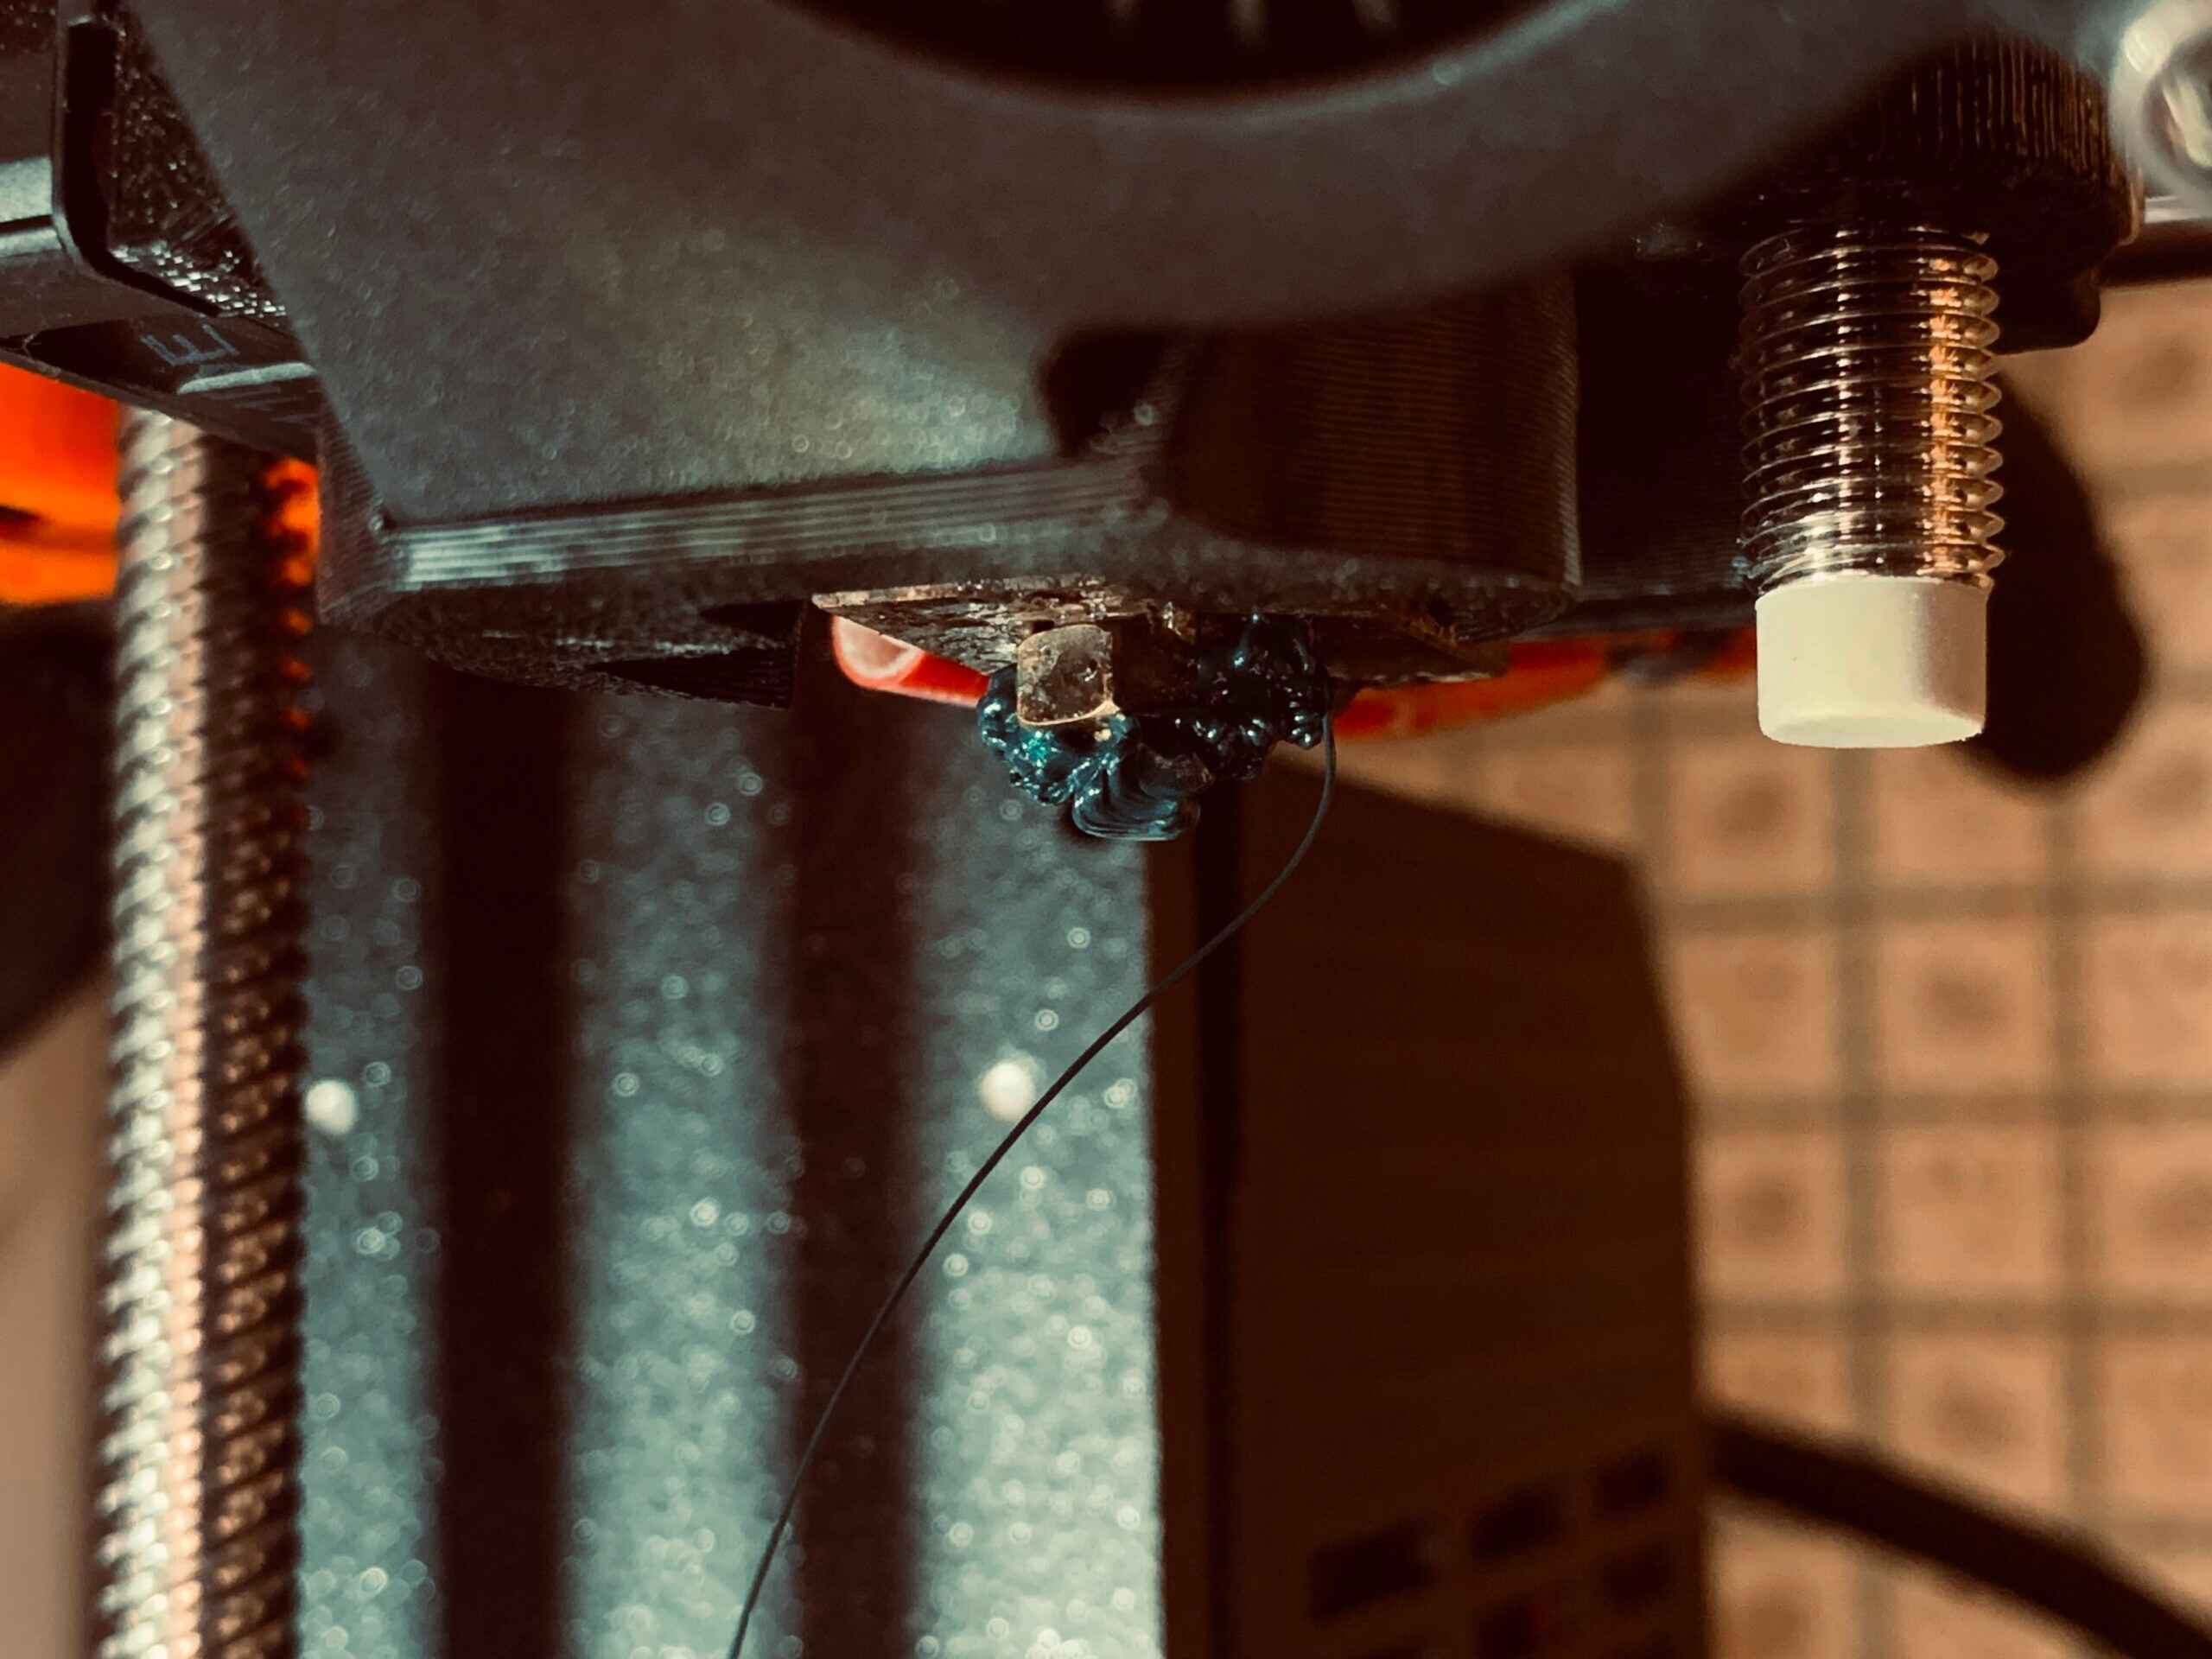
- Clogged Nozzle: A clogged nozzle can lead to inconsistent extrusion or failed prints. Try using a cleaning filament or performing a cold pull to remove any debris or filament residue from the nozzle.
- Printing Artifacts: Unwanted lines, bands, or other visual imperfections on your prints can be attributed to various factors, such as improper acceleration or jerk settings, loose belts, or inadequate cooling. Troubleshoot these specific settings and ensure the printer mechanical components are properly tightened.
Remember, troubleshooting and resolving issues during the calibration process can take time and patience. Make one adjustment at a time and test the results before moving on to the next. Keep an organized record of your troubleshooting steps to refer back to if needed.
By familiarizing yourself with these common issues and implementing effective troubleshooting tips, you can overcome challenges and achieve improved print quality with your 3D printer.
Conclusion
Calibrating your 3D printer extruder is a critical step in achieving optimal print quality and performance. By following the steps outlined in this guide, you can ensure accurate filament deposition, improve dimensional accuracy, and minimize printing issues.
Starting with acquiring the correct filament diameter, you establish a solid foundation for calibration. Measuring the extrusion output allows you to identify any deviations and make initial adjustments to the extrusion multiplier. Fine-tuning the extrusion multiplier through iterative testing and adjustment helps achieve even greater precision in filament deposition.
Verifying the calibration accuracy with test prints allows you to assess the effectiveness of the calibration process and make any necessary refinements. Troubleshooting common issues that may arise during the calibration process ensures that you can overcome challenges and achieve the desired print quality.
Remember to document your calibration process, keep track of adjustments made, and record the results of test prints for future reference. Calibration is not a one-time process; it is an ongoing maintenance task that may require periodic re-calibration as your printer and filament variables change.
With patience, attention to detail, and a thorough understanding of your 3D printer’s extruder, you can achieve consistent and high-quality prints. The time and effort invested in calibration will be well worth it when you see the improved accuracy and performance of your 3D prints.


