Introduction
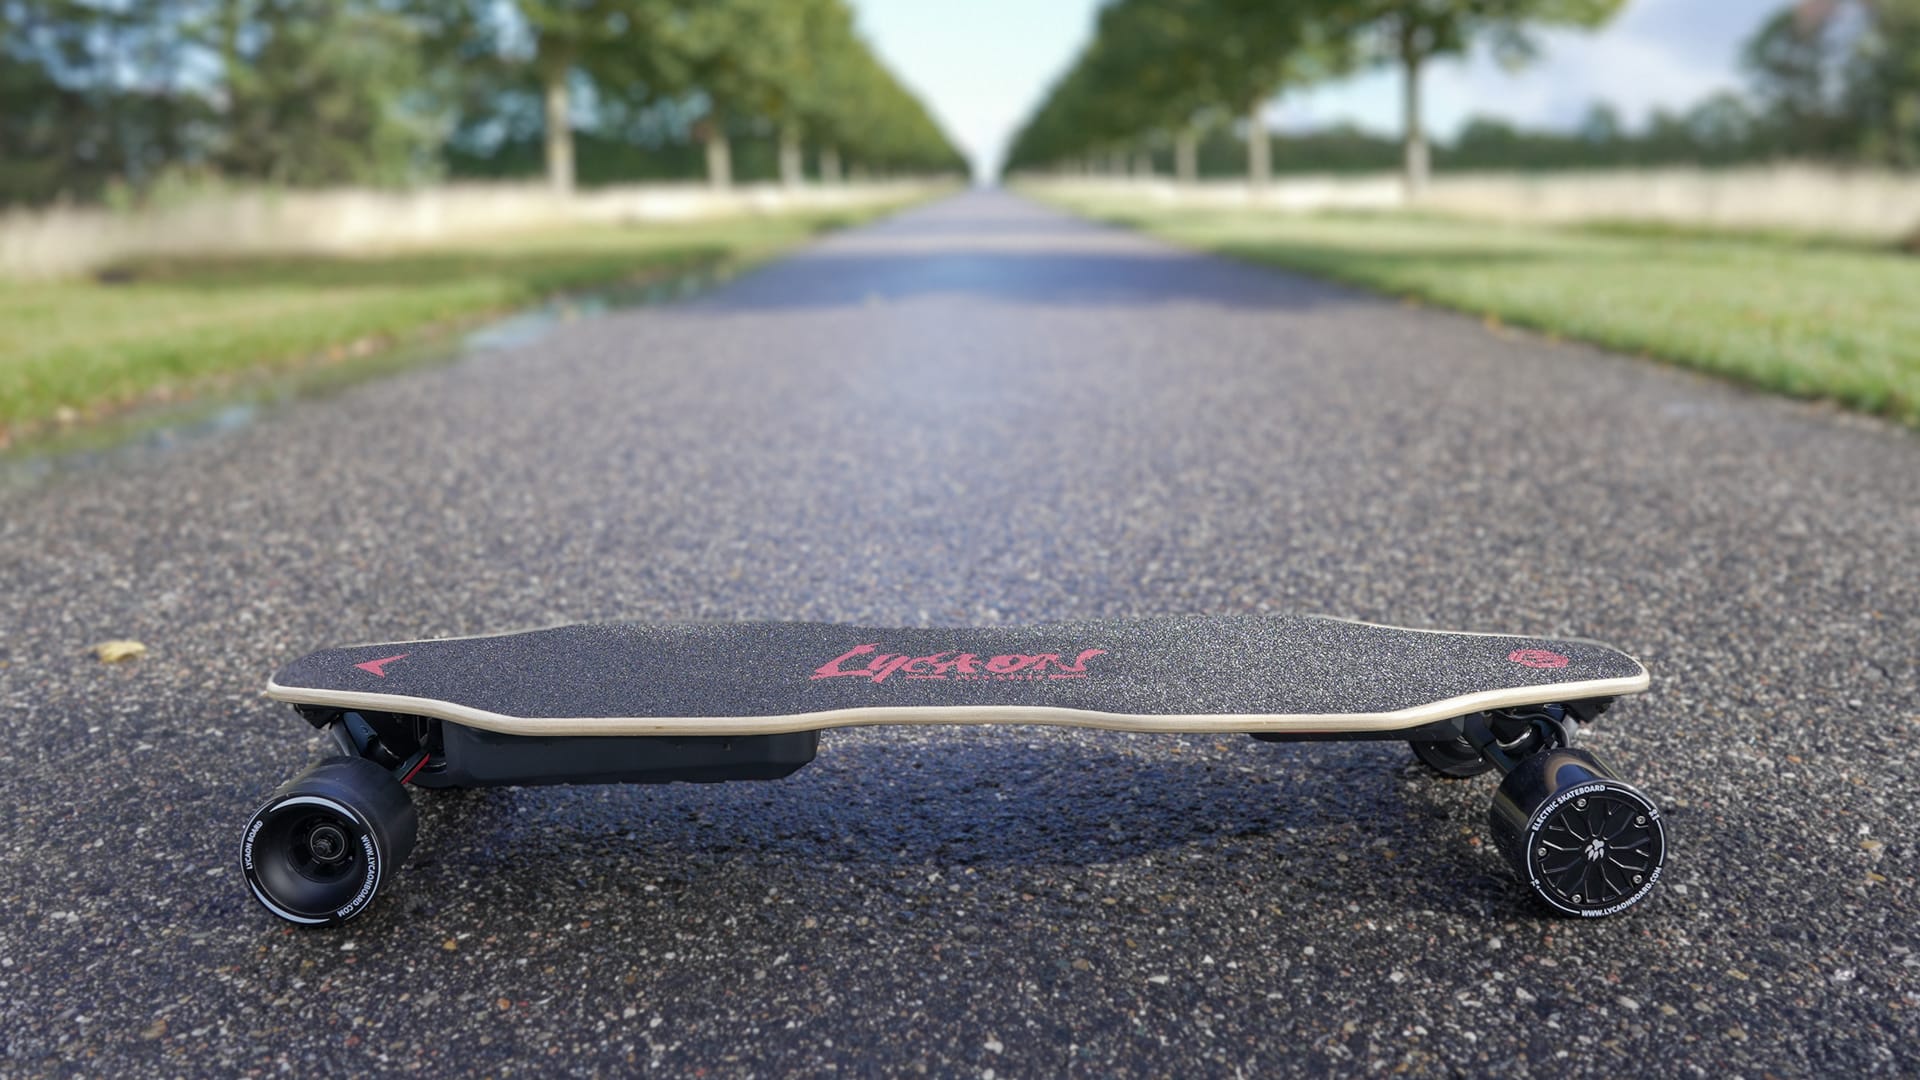
Welcome to a comprehensive guide on how to build your own enclosure for an electric skateboard. One of the essential components of an electric skateboard is the enclosure, which houses the battery, controller, and other electronic components. While pre-made enclosures are available in the market, building your own enclosure offers several advantages. It allows you to customize the design, ensure a perfect fit for your specific skateboard, and save money in the process.
In this article, we will walk you through the step-by-step process of building your own enclosure. We will provide a detailed list of materials needed, along with instructions on measuring, cutting, drilling, shaping, and sealing the enclosure. By following this guide, you will have a sturdy and functional enclosure that protects your skateboard’s components from water, dust, and other external elements.
This project requires some basic DIY skills and tools, such as a saw, drill, sandpaper, and waterproof sealant. It may take a few hours or even a couple of days, depending on your experience and available time. However, the end result will be a customized enclosure that matches your electric skateboard’s aesthetic and functionality.
Building your own enclosure for an electric skateboard is not only rewarding but also provides an opportunity to showcase your creativity and craftsmanship. Whether you’re a seasoned builder or new to DIY projects, this guide will provide you with all the necessary steps and tips to successfully complete your enclosure and take your electric skateboard to the next level.
Materials Needed
Before we dive into the step-by-step process, let’s gather all the materials you will need to build your own enclosure for an electric skateboard:
- Sheet of ABS plastic or fiberglass: This will serve as the main material for your enclosure. ABS plastic is durable and easy to work with, while fiberglass offers additional strength and rigidity.
- Marker or pen: You will need this to mark measurements on the plastic sheet.
- Measuring tape or ruler: To accurately measure the dimensions of your electric skateboard and determine the size of the enclosure.
- Circular saw or jigsaw: Use a saw to cut the plastic sheet to the desired size and shape.
- Drill and drill bits: To create holes for mounting hardware and components.
- Sandpaper or file: To smooth the edges of the enclosure and shape it according to your preference.
- Protective coating or paint: Apply a protective coating or paint to enhance the durability and aesthetics of the enclosure.
- Mounting hardware: Bolts, screws, and washers to securely attach the enclosure to your electric skateboard.
- Waterproof sealant: To ensure your enclosure is waterproof and protects the electronics from moisture.
These materials can be easily found at your local hardware store or online. It’s important to ensure that you have all the necessary tools and supplies before you begin building your enclosure. This will help streamline the process and prevent delays. Now that we have all the materials ready, let’s move on to the next step: measuring and cutting the enclosure.
Step 1: Measure and Cut the Enclosure
The first step in building your own enclosure for an electric skateboard is to measure and cut the plastic sheet to the appropriate size and shape. Follow these steps to ensure an accurate and precise fit:
- Place your electric skateboard on a stable surface and measure its length, width, and height. Take note of these measurements as they will determine the dimensions of your enclosure.
- Using a marker or pen, transfer the measurements onto the plastic sheet. Make sure to account for any additional space you may need to accommodate the electronic components within the enclosure.
- Once the measurements are marked, make sure to double-check them for accuracy. It’s better to measure twice and cut once to avoid any mistakes.
- Using a circular saw or jigsaw, carefully cut along the marked lines to shape the plastic sheet into the desired size and form of the enclosure. Take your time and make smooth, even cuts to ensure a neat finish.
- After cutting, you may need to trim or reshape the edges of the enclosure using sandpaper or a file. This will help create a snug fit and smooth finish.
Remember to wear appropriate safety gear, such as goggles and gloves, when cutting and shaping the plastic sheet. Take your time to ensure precision and accuracy during this step, as it will set the foundation for the rest of the enclosure-building process.
Once you have measured and cut the enclosure, you’re ready to move on to the next step: drilling holes for the various components and mounting hardware.
Step 2: Drill Holes for Components
Now that you have your enclosure cut to the desired size, it’s time to drill holes to accommodate the components and mounting hardware. Follow these steps to ensure proper placement and alignment of the holes:
- Identify the locations where you will be mounting the battery, controller, and any other electronic components inside the enclosure. Consider factors like weight distribution and accessibility when deciding on the placement.
- Mark the positions of these components on the inside of the enclosure using a marker or pen. Double-check the measurements and alignment to ensure accuracy.
- Using an appropriate-sized drill bit, carefully drill holes at the marked positions. Start with smaller pilot holes to prevent the plastic from cracking, and then widen the holes to the desired diameter.
- If you have specific mounting brackets or plates for the components, drill holes in the enclosure to align with the mounting holes in these brackets or plates.
- In addition to the component holes, you will also need to drill holes for the mounting hardware that will secure the enclosure to the skateboard. Consider the number and size of bolts or screws required for a sturdy fit.
Throughout the drilling process, make sure to work slowly and steadily, applying gentle pressure to prevent damaging the plastic. It’s recommended to use a clamp or vise to secure the enclosure in place while drilling.
Once all the holes are drilled, test the fit of the components and mounting hardware. Ensure that everything aligns properly and there is enough clearance for cables and wiring. At this stage, you can make any necessary adjustments to the hole sizes or positions if needed.
Now that you have drilled the necessary holes, it’s time to move on to the next step: sanding and shaping the enclosure.
Step 3: Sand and Shape the Enclosure
After drilling the required holes in the enclosure, it’s time to sand and shape it to ensure a smooth and aesthetically pleasing finish. Follow these steps to achieve the desired shape and texture:
- Take sandpaper with a medium grit (around 80-120) and gently sand the edges of the enclosure. This will remove any rough or sharp edges left after cutting.
- Once the edges are smooth, switch to sandpaper with a finer grit (around 180-220) to further refine the surface. Sand the entire exterior and interior of the enclosure, ensuring an even and uniform finish.
- If you prefer a curved or contoured shape for your enclosure, use the sandpaper or a file to carefully shape and round the corners and edges. This will give your enclosure a more ergonomic and stylish look.
- Continue sanding until you are satisfied with the overall smoothness and shape of the enclosure. Be sure to clean off any dust or debris generated during the sanding process.
While sanding, it’s important to maintain a consistent pressure and motion to avoid uneven surfaces or scratches. Take your time and pay attention to detail, as a well-sanded enclosure will not only look better but also have a more professional and finished appearance.
Once the sanding is complete, wipe down the enclosure with a clean cloth to remove any remaining dust or particles. This will prepare the surface for the next step: applying a protective coating to enhance durability and aesthetics.
Step 4: Apply a Protective Coating
After sanding and shaping the enclosure, it’s crucial to apply a protective coating to ensure durability and enhance its appearance. Follow these steps to apply a protective coating to your enclosure:
- Choose the appropriate protective coating for your enclosure material. For ABS plastic, you can use a plastic-specific spray paint or a clear acrylic sealant. For fiberglass, a gel coat or epoxy resin will work well.
- Ensure that the enclosure is clean and free of any dust or debris before applying the protective coating. Use a clean cloth or compressed air to remove any particles that may be present.
- Apply the protective coating in thin, even layers, following the instructions on the product. If using spray paint, hold the can about 6-8 inches away from the enclosure and spray in a sweeping motion. For liquid coatings, use a brush or roller to achieve an even coat.
- Allow the first coat to dry completely before applying additional layers. Check the product instructions for recommended drying times between coats. Aim for at least 2-3 coats of protective coating to ensure sufficient coverage and durability.
- After the final coat is applied, allow the enclosure to dry thoroughly according to the recommended drying time provided by the coating manufacturer. This will ensure that the coating cures properly and provides maximum protection.
Applying a protective coating not only safeguards the enclosure from scratches, UV damage, and moisture but also adds a polished and professional look to your electric skateboard. It’s important to follow the instructions and be patient during the drying process to achieve the best results.
Once the protective coating has fully dried, you can proceed to the next step: attaching the mounting hardware to secure the enclosure to your electric skateboard.
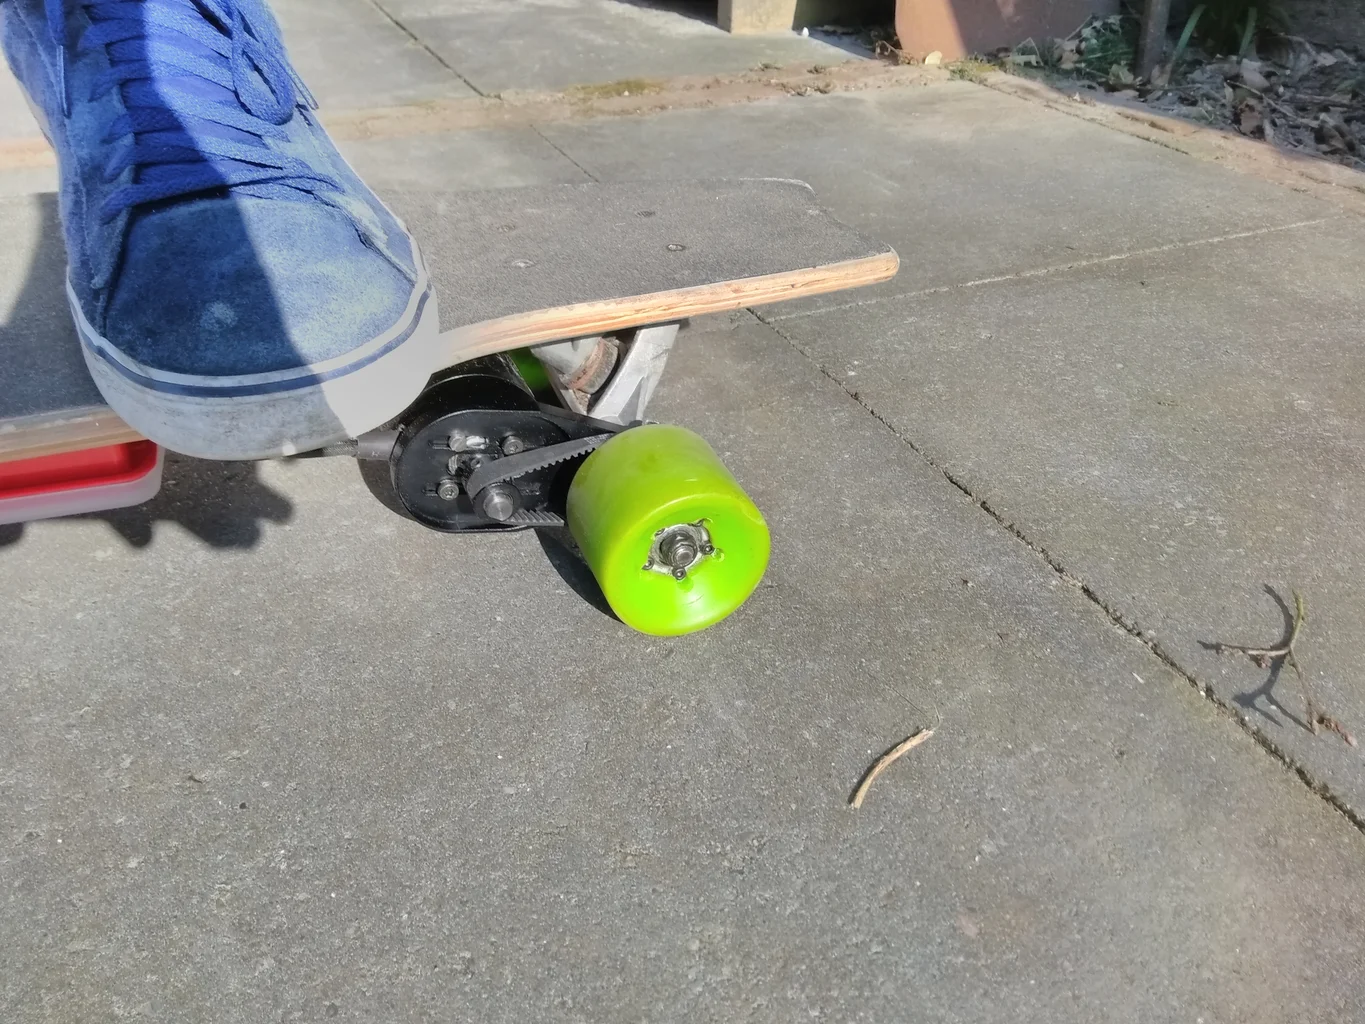
Step 5: Attach Mounting Hardware
Now that your enclosure is sanded, shaped, and coated with a protective layer, it’s time to attach the mounting hardware that will secure it to your electric skateboard. Follow these steps to properly fasten the enclosure:
- Place the enclosure on your electric skateboard in the desired position, ensuring that it aligns with the drilled holes on the skateboard.
- Insert the appropriate bolts or screws through the holes in the enclosure and into the corresponding holes on the skateboard. Use appropriate washers to ensure a secure fit and prevent any wobbling or loosening.
- Tighten the nuts or screw heads with a wrench or screwdriver, making sure they are snug but not overly tight. Be cautious not to overtighten, as this may crack or damage the enclosure.
- Double-check the stability and alignment of the enclosure, ensuring that it is securely fastened to the skateboard. Give it a gentle shake or tug to ensure there is no movement or rattling.
- If your electric skateboard has any additional mounting points or brackets, attach them to the enclosure following the manufacturer’s instructions. These may include brackets for motor mounts, power switches, or charging ports.
- Inspect the attachment points and make any necessary adjustments to ensure a secure and stable installation. It’s important to have a solid connection between the enclosure and the skateboard to prevent any accidental detachment during rides.
By attaching the mounting hardware properly, you can have peace of mind knowing that your enclosure is securely fixed to your electric skateboard. This will ensure the safety of your electronic components and maintain the structural integrity of the entire setup.
With the mounting hardware in place, we can now move on to the next step: installing the electronics and cables inside the enclosure.
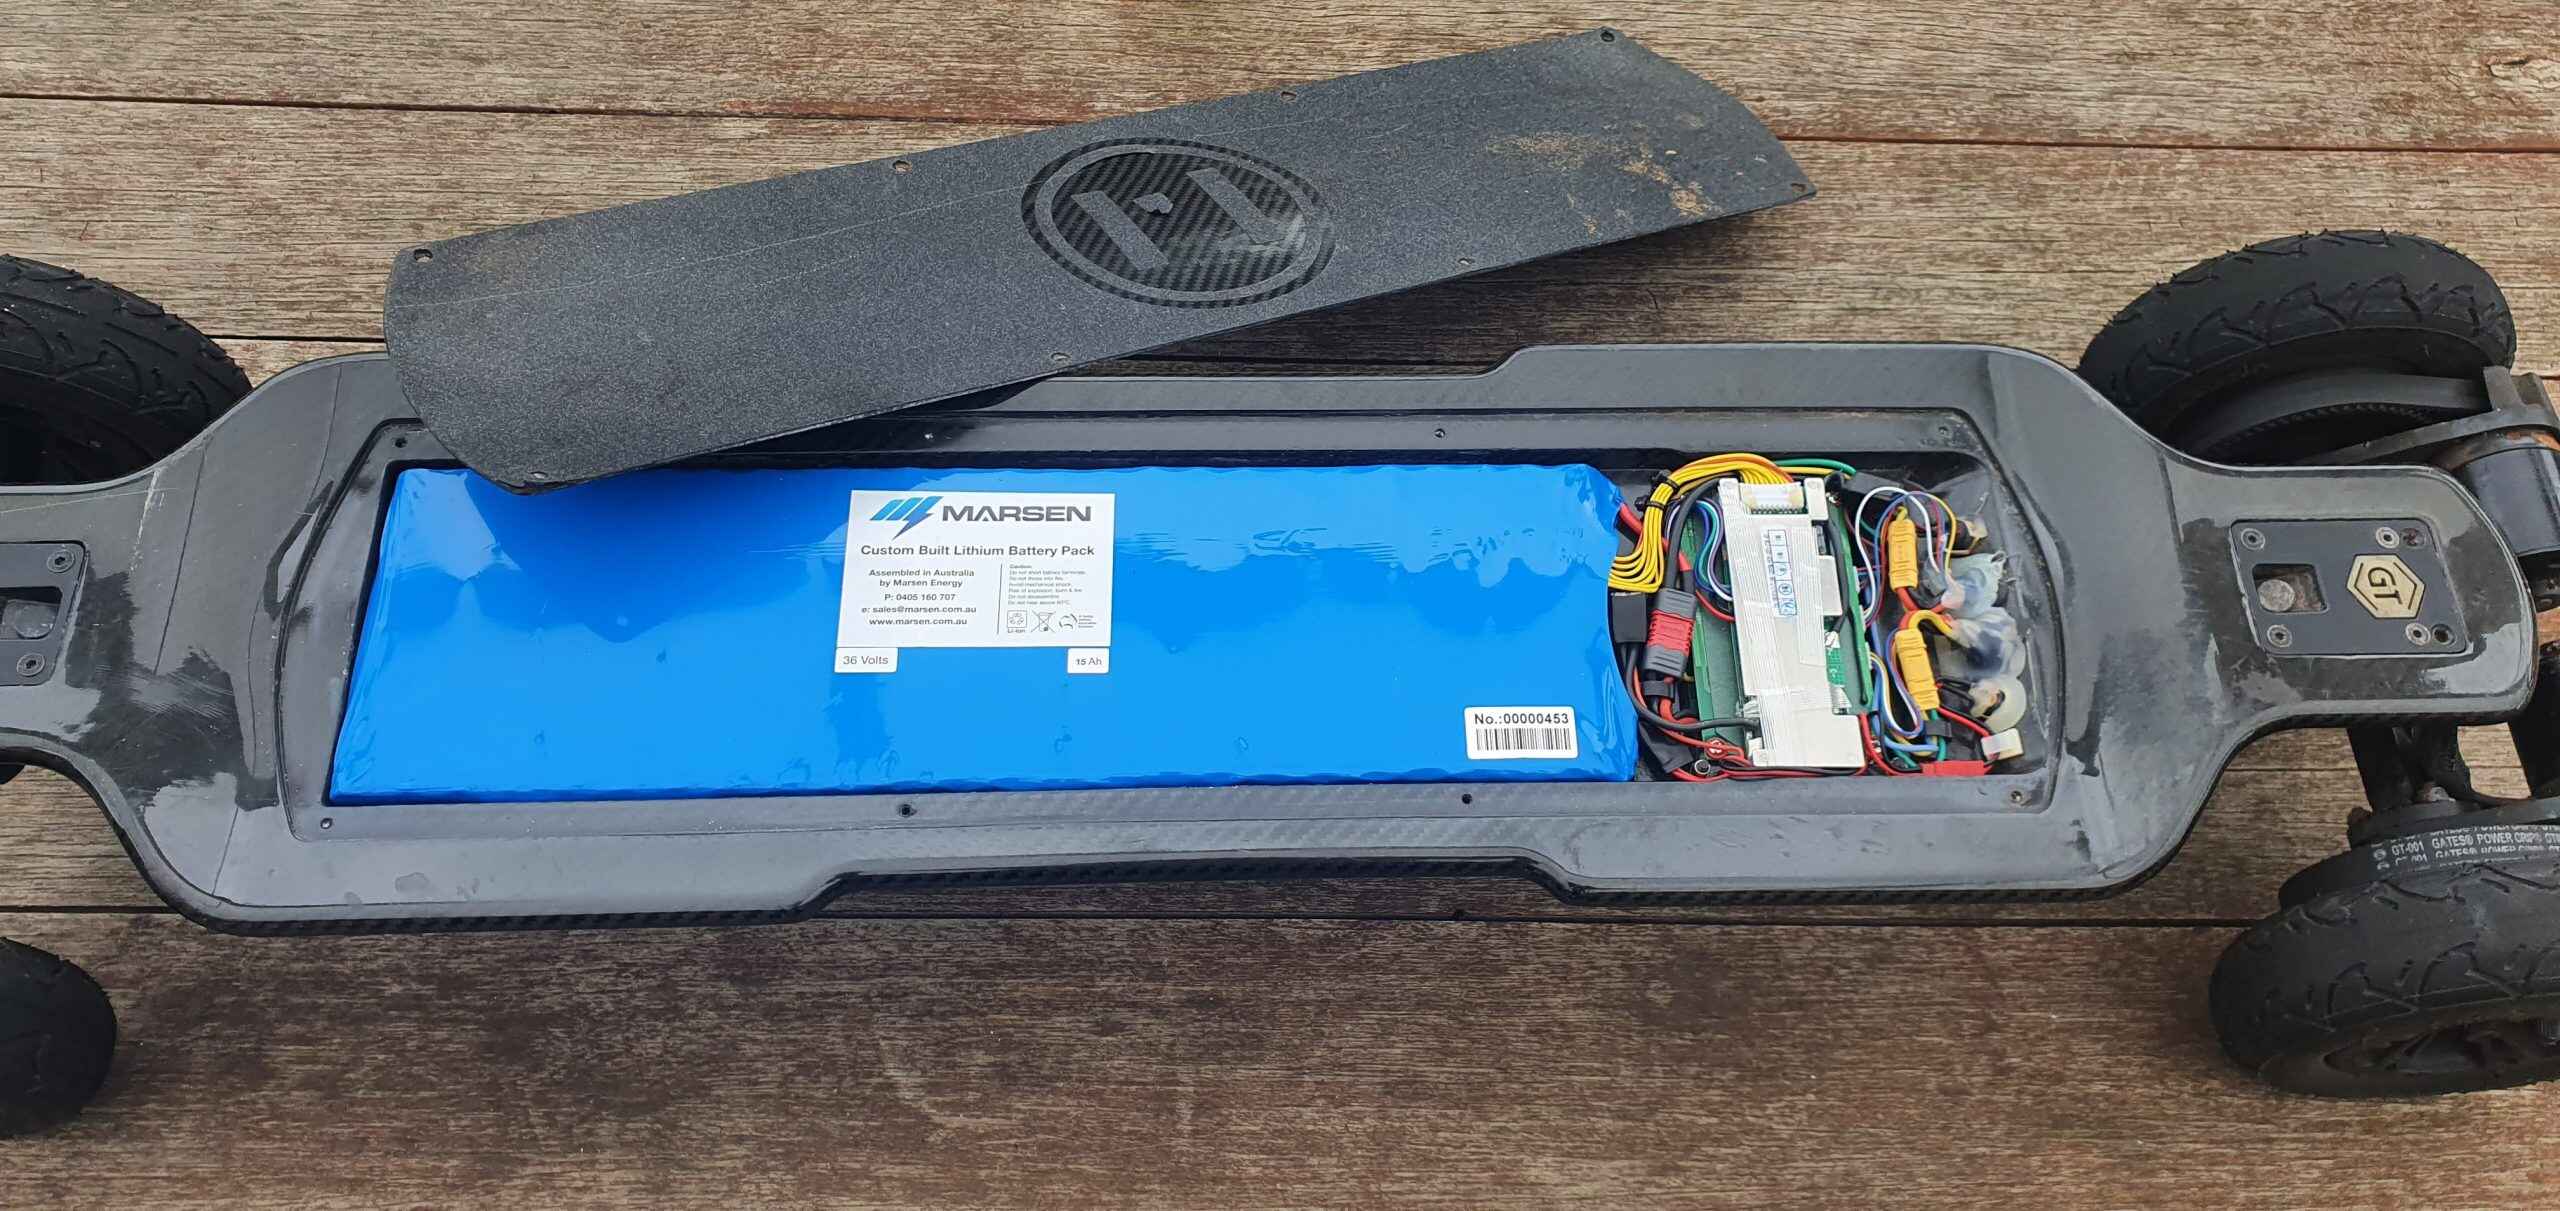
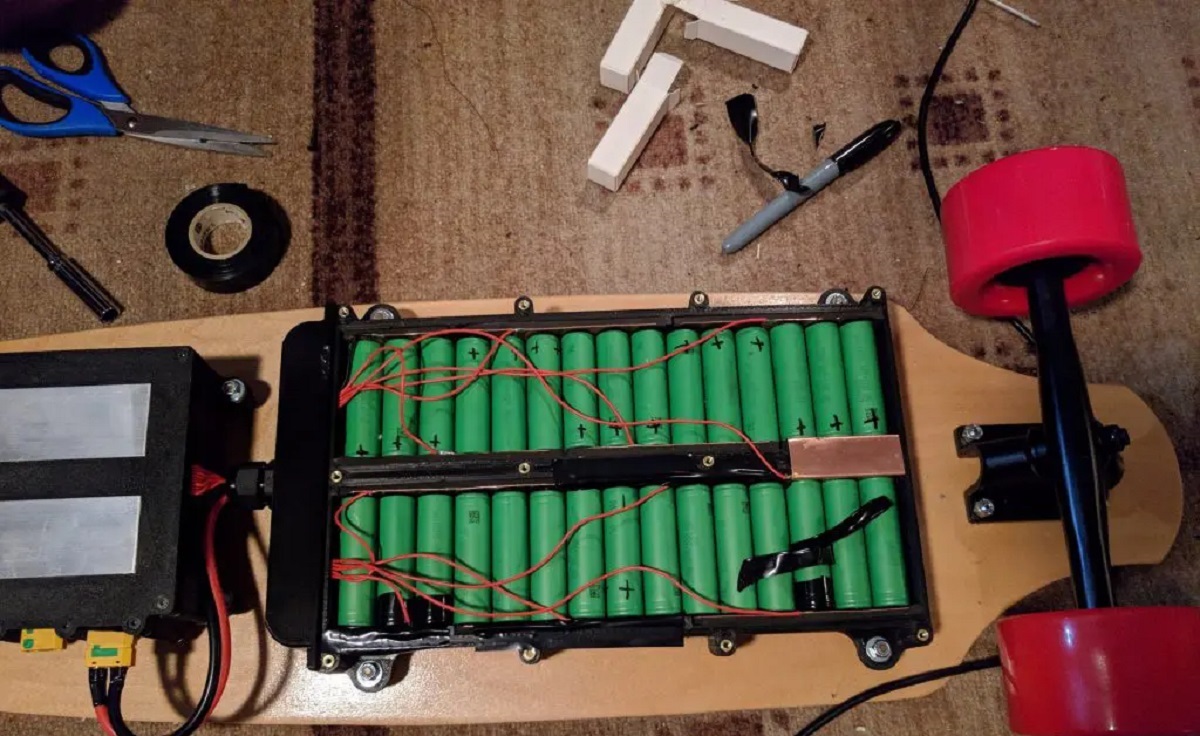
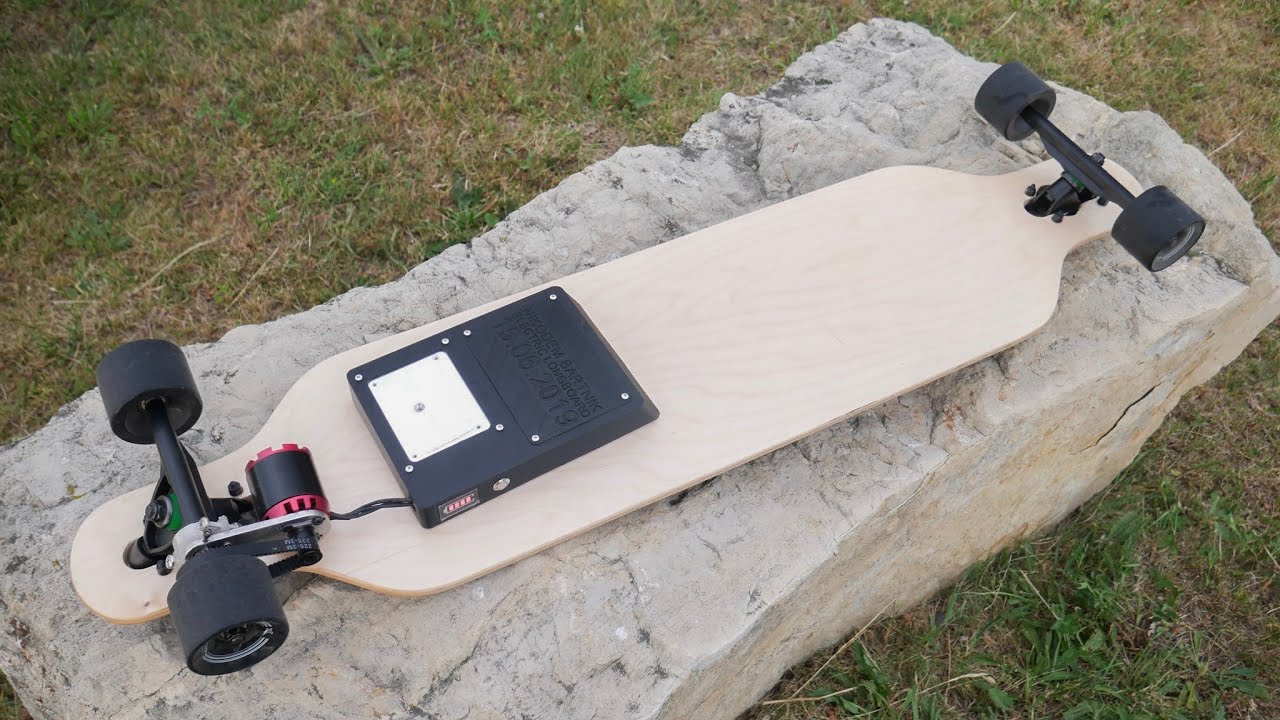
Step 6: Install Electronics and Cables
With the enclosure securely attached to your electric skateboard, it’s time to install the electronics and cables inside. Follow these steps to properly set up the components:
- Begin by carefully placing the battery inside the enclosure in the designated area. Ensure that it is positioned securely and there is enough clearance for any necessary wiring.
- Connect the battery cables to the appropriate ports or connectors on the controller or circuit board. Make sure to follow the manufacturer’s guidelines and ensure a secure and correct connection.
- If there are any other electronic components, such as the controller or power switch, position them inside the enclosure according to your desired layout. Take into consideration factors like accessibility and cable management.
- Route the cables neatly inside the enclosure, organizing and securing them with cable ties or adhesive clips. This will help prevent any tangling or interference with the components.
- Double-check all cable connections to ensure they are securely plugged in and properly aligned. Verify that there are no loose or exposed wires that could pose a safety hazard.
- If necessary, trim the cables to an appropriate length to avoid any excess slack or potential entanglement. Make sure to leave sufficient length for flexibility and ease of future maintenance.
During the installation process, take your time to ensure that all the components are properly seated and the cables are routed in a tidy manner. This will not only improve the overall aesthetics but also make it easier to debug or replace any faulty components in the future.
Once you have completed the installation of the electronics and cables, we can proceed to the next step: sealing and waterproofing the enclosure to protect the components from the elements.
Step 7: Seal and Waterproof the Enclosure
Now that the electronics and cables are installed inside the enclosure, it’s crucial to seal and waterproof it to protect the components from moisture, dust, and other external elements. Follow these steps to ensure a watertight seal:
- Inspect the enclosure for any gaps or openings that may allow water or debris to enter. Use silicone sealant or an appropriate waterproofing material to seal these gaps. Pay extra attention to the areas around cable entry points and mounting hardware.
- Apply a generous amount of sealant along the edges of the enclosure, ensuring complete coverage and a continuous seal. Use a smooth, consistent motion to create a seamless barrier against water infiltration.
- If there are any buttons, switches, or openings on the enclosure, consider using rubber grommets or waterproof seals to further protect these vulnerable areas.
- Allow the sealant to fully cure according to the manufacturer’s instructions. This usually takes several hours or overnight. Avoid exposing the enclosure to moisture during this time to ensure a proper seal.
- Once the sealant has cured, perform a thorough water test by spraying or gently submerging the enclosure in water. Check for any signs of water leakage or infiltration and make any necessary adjustments or reapplications of sealant.
Properly sealing and waterproofing the enclosure is essential to protect your electronic components and ensure their longevity. It will also provide peace of mind when riding in wet or humid conditions, knowing that your components are well-protected.
With the enclosure sealed and waterproofed, we can now move on to the final step: testing and adjusting the setup to ensure optimal performance.
Step 8: Test and Adjust
After completing all the previous steps, it’s time to test the setup and make any necessary adjustments to ensure optimal performance. Follow these steps to ensure your electric skateboard and enclosure are functioning as expected:
- Turn on your electric skateboard and ensure that all the components inside the enclosure are powered up and functioning correctly. Check the battery level, controller response, and any other features specific to your electric skateboard model.
- Take the skateboard for a test ride, paying close attention to any vibrations, rattling, or unusual noises that may indicate a loose component or improper fit. If you notice any issues, stop in a safe location and investigate the source of the problem.
- Inspect the enclosure and its mounting hardware after the test ride. Check for any signs of movement, looseness, or damage. Tighten any bolts or screws if necessary.
- If there are any issues or adjustments needed, such as cable management, component positioning, or further waterproofing, address them accordingly. Make the necessary changes to improve performance, stability, and overall functionality.
- Repeat the testing and adjustment process as needed until you are satisfied with the performance, durability, and aesthetics of your electric skateboard enclosure setup.
Testing and adjusting the setup is a crucial step to ensure that everything is working harmoniously and is secure. It allows you to identify any potential issues and fine-tune the setup for the best riding experience.
Remember to take your time during this step and prioritize safety. If you are unsure about any aspect of the setup, consult with an experienced electric skateboard builder or seek guidance from the manufacturer.
With the testing and adjustments complete, you can now enjoy riding your electric skateboard with confidence, knowing that your custom enclosure is protecting your valuable components.
Conclusion
Congratulations! You have successfully learned how to build your own enclosure for an electric skateboard. By following the step-by-step process outlined in this guide, you have created a customized and functional enclosure that protects your electronic components and adds a personal touch to your electric skateboard.
Throughout the building process, you have learned how to measure and cut the enclosure, drill holes for components, sand and shape the enclosure, apply a protective coating, attach mounting hardware, install electronics and cables, seal and waterproof the enclosure, and test and adjust the setup.
Building your own enclosure offers numerous benefits, including customization, cost savings, and the satisfaction of creating something with your own hands. Plus, you now have the knowledge and skills to make adjustments and improvements to your enclosure in the future.
Always prioritize safety during the construction and testing stages. Take your time, follow the instructions carefully, and consult experts or manufacturer guidelines as needed. Safety should be at the forefront of your mind to ensure a secure and reliable electric skateboard enclosure setup.
Now, it’s time to hit the streets and enjoy the thrill of riding your electric skateboard with confidence, knowing that your custom-built enclosure is protecting your electronics and showcasing your craftsmanship.
Remember to stay updated with the latest safety measures and maintenance practices for your electric skateboard and enclosure. With proper care and regular inspections, your custom enclosure will continue to serve you well for many rides to come.