Introduction
Gaming laptops have become increasingly popular among gamers due to their portability and high performance capabilities. However, the hefty price tag associated with many gaming laptops can discourage budget-conscious gamers from getting their hands on one. But fear not! In this guide, we will show you how to build a super cheap gaming laptop without compromising on performance.
Building your own gaming laptop allows you to customize the components according to your specific needs and budget. By following our step-by-step instructions, you can save money and still enjoy a smooth gaming experience. So, let’s dive in and discover how to build your own affordable gaming laptop.
Before we delve into the nitty-gritty of component selection and assembly, it’s important to have a clear understanding of what you want to achieve with your gaming laptop. Are you aiming for a high-performance gaming system capable of handling the latest AAA titles, or are you looking for a budget-friendly option for less demanding games? Identifying your gaming needs will help you make informed decisions about the components you choose.
Another factor to consider is your budget. Determine how much you’re willing to spend on your gaming laptop and stick to it. By setting a budget, you can narrow down your options and focus on components that offer the best value for money.
It’s also worth mentioning that building a gaming laptop requires some technical knowledge and hands-on experience, but don’t let that intimidate you. With the right guidance and a bit of patience, anyone can successfully build their own gaming laptop.
In the following sections, we will guide you through the process of selecting the right components, building the laptop, installing the operating system and drivers, and optimizing performance for gaming.
So, if you’re ready to embark on an exciting journey of building your super cheap gaming laptop, let’s get started!
Selecting the Right Components
When it comes to building a super cheap gaming laptop, selecting the right components is crucial for achieving optimal performance without breaking the bank. Here are the key components you need to consider:
- Processor (CPU): The CPU is the brain of your gaming laptop. Look for a processor with multiple cores and a high clock speed for smooth multitasking and gaming performance. Popular budget-friendly options include the AMD Ryzen and Intel Core i5 processors.
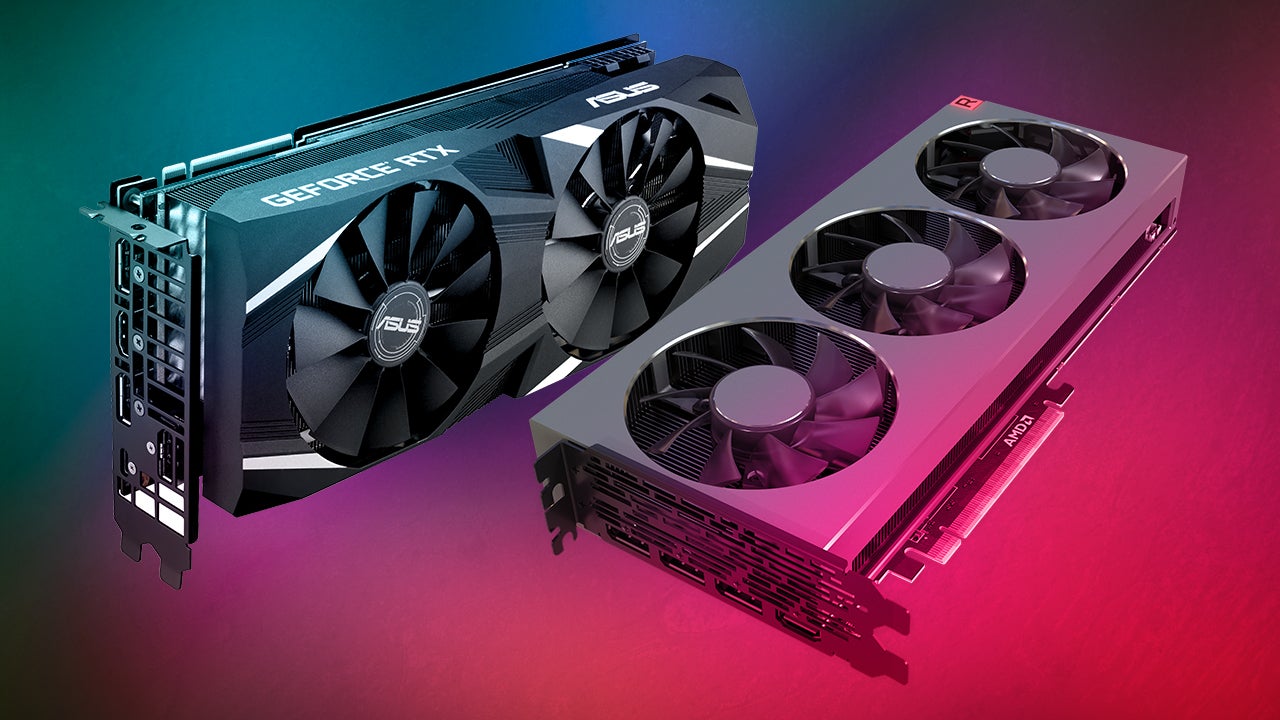
- Graphics Card (GPU): A powerful GPU is essential for rendering high-quality graphics in games. While dedicated graphics cards can be expensive, you can find budget-friendly options like the NVIDIA GeForce GTX 1650 or AMD Radeon RX 5500M that offer decent gaming performance.
- Memory (RAM): Aim for at least 8GB of RAM to ensure smooth gameplay and multitasking. Consider selecting RAM with higher clock speeds to improve performance.
- Storage: Opt for a solid-state drive (SSD) for faster boot times and game loading. While SSDs can be pricier than traditional hard drives, they provide a significant improvement in performance.
- Display: Look for a display with a high refresh rate (e.g., 120Hz or higher) for smoother gameplay. However, keep in mind that higher refresh rate displays tend to be more expensive.
- Keyboard and Mouse: Choose a gaming keyboard and mouse that suit your preferences. Mechanical keyboards offer better feedback and durability, while optical or laser mice provide precise tracking.
- Battery Life: If portability is important to you, consider a gaming laptop with decent battery life to enjoy gaming on the go.
It’s important to note that while selecting budget-friendly components is crucial, it’s equally important to ensure compatibility among the components. Research compatibility guides and consult online forums to confirm that the components you choose will work together seamlessly.
Additionally, consider purchasing components during sales or promotions to save even more money. Check online retailers and compare prices to get the best deals.
Now that you have a better understanding of the key components required for your super cheap gaming laptop, let’s move on to the next step: building a solid foundation.
Building a Solid Foundation
Building a solid foundation for your gaming laptop is essential to ensure proper functionality and longevity. Here are the steps to follow:
- Prepare the Workspace: Find a clean, well-lit area with enough space to work comfortably. Ensure you have all the necessary tools, such as screwdrivers and thermal paste, within reach.
- Disassemble the Laptop: Start by removing the back cover of your laptop. Carefully unscrew and remove any components that are not needed for the upgrade, such as the optical drive or extra hard drives. Take note of the location and orientation of all screws and cables to aid in reassembly.
- Install the CPU: Gently remove the cooler and install the CPU into the socket, making sure to align the notches. Apply a small amount of thermal paste to the top of the CPU to ensure optimal heat transfer, then reattach the cooler.
- Insert the RAM: Locate the RAM slots and insert the RAM sticks firmly but gently. Ensure they are properly aligned with the notches on the slots. Apply gentle pressure until the RAM clicks into place.
- Connect the Storage: Install the SSD or hard drive into the designated slot and connect it using the appropriate cables. Double-check that all connections are secure.
- Reassemble the Laptop: Carefully put all the components back into their respective places. Align the screw holes and gently tighten the screws to secure the components in place. Be mindful not to overtighten, as it can damage the laptop’s chassis.
- Check for Loose Connections: Give the laptop a gentle shake to ensure there are no loose connections. This will help avoid any issues when the laptop is powered on.
Throughout the building process, refer to the laptop’s user manual or online resources for specific instructions related to your laptop model. It’s crucial to handle the components carefully and avoid applying excessive force to prevent damage.
Once you have successfully built a solid foundation for your gaming laptop, it’s time to move on to the next step: assembling the gaming laptop.
Assembling the Gaming Laptop
Now that you have built a solid foundation for your gaming laptop, it’s time to assemble the remaining components to complete the build. Follow these steps to ensure a successful assembly:
- Prepare the Chassis: Lay the laptop chassis on a flat surface and open it up. Take note of the cable routing and connectors for easy installation.
- Install the Motherboard: Carefully align the motherboard with the screw holes in the chassis. Place it in position and secure it using the screws provided. Ensure that all connections, such as the power button and keyboard ribbon cables, are properly attached to the motherboard.
- Install the Cooling System: Attach the cooling system, which includes the heat sink and cooling fans, according to the manufacturer’s instructions. Ensure that the CPU and GPU are properly covered by thermal paste and securely connected to the cooling system.
- Connect the Power Supply: Attach the power supply unit (PSU) to the chassis and connect its cables to the appropriate connectors on the motherboard and storage devices. Double-check that all connections are secure.
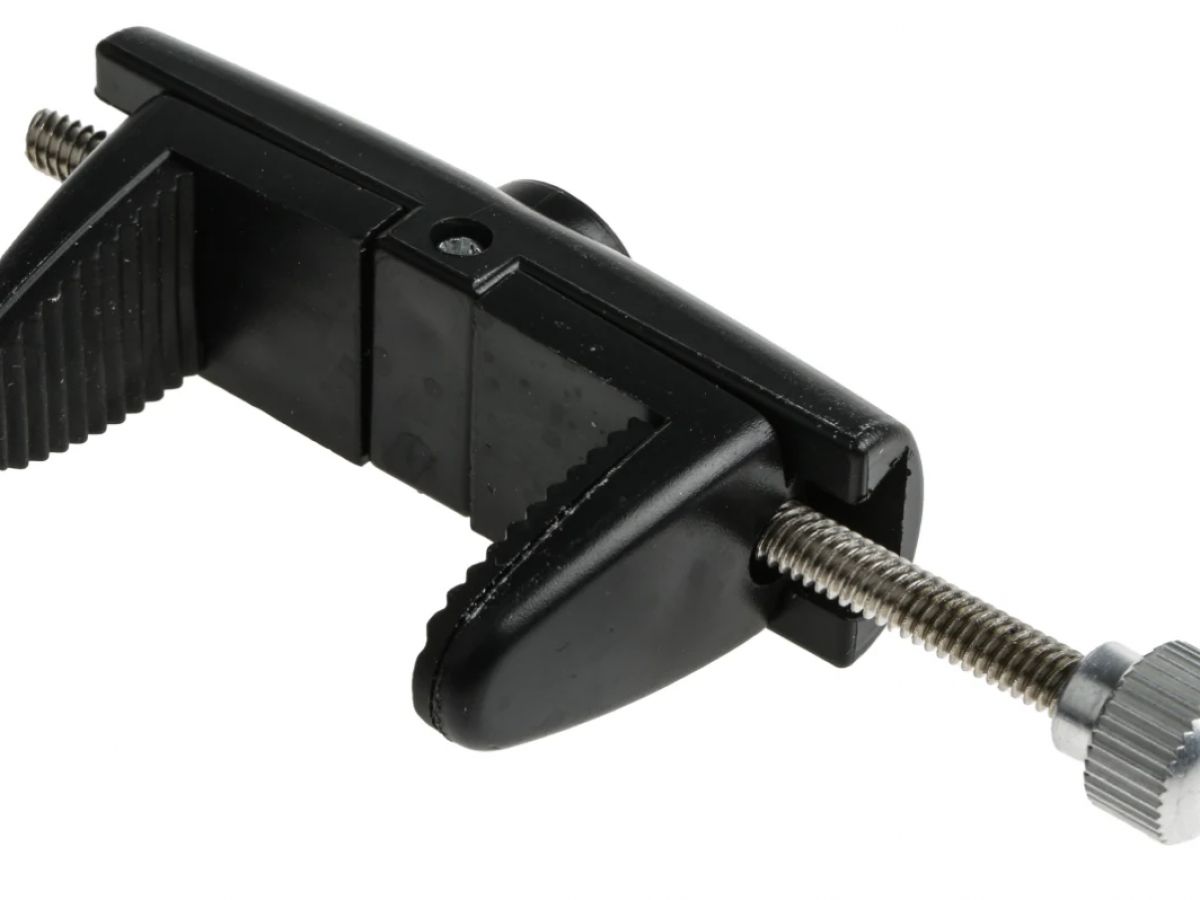
- Connect the Display: Attach the display panel cable to the motherboard, ensuring a secure connection. Carefully route the cable and secure it using cable clips or adhesive strips to prevent interference with other components.
- Connect Additional Components: Install any additional components such as the keyboard, touchpad, and speakers according to the manufacturer’s instructions. Secure all connections and ensure proper functionality.
- Close and Secure the Chassis: Carefully close the laptop chassis, ensuring that all cables are neatly tucked away. Secure the chassis using the appropriate screws or latches.
Throughout the assembly process, refer to the laptop’s user manual or online resources for specific instructions related to your laptop model. Take your time and double-check all connections to avoid any issues when powering on the laptop.
Once you have successfully assembled the gaming laptop, it’s time for the next step: installing the operating system and drivers.
Installing the Operating System and Drivers
After assembling your gaming laptop, it’s time to install the operating system and necessary drivers to ensure proper functionality. Follow these steps to complete the installation process:
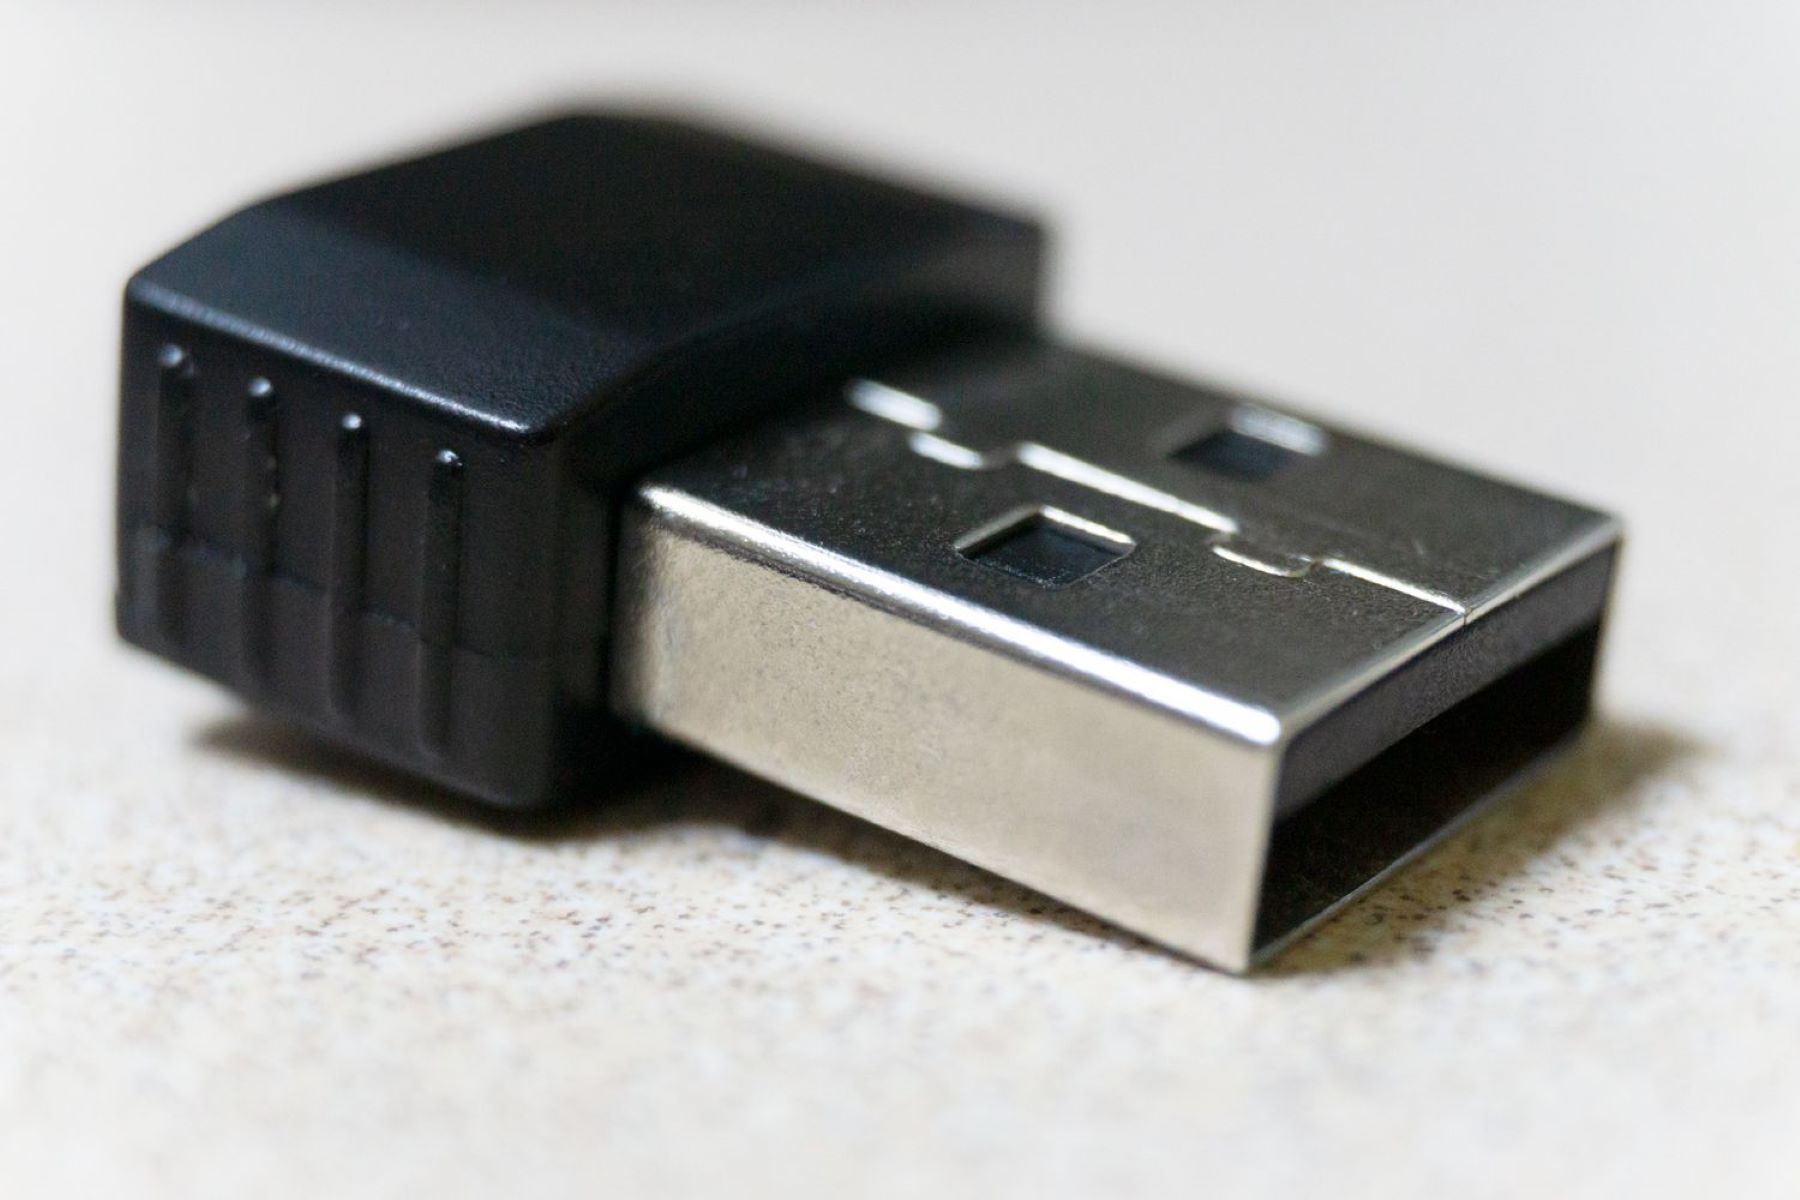
- Prepare Installation Media: Obtain a copy of the operating system you wish to install, whether it’s Windows, Linux, or another alternative. Create a bootable USB drive or DVD with the installation files using a separate computer.
- Boot from Installation Media: Insert the bootable USB drive or DVD into your gaming laptop. Restart the laptop and access the BIOS settings by pressing the designated key during startup. Configure the BIOS to boot from the installation media.
- Install the Operating System: Follow the on-screen prompts provided by the operating system installation wizard. Choose the desired language, partition the storage drive as needed, and proceed with the installation. Wait for the installation process to complete, which may take some time.
- Install Essential Drivers: Once the operating system is installed, connect to the internet and download the necessary drivers for your hardware components. Visit the manufacturer’s website and locate the specific drivers for your laptop model. Install the drivers one by one, following the provided instructions.
- Configure System Settings: After installing the drivers, configure the system settings according to your preferences. This includes personalizing the desktop, adjusting power settings, and enabling any additional features you desire.
- Update the Operating System: After the initial installation, it’s crucial to update the operating system to ensure you have the latest security patches and bug fixes. Check for updates through the system settings or use the provided update utility.
- Test Functionality: Finally, test the functionality of your gaming laptop by launching applications, connecting to the internet, and playing games. Ensure that all hardware components are working correctly and troubleshoot any issues that may arise.
Remember to keep your operating system and drivers up to date to ensure optimal performance and compatibility with new software releases.
Now that you have successfully installed the operating system and drivers, it’s time to move on to the next step: optimizing performance for gaming.
Optimizing Performance for Gaming
After setting up your gaming laptop and installing the necessary software, it’s crucial to optimize its performance to ensure a smooth gaming experience. Here are some tips to help you maximize your laptop’s gaming capabilities:
- Update Graphics Card Drivers: Visit the manufacturer’s website and download the latest drivers for your graphics card. Updated drivers often include performance enhancements and bug fixes that can improve gaming performance.
- Adjust Power Settings: Customize the power settings on your laptop to prioritize performance over power savings. Access the power settings in your operating system and choose the “High Performance” or similar option.
- Optimize In-Game Settings: Adjust the graphics and display settings within your games to find the right balance between visual quality and performance. Lowering certain settings, such as shadows or anti-aliasing, can significantly improve frame rates.
- Manage Background Processes: Close unnecessary background processes and applications that may consume system resources while gaming. Use the Task Manager (Ctrl+Shift+Esc) to identify resource-intensive processes and terminate them.
- Monitor System Temperature: Download software to monitor your laptop’s temperature, such as MSI Afterburner or HWMonitor. High temperatures can lead to decreased performance or even system instability. Ensure that your laptop remains adequately cooled during gaming sessions.
- Optimize Storage: Regularly clean up your laptop’s storage by removing unnecessary files and programs. Consider using disk cleanup utilities or third-party software to remove temporary files, cache, and other clutter that may slow down your system.
- Update BIOS and Firmware: Visit your laptop manufacturer’s website to check for BIOS and firmware updates. These updates can improve hardware compatibility, stability, and performance.
- Use Game Optimization Software: Consider using software tools provided by graphics card manufacturers, such as NVIDIA GeForce Experience or AMD Radeon Software, to optimize game settings automatically and keep drivers up to date.
It’s important to note that optimization methods can vary depending on your specific laptop model and the games you play. Experiment with different settings and configurations to find what works best for your setup.
Now that you have optimized your gaming laptop for peak performance, it’s time to enjoy your favorite games to the fullest!
Final Thoughts and Tips
Congratulations on successfully building your super cheap gaming laptop! Here are a few final thoughts and tips to keep in mind:
- Budget Flexibility: Remember that the term “cheap” is relative, and the cost of building a gaming laptop can vary based on individual preferences and available components. Be flexible with your budget and make adjustments as needed.
- Research and Comparison: Before purchasing any components, thoroughly research and compare prices from different retailers. Look for deals, discounts, and promotions to get the best value for your money.
- Regular Maintenance: Maintain your gaming laptop by regularly cleaning the vents and fans to prevent dust buildup, which can affect performance and cooling. Also, periodically check for software updates and install them to ensure optimal functionality.
- Expandability: Consider the expandability options of your chosen components. Leaving room for future upgrades, such as adding more RAM or replacing the storage drive, can extend the lifespan and performance of your gaming laptop.
- Support and Community: Join online communities, forums, and social media groups dedicated to gaming laptops or PC building. These resources can provide valuable insights, troubleshooting tips, and recommendations for optimizing performance.
- Warranty and Service: Pay attention to warranty information for the components you purchase. In case of any issues, you can easily get support or replacements if the components are still under warranty.
- Personalization: Customize your gaming laptop with accessories like gaming headphones, a gaming mouse, and a cooling pad to enhance your gaming experience and make it truly your own.
- Have Fun: Remember that building and gaming on your very own laptop is an exciting journey. Enjoy the process, experiment with various games and settings, and embrace the pleasure of gaming on a system you built!
Building a super cheap gaming laptop may require time, research, and some technical knowledge, but the satisfaction of creating a customized gaming experience within your budget is well worth it. With the right components, careful assembly, and optimization, you can have an immersive and enjoyable gaming experience without breaking the bank.
Now, go ahead and immerse yourself in the wonderful world of gaming with your new super cheap gaming laptop!