Introduction
Blocking someone on iMessage can be a useful feature when you want to avoid unwanted or irritating messages. If you’re using iMessage on your Mac, blocking someone is a straightforward process that can help bring peace of mind.
In this article, we will guide you through the steps of blocking someone on iMessage on your Mac computer. Whether it’s a persistent spammer, a former acquaintance who won’t take the hint, or someone you simply no longer wish to communicate with, blocking them can help ensure a more enjoyable messaging experience.
With iMessage becoming an essential communication tool for many Mac users, being able to control who can send you messages is crucial. By blocking someone, you won’t receive any texts, images, or other forms of communication from them. The blocked person will not be notified of the block, and their messages will simply disappear into the void without a trace.
If you’re ready to take control of your iMessage inbox and block that annoying or unwanted contact on your Mac, let’s dive into the step-by-step process.
Step 1: Open the Messages app
The first step in blocking someone on iMessage on your Mac is to open the Messages app. This is the default app for sending and receiving messages on your Mac computer. You can find it in your Applications folder or by using Spotlight search.
To open the Messages app, click on the Finder icon located in your Dock. Then, navigate to the Applications folder. Look for the Messages app icon, which resembles a speech bubble. Click on it to launch the app.
Alternatively, you can use Spotlight search by clicking on the magnifying glass icon in the top-right corner of your screen. Type “Messages” in the search bar, and the app should appear in the results. Click on it to open the app.
Once you have successfully opened the Messages app, you will be greeted with your list of conversations and messages. This is where you’ll be able to find and select the conversation with the person you want to block.
In the next step, we will guide you through selecting the conversation and accessing the necessary options to block the person on iMessage. Let’s proceed to Step 2.
Step 2: Select the conversation with the person you want to block
After opening the Messages app on your Mac, it’s time to locate and select the conversation with the person you want to block. This can be a one-on-one conversation or a group chat.
In the left sidebar of the Messages app, you’ll see a list of your recent conversations. Scroll through the list to find the conversation with the person you want to block. Each conversation will display the participants’ names or group title.
To select the conversation, simply click on it. The conversation will be highlighted, indicating that it is now the active conversation.
If you have an extensive list of conversations and finding the specific one you’re looking for proves challenging, you can use the search bar at the top of the left sidebar. Type the name of the person or group you want to block, and the app will filter the conversations accordingly. Once you find the desired conversation, click on it to select it.
By selecting the conversation, you’re now ready to access the options that will allow you to block the person. In the following step, we will guide you through the process of accessing those options. Let’s move on to Step 3.
Step 3: Click on the “Details” button
Once you have selected the conversation with the person you want to block in the Messages app on your Mac, it’s time to access the details of that conversation. In the details, you will find the options to block the person.
Located at the top-right corner of the Messages app window, you will see a button with the label “Details.” Click on this button to open the conversation’s details panel.
The details panel will provide you with a range of options and information about the selected conversation. Here, you can view the participants’ names or group title, customize conversation settings, and access additional features.
In the details panel, you will also find the specific option to block the person in question. It’s important to note that blocking someone on iMessage will prevent them from sending you any further messages and also hide any previously received messages from them.
By clicking on the “Details” button, you have successfully accessed the necessary options to proceed with blocking the person. In the next step, we will guide you through the process of blocking them. Let’s proceed to Step 4.
Step 4: Block the person
After opening the conversation’s details panel in the Messages app on your Mac, you can now proceed to block the person you want to prevent from contacting you.
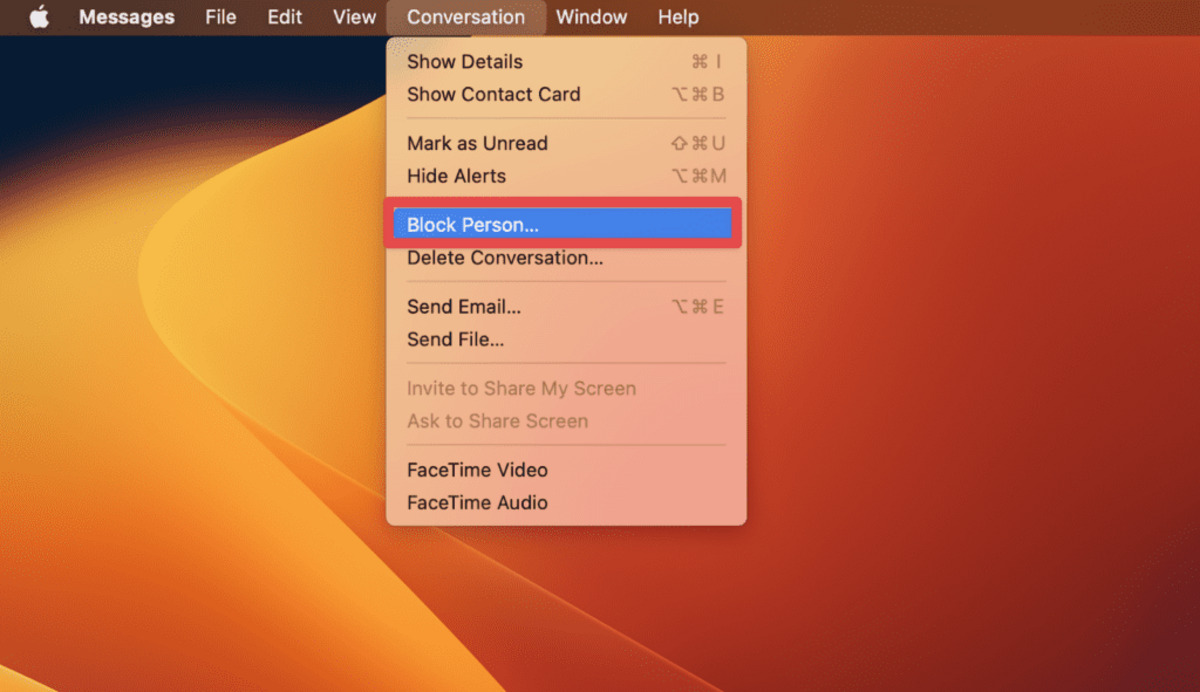
In the details panel, you will find a section labeled “Settings” or “Options,” depending on the version of macOS you are using. Look for an option within this section that says “Block this Caller” or “Block this Contact.” Click on this option to initiate the blocking process.
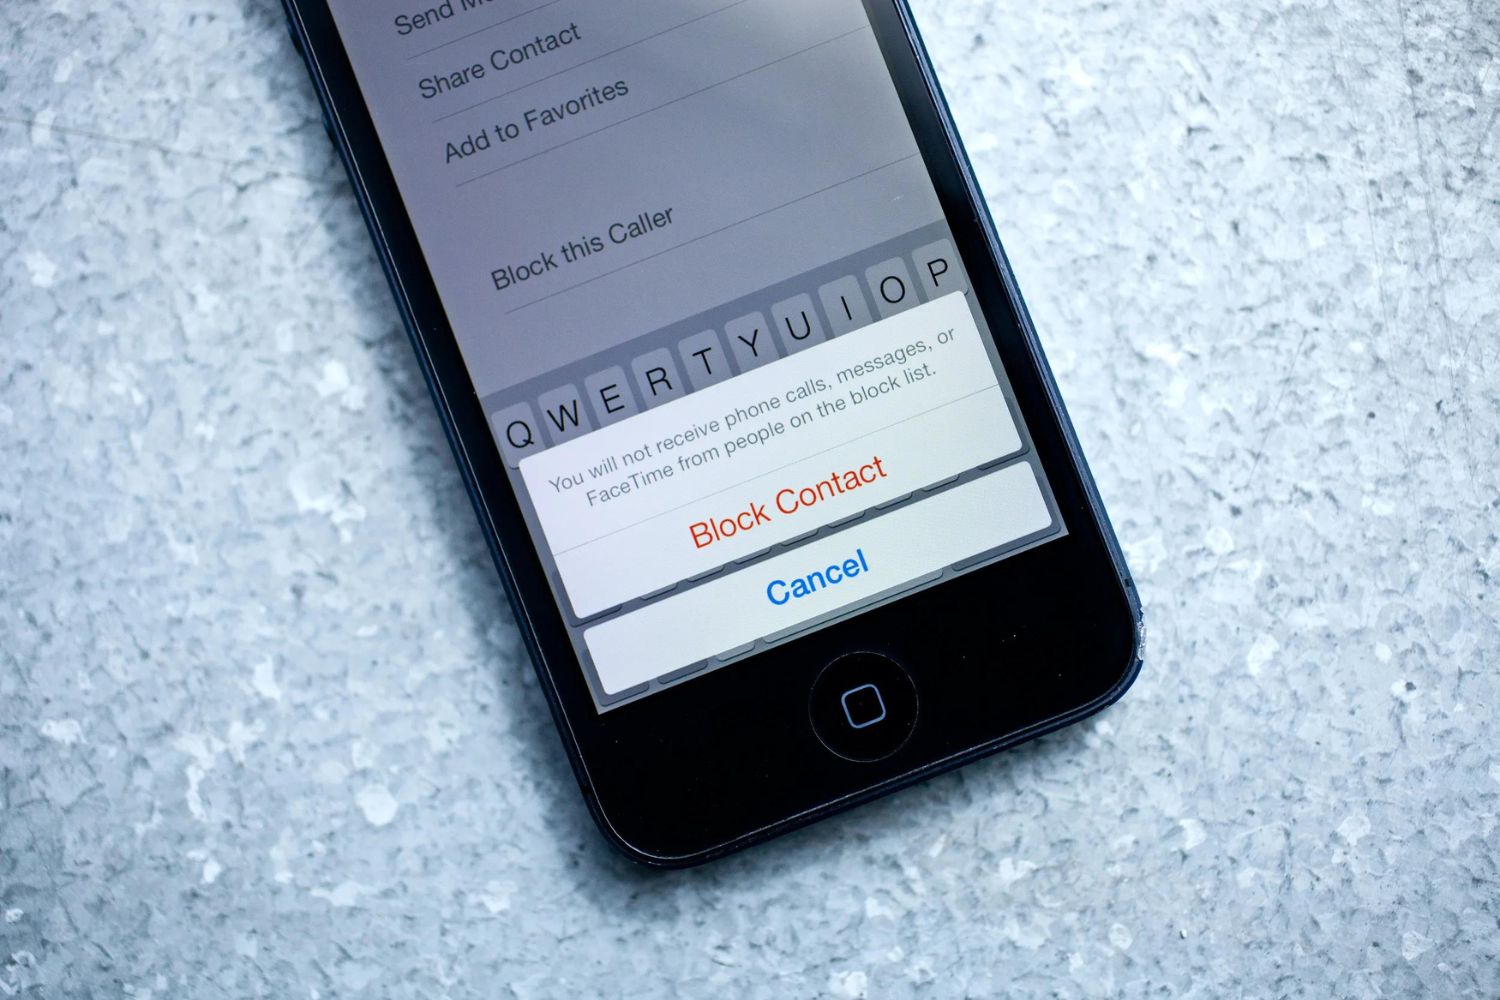
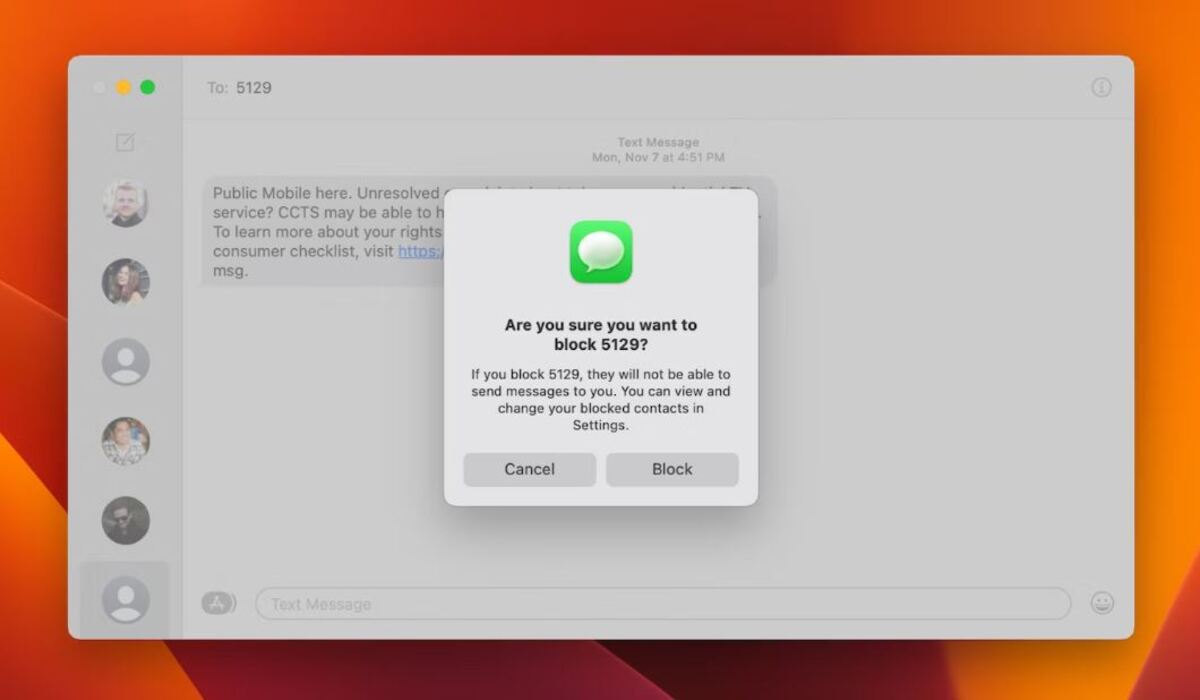
A confirmation window will appear, asking you to confirm your decision to block the person. This is a precautionary step to ensure that you do not accidentally block someone. Take a moment to review the information and ensure that you are blocking the correct person.
If you are certain that you want to proceed with blocking the person, click on the “Block” button in the confirmation window. This will immediately block the person on iMessage, preventing them from sending you any further messages.
Once you have successfully blocked the person, they will not be notified of the block. Any future messages they send will not be delivered to your Messages app, and any previous messages from them will be hidden from view.
With the person now blocked, you can enjoy a more peaceful messaging experience on your Mac. However, if you ever decide to unblock the person and allow them to contact you again, follow the steps outlined in the next section. Let’s proceed to Step 5.
Step 5: Confirm the block
After blocking someone on iMessage on your Mac, it’s important to confirm that the block has been successfully implemented. Confirming the block will provide reassurance that the person is no longer able to send you messages.
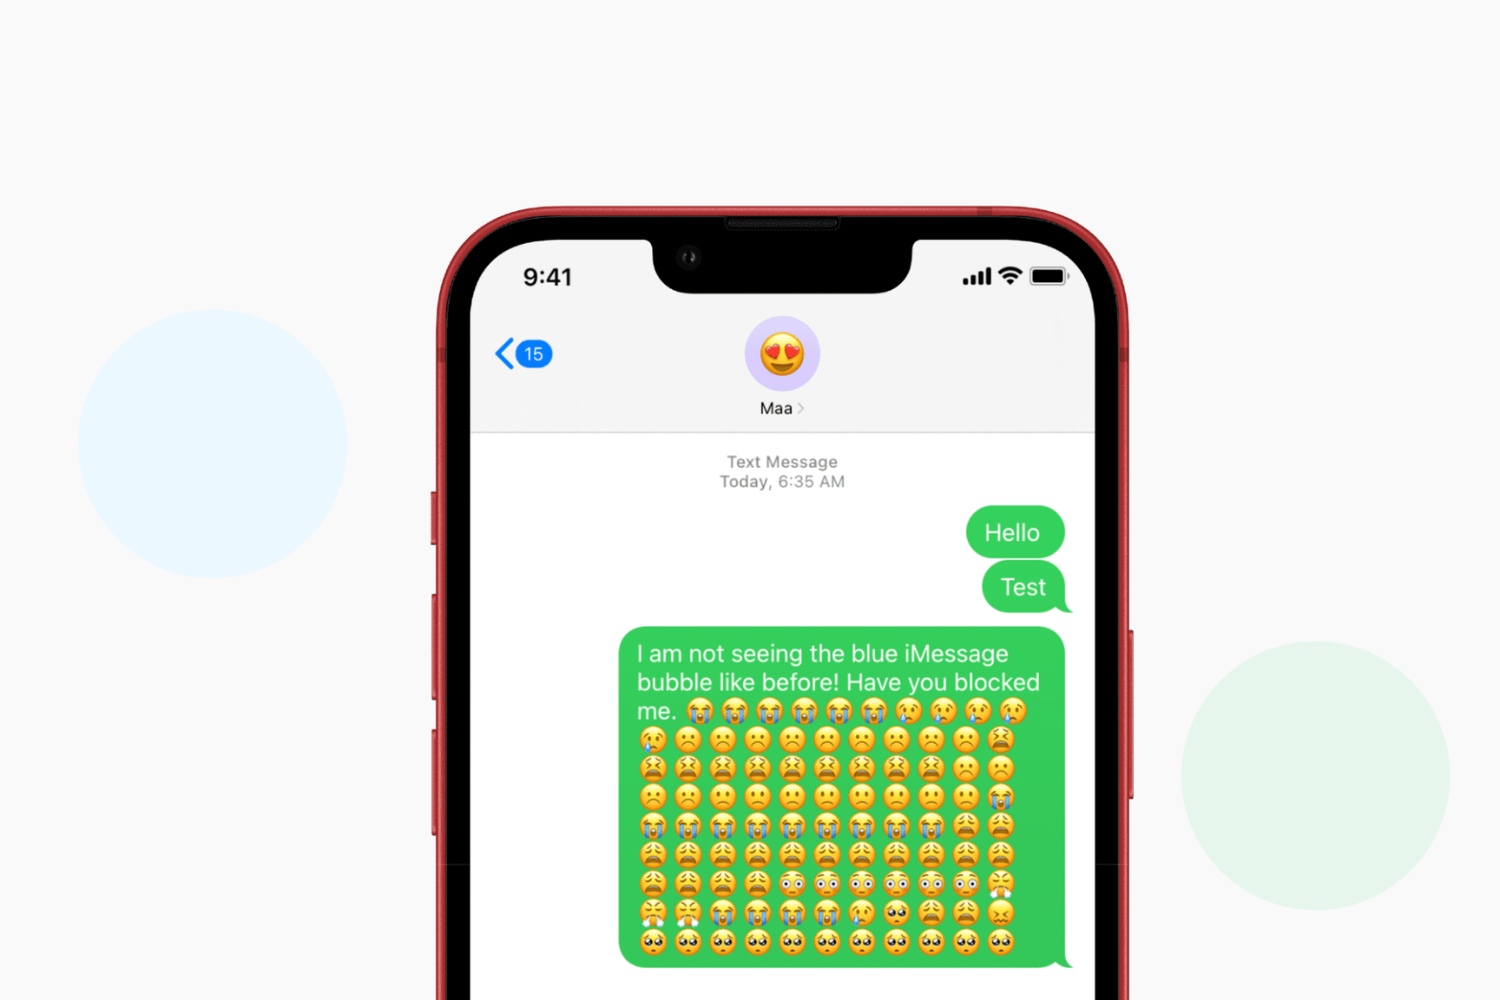
To confirm the block, you can perform a quick check within the Messages app on your Mac. Open the conversation where you blocked the person and see if their messages are still visible. If the block was successful, their messages should no longer be visible within the conversation.
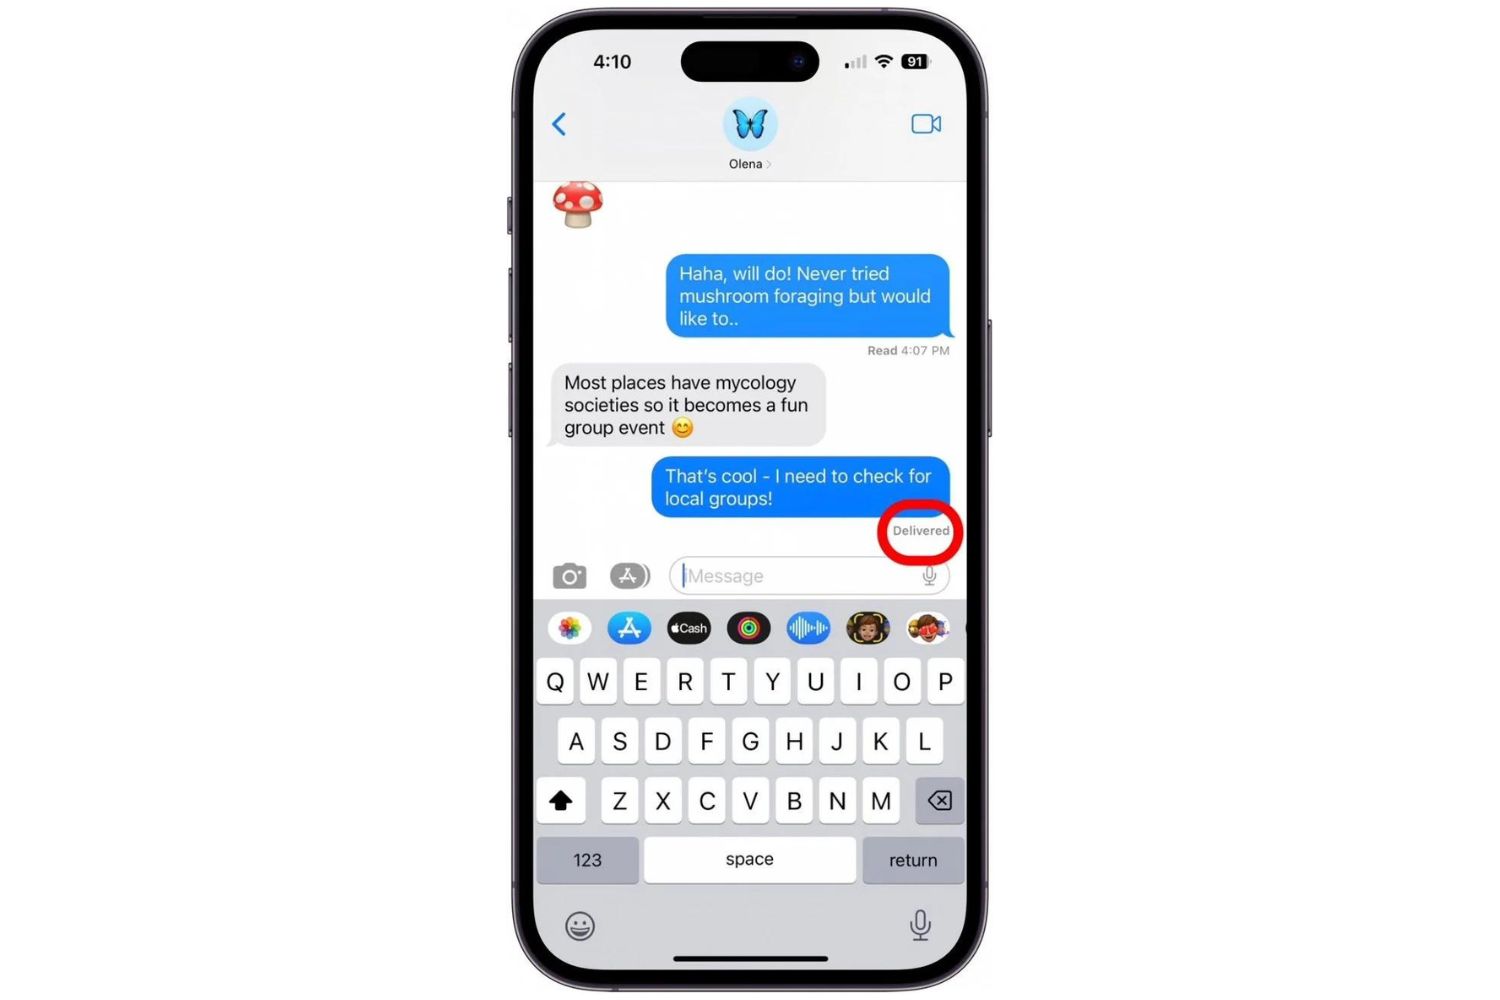
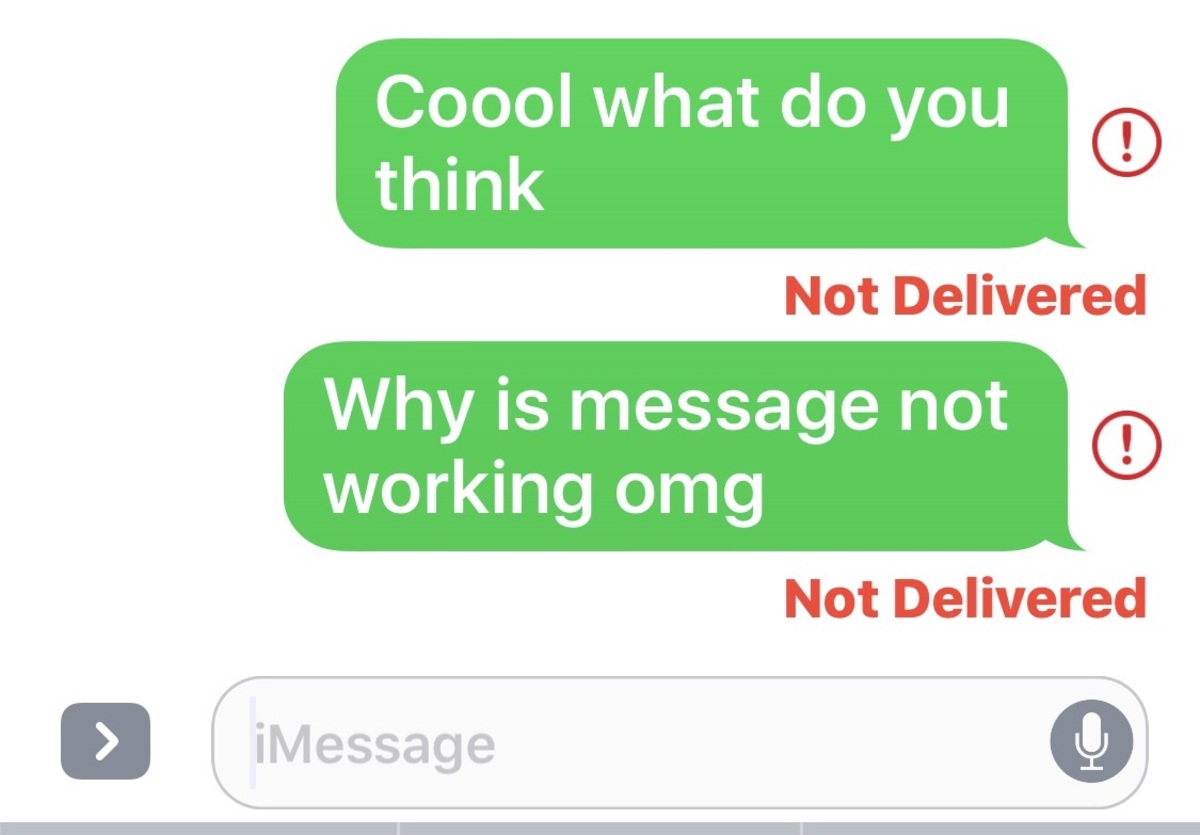
Additionally, you can also try sending a test message to yourself from another device or ask a trusted contact to send you a message. If the person you have blocked is unable to reach you, this indicates that the block has been successfully implemented.
It’s important to note that while blocking someone on iMessage prevents them from sending you messages, it does not affect their ability to send messages to any other contacts. Blocking is specific to your own communication with the person you have chosen to block.
If you encounter any issues or find that the block was not successful, you may need to repeat the steps or seek further assistance. In most cases, however, the block should take effect immediately and prevent the person from contacting you.
Now that you have confirmed the block, you have successfully ensured that the person you wanted to block can no longer send you messages on iMessage. If, in the future, you decide to unblock them, you can follow the steps outlined in the optional Step 6. Let’s proceed to that step.
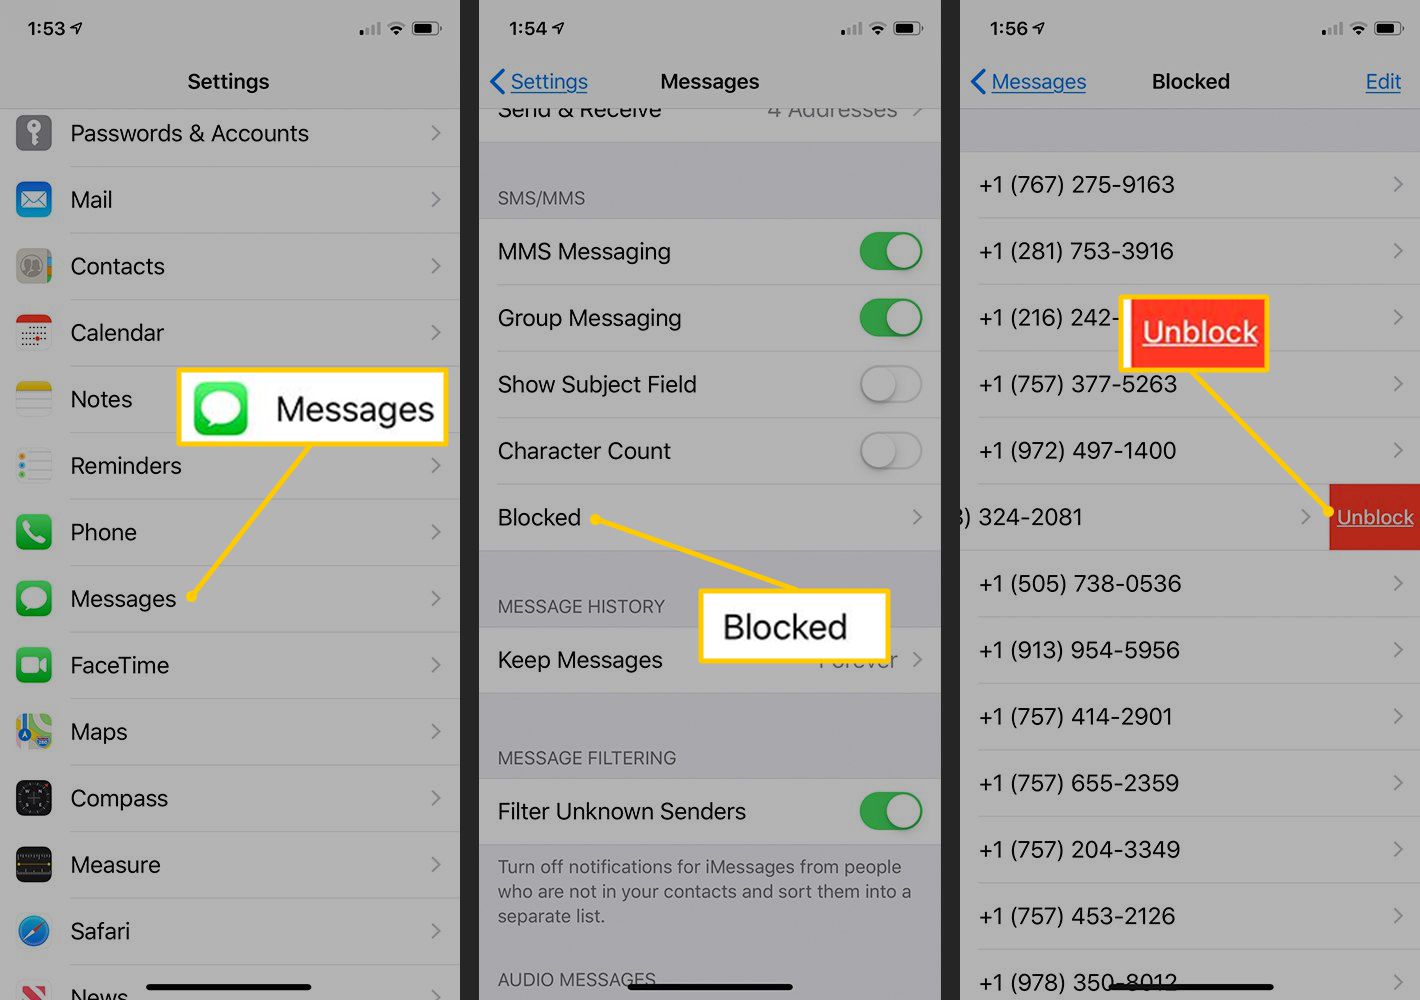
Step 6: Unblock the person (optional)
If you have previously blocked someone on iMessage on your Mac and have now decided to give them access to contact you again, you can unblock them following these steps.
Firstly, open the Messages app on your Mac and navigate to the conversation in which you had blocked the person. Select the conversation and access the details panel by clicking on the “Details” button at the top-right corner of the app.
In the details panel, you should now see an option labeled “Unblock this Caller” or “Unblock this Contact.” Click on this option to initiate the unblocking process.
A confirmation prompt will appear, asking you to confirm your decision to unblock the person. This is to prevent any accidental unblocks. Take a moment to review the information and ensure that this is the person you want to unblock.
If you are certain that you want to proceed with unblocking the person, click on the “Unblock” button in the confirmation prompt. This will lift the block and allow the person to send you messages again.
Once the unblock process is complete, the person you have unblocked will not receive any notifications indicating that they have been unblocked. They will be able to send you messages as if the block never occurred.
It’s important to consider your decision carefully before unblocking someone. If you have blocked them for a valid reason, ensure that the situation has changed or that you are ready to resume communication with them.
With Step 6 completed, you have successfully unblocked the person on iMessage. Remember, blocking and unblocking can be useful features to control your messaging experience on your Mac. Use them wisely to maintain a peaceful and comfortable communication environment.
Conclusion
Blocking someone on iMessage on your Mac is a simple yet effective way to maintain control over your messaging experience. By following the steps outlined in this article, you can easily block and unblock individuals or unwanted contacts, ensuring that you only receive messages from people you want to communicate with.
Remember, blocking someone on iMessage prevents them from sending you any further messages and hides any previously received messages from them. It’s a valuable feature for dealing with persistent spammers, unwanted contacts, or individuals with whom you no longer wish to interact.
By opening the Messages app, selecting the conversation, accessing the details panel, and utilizing the block and unblock options, you have the power to curate your messaging environment on your Mac. Take advantage of these features to maintain a more enjoyable and personalized communication experience.
If you ever need to reverse your decision and unblock a person, the steps outlined in this article will guide you through the process seamlessly.
Now that you’re equipped with the knowledge on how to block and unblock someone on iMessage on your Mac, take control of your inbox and enjoy a more peaceful messaging experience.


