Introduction
Many laptop users appreciate the convenience and flexibility of working with an external monitor. Whether you’re a designer looking for a larger workspace or a gamer seeking a better visual experience, using an external monitor can greatly enhance your productivity and enjoyment.
One common question that arises when using an external monitor with a laptop is whether it’s possible to close the laptop lid while still using the external monitor as the main display. This can be especially handy if you prefer a clutter-free workspace or if you want to conserve laptop battery life.
In this article, we will guide you through the process of closing your laptop and using an external monitor. We will provide step-by-step instructions, explain display settings, and offer troubleshooting tips for common issues that may arise.
Before we delve into the steps, it’s important to note that the ability to close the laptop lid while using an external monitor varies depending on the laptop model and operating system. Some laptops may automatically enter sleep mode or shut off the display when the lid is closed, while others may allow you to continue using the external monitor.
With that said, let’s explore how you can maximize your laptop and external monitor setup for a seamless and efficient workflow.
Step 1: Check your laptop’s capabilities
Before attempting to close your laptop and use an external monitor, it’s important to determine if your laptop supports this functionality. While many modern laptops do allow for this feature, it’s crucial to ensure that your specific laptop model and operating system support it.
Here’s what you can do to check your laptop’s capabilities:
- Read the user manual: Consult your laptop’s user manual or visit the manufacturer’s website to see if there are any specific instructions or guidelines regarding the use of an external monitor with the laptop lid closed.
- Check the display settings: Go to your laptop’s display settings and look for an option that allows you to choose the primary display or configure multiple displays. If you find the option to set an external monitor as the main display, it’s likely that your laptop supports closing the lid while using an external monitor.
- Research online: Search online forums, support communities, or tech websites for users who have the same laptop model as you. They may have shared their experiences or tips on using an external monitor with the lid closed.
It’s worth noting that even if your laptop supports closing the lid, the specific steps and options may vary depending on your operating system. So, make sure to consider the instructions provided for your particular OS.
Once you’ve determined that your laptop supports this functionality, it’s time to move on to the next step: connecting your external monitor.
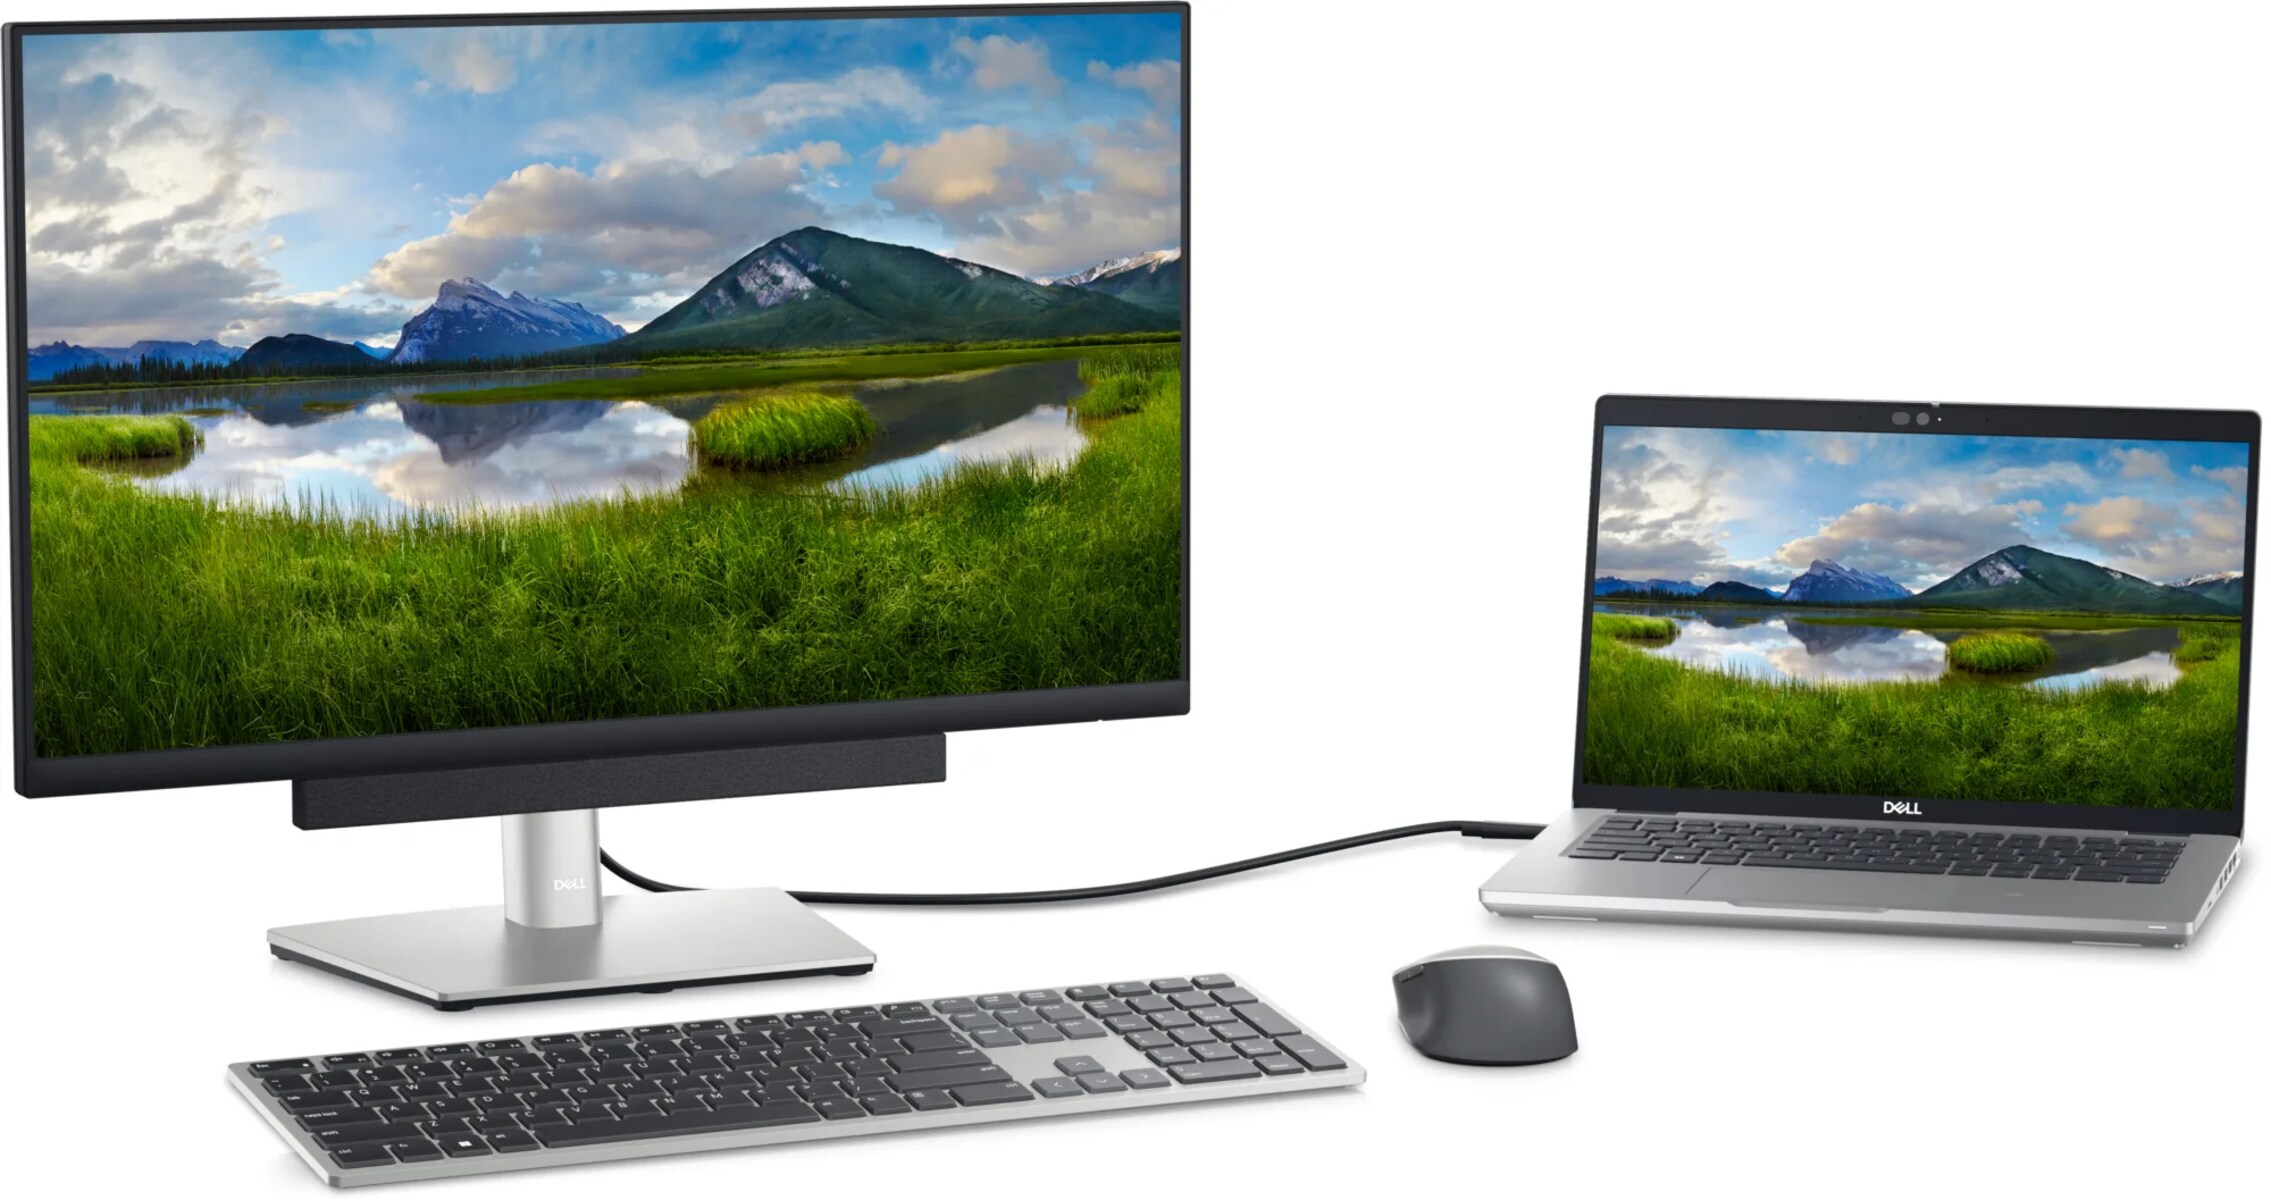
Step 2: Connect your external monitor
Now that you’ve confirmed that your laptop supports closing the lid while using an external monitor, it’s time to connect the monitor to your laptop. Here’s a step-by-step guide to help you through the process:
- Gather the necessary cables: Depending on the available ports on your laptop and monitor, you may need an HDMI, DisplayPort, VGA, or DVI cable. Make sure to have the appropriate cable on hand.
- Identify the video output ports: Check the sides or the back of your laptop for the available video output ports. Common ones include HDMI, DisplayPort, and VGA.
- Connect the cable: Plug one end of the cable into the appropriate video output port on your laptop and the other end into the corresponding input port on your external monitor.
- Power on the monitor: Ensure that the external monitor is powered on and connected to a power source.
- Configure the display settings: On your laptop, go to the display settings and detect the connected external monitor. Depending on your operating system, you may need to extend or duplicate the displays.
- Adjust the screen resolution: If the image on the external monitor doesn’t fit properly or appears distorted, adjust the screen resolution to match the recommended settings for your monitor.
- Confirm the connection: Check if the external monitor displays the laptop’s screen correctly. If everything looks good, you’re ready to move on to the next step.
It’s worth mentioning that in some cases, your laptop may automatically detect and configure the display settings once you connect the external monitor. However, if this doesn’t happen, you can manually adjust the settings following the steps outlined above.
With your external monitor successfully connected and configured, you’re now ready to optimize your setup for using the external monitor as the primary display.
Step 3: Adjust display settings
Once you have connected your external monitor, it’s important to adjust the display settings to ensure optimal viewing and functionality. By adjusting these settings, you can customize how your laptop and external monitor work together seamlessly.
Here are the key display settings you should consider:
- Select the primary display: In your laptop’s display settings, designate your external monitor as the primary display. This will make it the main screen where all your applications and windows open by default.
- Set the screen orientation: Depending on your preference and monitor placement, you may need to adjust the screen orientation. You can choose between landscape (horizontal) or portrait (vertical) mode.
- Adjust the screen resolution: Ensure that the screen resolution is set to the recommended or native resolution of your external monitor. This will provide the best display quality and ensure that content appears sharp and clear.
- Manage display scaling: If the sizes of text and icons differ between the laptop and external monitor, you can adjust the display scaling settings to maintain consistent visuals across both screens.
- Configure multiple monitors: If you plan to use both the laptop screen and the external monitor simultaneously, consider configuring them as an extended display. This will allow you to drag windows and applications between the screens for multi-tasking purposes.
It’s worth mentioning that the exact steps to adjust these settings may vary depending on your operating system. However, most modern operating systems provide intuitive and user-friendly options for managing multiple displays.
Take some time to fine-tune the display settings according to your preferences and workflow requirements. Once you are satisfied with the settings, you can move on to the next step: using the external monitor as your main display with the laptop lid closed.
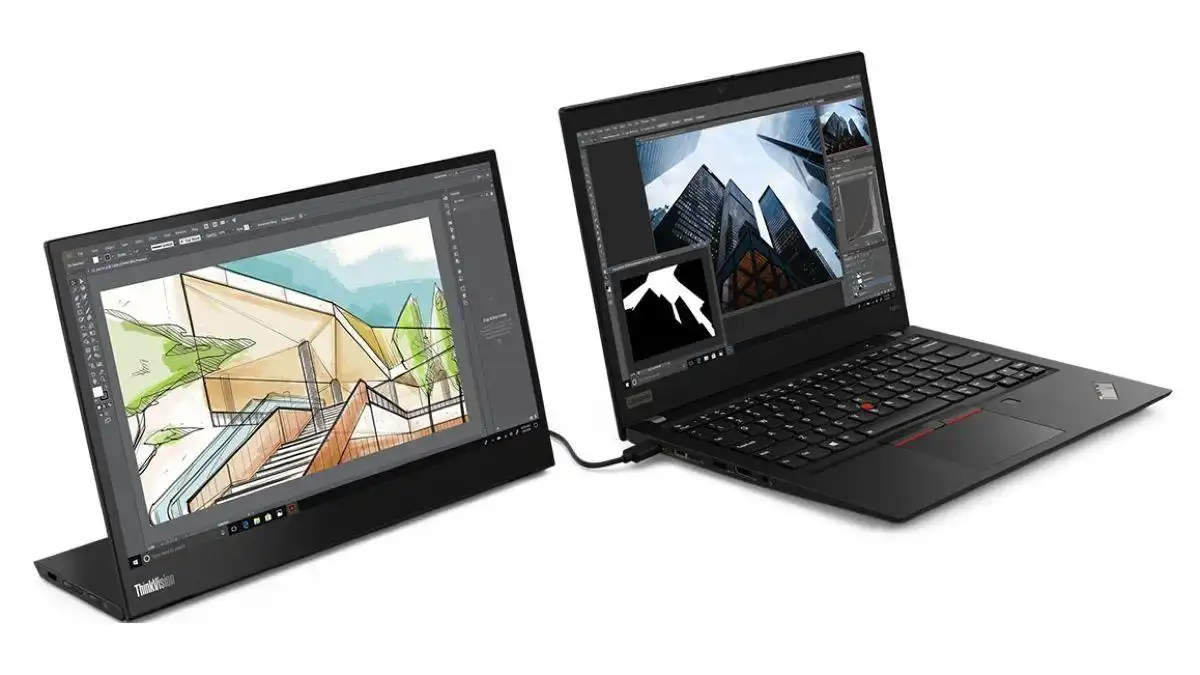
Step 4: Use the external monitor as your main display
Now that you have connected and adjusted the display settings for your external monitor, it’s time to make it your primary display. This means that all your applications, windows, and tasks will open and run on the external monitor, even when the laptop lid is closed.
Follow these steps to use the external monitor as your main display:
- Close the laptop lid: Gently close your laptop lid. Many laptops will automatically detect the closed lid and switch to using the external monitor as the primary display.
- Check power settings: Access the power settings on your laptop and ensure that the configuration allows the laptop to continue running even when the lid is closed. This will prevent the laptop from going into sleep mode or powering off when you close the lid.
- Test the setup: Open some applications or web pages to verify that they open on the external monitor. You should see all windows and content displayed on the external monitor, while the laptop’s screen remains black.
If for any reason your laptop does not automatically switch to using the external monitor as the main display after closing the lid, you may need to adjust some additional settings. Refer to your laptop’s user manual or online resources for specific instructions on how to accomplish this.
Using the external monitor as your main display with the laptop lid closed provides a more streamlined and clutter-free workspace. It allows you to focus on your tasks without the distraction of multiple screens.
Now that you know how to use the external monitor as your main display while closing the laptop lid, it’s important to be aware of power settings to optimize your setup. Let’s discuss this in the next step.
Step 5: Close the laptop lid while using the external monitor
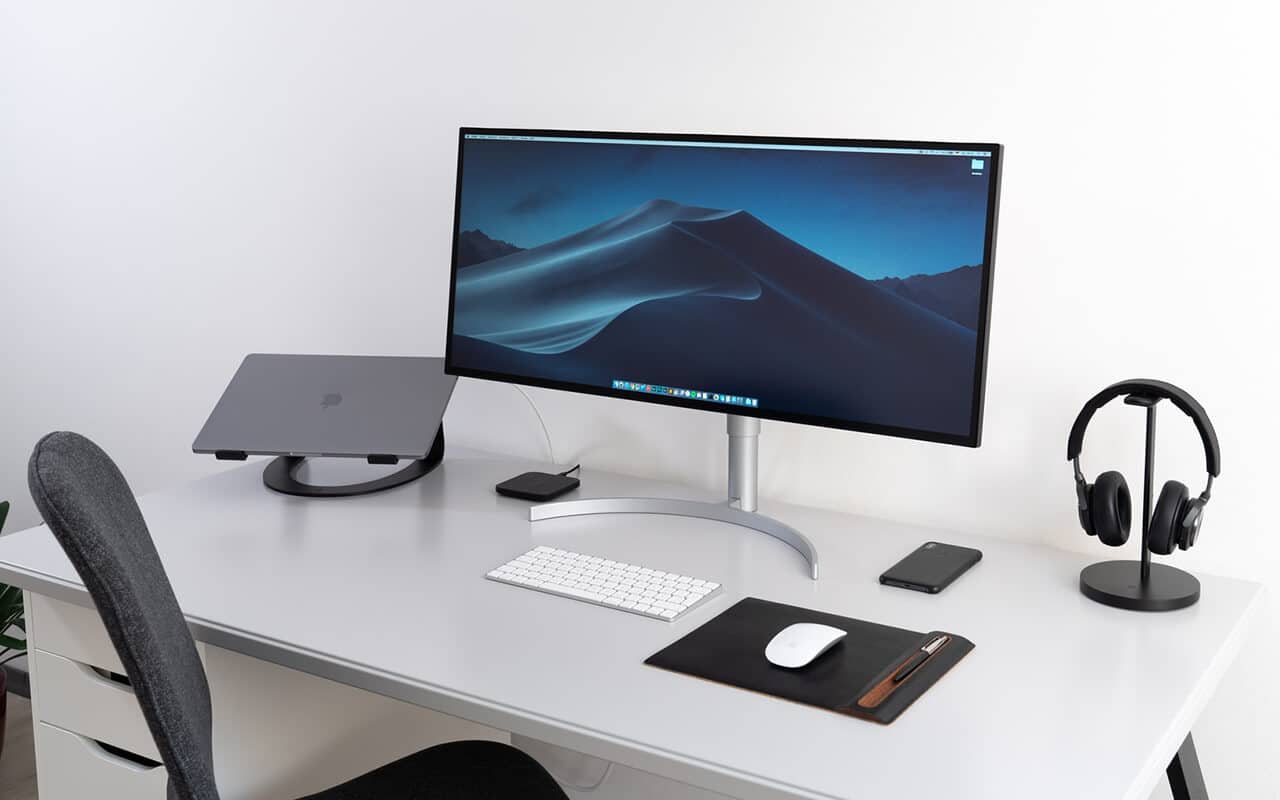
One of the advantages of using an external monitor is the ability to close the laptop lid while still keeping the external monitor as the main display. This step is particularly useful if you prefer to have a more compact and organized workspace or if you want to conserve battery life on your laptop.
Here’s how you can effectively close the laptop lid while using the external monitor:
- Ensure proper positioning: Make sure that the external monitor is positioned in a comfortable viewing angle. Adjust the height, tilt, and rotation of the monitor to suit your preferences and workstation ergonomics.
- Close the laptop lid gently: Carefully close the laptop lid without applying excessive force. Most laptops have a sensor that detects when the lid is closed and automatically switches the main display to the external monitor.
- Use an external keyboard and mouse: To maintain full functionality, connect an external keyboard and mouse to your laptop. This will allow you to navigate and interact with your applications without having to rely on the laptop’s built-in keyboard and touchpad.
- Adjust power settings: Ensure that the power settings on your laptop are configured to keep the system running when the lid is closed. This will prevent the laptop from going into sleep or hibernation mode, allowing you to continue working smoothly.
- Test the setup: Open and use various applications to verify that they open on the external monitor. The laptop’s screen should remain off, while all activities are displayed and accessible on the external monitor.
By closing the laptop lid, you can enjoy an uninterrupted workflow on the external monitor, eliminating any distractions from the laptop’s screen. This setup is especially beneficial if you’re working on tasks that require a larger and more immersive display.
However, it’s important to note that not all laptops have the ability to remain powered on with the lid closed. In such cases, you may need to adjust the power settings or use third-party software to enable this feature.
Now that you have successfully closed the laptop lid while using the external monitor, it’s time to address any potential troubleshooting issues that may arise. Let’s explore some common problems and their solutions in the next step.
Step 6: Adjust power settings
When using an external monitor with the laptop lid closed, it’s essential to adjust the power settings to ensure the smooth operation of your setup. Proper power management will prevent the laptop from entering sleep mode or turning off while still allowing you to work on the external monitor.
Here are the steps to adjust the power settings for this configuration:
- Access the power settings: Open the Control Panel or Settings menu on your laptop and navigate to the Power Options or System settings.
- Choose the power plan: Look for the power plan or profile that is currently active and click on it to access its settings. Usually, it will be either Balanced or Power Saver.
- Modify the power plan settings: Click on the “Change plan settings” or “Edit plan settings” option to customize the power settings for the chosen profile.
- Adjust the lid close action: Locate the option that controls the action to be taken when the laptop lid is closed. Set it to “Do nothing” or a similar option that prevents the laptop from going into sleep mode or turning off.
- Save the changes: Apply the modifications to the power settings and save the changes. Some laptops may require a system restart for the changes to take effect.
By adjusting the power settings accordingly, you ensure that your laptop remains powered on and active even when the lid is closed. This enables you to work seamlessly on the external monitor without any interruptions.
It’s worth mentioning that the exact steps for adjusting power settings may vary depending on the operating system or laptop model you are using. If you encounter any difficulties, refer to the user manual or search online for specific instructions related to your laptop and OS.
Now that you’ve adjusted the power settings to support your setup, it’s time to address any potential issues or troubleshooting that you may encounter while using an external monitor with the laptop lid closed.
Step 7: Troubleshooting common issues
While setting up and using an external monitor with the laptop lid closed can greatly enhance your productivity, you may encounter some common issues along the way. Here are a few troubleshooting tips to help you overcome these challenges:
- No display on the external monitor: Ensure that the cable connecting the laptop and the monitor is properly plugged in and secure. Try restarting both the laptop and the monitor, and check if the correct input source is selected on the monitor.
- Erratic cursor movement or unresponsive mouse: If you experience issues with the mouse cursor on the external monitor, check the connection of the external mouse. Replacing the mouse batteries or updating the mouse drivers may also resolve the problem.
- Mismatched screen resolution: If the image on the external monitor appears stretched or does not fit properly, adjust the screen resolution settings on your laptop to match the recommended resolution of the monitor.
- Inconsistent display across screens: If the color calibration or brightness levels differ between the laptop screen and the external monitor, use the display settings to adjust and match the visual settings for a more consistent viewing experience.
- Overheating or performance issues: While using an external monitor, make sure that your laptop is placed on a flat surface that allows proper airflow. Overheating can cause performance issues, so use a cooling pad if necessary.
If you encounter any persistent issues or encounter error messages, consult the troubleshooting section of your laptop’s user manual or contact the manufacturer’s customer support for further assistance.
Remember to regularly update your laptop’s drivers and firmware to ensure compatibility with the external monitor and to address any potential bugs or compatibility issues that may arise.
By troubleshooting common issues and resolving them promptly, you can maximize the benefits of using an external monitor with the laptop lid closed and enjoy a seamless and efficient workflow.
Now that you’re equipped with troubleshooting knowledge, you’re ready to optimize your laptop and external monitor setup for enhanced productivity.
Conclusion
Using an external monitor with the option to close the laptop lid can bring numerous benefits to your workflow, providing you with more screen space, improved productivity, and a streamlined workspace. By following the steps outlined in this article, you can successfully set up and utilize an external monitor as your primary display while closing the laptop lid.
Remember to check your laptop’s capabilities and ensure it supports this feature before proceeding. Connecting the external monitor and adjusting the display settings are crucial steps that allow you to tailor the setup to your preferences and maximize visual quality.
By closing the laptop lid, you can eliminate distractions and clutter, creating an optimal working environment. Adjusting the power settings ensures that your laptop remains active and prevents interruptions while using the external monitor as your main display.
If you encounter any issues, refer to the troubleshooting steps provided. Checking cable connections, updating drivers, and adjusting settings can help overcome common problems that may arise.
Whether you’re a professional designer, gamer, or simply seeking a more spacious workspace, utilizing an external monitor while closing the laptop lid can significantly enhance your computing experience. Enjoy the benefits of a larger display, improved multitasking capabilities, and increased productivity by implementing these steps.
Now that you have a clear understanding of how to close the laptop lid and use an external monitor, it’s time to apply these techniques to your own setup and enjoy a more efficient and enjoyable computing experience.