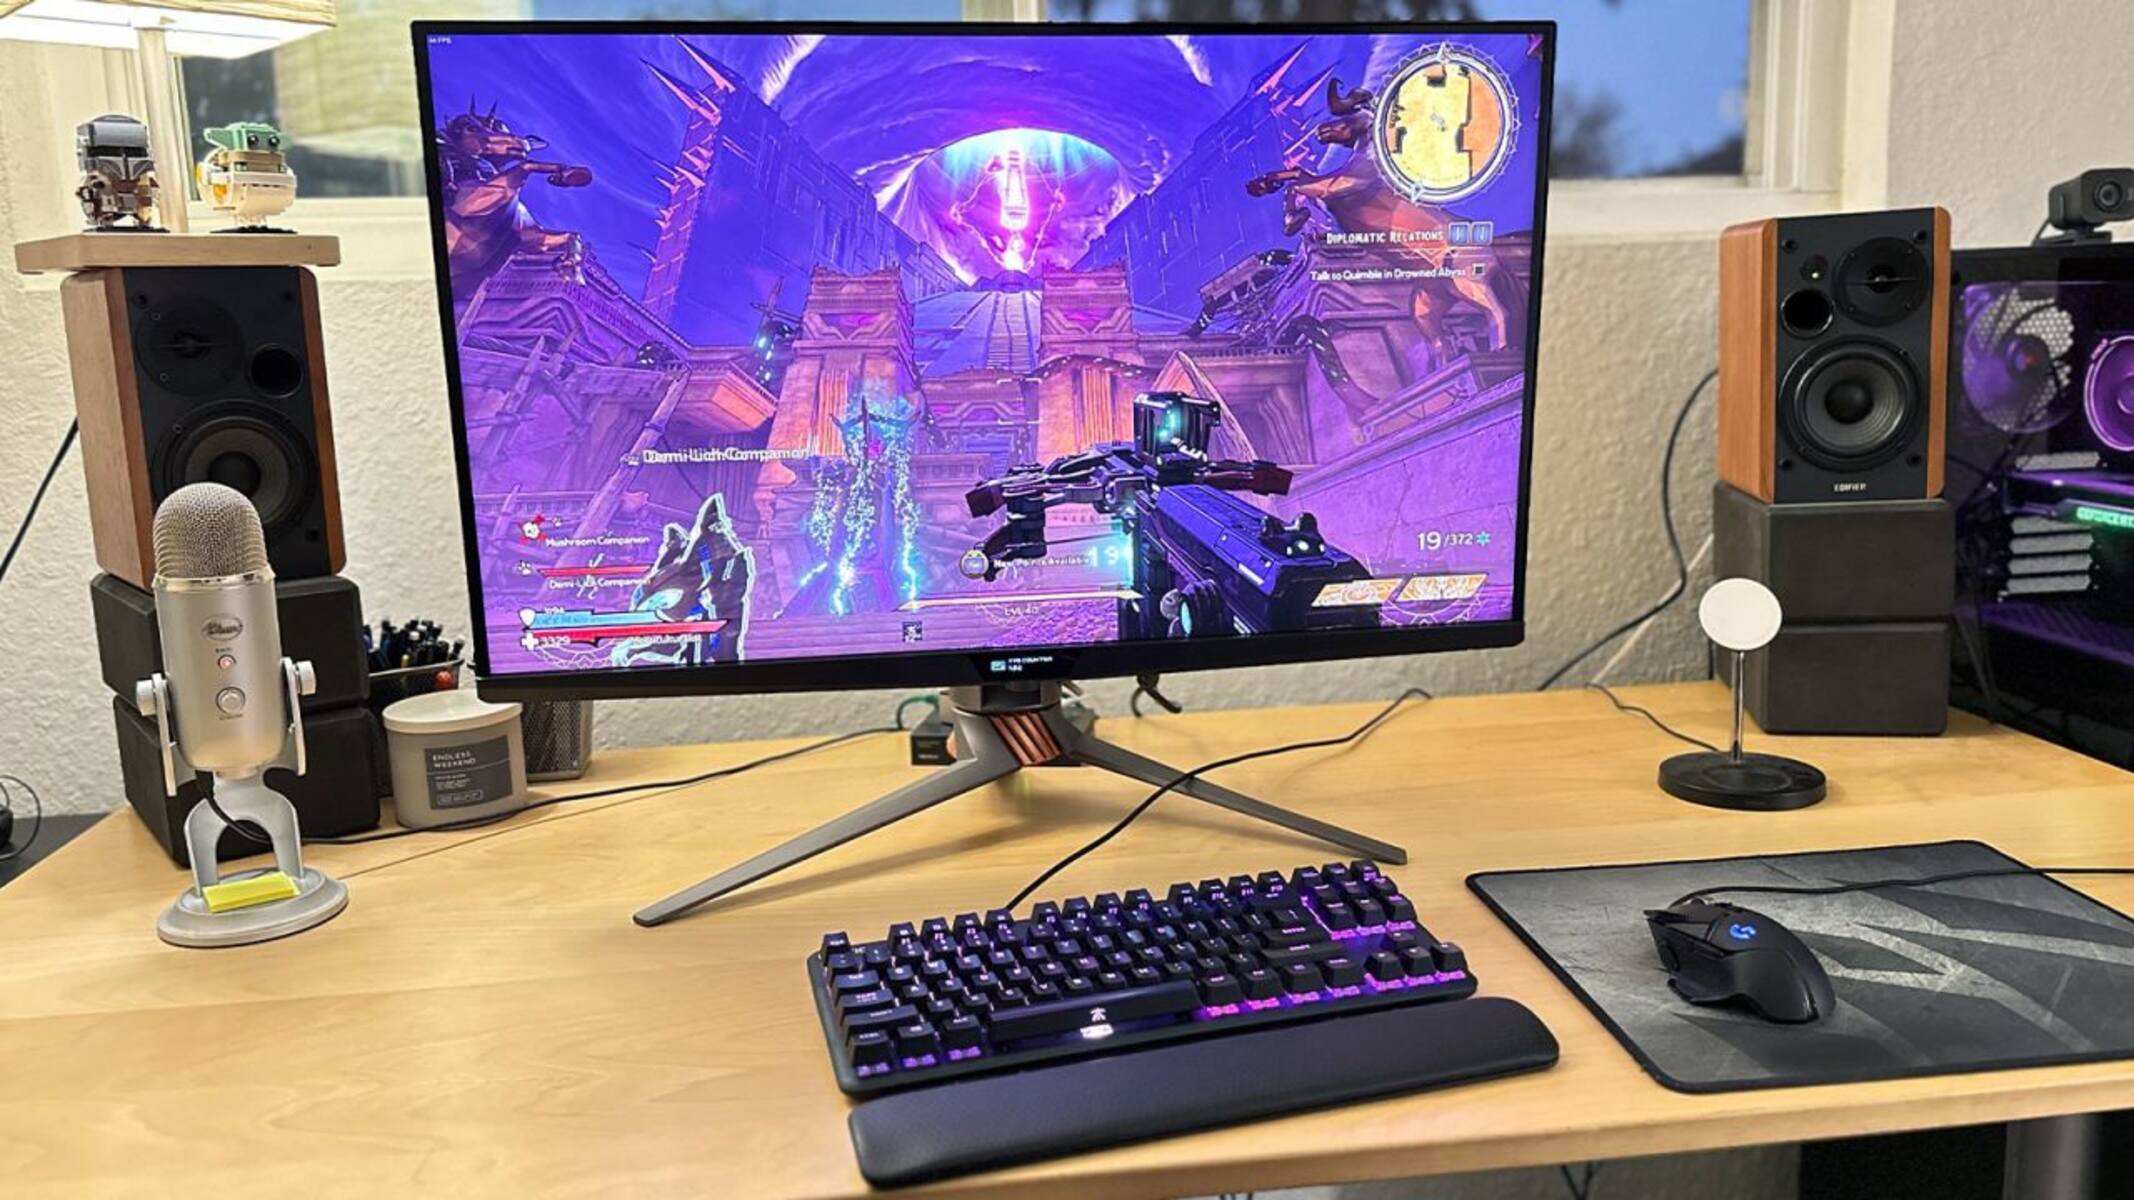
Why is it important to find out what monitor you have?
Knowing what monitor you have is more important than you might think. Whether you’re a casual user or a professional, understanding the specifications and capabilities of your monitor can greatly impact your overall computing experience. Here are a few reasons why it’s crucial to find out what monitor you have:
- Compatibility: Different monitors have different connection ports, resolutions, and refresh rates. By knowing what monitor you have, you can ensure that it is compatible with your computer or other devices you may wish to connect it to. This prevents any potential connectivity issues or limitations that could hinder your ability to use the monitor effectively.
- Optimal Settings: Each monitor is designed with specific settings that maximize its performance. By identifying your monitor, you can access and adjust settings such as brightness, contrast, color calibration, and aspect ratio to achieve the best possible visual experience. This is particularly important for tasks that demand color accuracy, such as graphic design, photo editing, or video production.
- Resolution and Refresh Rate: The resolution and refresh rate of your monitor directly affect the quality and smoothness of displayed content. Knowing your monitor’s specifications allows you to select the appropriate resolution and refresh rate settings for your needs. Whether you’re gaming, watching videos, or working with detailed graphics, using the correct settings ensures a clear and immersive viewing experience.
- Warranty and Support: Identifying your monitor helps you access relevant warranty information, including the coverage period and support options. In case you encounter any hardware or software issues, knowing the manufacturer and model of your monitor makes it easier to seek assistance or contact the customer support team for reliable troubleshooting solutions.
- Monitor Upgrades: If you’re considering upgrading your monitor in the future, knowing the current model and specifications can help you make informed decisions during the purchasing process. Understanding your existing monitor’s limitations and desired improvements allows you to choose a new monitor that perfectly meets your requirements.
In summary, finding out what monitor you have is essential for compatibility, optimal settings, resolution and refresh rate management, warranty and support, and future upgrades. It empowers you to make the most of your monitor’s capabilities and ensures a seamless and enjoyable computing experience.
Step 1: Checking the manufacturer’s label
The manufacturer’s label is an excellent starting point to identify your monitor’s make and model. This label is typically located on the back or bottom of the monitor and provides essential information about its specifications. Here’s how you can check the manufacturer’s label:
- Turn off your monitor: Before attempting to locate the manufacturer’s label, ensure that your monitor is powered off. This will help you avoid any accidental button presses or screen changes while you handle the monitor.
- Inspect the back or bottom: Carefully examine the back panel or bottom surface of your monitor. Look for a label or sticker that contains relevant information about the manufacturer and model. The label may be placed horizontally or vertically, depending on the monitor’s design.
- Read the label: Once you have located the manufacturer’s label, take note of the details mentioned. It usually includes the manufacturer’s name, the model number, serial number, and other specifications such as screen size, resolution, and manufacturing date.
- Record the information: To ensure you don’t forget or misinterpret the details, it is recommended to write down the information provided on the manufacturer’s label. This will come in handy when you need to refer to it later for any specific technical purposes or when seeking support from the manufacturer.
Checking the manufacturer’s label is often the simplest and most direct way to identify your monitor’s make and model. However, if you encounter any difficulties reading or locating the label, don’t worry. There are alternative methods you can try, which will be discussed in the following steps.
Step 2: Using the Windows operating system
If you’re using a Windows computer, you can easily find information about your monitor by accessing the system settings. Here’s how you can do it:
- Right-click on the desktop: Start by right-clicking on an empty area of your desktop to open the context menu. From the menu that appears, select “Display settings.”
- Scroll down to the “Display” section: In the Display settings window, scroll down until you reach the “Display” section. Here, you will find information about your monitor, including its resolution and orientation.
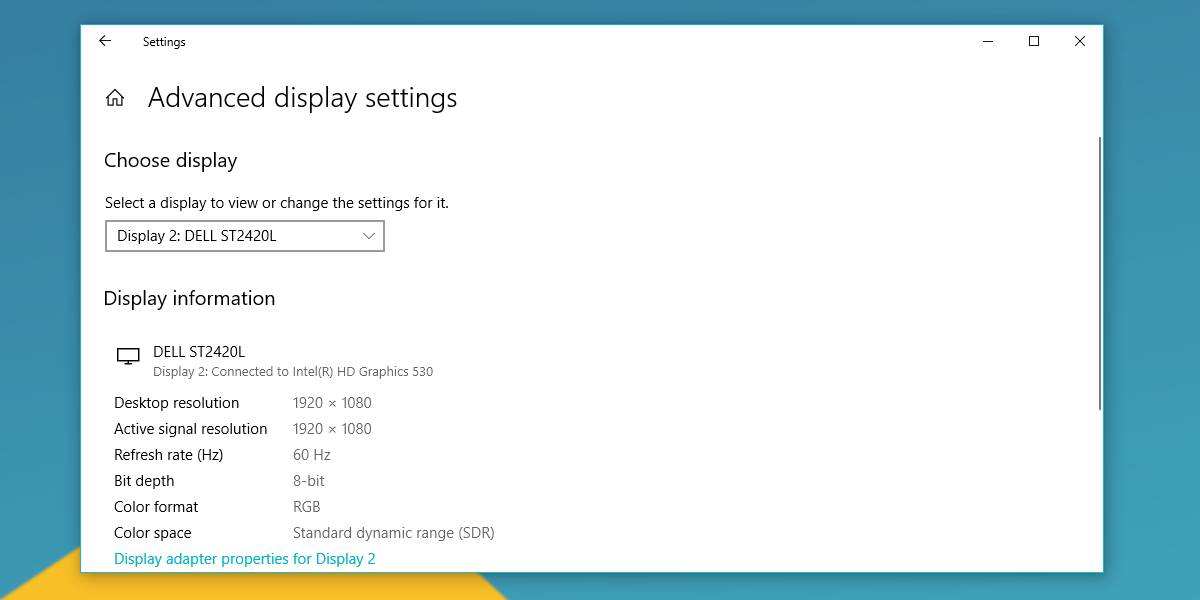
- Click on “Advanced display settings”: To access more detailed information about your monitor, click on the “Advanced display settings” link. This will open a new window where you can view additional details and make adjustments if needed.
- Navigate to the “Monitor” tab: In the Advanced display settings window, switch to the “Monitor” tab. Here, you will find the monitor’s description, model name, and manufacturer.
- Note down the details: Make sure to take note of the information about your monitor displayed in the Monitor tab. This includes the manufacturer’s name, model name, and other specifications that may be listed.
Using the Windows operating system to find out what monitor you have is a convenient and straightforward method. The information provided in the Display and Advanced display settings can give you a general idea of your monitor’s make and model. However, it may not always provide comprehensive details. In such cases, you can explore other avenues, which will be discussed in the following steps.
Step 3: Checking the monitor’s settings menu
Another way to identify your monitor is by accessing its settings menu directly. Most monitors have an on-screen display (OSD) menu that allows you to adjust various display settings. Here’s how you can check your monitor’s settings menu:
- Power on your monitor: Start by powering on your monitor and ensuring it is connected to your computer.
- Access the settings menu: Look for buttons or a joystick located on your monitor’s bezel. These are used to navigate through the OSD menu. Press the corresponding button or joystick to access the settings menu.
- Explore the menu: Once in the settings menu, look for options related to system information, information display, or monitor information. The specific terminology may vary depending on the monitor’s manufacturer and model.
- Find the make and model details: Navigate through the menu options until you locate the make and model information of your monitor. It is often listed under a sub-menu or as part of the monitor’s information display.
- Take note of the information: Once you have found the relevant details, make sure to write them down or take a picture for reference. This will allow you to easily identify your monitor and access specific support or troubleshooting resources when needed.
Checking the monitor’s settings menu provides direct access to the manufacturer’s information and can be a reliable method for identifying your monitor’s make and model. However, not all monitors have the same OSD menu layout, so the exact steps and terminology may vary. If you’re having trouble finding the make and model details through the settings menu, you can try alternative methods covered in the upcoming steps.
Step 4: Using third-party software
If the previous methods did not yield the desired results, you can turn to third-party software to identify your monitor. Various software programs are available that can provide in-depth information about your monitor’s make, model, and specifications. Here’s how you can use third-party software to find out what monitor you have:
- Research and choose reliable software: Start by researching and selecting a reputable third-party software specifically designed for identifying monitors. Look for software that has positive reviews and a track record of reliable results.
- Download and install the software: Once you have chosen the software, download it from a trusted source and follow the installation instructions. Make sure to download the appropriate version compatible with your operating system.
- Launch the software: After installation, launch the software on your computer. The software will automatically scan your system and retrieve information about your monitor.
- View the monitor details: Once the scanning process is complete, the software will display detailed information about your monitor, including the make, model, serial number, and specifications such as resolution, refresh rate, and color depth.
- Record the information: Take note of the monitor details provided by the software. This information can be useful for future reference, technical support, or when upgrading your monitor.
Using third-party software can be a reliable and convenient method for identifying your monitor’s make and model. However, keep in mind that not all software may provide accurate or up-to-date information. Ensure you choose reliable software and be cautious when downloading from unknown or untrusted sources.
If you are still unable to determine your monitor’s make and model using the previous methods, there is one final step you can take, which will be discussed in the next section.
Step 5: Contacting the manufacturer or retailer for assistance
If all else fails, or if you require more specific information about your monitor, reaching out to the manufacturer or retailer is the best course of action. Here’s how you can get assistance in identifying your monitor:
- Gather any relevant information: Before contacting the manufacturer or retailer, gather any details you have about your monitor. This can include the make and model information you found from previous steps, along with any other relevant information such as purchase receipts or serial numbers.
- Visit the manufacturer’s website: Start by visiting the official website of the monitor’s manufacturer. Look for a support section or contact information where you can reach out for assistance.
- Contact customer support: Once you have found the appropriate contact details, get in touch with the manufacturer or retailer’s customer support team. Explain your situation and provide them with any relevant information you have. They will be able to guide you further and provide specific details about your monitor.
- Provide necessary documentation: If requested, be prepared to provide any additional documentation or proof of purchase that may be required to verify your ownership of the monitor. This can help facilitate the process of identifying your monitor accurately.
- Take note of the information: During your conversation or correspondence with the manufacturer or retailer, make sure to write down any information they provide regarding your monitor’s make, model, or other specifications. This will serve as a reference for future use.
Contacting the manufacturer or retailer directly is often the most reliable way to get accurate and detailed information about your monitor. They have access to official records and resources that can assist in identifying your monitor’s make and model.
By following these steps, you should be able to successfully identify what monitor you have. Remember to keep a record of the information you gather, as it will come in handy for any future troubleshooting, upgrades, or support needs.
Conclusion
Identifying your monitor’s make and model is essential for ensuring compatibility, optimizing settings, and accessing appropriate support. By following the steps outlined in this guide, you can easily find out what monitor you have:
- Start by checking the manufacturer’s label on the back or bottom of the monitor.
- If that doesn’t work, try using the Windows operating system to access display settings and monitor information.
- Next, explore your monitor’s settings menu to find make and model details.
- If necessary, use third-party software designed to identify monitors.
- If all else fails, reach out to the manufacturer or retailer for further assistance.
Knowing your monitor’s make and model allows you to ensure compatibility with other devices, adjust settings for optimal performance, seek proper support, and make informed decisions when upgrading. By taking the time to identify your monitor, you can enhance your overall computing experience.
Remember to record the information you gather during the process, as it will serve as a valuable reference in the future. Whether you’re a casual user or a professional, understanding your monitor’s specifications empowers you to make the most of its capabilities and enjoy a seamless computing experience.