Introduction
Welcome to our guide on how to adjust pneumatic thermostats. If you own a pneumatic thermostat or are responsible for HVAC system maintenance, it’s important to understand how to properly adjust these thermostats to ensure optimal performance. Pneumatic thermostats are commonly found in older buildings and rely on air pressure to control temperature settings. In this article, we will explain what pneumatic thermostats are, how they work, and provide step-by-step instructions on adjusting them.
Having a well-adjusted pneumatic thermostat is crucial for maintaining a comfortable indoor environment and efficient energy usage. When a pneumatic thermostat is not properly calibrated, it can result in temperature fluctuations, inadequate heating or cooling, and wasted energy. By learning how to adjust these thermostats, you can fine-tune them to meet your specific comfort requirements and improve energy efficiency.
Throughout this guide, we will outline the signs that indicate your pneumatic thermostat may need adjustment, the tools you’ll need, and the step-by-step process to follow. It’s important to note that adjusting pneumatic thermostats can require some technical knowledge, so if you are uncomfortable performing these adjustments, it’s best to consult a professional HVAC technician.
Now, let’s delve into the world of pneumatic thermostats and get started on learning how to adjust them!
What is a pneumatic thermostat?
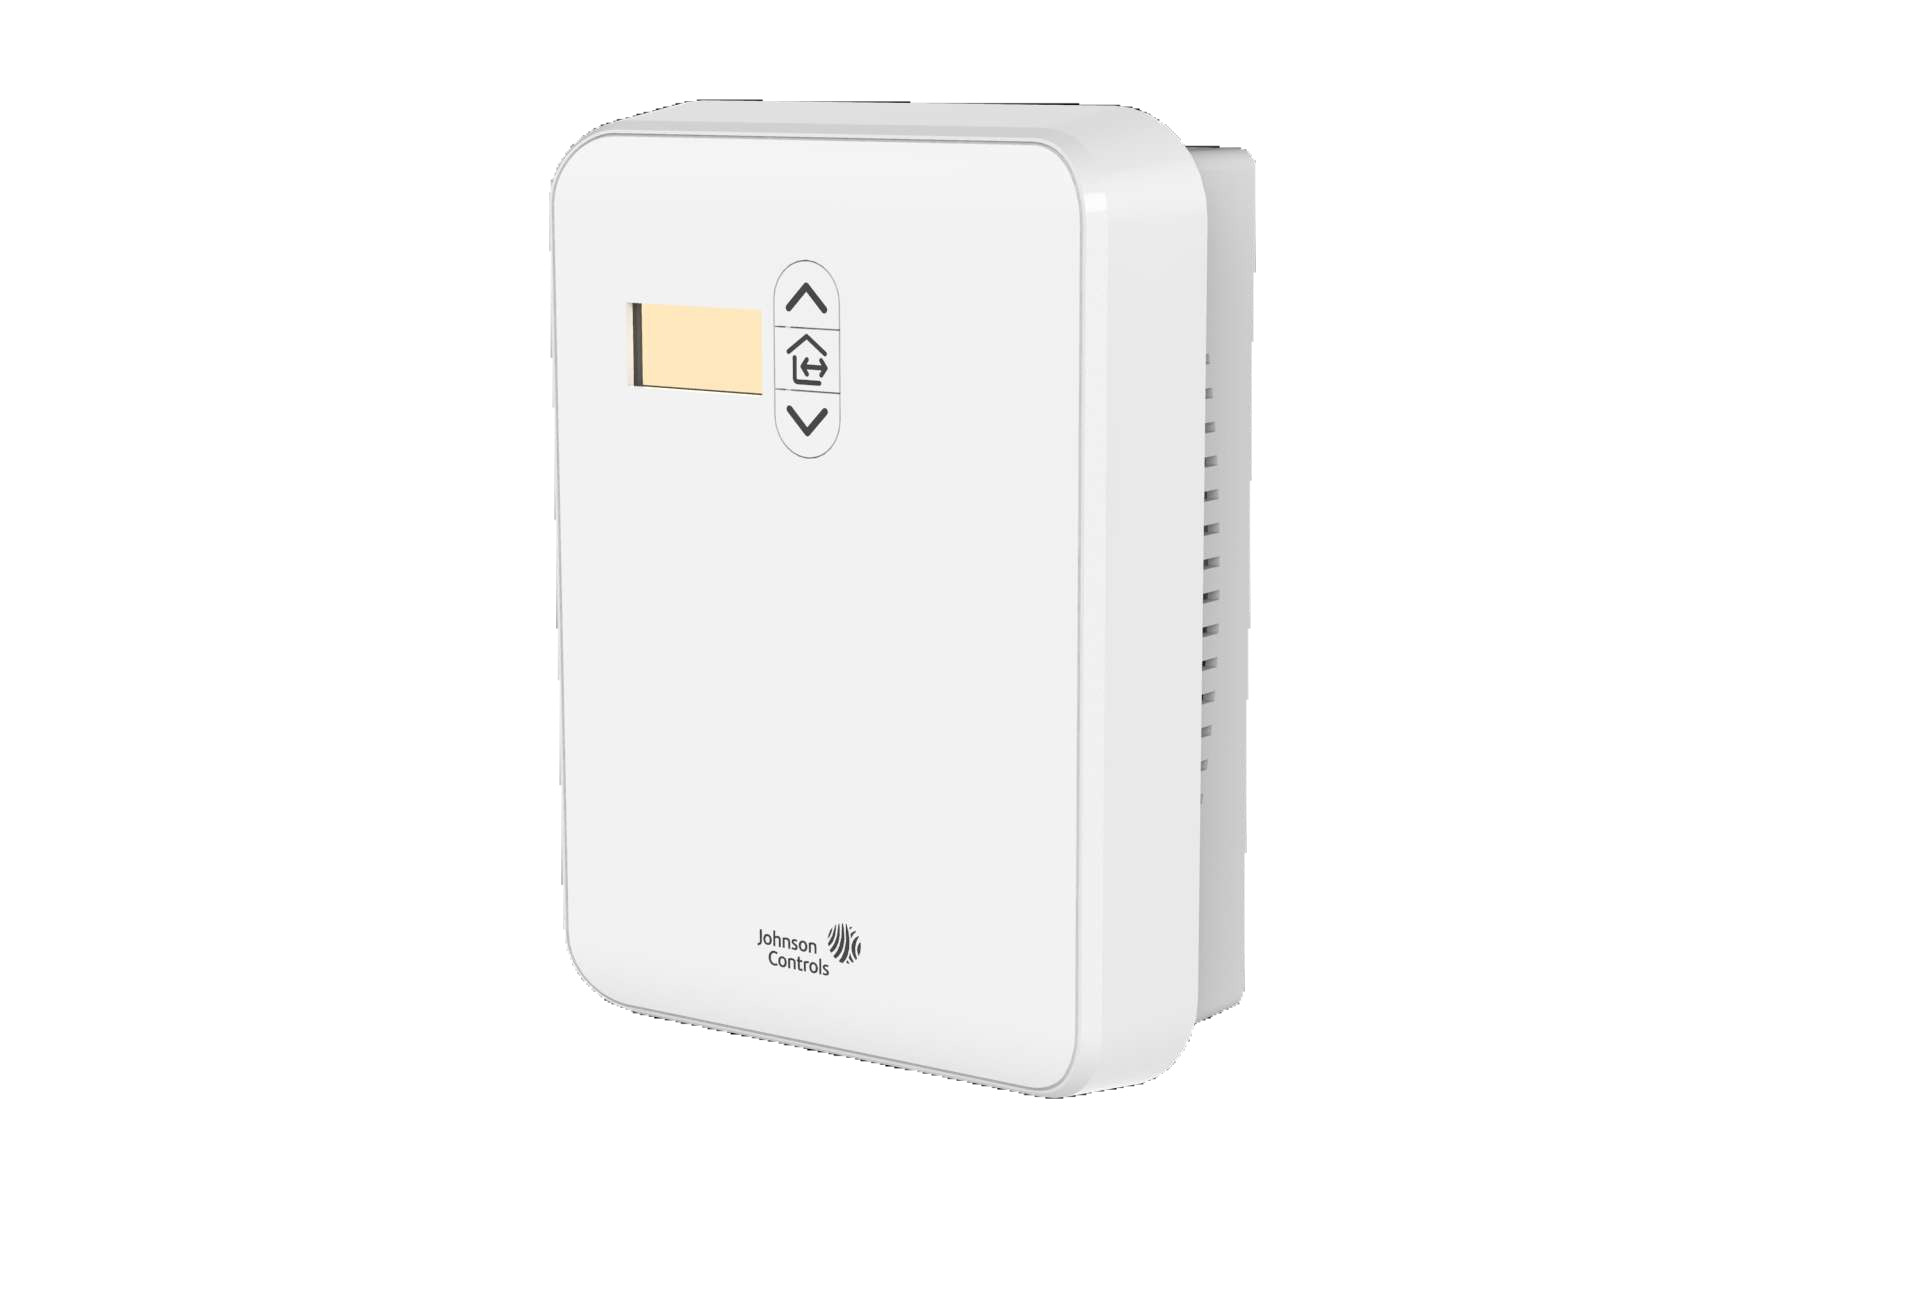
A pneumatic thermostat is a type of thermostat that uses air pressure to control temperature settings in heating, ventilation, and air conditioning (HVAC) systems. It is commonly found in older buildings and has been used for many years due to its reliability and simplicity. Unlike electronic thermostats that use electricity and digital sensors to measure and adjust temperature, pneumatic thermostats rely on air pressure and mechanical components.
The main components of a pneumatic thermostat include a sensing element, a control unit, and pneumatic tubes or pipes that connect them. The sensing element, typically a sealed bellows, expands or contracts based on temperature changes in the room. As the bellows expands or contracts, it causes changes in air pressure within the control unit.
The control unit of a pneumatic thermostat consists of a diaphragm, a set point adjustment mechanism, and a damper mechanism. The diaphragm is connected to the pneumatic tubing and moves in response to changes in air pressure. It controls the flow of air to the supply and return dampers, which regulate the amount of heated or cooled air entering the room. The set point adjustment mechanism allows users to set the desired temperature, which determines when the thermostat sends signals to the HVAC system to turn on or off.
Pneumatic thermostats are known for their durability and reliability, as they do not rely on electrical power or digital components that can fail or require frequent maintenance. However, they do require occasional adjustments to ensure accurate temperature control and efficiency.
Now that we have a better understanding of what pneumatic thermostats are, let’s explore how they work in more detail.
How do pneumatic thermostats work?
Pneumatic thermostats work by utilizing changes in air pressure to control the temperature in a space. They rely on the principle that air expands when heated and contracts when cooled. Through a series of mechanical components, pneumatic thermostats are able to detect temperature changes and adjust the flow of air to maintain a desired temperature setting.
The operation of a pneumatic thermostat begins with a sensing element, typically a sealed bellows, which is responsive to temperature changes in the room. When the temperature rises, the air inside the bellows expands, causing it to extend. Conversely, when the temperature lowers, the air inside the bellows contracts, causing it to contract as well.
The movement of the sensing element triggers changes in air pressure within the control unit of the thermostat. The control unit consists of a diaphragm that is connected to the pneumatic tubing. When the sensing element expands due to a rise in temperature, it increases the air pressure within the control unit, pushing the diaphragm outward. This movement of the diaphragm controls the opening or closing of supply and return dampers, which regulate the flow of heated or cooled air into the space.
Additionally, the control unit of a pneumatic thermostat features a set point adjustment mechanism. This mechanism allows users to set the desired temperature, determining when the thermostat sends signals to the HVAC system to turn on or off. By adjusting the set point, users can dictate the temperature range within which the thermostat will actively regulate the HVAC system.
Overall, the functioning of pneumatic thermostats relies on the principles of air pressure and mechanical movements. As temperature changes occur, the sensing element expands or contracts, leading to changes in air pressure and subsequently adjusting the position of the diaphragm and the operation of the supply and return dampers.
Now that we understand the inner workings of pneumatic thermostats, let’s move on to identifying signs that may indicate the need for adjustment.
Signs that your pneumatic thermostat may need adjustment
While pneumatic thermostats are generally reliable, there are certain signs that may indicate the need for adjustment. Recognizing these signs can help you identify when your pneumatic thermostat is not functioning optimally and requires attention. Here are some common signs to look out for:
- Inconsistent temperature: If you notice that the temperature in your space is fluctuating significantly or not reaching the set point consistently, it may be an indication that the thermostat needs adjustment. This inconsistency can result from imprecise calibration of the temperature sensing element or inaccurate control of the supply and return dampers.
- Poor energy efficiency: If your energy bills have been higher than usual without any significant changes in usage patterns, it could be a sign that your pneumatic thermostat is not properly adjusted. A thermostat that is incorrectly calibrated may cause your HVAC system to run longer than necessary, leading to increased energy consumption and higher bills.
- Delayed response: A properly functioning pneumatic thermostat should respond promptly to temperature changes. If you notice a delay in the thermostat’s response, such as a noticeable lag between temperature adjustments and corresponding HVAC system activation, it may indicate a need for adjustment.
- Noise or vibration: Unusual noises or vibrations coming from the pneumatic thermostat or HVAC system could indicate a mechanical issue or improper adjustment. These sounds can be an indication of worn-out components or misalignment, which may affect the overall performance of the thermostat.
- Uneven heating or cooling: If you experience areas in your space that are consistently too warm or too cool compared to the rest, it may indicate improper adjustment of the supply and return dampers. Inadequate airflow due to incorrect damper positions can result in uneven distribution of heating or cooling.
It’s important to note that these signs may also indicate other issues with your HVAC system. However, if you notice any of these signs in conjunction with poor thermostat performance, it is likely that your pneumatic thermostat requires adjustment.
In the next section, we will discuss the tools you will need to adjust your pneumatic thermostat effectively.
Tools needed for adjusting a pneumatic thermostat
Adjusting a pneumatic thermostat requires some specific tools to ensure proper calibration and adjustment. Before getting started, make sure you have the following tools on hand:
- Pressure gauge: A pressure gauge is essential for measuring the air pressure in the pneumatic system. This tool allows you to determine whether the pressure is within the recommended range or if adjustments are necessary.
- Screwdriver: A screwdriver, both flathead and Phillips-head, is often needed to access and adjust various components of the pneumatic thermostat. Different models may require different types of screwdrivers, so it’s helpful to have a set of both types available.
- Adjustment wrench: An adjustment wrench, also known as an Allen wrench or hex key, may be needed to make precise adjustments to certain set point and differential adjustment mechanisms. These wrenches come in various sizes, so make sure to have a set that covers the range of sizes your specific thermostat requires.
- Tubing cutter: In some cases, you may need to cut or replace pneumatic tubing during the adjustment process. A tubing cutter allows you to make clean and precise cuts, ensuring proper connections and functionality.
- Teflon tape: Teflon tape is a useful tool for creating airtight seals when reconnecting or replacing pneumatic tubing. It helps prevent air leaks, which can negatively impact the performance of the pneumatic thermostat.
Having these tools readily available will make the adjustment process much smoother and more efficient. It’s important to note that the specific tools required may vary depending on the make and model of your pneumatic thermostat, so consulting the manufacturer’s instructions or seeking professional advice is always recommended.
Now that you are equipped with the necessary tools, let’s move on to the step-by-step process of adjusting a pneumatic thermostat.
Step 1: Check the air pressure
Before adjusting a pneumatic thermostat, it’s important to start by checking the air pressure in the system. The air pressure within the pneumatic system plays a crucial role in the proper functioning of the thermostat. Here’s how you can check the air pressure:
- Locate the air pressure gauge or access port on the pneumatic system. This is typically located near the pneumatic control unit or the boiler room.
- Attach the pressure gauge to the air pressure gauge or access port by firmly connecting the two.
- Observe the reading on the pressure gauge. The recommended air pressure for most pneumatic thermostats is usually around 20 psi (pounds per square inch), but it can vary depending on the specific system and manufacturer’s recommendations. If the pressure is significantly lower or higher than the recommended range, it may require adjustment.
- If the pressure needs adjustment, locate the pressure regulator valve on the pneumatic system. This valve is typically a small screw or knob that can be turned to increase or decrease the air pressure. Use a screwdriver or the appropriate tool to make the necessary adjustments.
- Once you have adjusted the pressure, recheck the pressure gauge to ensure it falls within the recommended range. Make further adjustments as needed until the desired pressure is achieved.
Checking and adjusting the air pressure of your pneumatic thermostat is an important first step as it sets the foundation for accurate temperature control. Incorrect air pressure can lead to thermostat malfunctions and inconsistent temperature readings. By ensuring the air pressure is within the recommended range, you can optimize the performance of your pneumatic thermostat.
Now that you have checked and adjusted the air pressure, we can move on to the next step: adjusting the set point.
Step 2: Adjust the set point
Once you have checked and adjusted the air pressure of your pneumatic thermostat, the next step is to adjust the set point. The set point is the desired temperature at which you want your HVAC system to activate and deactivate. Here’s how you can adjust the set point:
- Locate the set point adjustment mechanism on your pneumatic thermostat. This is typically a dial or a lever that allows you to change the temperature setting.
- Refer to the owner’s manual or the thermostat manufacturer’s instructions to determine the proper direction and method for adjusting the set point. Some thermostats may require turning the dial or lever clockwise or counterclockwise, while others may have specific temperature markings.
- Slowly adjust the set point to your desired temperature. Make small adjustments and wait for a few minutes to allow the system to respond and stabilize.
- Observe the behavior of the HVAC system. If the system turns on too frequently or not frequently enough, you may need to further adjust the set point to achieve the desired temperature control.
- Continue making small adjustments until you find the optimal set point that maintains a comfortable temperature in your space.
It’s important to note that adjusting the set point too high or too low can result in inefficient energy usage and discomfort. Finding the right balance is key to ensure both comfort and energy efficiency.
Remember to be patient as you make adjustments to the set point. The system may require some time to stabilize and respond to the changes. It’s recommended to make small incremental adjustments and give the system sufficient time to reach the new set point before making further adjustments.
Now that you have adjusted the set point, let’s move on to the next step: adjusting the differential.
Step 3: Adjust the differential
After adjusting the set point of your pneumatic thermostat, the next step is to fine-tune the differential. The differential is the temperature range in which the thermostat allows the HVAC system to remain idle before activating or deactivating. Adjusting the differential can help improve the accuracy of temperature control. Here’s how you can adjust the differential:
- Refer to the owner’s manual or the manufacturer’s instructions to locate the differential adjustment mechanism on your pneumatic thermostat. This can be a small screw or dial typically located near the set point adjustment mechanism.
- Using the appropriate tool, make small adjustments to the differential in the desired direction. Clockwise adjustments usually increase the differential, while counterclockwise adjustments decrease it. It’s recommended to make small incremental changes to avoid drastic temperature fluctuations.
- Observe the behavior of the HVAC system after each adjustment. Pay attention to how frequently the system turns on and off to maintain the desired temperature. If you find that the system is cycling too frequently (short cycles) or not frequently enough (long cycles), further adjustment may be needed.
- Continue making small incremental adjustments to the differential until you achieve a balance that ensures comfortable temperature control and efficient energy usage.
It’s important to note that the ideal differential setting may vary depending on the specific characteristics of your space and HVAC system. Factors such as insulation, ventilation, and the heating or cooling capacity of the system can influence the optimal differential for your thermostat.
Remember to give the system some time to stabilize after each adjustment, as it may take a few minutes for the changes to take effect. Additionally, keep in mind that larger differentials can result in wider temperature swings, while smaller differentials can lead to more frequent system cycling.
With the differential adjusted, you can now move on to the next step: checking the dampers.
Step 4: Check the dampers
After adjusting the set point and differential of your pneumatic thermostat, the next step is to check the dampers. The dampers control the flow of heated or cooled air into the room, and ensuring they are functioning properly is crucial for maintaining consistent temperature control. Here’s how you can check the dampers:
- Locate the supply and return dampers in your HVAC system. These are typically installed near the air vents or in the ductwork.
- Visually inspect the dampers to ensure they are properly positioned. The dampers should be open to allow the unrestricted flow of air when the HVAC system is operating. If you notice any dampers that are partially closed or obstructed, adjust them to fully open position.
- Check for any signs of dust, dirt, or debris on the dampers. If you find any buildup, use a soft cloth or a brush to gently clean the dampers. Removing any obstructions ensures proper airflow and helps in maintaining a comfortable temperature.
- Make sure that the dampers are not making any unusual noises or vibrations during operation. If you hear any rattling or notice excessive vibration, it may indicate a mechanical issue that requires further inspection or professional assistance.
Properly functioning dampers play a significant role in maintaining consistent airflow and temperature control. Any obstructions or misalignments with the dampers can affect the performance of your HVAC system and result in inefficient heating or cooling.
If you find that the dampers are not functioning correctly or require adjustment beyond what you can handle, it’s advisable to consult a professional HVAC technician for assistance.
Now that you have checked and adjusted the dampers, the final step is to test the thermostat to ensure it is functioning properly.
Step 5: Test the thermostat
Once you have adjusted the set point, differential, and checked the dampers of your pneumatic thermostat, it is important to thoroughly test its performance to ensure that it is functioning properly. Testing the thermostat will allow you to confirm that the adjustments made have resulted in accurate temperature control. Here’s how you can test the thermostat:
- Set the thermostat to the desired temperature, ensuring that it is within the range previously adjusted. For example, if you set the thermostat to 72°F, make sure the temperature reading aligns with this setting.
- Observe the behavior of the HVAC system after setting the thermostat. The system should activate and begin heating or cooling to reach the desired temperature. Pay attention to the time taken for the system to cycle on and off, as well as its ability to maintain a consistent temperature.
- Monitor the temperature in the room for a period of time to ensure that it remains stable and within the desired range. Check for any signs of temperature fluctuations or inconsistencies.
- Make any necessary adjustments to the set point, differential, or dampers if you discover any issues during the testing process. It may require fine-tuning to achieve optimal temperature control and comfort.
Keep in mind that the testing process may require some patience and time to accurately assess the performance of your pneumatic thermostat. Allow the system to stabilize and cycle on and off a few times to ensure proper functionality.
If you continue to experience issues or notice significant temperature variations, it may be necessary to consult a qualified HVAC technician who can perform a more in-depth assessment and make any necessary adjustments or repairs.
By carefully testing the thermostat and ensuring that it functions correctly, you can have confidence in its ability to regulate the temperature effectively.
Now that you have tested and confirmed the performance of your pneumatic thermostat, you can enjoy the benefits of optimal temperature control and energy efficiency in your space.
Conclusion
Adjusting a pneumatic thermostat is an important aspect of maintaining a comfortable indoor environment and optimizing energy efficiency. By following the step-by-step process outlined in this guide, you can ensure that your pneumatic thermostat is properly calibrated and functioning at its best. Taking the time to check the air pressure, adjust the set point and differential, inspect the dampers, and test the thermostat’s performance can make a significant difference in temperature control and energy usage.
Remember, if you are uncomfortable performing the adjustments yourself or encounter any difficulty during the process, it is recommended to seek the assistance of a professional HVAC technician. They have the expertise and knowledge to ensure accurate calibration and diagnose any potential issues with your pneumatic thermostat.
By keeping your pneumatic thermostat properly adjusted, you can enjoy a comfortable indoor climate while also reducing energy waste and lowering utility bills. Regular maintenance and assessment of your thermostat will contribute to the overall efficiency and longevity of your HVAC system.
We hope this guide has provided you with valuable insights and guidance on adjusting pneumatic thermostats. By following these steps, you can take control of your indoor climate and create a more comfortable and energy-efficient environment.


