Introduction
Welcome to this step-by-step guide on how to add a second Face ID on your device. With the advent of Face ID technology on Apple devices, it has become easier than ever to unlock your device and secure your personal information. However, you may find yourself in situations where you want to provide someone else with access to your device, whether it be a family member, a trusted friend, or a colleague.
Fortunately, Apple has made it possible to add a second Face ID on your device, allowing multiple individuals to access and use your device securely. In this guide, we will walk you through the process of setting up a second Face ID, ensuring that you can effortlessly switch between different user profiles without compromising security.
Before we dive into the steps, it is important to note that this feature is available on iOS devices that support Face ID, such as the iPhone X, iPhone XS, iPhone XS Max, iPhone XR, iPhone 11, iPhone 11 Pro, and iPhone 11 Pro Max. If you own any of these devices, let’s get started!
Step 1: Go to Settings
The first step to adding a second Face ID on your device is to navigate to the Settings menu. Open the Settings app, which can be easily identified by its gray cogwheel icon, on your device’s home screen. This is where you can manage various settings and configurations for your device.
Once you have opened the Settings app, you will see a list of different categories. Scroll down the list until you find the option labeled “Face ID & Passcode.” This option is usually located in the middle of the Settings menu, but its exact position may vary depending on the iOS version you are using.
Tap on “Face ID & Passcode” to access the Face ID settings. You may be prompted to enter your device passcode to proceed. This is an additional security step to ensure that only authorized users can modify the Face ID settings on your device.
After entering your passcode, you will be taken to the Face ID & Passcode settings screen. Here, you can manage various Face ID-related settings, including setting up or modifying your Face ID recognition and enabling Face ID for different features on your device.
Now that you have successfully navigated to the Face ID & Passcode settings, you are ready to move on to the next step and set up a second Face ID for your device.
Step 2: Tap on Face ID & Passcode
Now that you have accessed the Settings menu and entered your passcode, it’s time to tap on the “Face ID & Passcode” option. This will allow you to manage and configure the Face ID settings on your device.
Upon tapping on the “Face ID & Passcode” option, you will be presented with a screen that contains various settings related to Face ID. These settings include options to enable or disable Face ID for different functionalities on your device, such as unlocking your device, making App Store purchases, and authorizing Apple Pay transactions.
Within the “Face ID & Passcode” settings, you will also find options to change your passcode or enable the “Attention Aware Features,” which requires your eyes to be open and looking at the device for Face ID to work.
To proceed with setting up a second Face ID, tap on the “Set Up an Alternate Appearance” option. This is the option that allows you to add an additional Face ID to your device.
By tapping on this option, you are indicating that you want to add another person’s face to be recognized by Face ID. This could be particularly useful if you want to grant access to someone else while still maintaining the security and convenience of Face ID.
Once you have tapped on “Set Up an Alternate Appearance,” you are ready to move on to the next step of the process, which involves positioning the new face in front of the device’s camera for scanning.
Step 3: Enter your passcode
Before proceeding with setting up a second Face ID on your device, you will be prompted to enter your passcode as an additional security measure. This ensures that only authorized users can make changes to the Face ID settings.
Once you have tapped on the “Set Up an Alternate Appearance” option in the “Face ID & Passcode” settings, a passcode entry screen will appear. This is where you will need to enter your device’s passcode.
The passcode serves as a backup authentication method in case Face ID fails or cannot recognize your face for any reason. It acts as an extra layer of security to ensure that only the rightful owner of the device can access and modify its settings.
Enter your passcode by tapping on the numeric keypad or using the alphanumeric keyboard, depending on your passcode’s format. Take care to enter your passcode accurately as any mistakes may result in being locked out of your device temporarily.
Once you have entered your passcode correctly, tap on the “OK” or “Done” button to proceed. This will verify your authentication and allow you to continue with the process of setting up a second Face ID on your device.
After successfully entering your passcode, you are now ready to move on to the next step, which involves positioning your face in front of the device’s camera for scanning and recognition.
Step 4: Tap on Set Up an Alternate Appearance
Now that you have entered your passcode, it’s time to tap on the “Set Up an Alternate Appearance” option within the “Face ID & Passcode” settings. This is the crucial step that allows you to add a second Face ID to your device.
By tapping on “Set Up an Alternate Appearance,” you are signaling to your device that you want to add another person’s face to be recognized by Face ID. This could be anyone you trust, such as a partner, family member, or close friend, who you would like to grant access to your device.
Upon tapping on “Set Up an Alternate Appearance,” your device will prompt you to position your face in front of the camera. This ensures that your device can accurately scan and recognize the features of the new face you want to add.
It’s important to note that the person whose face you are adding should follow the same guidelines for positioning their face as you did when you initially set up Face ID. This includes ensuring that their face is well-lit, centered within the frame, and not obstructed by any objects or accessories.
Once you tap on “Set Up an Alternate Appearance,” your device will guide you through the process of positioning your face in the camera’s view. Follow the on-screen prompts and adjust the position of your face as necessary to achieve optimal scanning results.
Once the scanning process is complete, your device will analyze the facial data and attempt to create a unique profile for the new face. This may take a few moments, so be patient and keep your face within the camera’s view until the process is finished.
Now that you have successfully tapped on “Set Up an Alternate Appearance” and positioned the new face in front of the camera, you can proceed to the next step, which involves completing the scan of the second face.
Step 5: Position your face in front of the camera
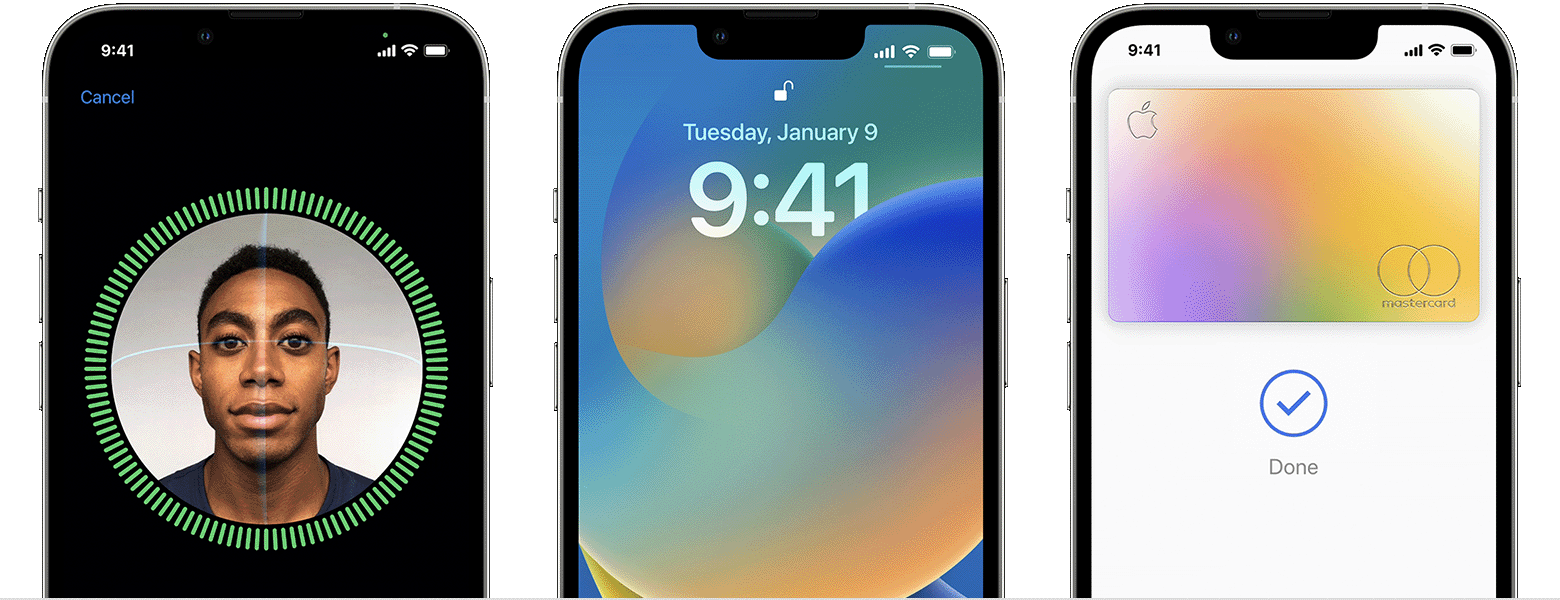
After tapping on “Set Up an Alternate Appearance,” it’s time to position your face in front of the device’s camera. This step is crucial for capturing the necessary facial data to create a unique profile for the second Face ID.
Ensure that your face is well-lit and that you are in a well-illuminated environment. Position yourself in a comfortable and natural posture, facing the front of the device. Make sure your face is centered within the frame and not obstructed by any objects, accessories, or hair.
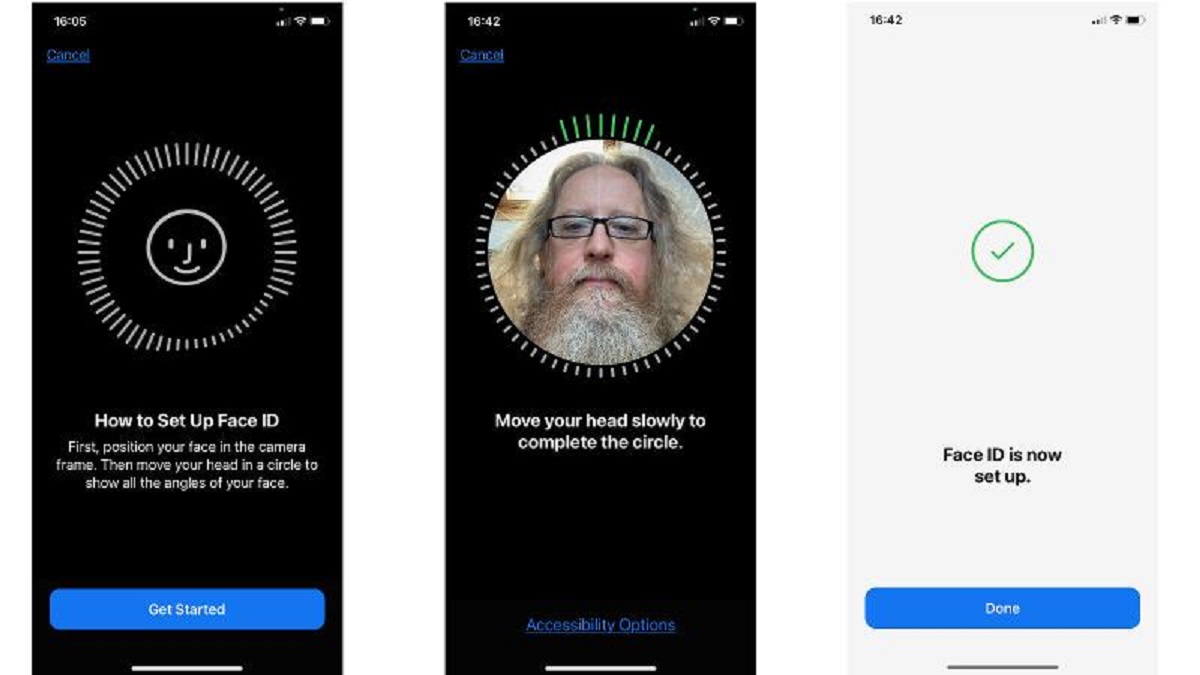
The device will provide on-screen prompts to guide you through the positioning process. Follow these prompts to ensure proper alignment and positioning of your face within the camera’s view.
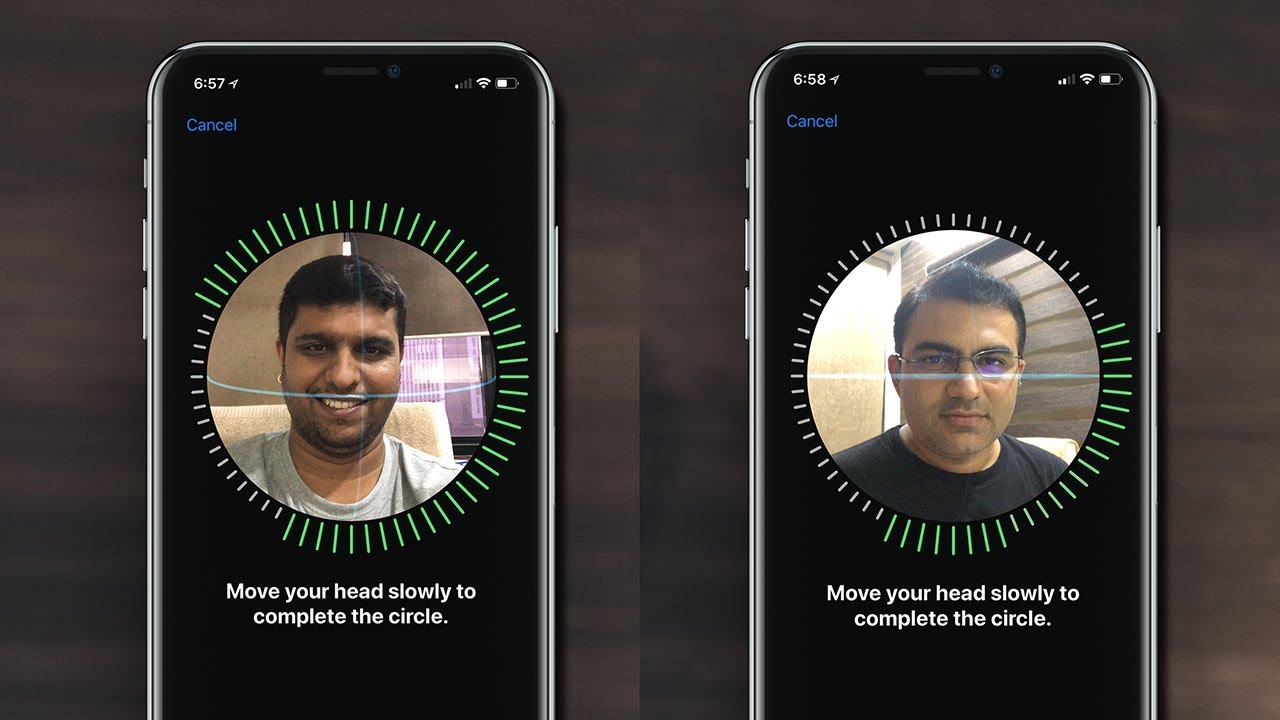
It’s important to note that you may be required to move your head slightly or make small adjustments to capture various angles of your face. The device wants to capture accurate and comprehensive facial data to ensure reliable recognition of the second Face ID.
While positioning your face, try to maintain a consistent and natural expression. Avoid excessive movements or contortions that may hinder the device’s ability to register your facial features correctly.
As you position your face, the device’s front-facing camera will analyze and capture the necessary data to establish a unique profile for the second Face ID. This includes capturing details such as the contours of your face, the positioning of your eyes, nose, and mouth, as well as other distinctive features.
Be patient throughout the process and allow the device sufficient time to capture and process the facial data. The success and accuracy of the second Face ID will rely heavily on the quality of the captured data.
Once your face has been properly positioned and the necessary data captured, you can proceed to the next step, which involves completing the scan of the second Face ID.
Step 6: Complete the scan
After positioning your face in front of the camera and capturing the necessary facial data, it’s time to complete the scan of the second Face ID. This step ensures that the device has accurately recorded and processed all the details required for recognizing the new face.
Once you have positioned your face and the device has successfully captured the required data, it will analyze the information and compare it to the existing Face ID profile. This process allows the device to determine if the new face is distinct enough from the primary face for separate recognition.
During this scan, the device will display a progress indicator or animation to indicate that it is processing the information and conducting a comprehensive evaluation. The length of this process may vary depending on the processing power of your device and the complexity of the captured data.
It is important to remain still and refrain from moving your face or the device during this process to ensure accurate scanning and evaluation. Any sudden movements or disruptions may compromise the quality of the scan and affect the reliability of the second Face ID.
Once the scanning and evaluation process is complete, the device will notify you if the second Face ID has been successfully added. If the scan was successful, you can proceed to the next step, which involves testing the functionality and reliability of the newly added Face ID.
However, if the scan was not satisfactory or the device recognizes no significant difference between the new face and the primary face, you may be prompted to retry the process or consider adding a different face for the second Face ID.
Completing the scan is a crucial step in the process of adding a second Face ID, as it ensures that the device has accurately captured and processed the facial data for reliable recognition. With the scan complete, you can now move on to testing the second Face ID’s functionality and effectiveness.
Step 7: Test the second Face ID
Now that you have successfully completed the scan of the second Face ID, it’s time to test its functionality and ensure that it works as intended. Testing the second Face ID will allow you to verify that the device recognizes and authenticates the new face accurately.
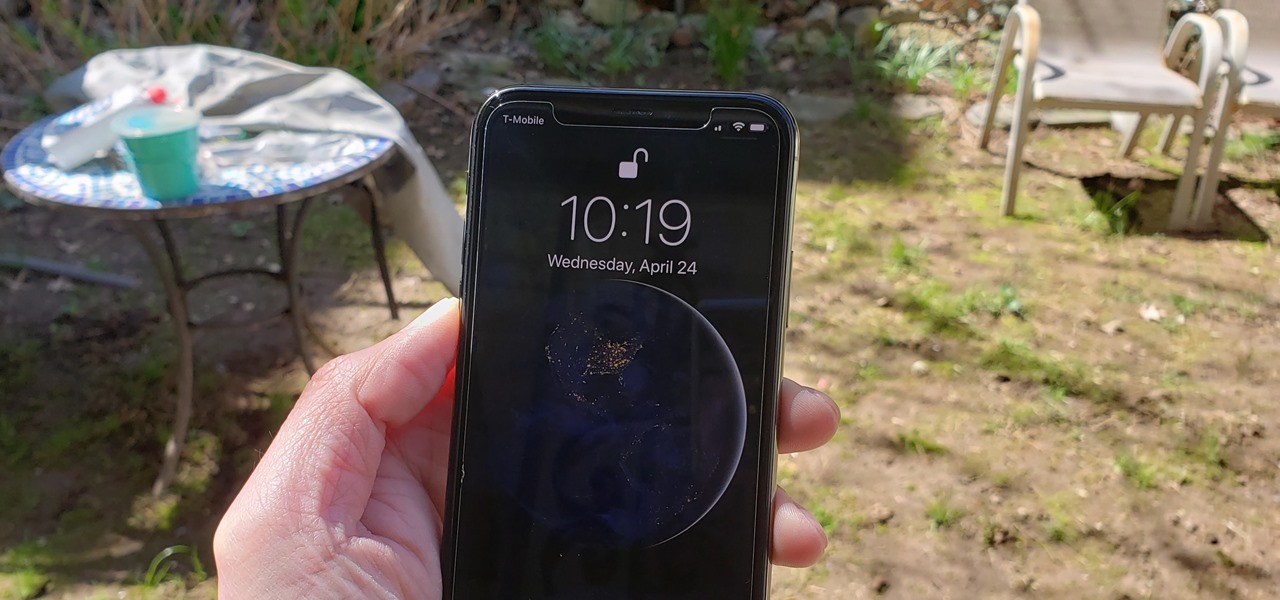
To test the second Face ID, simply lock your device by pressing the power button or allowing it to automatically lock based on your device’s settings. Once the device is locked, wake it up by pressing the power button or tapping on the screen to activate the Face ID recognition.
Position the new face, which you added as the second Face ID, in front of the device’s front-facing camera. Ensure that the face is well-lit and clearly visible within the frame. The device’s Face ID technology will scan and analyze the new face to verify its authenticity and grant access if recognized.
If the new face is recognized successfully, the device will unlock, granting access to the device and its features. This indicates that the second Face ID has been set up and is working effectively.
However, if the device fails to recognize the new face or encounters any issues during the authentication process, it is recommended to repeat the scanning step to ensure accurate data capture and improve the reliability of the second Face ID.
During the testing phase, you can also try different scenarios, such as wearing glasses, changing hairstyles, or using different facial expressions. This will help you determine if the second Face ID can adapt to these variations and continue to recognize the new face reliably.
It’s important to note that the second Face ID operates independently from the primary Face ID. This means that either face can be used to unlock and access the device, depending on who is using it at any given time.
By successfully testing the second Face ID, you have completed the process of adding and verifying an additional face for secure and convenient access to your device.
Conclusion
Congratulations! You have successfully learned how to add a second Face ID to your device. This feature allows you to grant access to trusted individuals while maintaining the security and convenience of Face ID technology.
Throughout this step-by-step guide, we covered the process from start to finish. We started by going to the Settings menu and accessing the Face ID & Passcode settings. Then, we entered the device passcode and tapped on “Set Up an Alternate Appearance” to initiate the setup of the second Face ID.
We positioned our face in front of the camera and completed the scan to capture the necessary facial data. After that, we tested the functionality of the second Face ID by locking and unlocking the device using the newly added face.
It’s important to remember that the second Face ID operates independently, allowing you to switch between faces when unlocking your device. This flexibility ensures that you can easily share access while still maintaining a secure environment for your personal information.
By following these steps, you can confidently add a second Face ID and enjoy the convenience of easy device access for yourself and trusted individuals. This is especially useful in situations where you need to provide temporary access to your device or when sharing it with family members or close friends.
Now that you have successfully learned how to add a second Face ID, feel free to explore other Face ID settings and features available on your device. You can customize Face ID for various functionalities, such as app purchases, Apple Pay authentication, and more.
Remember to regularly update and maintain your Face ID settings to ensure optimal performance and security. As technology continues to evolve, keeping your device’s security features up to date is crucial.
Enjoy the convenience and peace of mind that comes with having multiple faces recognized by Face ID on your device. Embrace the power of advanced facial recognition technology and share the benefits with those you trust.