Introduction
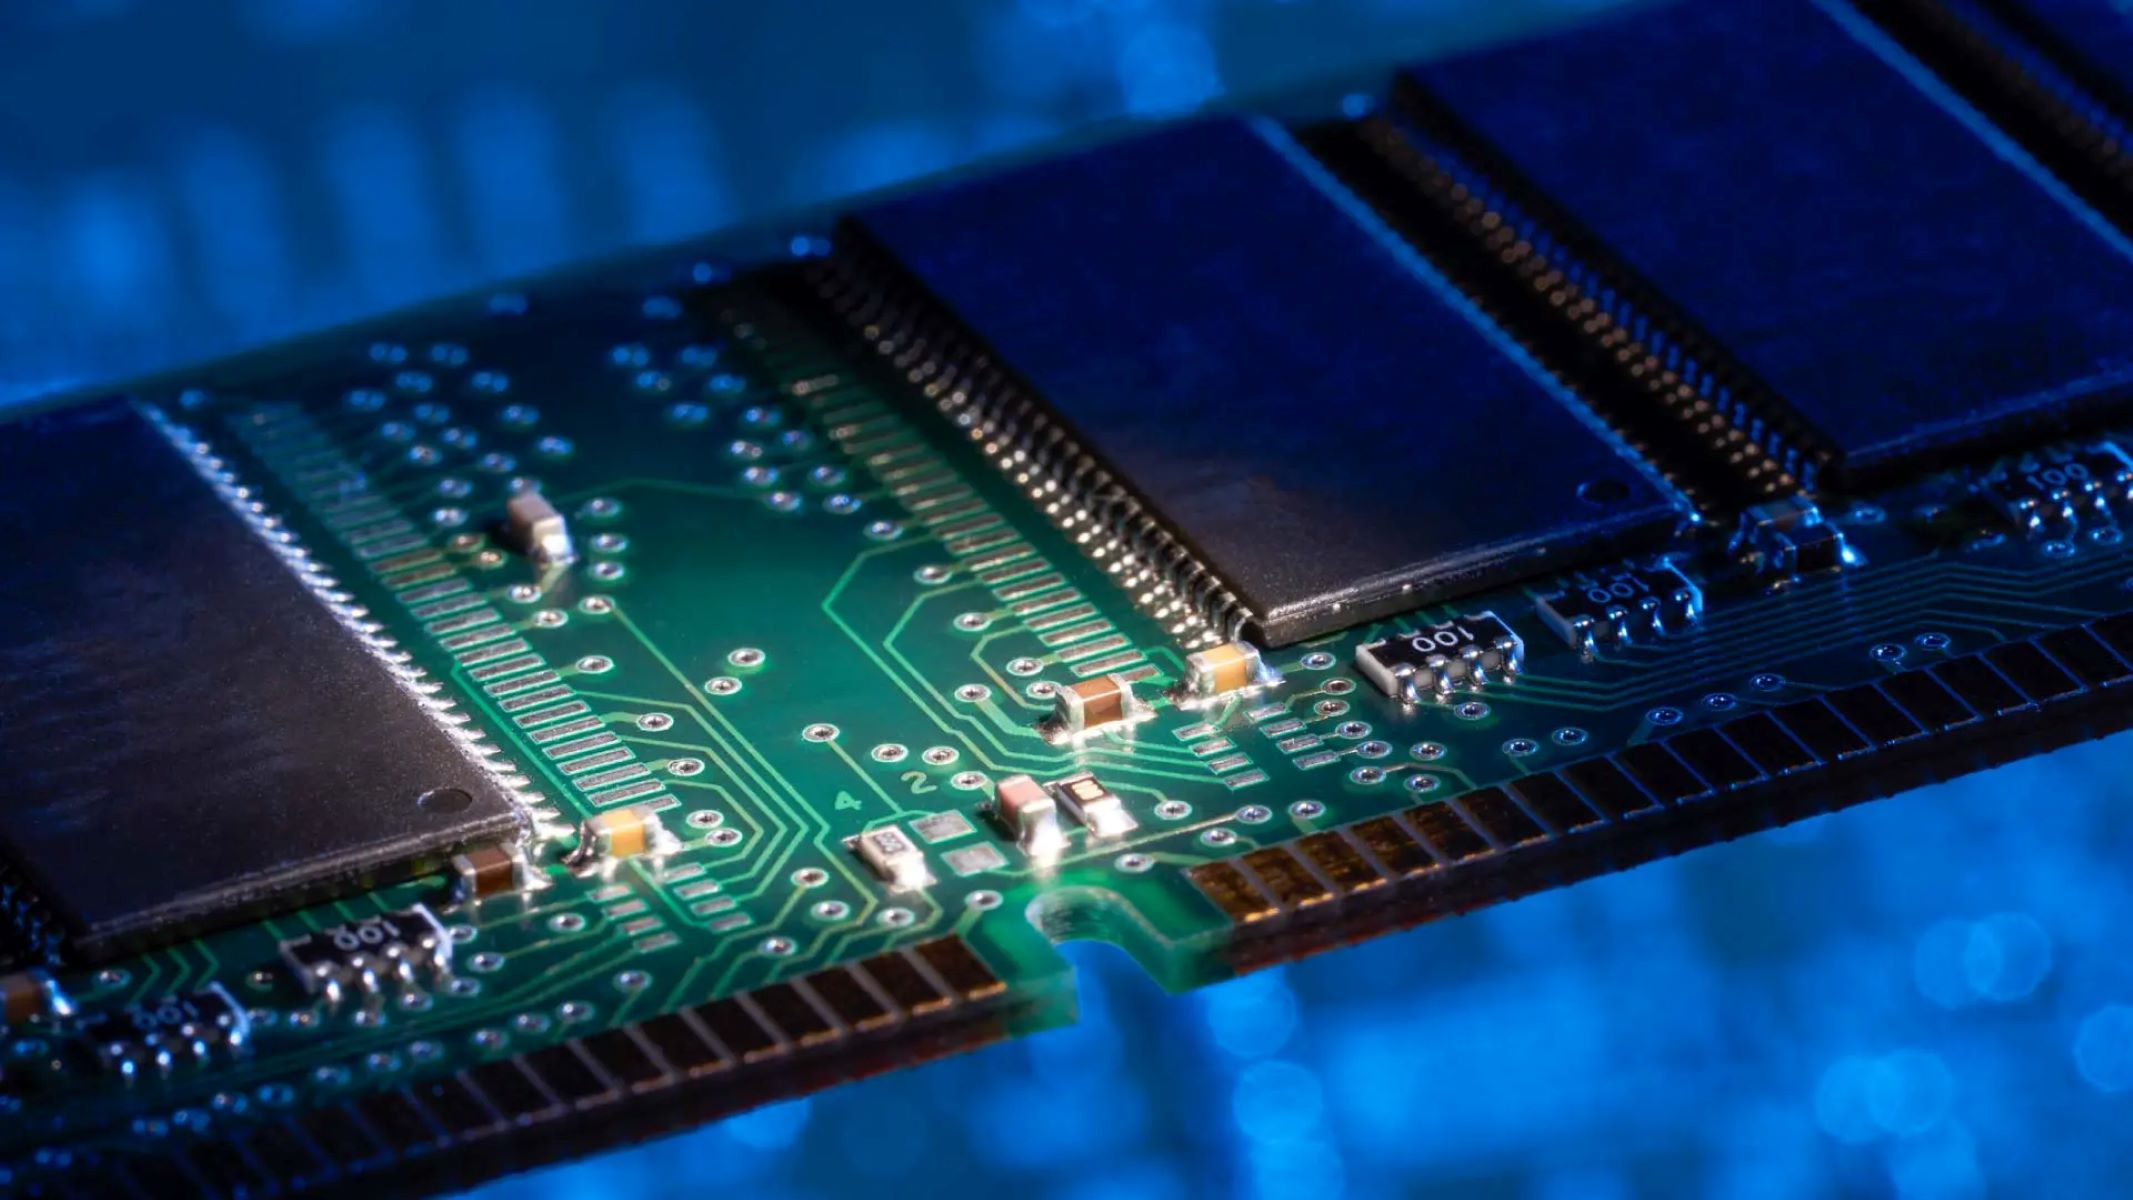
Welcome to our step-by-step guide on how to add RAM to your Dell Inspiron Laptop. If your laptop is starting to slow down or struggling to handle multitasking, upgrading the RAM can significantly improve its performance. RAM (Random Access Memory) is responsible for storing and quickly accessing data that is actively being used by the computer. By increasing the amount of RAM in your Dell Inspiron laptop, you can ensure smoother and faster operation for various tasks such as browsing, gaming, and running multiple applications simultaneously.
Before we dive into the process, remember that adding RAM to a laptop requires some technical know-how. If you’re not confident in your abilities or have never worked with computer hardware before, it’s always a good idea to seek assistance from a professional or consult the laptop’s user manual.
With that in mind, if you’re ready to take on this task yourself, this guide will provide you with the necessary steps and precautions to successfully install additional RAM in your Dell Inspiron laptop. We will cover everything from compatibility checks and required tools to the actual installation process and verification of the new RAM module.
Keep in mind that the steps outlined here may vary slightly depending on the specific model of your Dell Inspiron laptop. It’s always wise to consult the user manual or Dell’s official support resources for model-specific information. Now, without further ado, let’s get started on upgrading your Dell Inspiron laptop’s RAM!
Step 1: Determine the compatibility of your Dell Inspiron laptop
Before diving into the process of adding RAM to your Dell Inspiron laptop, it’s essential to confirm its compatibility. Different models of the Inspiron series may have varying RAM specifications, so it’s crucial to ensure that you purchase compatible RAM modules. Here’s how you can determine the compatibility of your Dell Inspiron laptop:
- Check the model number: Start by locating the model number of your Dell Inspiron laptop. The model number is usually found on a sticker on the bottom of the laptop or within the BIOS settings. Alternatively, you can refer to the original packaging or documentation that came with your laptop.
- Visit Dell’s support website: Once you have the model number, go to Dell’s support website (support.dell.com) and enter the model number in the search bar. This will take you to the support page for your specific Dell Inspiron model.
- Look for specifications: On the support page, locate the specifications section. Here, you will find information about your laptop’s RAM capacity, type, and speed. Make a note of the maximum supported RAM capacity and the compatible RAM types (such as DDR3 or DDR4).
- Consider existing RAM modules: If you already have some RAM installed in your Dell Inspiron laptop, check the specifications of the existing modules. This will help you determine the speed and type of RAM to ensure compatibility with the new modules you wish to add.
By following these steps, you can identify the compatibility requirements for upgrading your Dell Inspiron laptop’s RAM. It’s crucial to choose RAM modules that match these specifications to ensure optimal performance and compatibility with your laptop’s motherboard. Once you have verified the compatibility, we can move on to the next step of gathering the necessary tools and materials.
Step 2: Gather the necessary tools and materials
Before you begin the process of adding RAM to your Dell Inspiron laptop, it’s important to gather all the necessary tools and materials. Having everything on hand will ensure a smooth and efficient installation. Here’s a list of the items you will need:
- New RAM module(s): Purchase RAM modules that are compatible with your Dell Inspiron laptop, as determined in the previous step. Make sure to buy the appropriate type, speed, and capacity based on the specifications provided by Dell.
- Anti-static wrist strap: It’s recommended to wear an anti-static wrist strap to protect the delicate electronic components from damage caused by static electricity. This will ground you and prevent any potential discharge while working on the laptop.
- Phillips screwdriver: Most Dell Inspiron laptops use Phillips screws to secure the bottom cover. Ensure you have a suitable-sized Phillips screwdriver to remove and reattach the screws.
- Clean, static-free work area: Find a clean and static-free surface to work on. This will help prevent any accidental damage to your laptop or RAM modules. Avoid working on surfaces that generate static electricity, such as carpeted floors.
Once you have gathered these essential tools and materials, you are ready to proceed to the next step: powering off your laptop and disconnecting the power cord. Having everything at hand will save time and minimize the risk of losing or misplacing any crucial items during the installation process.
Step 3: Power off your laptop and disconnect the power cord
Before you begin working on your Dell Inspiron laptop, it’s crucial to power it off completely and disconnect the power cord. This ensures your safety and prevents any potential damage to the laptop or its components. Follow these steps to power off your laptop:
- Save your work: Close any open applications and save your work to avoid losing any unsaved data.
- Shut down the laptop: Click on the “Start” menu and select “Shut down” to initiate the shutdown process. Wait for the laptop to power off completely before proceeding to the next step.
- Disconnect the power cord: Once the laptop is powered off, locate the power cord connected to the laptop and unplug it from the electrical outlet. Also, detach the power cord from the laptop’s power supply port.
- Ensure the laptop is cool: It’s advisable to wait for a few minutes to allow the laptop to cool down before proceeding. Operating on a cooled-down laptop reduces the risk of accidental burns and potential damage to internal components.
By following these steps, you ensure that your Dell Inspiron laptop is safely powered off and disconnected from any power source. This precautionary measure is essential to prevent any electrical shocks or damage during the RAM installation process. Now that your laptop is safely powered off, we can move on to the next step of identifying the location of the RAM slots on your Dell Inspiron laptop.
Step 4: Identify the location of the RAM slots on your Dell Inspiron laptop
Before you can add new RAM modules to your Dell Inspiron laptop, it’s important to identify the location of the RAM slots. The RAM slots are where the modules will be inserted for the upgrade. Follow these steps to locate the RAM slots on your Dell Inspiron laptop:
- Refer to the user manual: The user manual that came with your laptop provides detailed information about the internal components and their locations. Look for the section that describes the location of the RAM slots.
- Inspect the bottom cover: In some instances, the laptop’s bottom cover may have labeled access panels that indicate the location of the memory slots. Check for any panels labeled “RAM” or “Memory” on the bottom cover.
- Search the internet: If you’re unable to find the RAM slots using the user manual or bottom cover, a quick search on the internet with your Dell Inspiron model number can provide helpful insights. Look for online resources or videos that demonstrate the disassembly of your specific model, which often includes the location of the RAM slots.
Identifying the location of the RAM slots is crucial for the next steps of the installation process. Once you have located the RAM slots, you can proceed to the next step of removing the bottom cover of your Dell Inspiron laptop.
Step 5: Remove the bottom cover of your Dell Inspiron laptop
Now that you have located the RAM slots on your Dell Inspiron laptop, it’s time to remove the bottom cover. The bottom cover provides access to the internal components, including the RAM slots. Follow these steps to remove the bottom cover:
- Prepare your workspace: Ensure you are working on a clean and static-free surface. This helps minimize the risk of damaging any internal components.
- Remove any screws: In most Dell Inspiron models, the bottom cover is secured with screws. Use a suitable-sized Phillips screwdriver to remove the screws that hold the cover in place. Keep track of the screws and place them in a secure location to avoid losing them.
- Gently remove the bottom cover: Once all the screws are removed, gently pry off the bottom cover using your fingers or a plastic prying tool. Take caution not to apply excessive force or use sharp objects that could damage the cover or the laptop’s internal components.
- Set aside the bottom cover: Place the removed bottom cover in a safe place where it won’t get damaged or misplaced. You will need it later when reassembling the laptop after installing the new RAM modules.
Removing the bottom cover provides you with access to the internal components of your Dell Inspiron laptop, including the RAM slots. Be careful during this step to avoid any accidental damage. With the bottom cover successfully removed, you are now ready to proceed to the next step: inserting the new RAM module(s) into the empty slot(s) of your Dell Inspiron laptop.
Step 6: Insert the new RAM module into the empty slot
With the bottom cover of your Dell Inspiron laptop removed, it’s time to insert the new RAM module into the empty slot. Follow these steps to ensure a successful installation:
- Handle the RAM module with care: Before handling the RAM module, make sure to ground yourself by touching a metal surface or wearing an anti-static wrist strap. This helps prevent any static discharge that could damage the delicate electronic components.
- Locate the empty RAM slot: Look for the empty RAM slot where you will be inserting the new module. The slot will have clips or tabs on each side to secure the RAM module in place.
- Align the RAM module correctly: Align the notches on the bottom edge of the RAM module with the keys in the slot. The notch ensures that the RAM module can only be inserted in one direction, preventing incorrect installation.
- Insert the RAM module: Holding the RAM module by the sides, carefully insert it into the slot at a slight angle. Ensure that the gold pins on the RAM module are fully inserted into the slot.
- Apply gentle pressure: Once the RAM module is correctly inserted into the slot, apply gentle and even pressure on the top until the clips or tabs on the side of the slot snap into place. This indicates that the RAM module is securely seated in the slot.
It’s important to note that some laptops may have additional slots located under the keyboard or in other areas. If that’s the case, refer to the user manual or consult Dell’s support resources for specific instructions on accessing and installing RAM modules in those slots. Once you have successfully inserted the new RAM module into the empty slot, you can proceed to the next step: securing the RAM module in place.
Step 7: Secure the RAM module in place
After inserting the new RAM module into the empty slot of your Dell Inspiron laptop, it’s important to secure it in place to ensure optimal performance and stability. Follow these steps to securely fasten the RAM module:
- Press down on the module: Apply firm and even pressure on the top of the RAM module to make sure it is seated properly in the slot.
- Listen for a click: As you press down on the module, you should hear a subtle click. This indicates that the clips or tabs on the side of the slot have properly engaged with the RAM module, securing it in place.
- Check for alignment: Take a quick look at the module to ensure it is aligned properly in the slot. The edges of the RAM module should be aligned with the slot, and the module should not be tilted or unevenly inserted.
Securing the RAM module is crucial to prevent any connectivity issues or accidental dislodging during use. Taking the time to ensure proper alignment and a secure fit will help guarantee smooth operation and avoid any potential damage to the RAM module or your Dell Inspiron laptop. Once you have securely fastened the RAM module, you can move on to reattaching the bottom cover in the next step.
Step 8: Replace the bottom cover of your Dell Inspiron laptop
With the new RAM module securely installed, it’s time to reattach the bottom cover of your Dell Inspiron laptop. Follow these steps to ensure proper reassembly:
- Align the bottom cover: Hold the bottom cover in the correct orientation and align it with the screw holes on the base of the laptop. Ensure that all the connectors and ports on the laptop align properly with the openings in the bottom cover.
- Press down evenly: Apply gentle and even pressure on the edges of the bottom cover, starting from one side and moving towards the other. This will help guide the cover into place and ensure a snug fit.
- Secure the screws: Once the bottom cover is aligned and pressed down evenly, use the Phillips screwdriver to reinsert and tighten all the screws. Start with the corner screws, working your way towards the center. Ensure that each screw is tightened just enough to hold the cover securely without overtightening.
Properly replacing the bottom cover is essential to protect the internal components and maintain the integrity of your Dell Inspiron laptop. Taking the time to align the cover correctly and securely fasten it with the screws will ensure that the laptop remains closed and held together during normal use. With the bottom cover securely in place, you are now ready to power on your laptop and verify the successful installation of the new RAM module.
Step 9: Power on your laptop and verify the new RAM installation
After successfully installing the new RAM module into your Dell Inspiron laptop and reattaching the bottom cover, it’s time to power on your laptop and ensure that the new RAM installation is functioning correctly. Follow these steps to verify the installation:
- Connect the power cord: Plug the power cord back into the electrical outlet and connect it to your Dell Inspiron laptop’s power supply port.
- Power on the laptop: Press the power button to start your laptop. Wait for it to fully boot up and reach the desktop or login screen.
- Check the RAM capacity: Once you are logged in, navigate to the system information or task manager to verify the amount of RAM recognized by your Dell Inspiron laptop. It should reflect the new RAM capacity that you have installed.
- Perform a RAM stress test (optional): If you want to ensure that the new RAM module is functioning optimally, you can run a RAM stress test. There are various software applications available that can put the RAM through intensive tasks to test its stability.
- Test performance: Use your laptop as you normally would, running multiple applications or tasks simultaneously to determine if the performance has improved. If it feels faster and more responsive, it’s a good indication that the new RAM module is successfully installed and working effectively.
By following these steps, you can verify the successful installation of the new RAM module in your Dell Inspiron laptop. Checking the recognized RAM capacity, performing a RAM stress test (if desired), and testing system performance will help ensure that the new RAM module is functioning properly and providing the desired performance boost.
Congratulations! You have successfully added RAM to your Dell Inspiron laptop, enhancing its processing power and improving its overall performance. Enjoy the increased speed and efficiency of your upgraded laptop!
Conclusion
Adding RAM to your Dell Inspiron laptop is a cost-effective way to boost its performance and handle more demanding tasks. By following the step-by-step guide provided in this article, you can successfully upgrade your laptop’s RAM and enjoy improved multitasking capabilities, faster application loading times, and smoother overall performance.
We started by determining the compatibility of your Dell Inspiron laptop, ensuring that you purchase the right RAM modules for your specific model. Then, we gathered the necessary tools and materials, including the new RAM modules, anti-static wrist strap, Phillips screwdriver, and a clean workspace.
We proceeded to power off the laptop, disconnect the power cord, and identify the location of the RAM slots on your Dell Inspiron. By removing the bottom cover, we gained access to the internal components and inserted the new RAM module into the empty slot.
Securing the RAM module in place and replacing the bottom cover ensured that the module was correctly installed and protected. Lastly, we powered on the laptop, verified the new RAM installation, and tested the performance to ensure that the upgrade was successful.
Remember, while upgrading RAM can significantly improve your laptop’s performance, it’s essential to ensure compatibility, follow the manufacturer’s guidelines, and handle the components with care. If you ever feel unsure or uncomfortable performing the upgrade yourself, it’s always a good idea to seek professional assistance.
Now that you have successfully upgraded your Dell Inspiron laptop’s RAM, enjoy the enhanced performance and productivity it provides. You can now handle more intensive tasks, run multiple applications seamlessly, and experience a smoother computing experience overall.
Thank you for following this guide, and we hope it has been helpful in upgrading your Dell Inspiron laptop!