Introduction
Welcome to this guide on how to add a Google Wifi Point to your network! Google Wifi is a popular and reliable mesh Wi-Fi system that provides seamless coverage and fast internet speeds throughout your home or office. Adding a Google Wifi Point to your existing network will help extend the Wi-Fi coverage and eliminate any dead zones in your space.
Whether you’re a tech-savvy individual or a beginner, this step-by-step tutorial will walk you through the process of setting up and configuring your Google Wifi Point. By the end of this guide, you’ll have a strong and reliable Wi-Fi connection throughout your entire space.
Before we dive into the technical details, it’s important to note that you’ll need a few things before getting started. Firstly, you’ll need a Google Wifi Point, which can be purchased from authorized retailers or online. Additionally, you’ll need a smartphone or tablet to download the Google Wifi app, which will be used to configure and manage your network. Lastly, ensure that you have a stable internet connection and the necessary login credentials for your existing network.
Now that you’re equipped with the essentials, let’s proceed to the next step: unboxing your Google Wifi Point.
Step 1: Unbox your Google Wifi Point
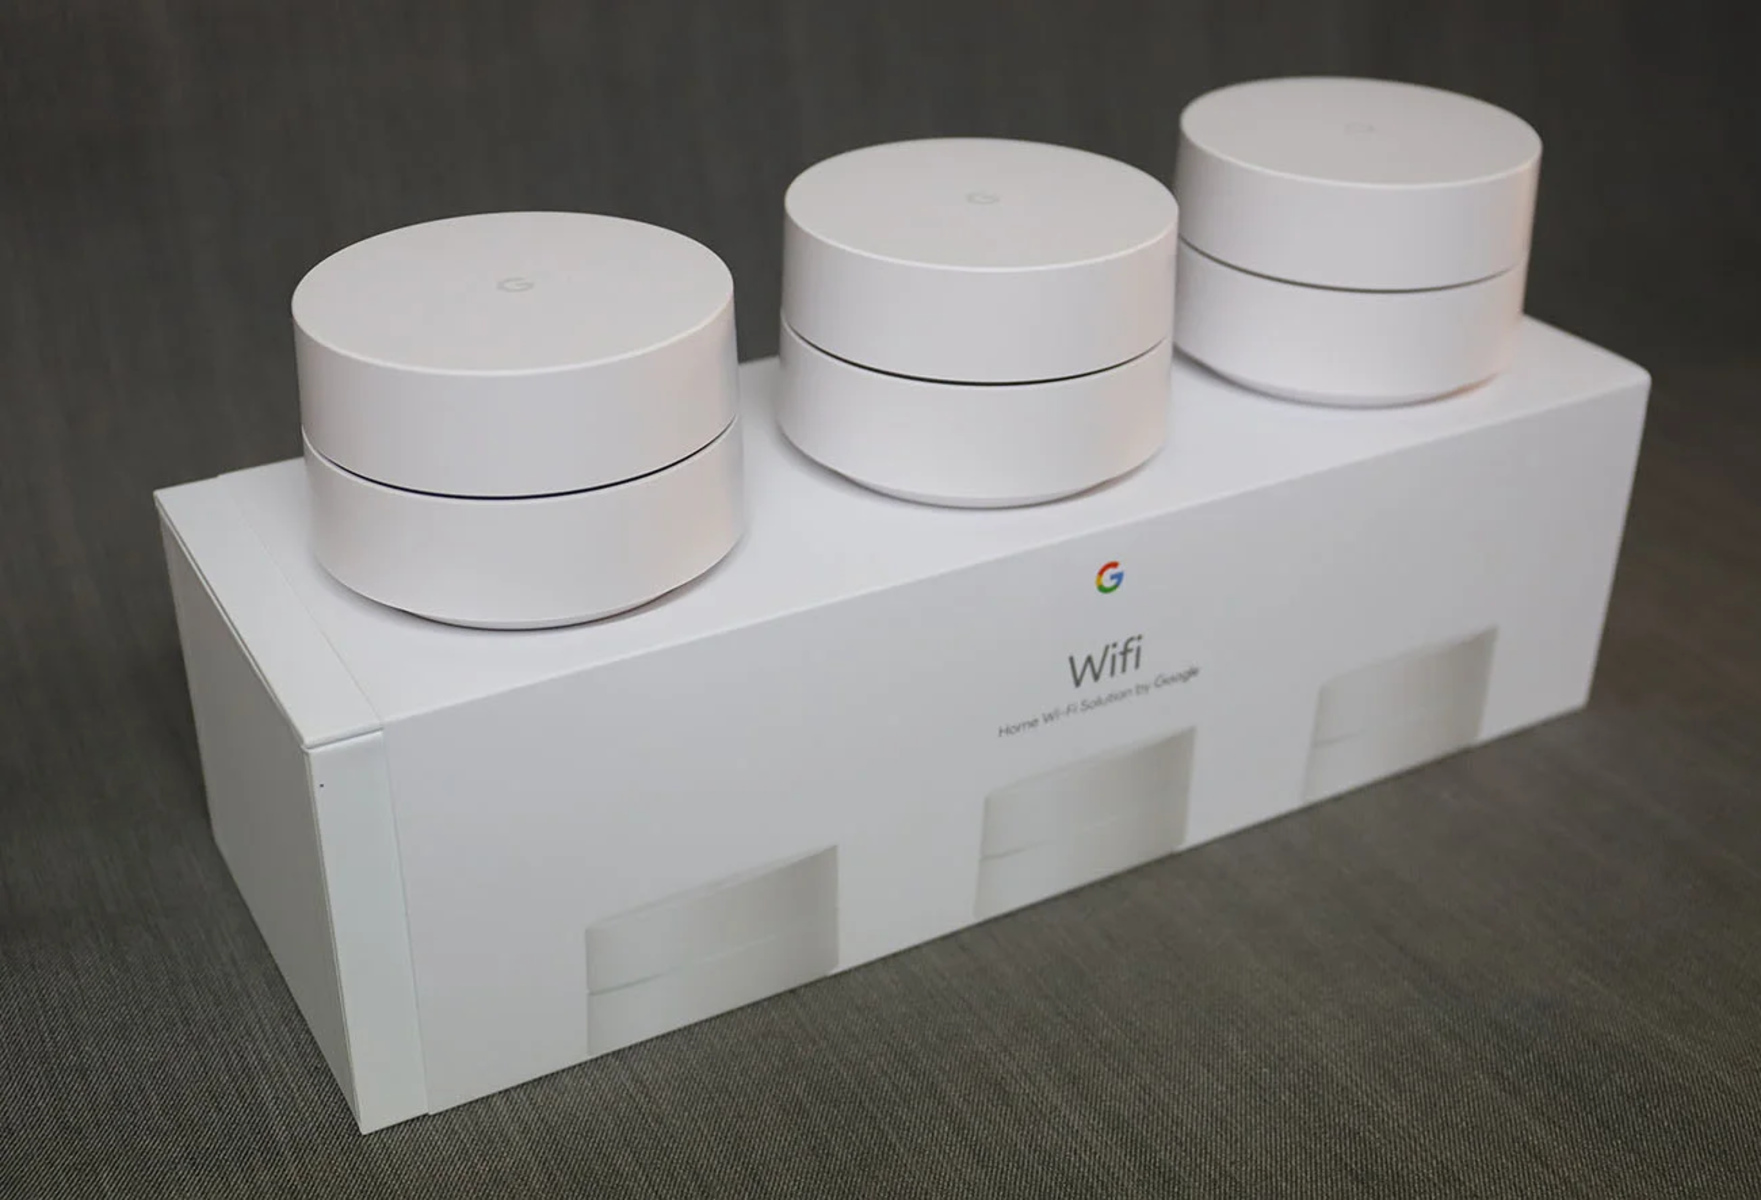
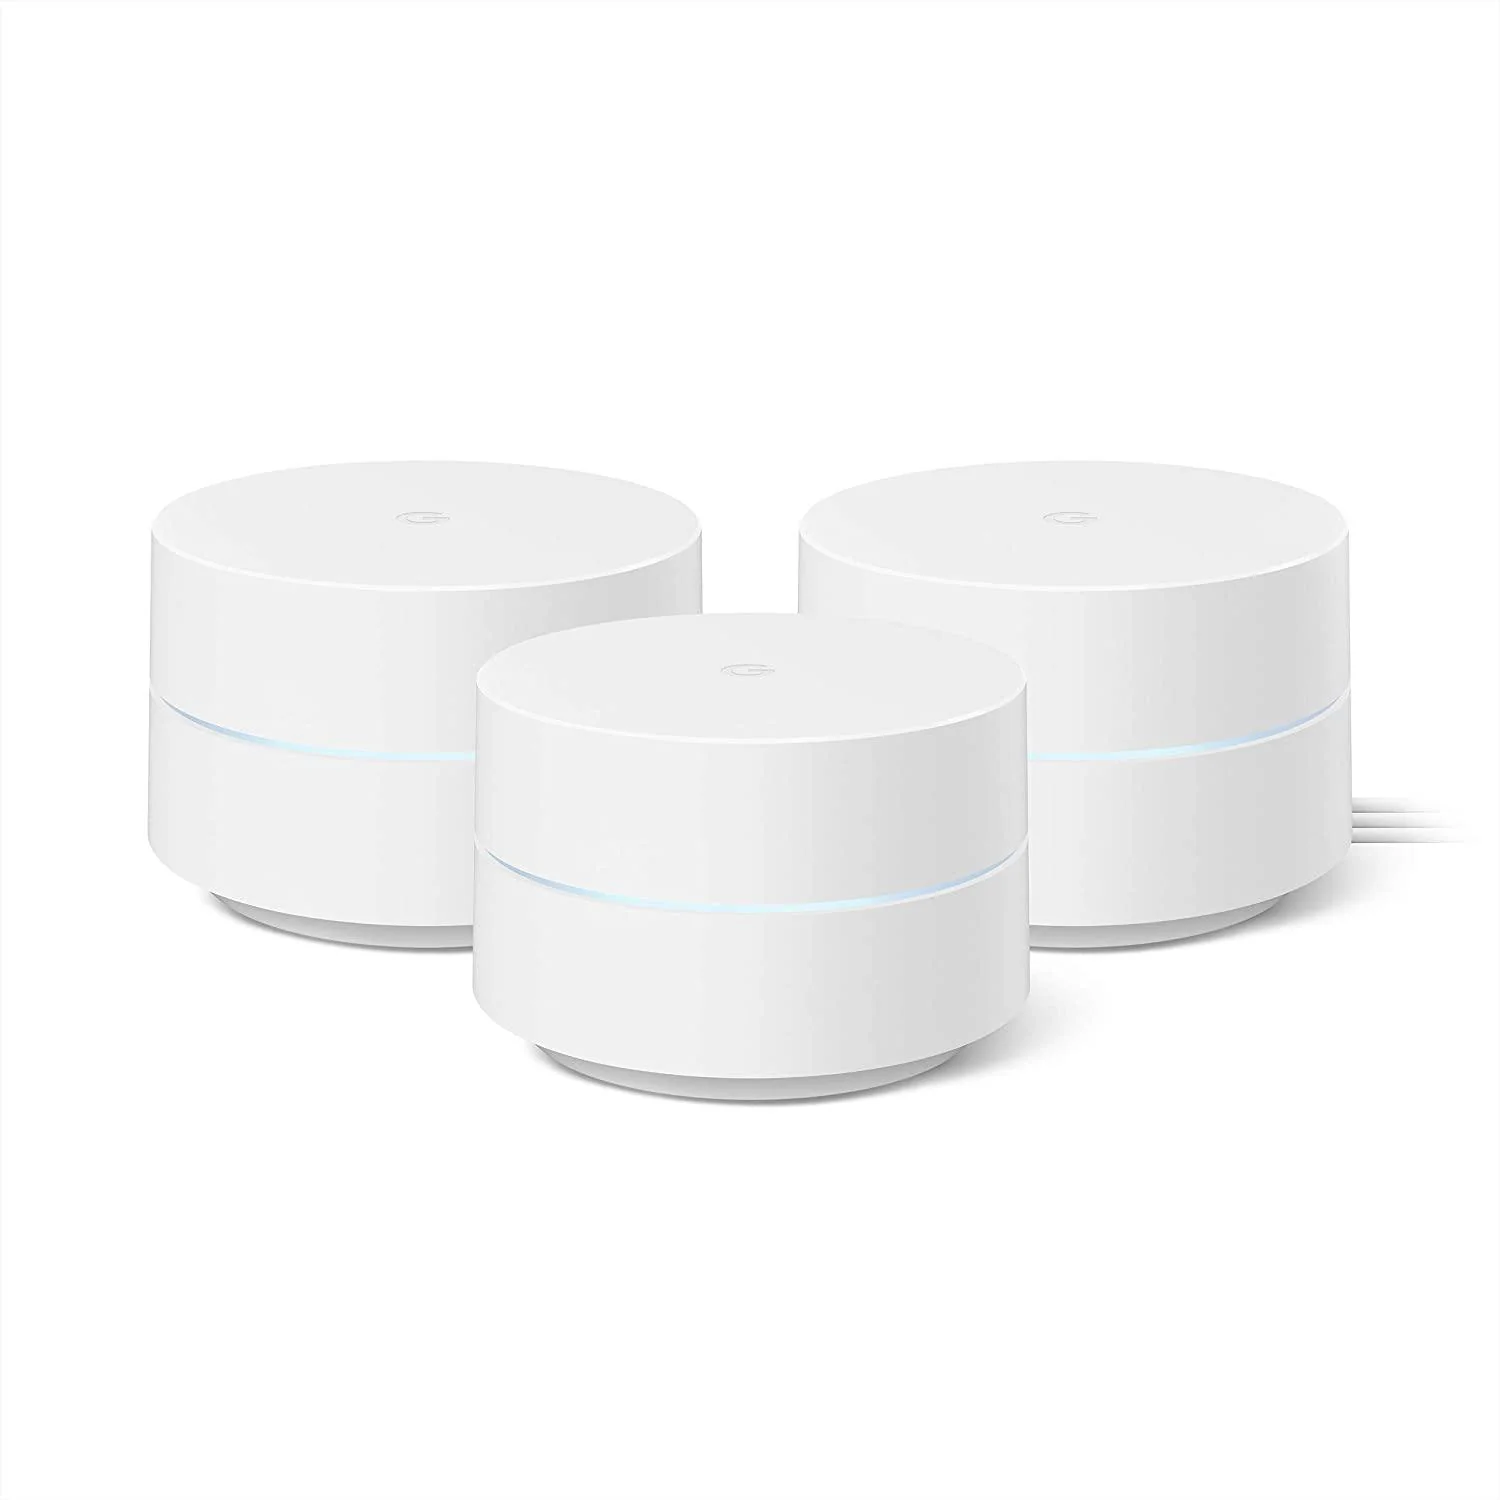
The first step in setting up your Google Wifi Point is to unbox it. When you receive your package, carefully open it and remove the Google Wifi Point and its accessories. Inside the box, you’ll typically find the following items:
- Google Wifi Point(s)
- Power adapter(s)
- Ethernet cable
- Quick start guide
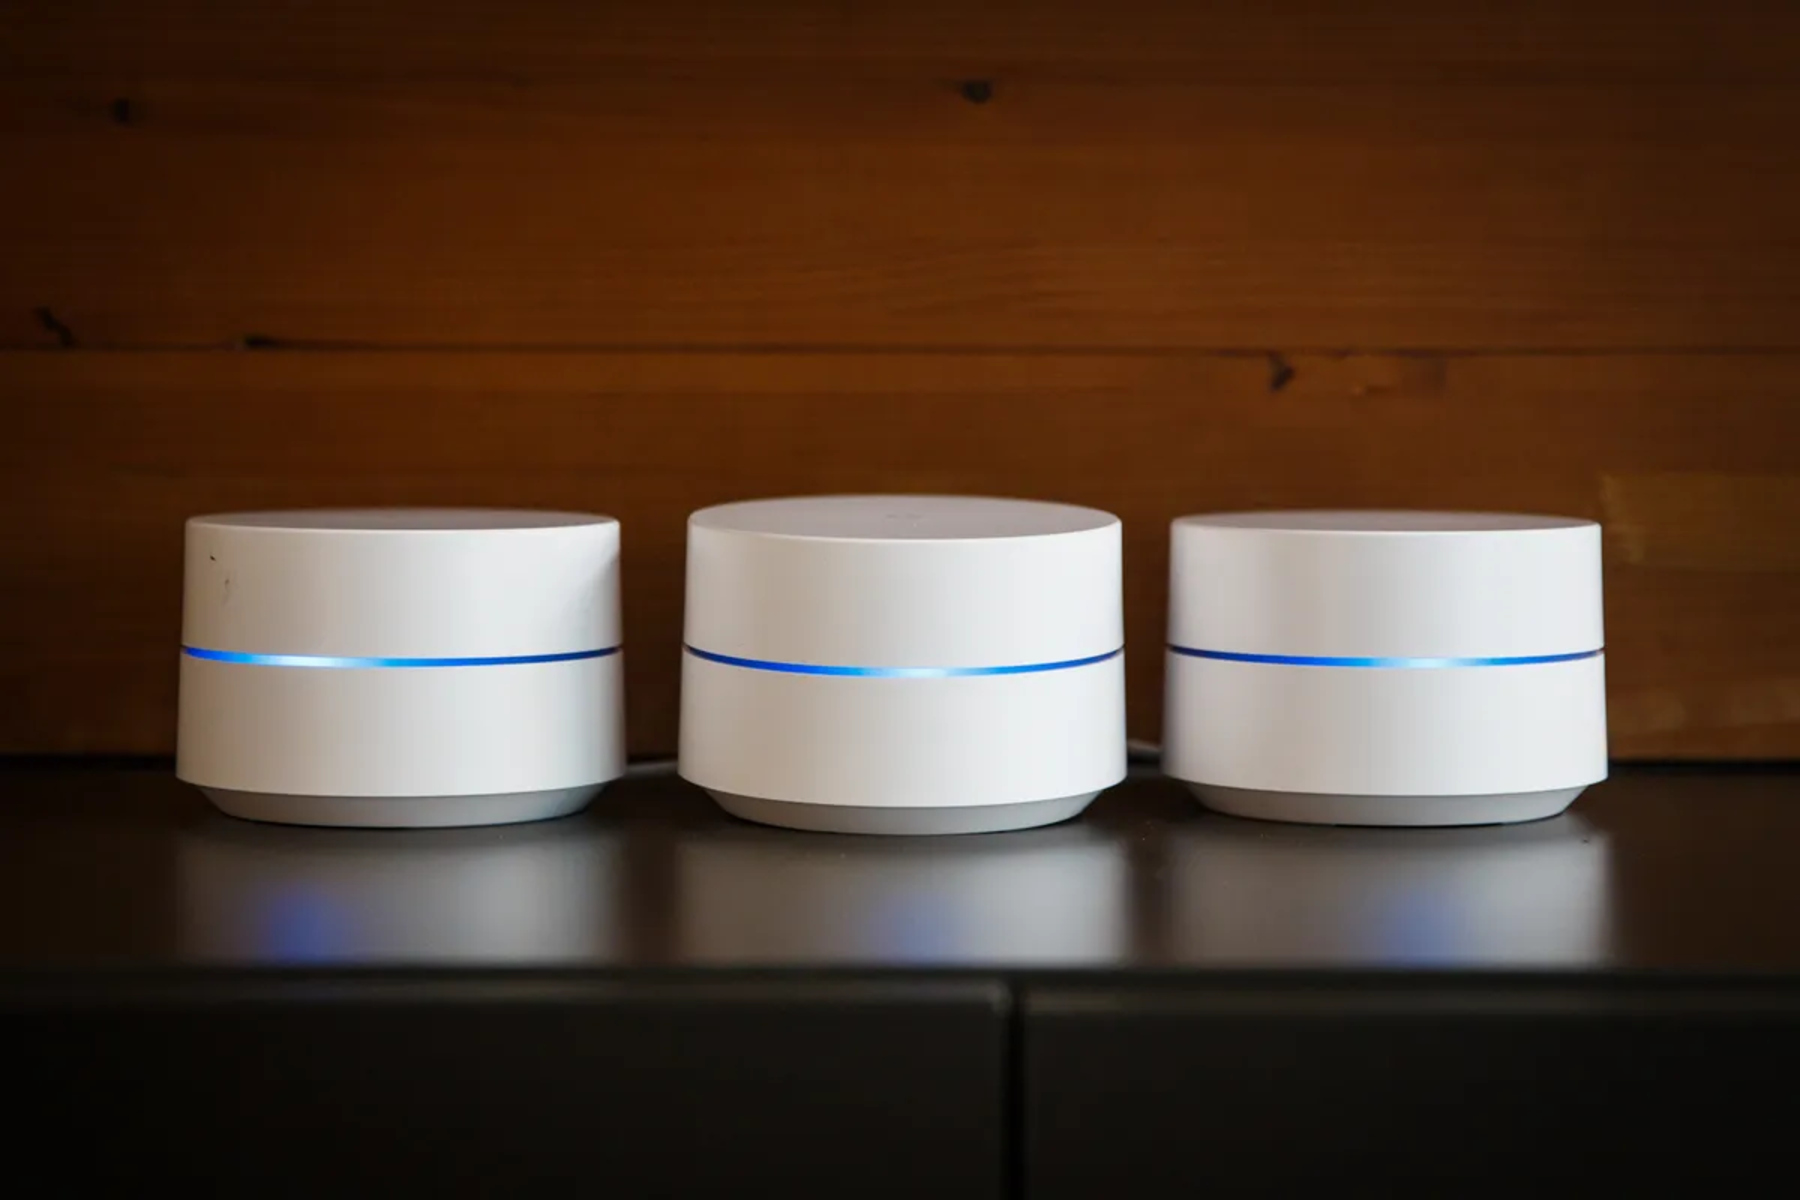
Ensure that you have all the necessary components before proceeding to the next step. It’s worth noting that the number of Google Wifi Points included in the package may vary depending on your purchase.
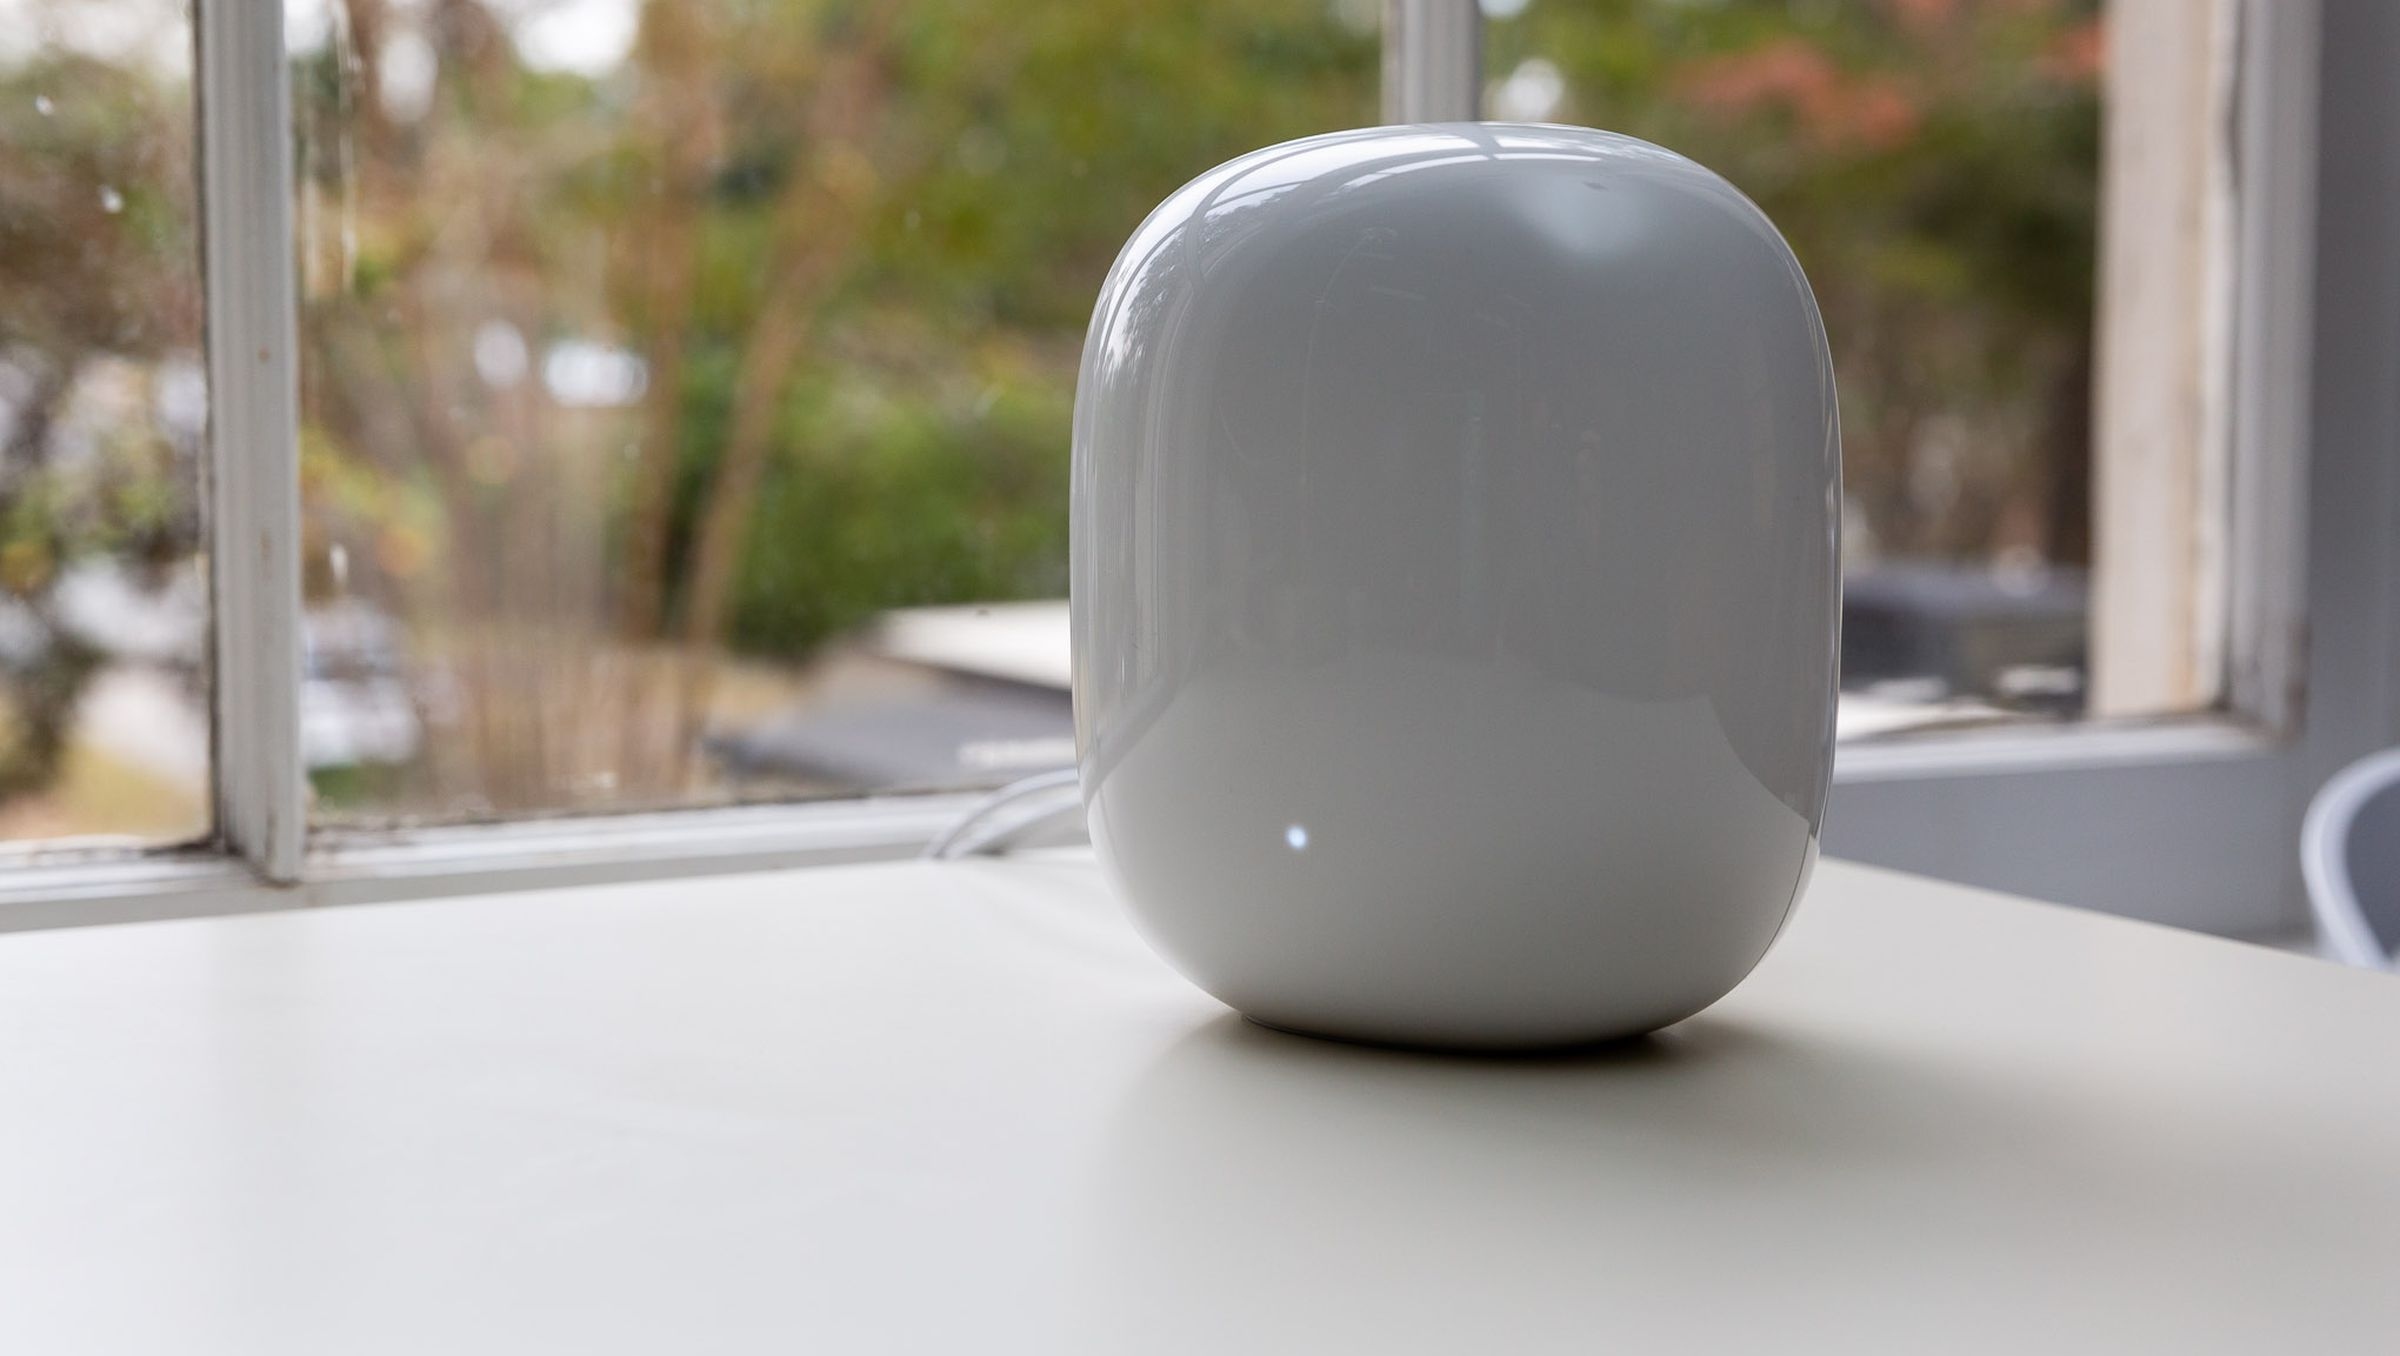
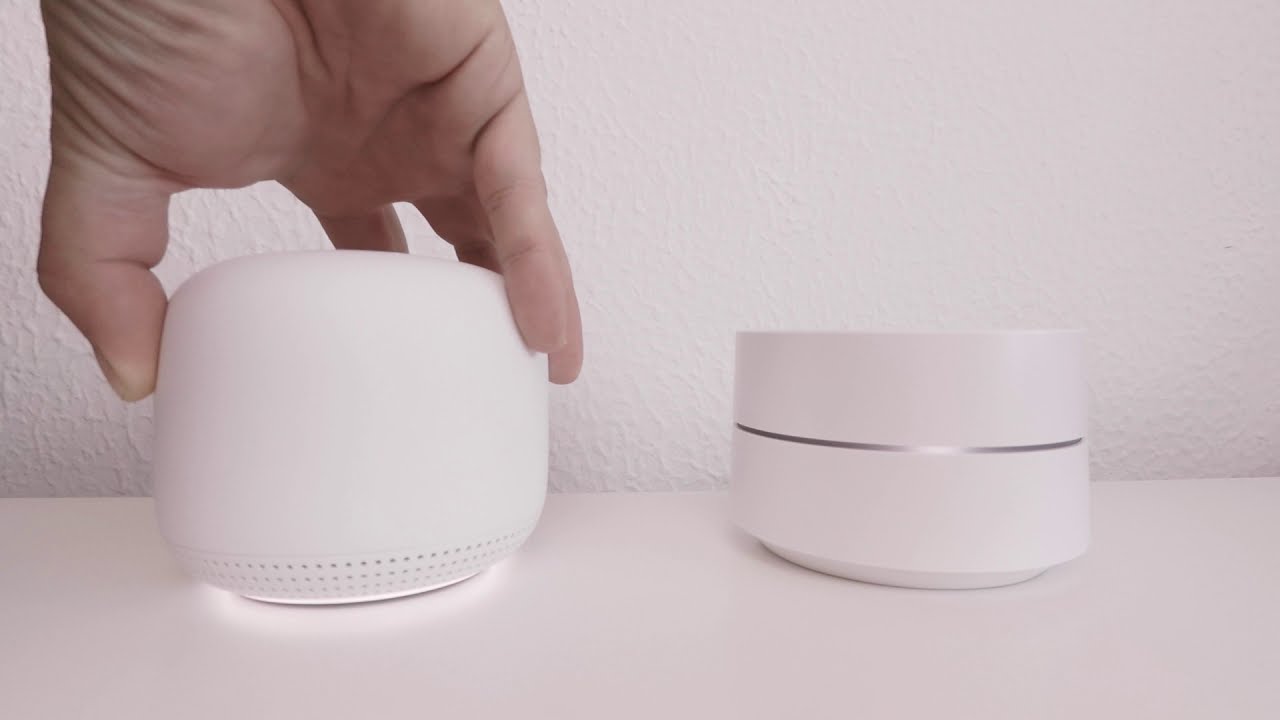
Once you have everything ready, take a moment to inspect the Google Wifi Point. You’ll notice a simple and sleek design that blends well with any environment. The device is compact and doesn’t have any external antennas, making it easy to place discreetly in your home or office.
Now that you have unboxed your Google Wifi Point and familiarized yourself with its design, you’re ready to move on to the next step: connecting the power.
Step 2: Connect the Power
After unboxing your Google Wifi Point, the next step is to connect it to power. This step is crucial as it ensures that the device has a stable power source to function properly. To connect the power, follow these simple instructions:
- Locate the power adapter that came with your Google Wifi Point.
- Take one end of the power adapter and plug it into the power port located on the back of the Google Wifi Point.
- Connect the other end of the power adapter to an electrical outlet near the location where you want to set up your Google Wifi Point.
- Ensure that the power adapter is securely plugged in and that there are no loose connections.
Once you have successfully connected the power, the Google Wifi Point will start to boot up. During this process, you may notice a series of lights on the device. These lights indicate the status of the Google Wifi Point and can help you troubleshoot any potential issues. Allow the device a few minutes to fully boot up and initialize.
It’s important to note that each Google Wifi Point needs to be connected to power individually. If you have multiple Wifi Points, repeat the steps above for each one.
With the power connected, your Google Wifi Point is now ready to be set up and connected to your network. Proceed to the next step to learn how to download the Google Wifi app.
Step 3: Download the Google Wifi App
Once you have connected the power to your Google Wifi Point, the next step is to download the Google Wifi app to your smartphone or tablet. The Google Wifi app is available for both Android and iOS devices and will be your central tool for setting up and managing your Google Wifi network.
To download the app, follow these simple instructions:
- Unlock your smartphone or tablet and go to the respective app store (Google Play Store for Android devices and the App Store for iOS devices).
- In the search bar, type “Google Wifi” and tap on the official Google Wifi app from the search results.
- Tap on the “Install” or “Get” button to begin the download and installation process.
- Wait for the app to download and install on your device. This may take a few moments depending on your internet connection.
- Once the app is installed, tap on the “Open” button to launch the Google Wifi app.
Alternatively, you can download the Google Wifi app by scanning the QR code provided in the quick start guide using your smartphone or tablet’s camera.
With the Google Wifi app installed on your device, you’re one step closer to completing the setup process. In the next step, we’ll guide you through connecting your device to the Google Wifi Point.
Step 4: Connect to the Wifi Point
Now that you have the Google Wifi app downloaded on your smartphone or tablet, it’s time to connect your device to the Google Wifi Point. This step is essential for configuring the Google Wifi Point and establishing a connection between your device and the network.
Follow these steps to connect to the Wifi Point:
- Open the Google Wifi app on your device.
- On the app’s welcome screen, tap on “Get Started.”
- Skip the introductory screens and choose “Set up new devices.”
- The app will now ask you to grant necessary permissions. Follow the prompts and allow the app to access your location and Bluetooth.
- Once the app detects the Wifi Point, it will display a code on your device’s screen.
- Compare the code shown on your device with the code displayed on the back of your Google Wifi Point. If they match, tap on “Yes” to proceed.
- Select the location of the Google Wifi Point within your home or office from the list provided. You can also choose “Custom location” if your desired location is not listed.
- The app will now ask you to name your network and create a network password. Enter the desired network name (SSID) and password in the provided fields.
- Tap on “Next” to continue with the setup process.
- Wait for the app to configure and connect your device to the Google Wifi Point.
Congratulations! You have now successfully connected your device to the Google Wifi Point. The next step will guide you through adding the Wifi Point to your existing network.
Step 5: Add the Wifi Point to your Network
With your device connected to the Google Wifi Point, it’s time to add the Wifi Point to your existing network. This step allows the Google Wifi system to seamlessly integrate with your network and extend its coverage throughout your space.
Follow these steps to add the Wifi Point to your network:
- Open the Google Wifi app on your device.
- Tap on the “Add Wifi Point” option in the app’s main menu.
- The app will prompt you to connect the additional Wifi Point to power. Follow the same steps mentioned in Step 2 to connect the power for the additional Wifi Point.
- Once the additional Wifi Point is powered on, the app will automatically detect it. Tap on “Next” to proceed.
- The app will then ask you to choose the location of the additional Wifi Point within your space. Select the location from the provided list or choose “Custom location” if your desired location is not listed.
- Wait for the app to configure and connect the additional Wifi Point to your network.
- If you have more than one additional Wifi Point, repeat the above steps to add them to your network.
By adding the Wifi Point(s) to your network, you are extending the coverage and ensuring a strong and reliable Wi-Fi connection throughout your entire space. Now that you have successfully added the Wifi Point(s), it’s time to move on to configuring your network in the next step.
Step 6: Configure your Wifi Point
Once you have added the Wifi Point(s) to your network, it’s time to configure them to optimize your Wi-Fi experience. Configuring your Wifi Point involves customizing the settings to suit your preferences and ensuring that your network operates at its best. Follow these steps to configure your Wifi Point:
- Open the Google Wifi app on your device.
- Tap on the newly added Wifi Point that you want to configure.
- In the Wifi Point settings, you’ll find various options to customize your network. Some common configuration options include:
- Network name (SSID) and password: You can change the network name and password if desired.
- Guest network: You can create a separate guest network with limited access for visitors.
- Parental controls: You can set up filters and restrictions to manage internet usage for different devices and users.
- Device prioritization: You can prioritize certain devices to ensure they receive maximum bandwidth.
- Explore the various settings available and adjust them according to your needs and preferences.
- Once you have configured the settings, tap on “Save” or “Apply” to save the changes.
- Repeat these steps for each Wifi Point that you have added to your network.
The configuration process allows you to personalize your network and optimize its performance. Take some time to explore the available options and experiment with different settings to find what works best for you.
Now that you have configured your Wifi Point(s), you’re almost done! The final step will guide you through the process of completing the setup.
Step 7: Complete the Setup Process
Congratulations! You’re on the final step of setting up your Google Wifi Point(s). Completing the setup process involves a few final tasks to ensure that your network is ready to go. Follow these steps to complete the setup:
- Open the Google Wifi app on your device.
- Tap on “Finish setup” or a similar option to complete the setup process.
- The app will guide you through a series of final steps, which may include:
- Verifying your internet connection: The app will check if your Wifi Points are connected to the internet and functioning properly.
- Running speed tests: The app may perform speed tests to evaluate your network performance.
- Providing additional setup recommendations: The app may offer suggestions to optimize your network based on your specific setup.
- Follow the prompts provided by the app to complete any remaining setup tasks.
- Once you have completed all the necessary steps, the Google Wifi app will notify you that the setup is complete.
- Take a moment to celebrate your successful setup and enjoy the benefits of your extended and optimized network.
Now that you have completed the setup process, you can start using your Google Wifi network to connect all your devices seamlessly. Enjoy fast and reliable internet throughout your home or office, without any pesky dead zones or disruptions.
If you ever need to make changes or adjust the settings of your network, you can always revisit the Google Wifi app and access the respective Wifi Point settings. It’s easy to manage and customize your network to suit your evolving needs.
Thank you for choosing Google Wifi! Enjoy the enhanced Wi-Fi coverage and a smooth online experience!
Conclusion
Congratulations on successfully setting up and configuring your Google Wifi Point(s)! By following the steps outlined in this guide, you have extended the range of your Wi-Fi network and eliminated any dead zones in your space. With Google Wifi, you can enjoy fast and reliable internet throughout your home or office.
Throughout the setup process, you unboxed your Google Wifi Point, connected it to power, downloaded the Google Wifi app, connected your device to the Wifi Point, added the Wifi Point(s) to your network, configured the settings, and completed the setup process. The app provided you with various customization options to optimize your network, such as creating a guest network, enabling parental controls, and prioritizing devices.
Now that your Google Wifi Point(s) are up and running, you can experience seamless internet connectivity for all your devices. Whether you’re streaming, gaming, or simply browsing the web, you can trust that Google Wifi will provide you with a strong and reliable connection. Additionally, the app allows you to easily manage and monitor your network, making it convenient to make changes and track the performance of your devices.
Remember, if you ever need to make adjustments to your network or add more Wifi Points, you can always refer back to this guide or consult the Google Wifi app for further guidance. Google Wifi is designed to be user-friendly and intuitive, ensuring that you can enjoy a hassle-free Wi-Fi experience.
Thank you for choosing Google Wifi and taking the time to follow this setup guide. We hope you have found it helpful and informative. Enjoy your extended Wi-Fi coverage and stay connected!