Introduction
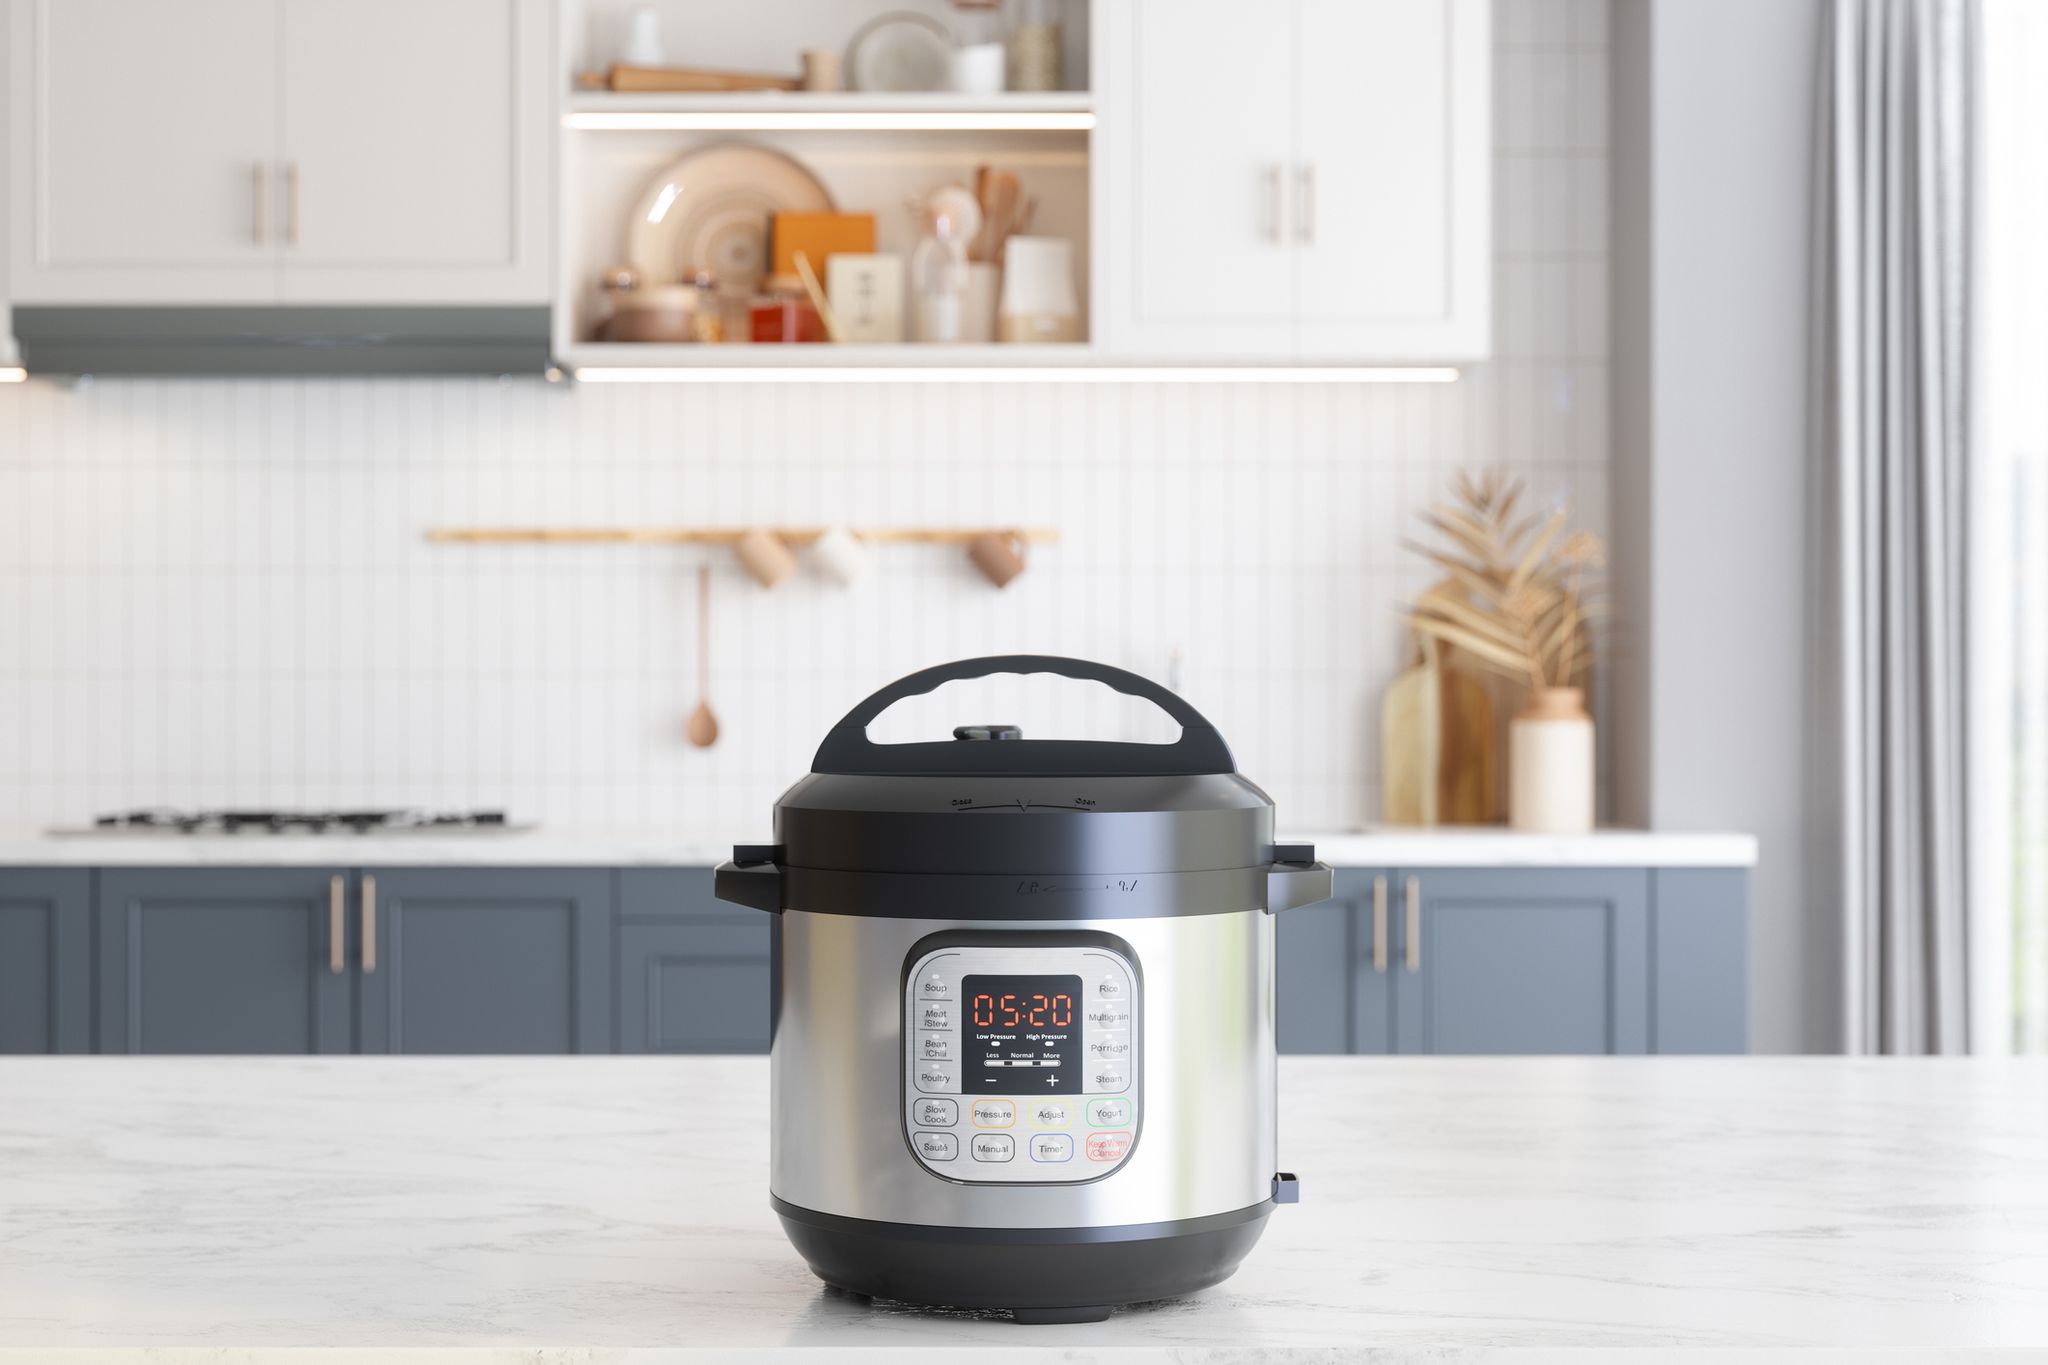
Welcome to the world of electric pressure cookers, where cooking hard-boiled eggs has never been easier or faster. If you’re tired of waiting for a pot of water to boil on the stove and constantly monitoring the cooking process, an electric pressure cooker might be your new best friend. With its precise temperature control and ability to cook food quickly, the electric pressure cooker can deliver perfect hard-boiled eggs in a fraction of the time compared to traditional stovetop methods.
But how long do hard-boiled eggs actually take in an electric pressure cooker? The answer depends on a few factors, such as the size of the eggs and the desired yolk texture. In this article, we’ll guide you through the process of using an electric pressure cooker to cook hard-boiled eggs to perfection.
We’ll start by discussing how to choose the right setting on your electric pressure cooker for cooking hard-boiled eggs. Then, we’ll walk you through the steps of preparing the eggs, from washing them to piercing the shells. Next, we’ll cover the cooking process itself, including whether to use a natural release or a quick release method. Additionally, we’ll provide you with specific timings to achieve different yolk textures, ranging from soft and creamy to fully set.
Once the eggs are cooked, we’ll share tips on how to cool and peel them effortlessly. We’ll also address common troubleshooting issues that may arise during the cooking process, so you can avoid any potential pitfalls.
Now, let’s dive into the world of electric pressure cooking and uncover the secrets to perfectly cooked hard-boiled eggs. Get ready to enjoy a delicious and nutritious staple that can be enjoyed on its own, used in salads or sandwiches, or transformed into a variety of tasty dishes. Let’s get cracking!
Choosing the Right Setting
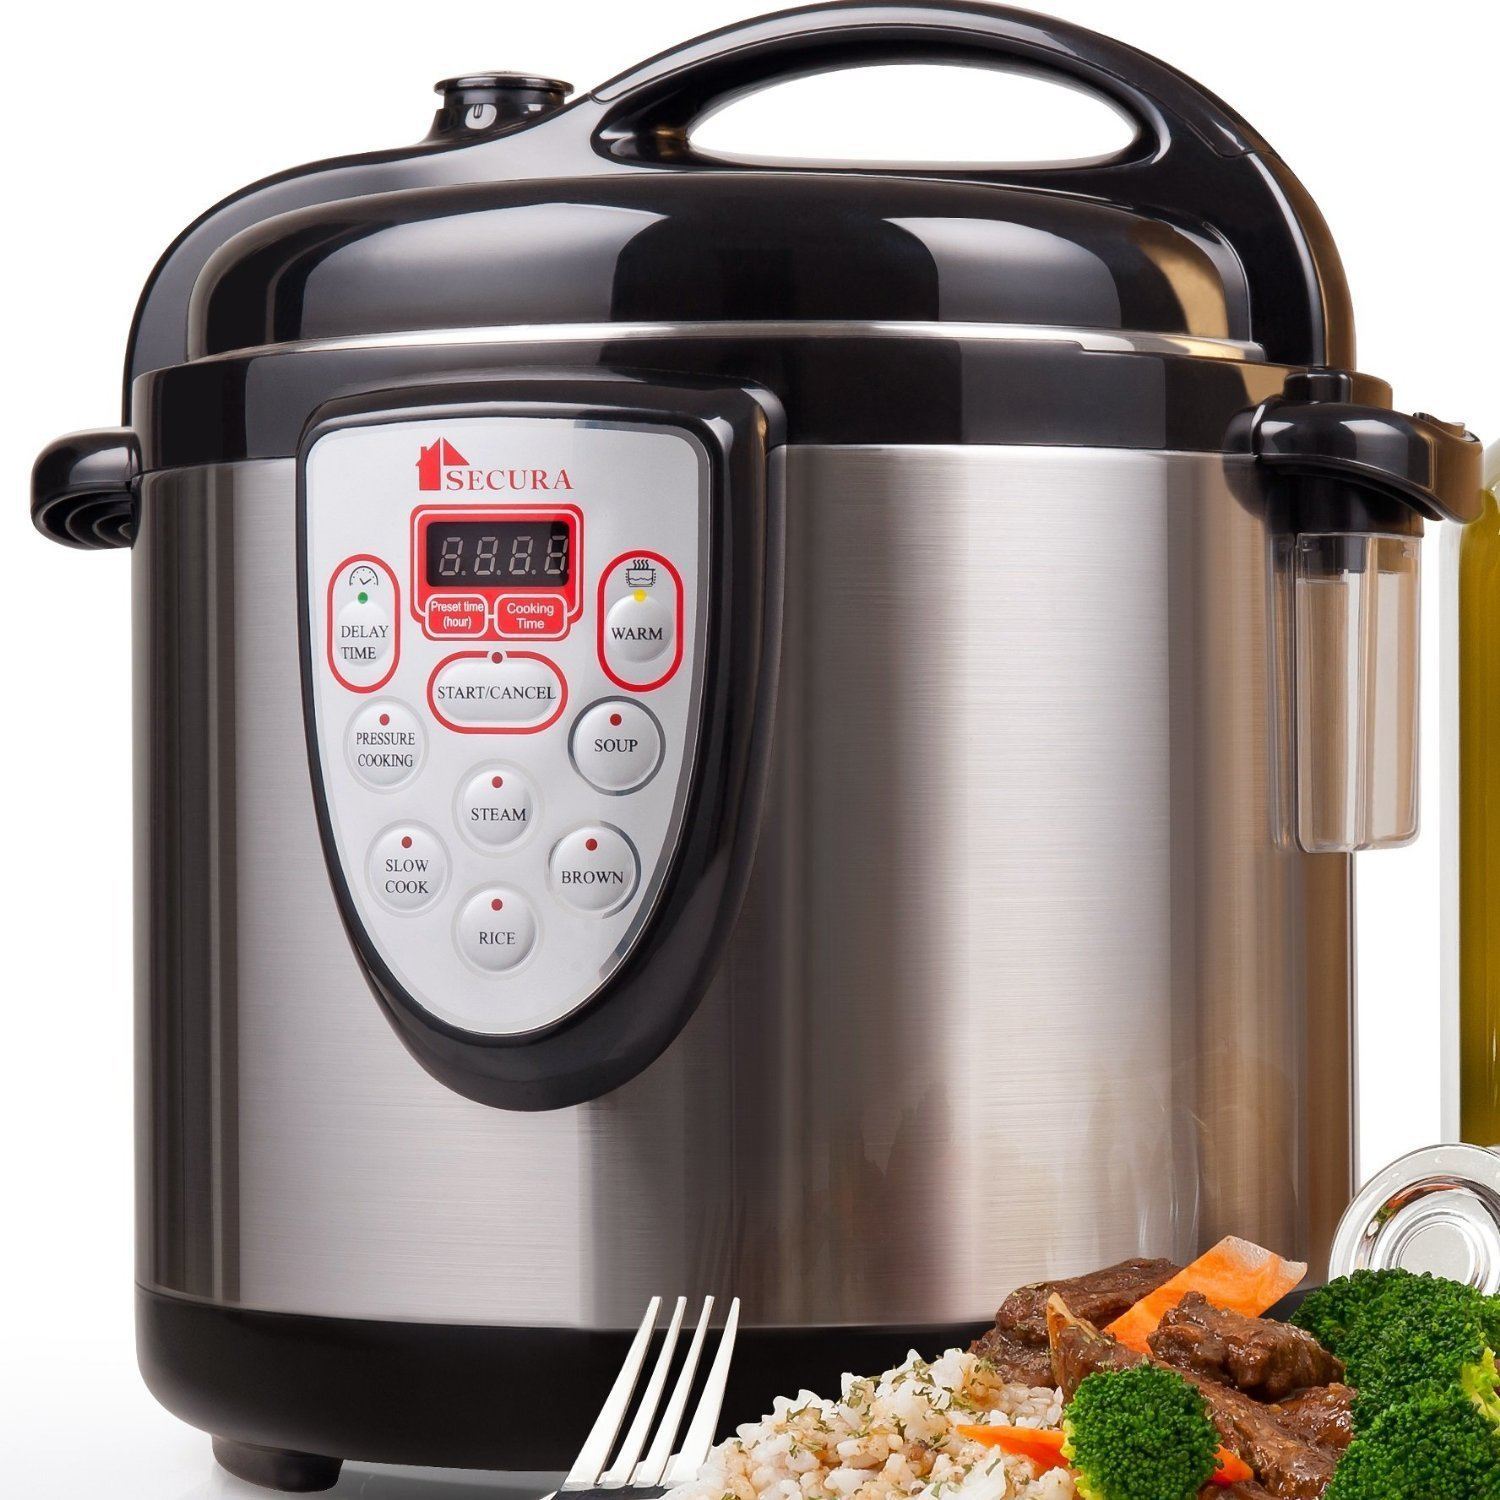
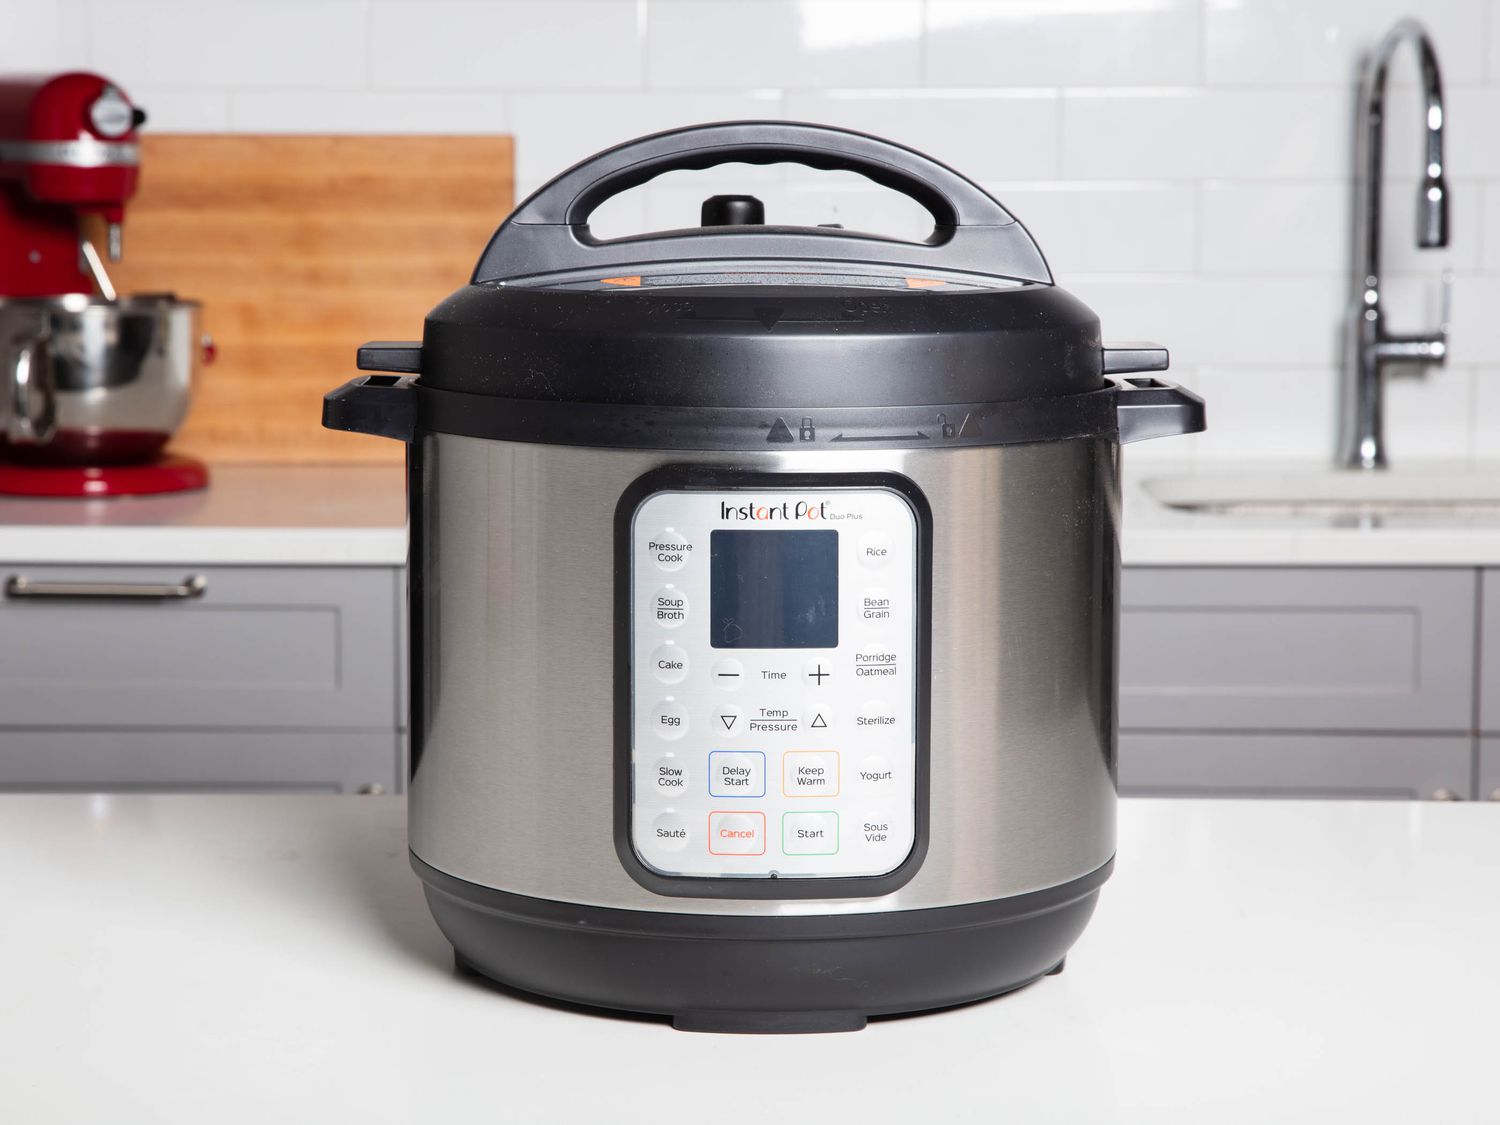
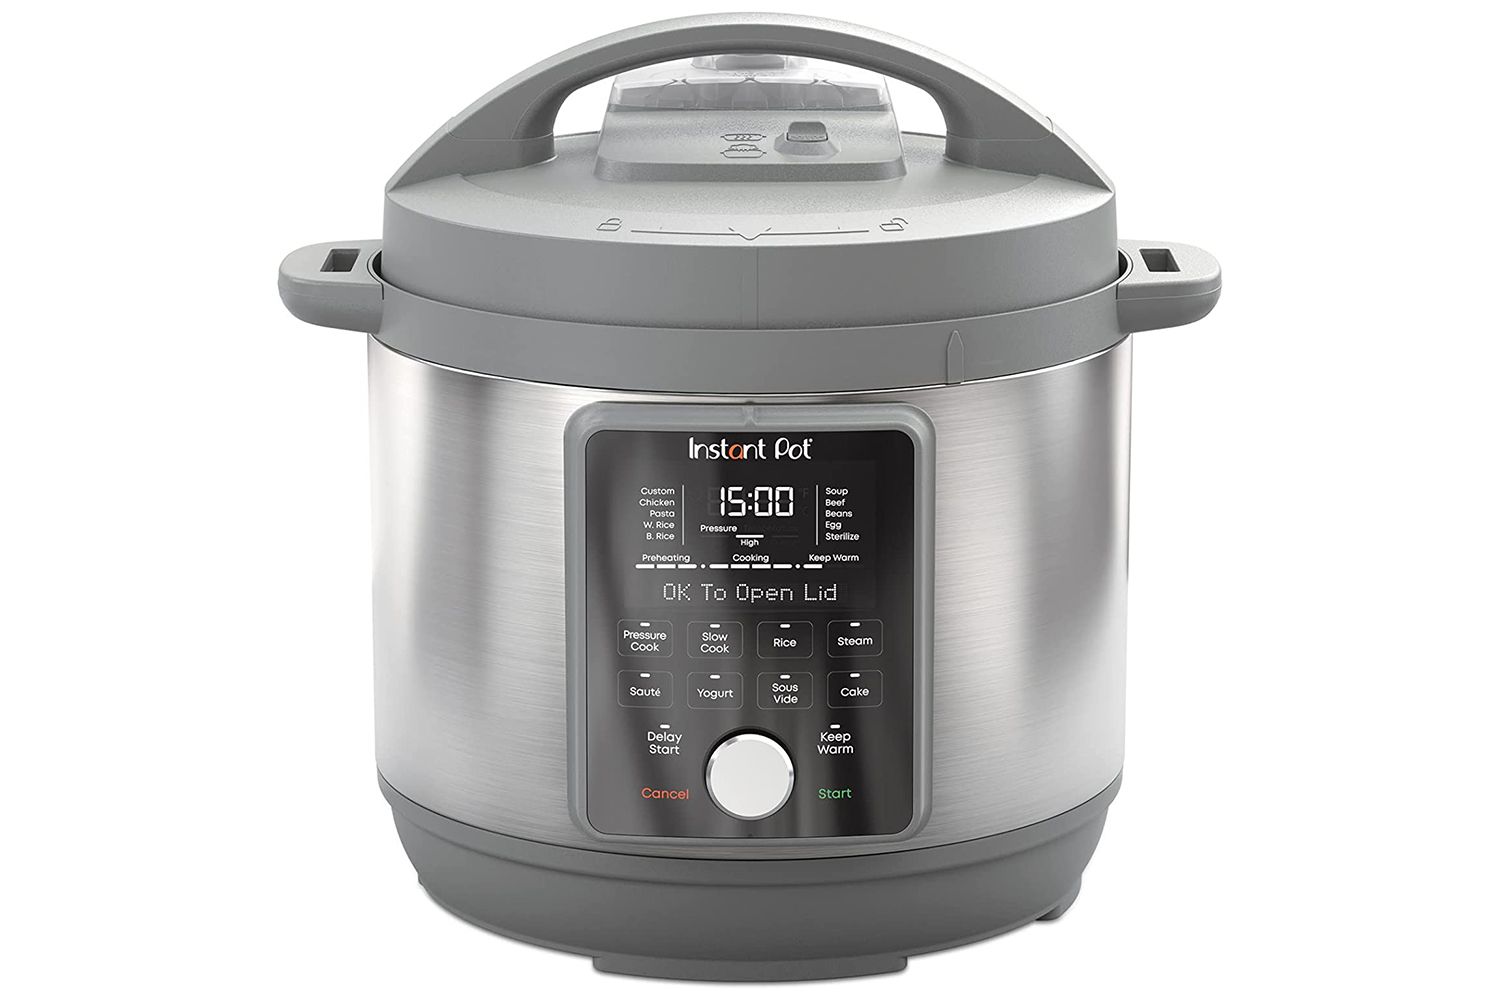
When it comes to cooking hard-boiled eggs in an electric pressure cooker, selecting the right setting is crucial for achieving the desired results. Most electric pressure cookers offer multiple settings, such as “Manual,” “Pressure Cook,” or “Egg.” Here’s a breakdown of the most commonly used settings and their implications:
1. Manual/Pressure Cook: This setting allows you to manually set the cooking time and pressure level. It is recommended to use this setting for more precise control over the cooking process.
2. Egg: Some electric pressure cookers have a specific “Egg” setting designed explicitly for cooking eggs. This setting is often pre-programmed with optimal time and pressure settings for achieving perfectly cooked hard-boiled eggs.
If your electric pressure cooker has an “Egg” setting, it is generally a convenient option to use. However, if your cooker doesn’t have this specific setting, don’t worry – the “Manual” or “Pressure Cook” setting will work just fine.
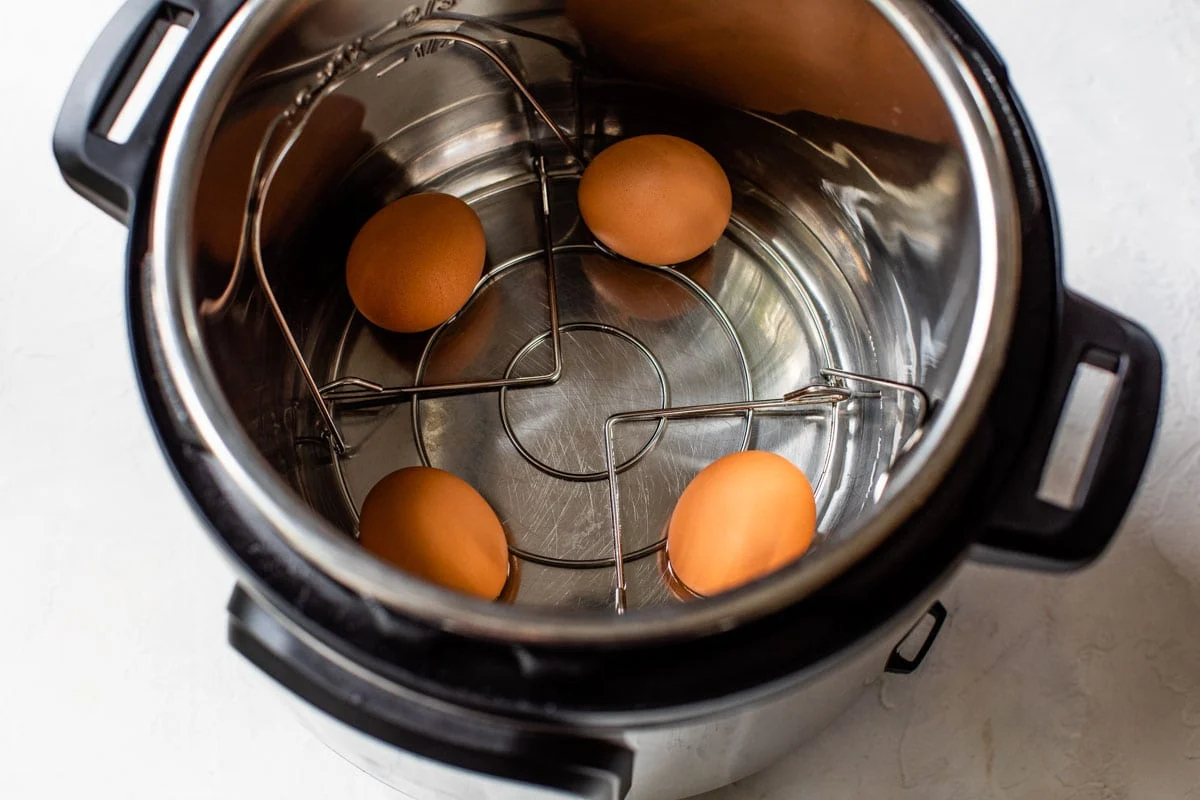
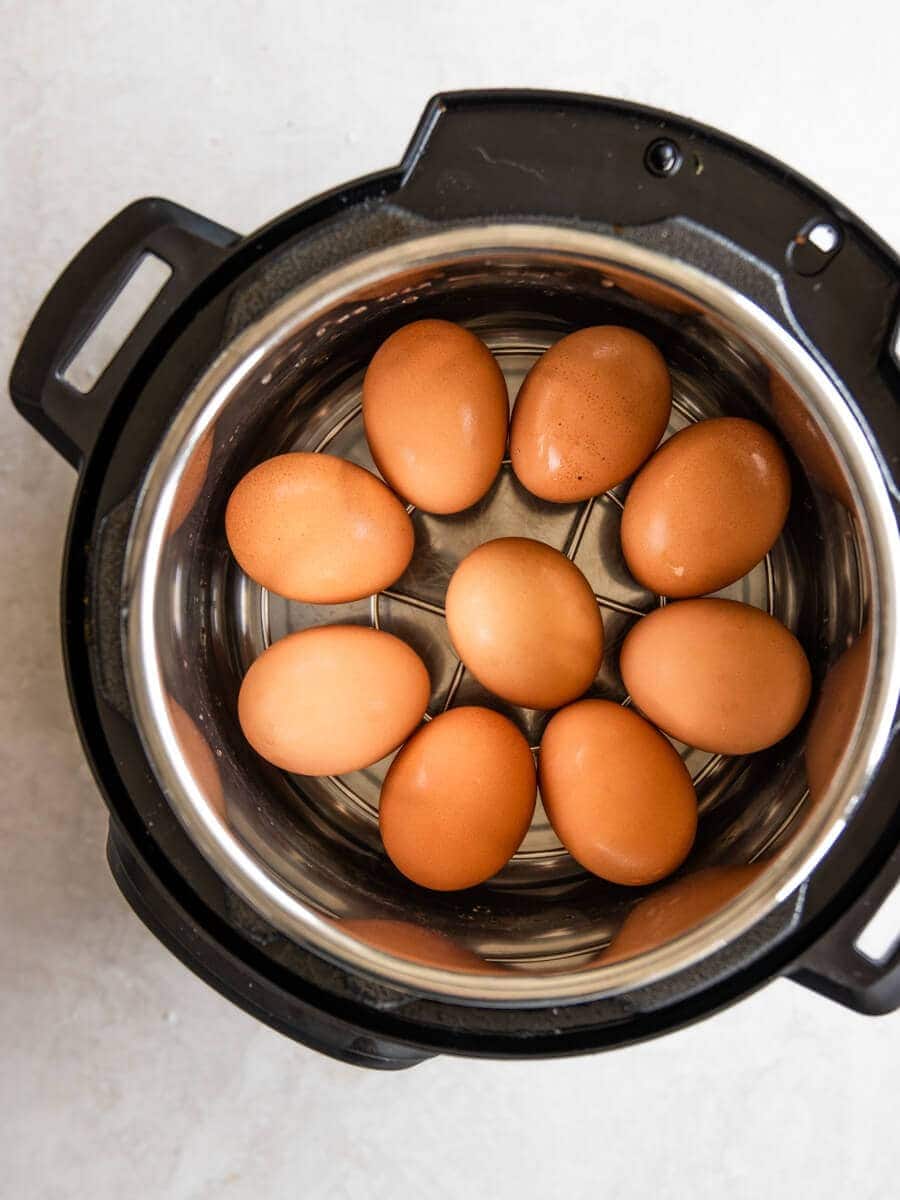
To get started, add a cup of water to the pressure cooker’s inner pot. This water will create steam, which will cook the eggs. Next, place the eggs on a steamer rack or a trivet inside the pot, ensuring they are not submerged in the water. This setup allows for gentle steaming and prevents the eggs from cracking.
Once you’ve added the eggs and water, it’s time to seal the pressure cooker. Make sure the lid is securely fastened, and the pressure release valve is closed. With the appropriate setting selected, you’re ready to begin the cooking process.
Remember, the exact cooking time will vary depending on the size of the eggs, the desired yolk texture, and the specific model of your electric pressure cooker. Refer to your cooker’s manual for specific instructions, or continue reading to learn more about timing for different yolk textures.
Now that we’ve covered the basics of choosing the right setting for cooking hard-boiled eggs in an electric pressure cooker let’s move on to preparing the eggs before cooking. By following these steps, you’ll be well on your way to enjoying perfectly cooked hard-boiled eggs that are ready to be enjoyed in a variety of dishes.
Preparing the Eggs
Before you start cooking your hard-boiled eggs in an electric pressure cooker, it’s essential to prepare the eggs properly. Follow these steps to ensure that your eggs turn out perfectly cooked and easy to peel:
1. Select fresh eggs: Choose eggs that are not too old to ensure the best results. Fresh eggs have firmer whites and are less likely to crack during cooking.
2. Wash the eggs: Rinse the eggs under cool running water to remove any dirt or debris from the shells. This step is crucial, especially if you’re using eggs directly from the refrigerator.
3. Pierce the eggs: Using an egg piercer or a pushpin, carefully make a small hole in the rounded end of each egg. This will prevent the eggs from cracking during cooking and release any air trapped inside.
4. Optional seasoning: If you prefer seasoned hard-boiled eggs, you can add some flavorings to the cooking water. Some popular options include a teaspoon of salt or a splash of vinegar. This step is entirely optional but can infuse a subtle taste into the eggs.
Once the eggs are prepared, it’s time to place them in the electric pressure cooker and begin the cooking process. Remember to follow the timing recommendations provided by your specific recipe or cooker model to achieve the desired yolk texture.
Now that we’ve covered the preparation steps let’s move on to the actual cooking process in the next section. By following the proper steps, you’ll have the foundation for delicious and perfectly cooked hard-boiled eggs.
Cooking the Eggs
Now that you have your eggs prepared and ready to go, it’s time to cook them in your electric pressure cooker. Follow these steps to ensure optimal cooking:
1. Place the eggs in the cooker: Carefully place the prepared eggs onto the steamer rack or trivet inside the pressure cooker. Make sure they are arranged in a single layer and are not touching the sides of the pot.
2. Add water: Pour the recommended amount of water into the cooker. Most electric pressure cookers require at least 1 cup of water to create the necessary steam for cooking. Refer to your specific cooker’s manual for exact water measurements.
3. Seal the cooker: Securely attach the lid to the pressure cooker, ensuring it is properly sealed. Make sure the pressure release valve is in the closed position.
4. Set the cooking time and pressure: Depending on your cooker’s settings, select the appropriate time and pressure level. The recommended time for hard-boiled eggs in an electric pressure cooker is typically around 5-7 minutes at high pressure. This may vary slightly depending on the size of your eggs and desired yolk texture.
5. Start the cooking process: Once you have set the cooking time and pressure, start the cooker. It will take some time for the pressure to build up before the actual cooking begins. The display on your pressure cooker will indicate when the cooking process has started.
6. Cooking begins: As the pressure builds up, the eggs will start to cook. The steam created inside the cooker will gently heat the eggs, resulting in perfectly cooked yolks and whites.
7. Natural release vs. quick release: After the cooking time is complete, you have two options for releasing the pressure. The natural release method allows the pressure to release gradually on its own. This method is best for achieving a creamier yolk texture. Alternatively, you can use the quick release method, where you manually release the pressure by carefully turning the pressure release valve. This method is suitable for ensuring a firmer yolk texture.
Now that the eggs are cooked, it’s time to move on to cooling and peeling them, which we’ll explore in the next section. By following these cooking steps, you’ll be well on your way to enjoying delicious, perfectly cooked hard-boiled eggs.
Natural Release vs. Quick Release
When using an electric pressure cooker to cook hard-boiled eggs, you have the option to release the pressure naturally or quickly. The method you choose can impact the texture of the eggs, particularly the yolk. Here’s a breakdown of the two release methods:
1. Natural Release: With the natural release method, after the cooking time is complete, you allow the pressure to release gradually without any intervention. This typically takes around 5-10 minutes, but can vary depending on your specific cooker.
Using the natural release method for hard-boiled eggs can result in a creamier yolk texture. The gentle release of pressure allows the eggs to continue cooking slightly as the pressure decreases. This method is ideal if you prefer a softer, more custard-like yolk.
2. Quick Release: The quick release method involves manually releasing the pressure immediately after the cooking time is complete. This is done by carefully turning the pressure release valve to release the steam. Be cautious as the steam can be hot.
The quick release method halts the cooking process abruptly, resulting in a firmer yolk texture. If you prefer a fully set yolk that is slightly more firm, this method is the way to go. Keep in mind that the quick release method may cause some eggs to crack, especially if they are slightly overcooked or not cooled down enough.
It’s essential to note that the choice of release method will not affect the overall doneness of the eggs. Whether you choose natural or quick release, the eggs will still be fully cooked and safe to eat.
Now that you understand the differences between natural and quick release, it’s time to move on to timing for different yolk textures, which we’ll explore in the next section. By mastering the release method that achieves your preferred yolk consistency, you can enjoy hard-boiled eggs perfectly suited to your taste.
Timing for Different Yolk Textures
The cooking time in an electric pressure cooker plays a significant role in determining the texture of the egg yolk. By adjusting the cooking time, you can achieve different levels of doneness, ranging from soft and creamy to fully set. Here’s a general guideline for achieving various yolk textures:
1. Soft-Boiled: If you prefer a soft-boiled egg with a runny yolk, cook the eggs for around 4-5 minutes at high pressure, followed by a natural release or quick release. The yolk will be delightfully creamy and slightly runny, perfect for dipping toast or adding to a salad.
2. Medium-Boiled: For a yolk that is still slightly creamy but more set than a soft-boiled egg, cook the eggs for around 6-7 minutes at high pressure, followed by a natural release or quick release. The yolk will have a custard-like texture that is delicious in soups or served on its own.
3. Hard-Boiled: For a fully set and firm yolk, cook the eggs for around 8-9 minutes at high pressure, followed by a natural release or quick release. The yolk will be solid and perfect for salads, deviled eggs, or any recipe that requires a fully cooked yolk.
Remember that these are general guidelines, and the cooking times may vary slightly depending on the size and freshness of the eggs, as well as personal preference. Experiment with different cooking times to find the perfect yolk consistency for your taste.
Once the eggs have finished cooking, it’s time to cool and peel them, which we’ll cover in the next section. By mastering the timing for different yolk textures, you can enjoy perfectly cooked hard-boiled eggs that cater to your individual preferences.
Cooling and Peeling the Eggs
Once the eggs have finished cooking in the electric pressure cooker, it’s crucial to cool them down properly before peeling. The cooling process helps loosen the eggshell and makes peeling easier. Follow these steps for effective cooling and peeling:
1. Natural cooling: After the cooking time is complete and you have released the pressure according to your preferred method (natural release or quick release), allow the eggs to sit in the cooker for a few minutes. This will allow them to cool slightly before transferring them to an ice bath.
2. Ice bath: Prepare a bowl or basin filled with cold water and ice cubes. Carefully remove the eggs from the pressure cooker using tongs or a spoon, and immediately place them in the ice bath. The cold water will stop the cooking process and cool the eggs rapidly.
3. Soak and peel: Allow the eggs to sit in the ice bath for at least 5 minutes, or until they are completely cooled. Once cooled, gently tap each egg on a hard surface to crack the shell. Begin peeling from the cracked portion, working your way around the egg. The cold water bath should have helped loosen the shell, making it easier to peel.
4. Rinse and dry: Rinse the peeled eggs under cool running water to remove any loose shell pieces. Pat them dry with a paper towel before using or storing them in the refrigerator.
Remember that fresher eggs may be slightly more challenging to peel, while slightly older eggs tend to peel more easily. If you’re having trouble peeling the eggs, try peeling them under running water or re-dipping them in the ice bath to help loosen the shell.
Now that you’ve successfully cooked, cooled, and peeled the eggs, it’s time to explore some tips and troubleshooting suggestions to ensure your hard-boiled eggs turn out perfectly every time.
Tips and Troubleshooting
Cooking hard-boiled eggs in an electric pressure cooker is relatively straightforward, but these tips and troubleshooting suggestions can help you achieve the best results:
1. Use older eggs: Eggs that are a week or two old are often easier to peel than very fresh eggs. If possible, plan ahead and use eggs that have been sitting in your fridge for a little while.
2. Experiment with cooking times: The cooking times provided earlier are general guidelines. Depending on your preferences and the specific cooker, you may need to adjust the cooking time slightly to achieve your desired yolk texture.
3. Test one egg first: When cooking a large batch of eggs, it’s a good idea to test one egg to determine if the cooking time and release method work for your preferred outcome. If necessary, make adjustments before cooking the remaining eggs.
4. High-Quality Seal: Ensure that the lid of your electric pressure cooker is properly sealed before beginning the cooking process. A secure seal will prevent steam from escaping and ensure even cooking.
5. Adjust for altitude: If you live at a high altitude, you may need to modify the cooking time or pressure level to compensate. Higher altitudes can affect the temperature and pressure inside the cooker.
6. Clean the lid and valve: Regularly clean the pressure cooker’s lid and release valve to prevent any clogs or blockages. This will help ensure proper functioning and accurate cooking times.
7. Avoid overcrowding: Be careful not to overcrowd the cooker with too many eggs. Leave enough space for steam to circulate around each egg for even cooking.
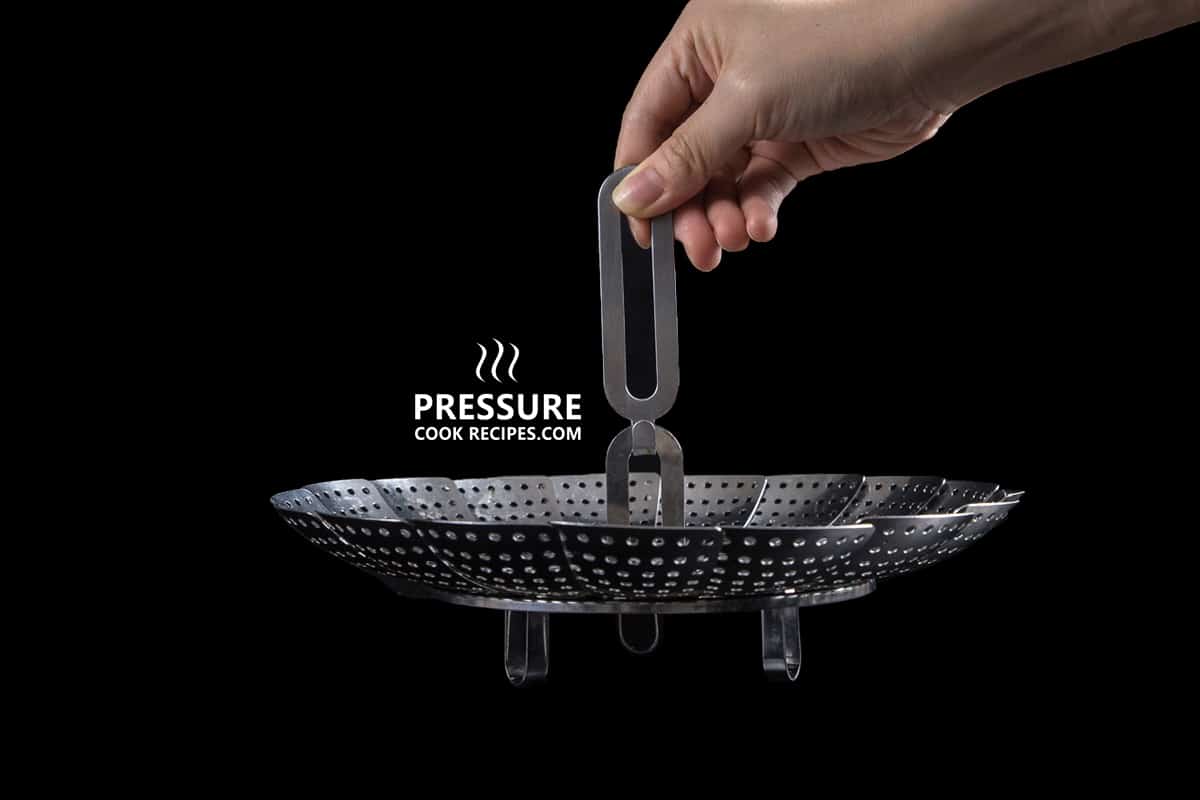
8. Use an egg rack: If your pressure cooker did not come with a steamer rack or trivet, consider purchasing one. These accessories prevent the eggs from touching the bottom of the cooker and promote even cooking.
9. Vary the seasonings: Experiment with different seasonings to infuse flavors into your hard-boiled eggs. Try adding herbs, spices, or even a dash of hot sauce to the cooking water for a unique twist.
10. Patience is key: Allow the eggs to cool down before peeling. Rushing the cooling process can make the eggs more difficult to peel.
By following these tips and troubleshooting suggestions, you’ll be well on your way to consistently preparing perfect hard-boiled eggs in your electric pressure cooker. Now you can enjoy this versatile and protein-rich food in a variety of dishes or simply enjoy them on their own.
Conclusion
Congratulations! You’ve learned how to cook hard-boiled eggs to perfection using an electric pressure cooker. With the right setting, proper preparation, and careful timing, you can enjoy delicious and hassle-free hard-boiled eggs in no time. Whether you prefer a soft, custard-like yolk or a fully set, firm yolk, the electric pressure cooker allows you to customize your eggs to your liking.
Remember to choose the right setting on your cooker, whether it’s the “Egg” setting or the manual pressure cook option. Prepare the eggs by washing them, piercing the shells, and adding any optional seasonings. Follow the recommended cooking times for different yolk textures, and decide between natural release or quick release for your preferred outcome.
Once the eggs are cooked, cooling them down in an ice bath makes peeling a breeze. Take advantage of the tips and troubleshooting suggestions to ensure consistent and enjoyable results every time you cook hard-boiled eggs in your electric pressure cooker.
Hard-boiled eggs are not only a nutritious snack on their own, but they also provide an excellent base for salads, sandwiches, and even as a topping for various dishes. They are versatile and packed with protein, making them a favorite among many.
So, gather your electric pressure cooker and some fresh eggs, and embark on a culinary adventure. With a little practice, you’ll become a pro in cooking hard-boiled eggs in the electric pressure cooker. Enjoy the convenience, the speed, and most importantly, the delicious results that await you. Happy cooking!