Introduction
Welcome to our guide on how to replace a Solid State Drive (SSD) in a Dell LXSP27! Upgrading your computer’s storage is a great way to improve its performance and increase its storage capacity. Whether you’re looking to replace a faulty SSD or simply want to upgrade to a larger one, this guide will provide you with step-by-step instructions to accomplish the task.
As technology evolves, so does the need for larger and faster storage options. SSDs have become the preferred choice for many computer users due to their faster read and write speeds, durability, and energy efficiency. They are designed to store and retrieve data much quicker than traditional hard drives, resulting in faster boot times, improved application loading speeds, and overall better system performance.
Before diving into the process of replacing your SSD, it’s important to familiarize yourself with the specific needs and requirements of your Dell LXSP27 model. Each computer may have different hardware configurations and design elements, which can affect the replacement process. Taking the time to understand your device will not only make the process smoother but also prevent any potential issues or damage.
In this guide, we will outline the tools and materials you’ll need for a successful SSD replacement, provide a step-by-step guide on how to replace the SSD in your Dell LXSP27, highlight common mistakes to avoid, and ultimately empower you to make the upgrade seamlessly.
So, if you’re ready to give your Dell LXSP27 a storage boost and unleash its true potential, let’s dive into the exciting journey of replacing the Solid State Drive!
What is a Solid State Drive (SSD)?
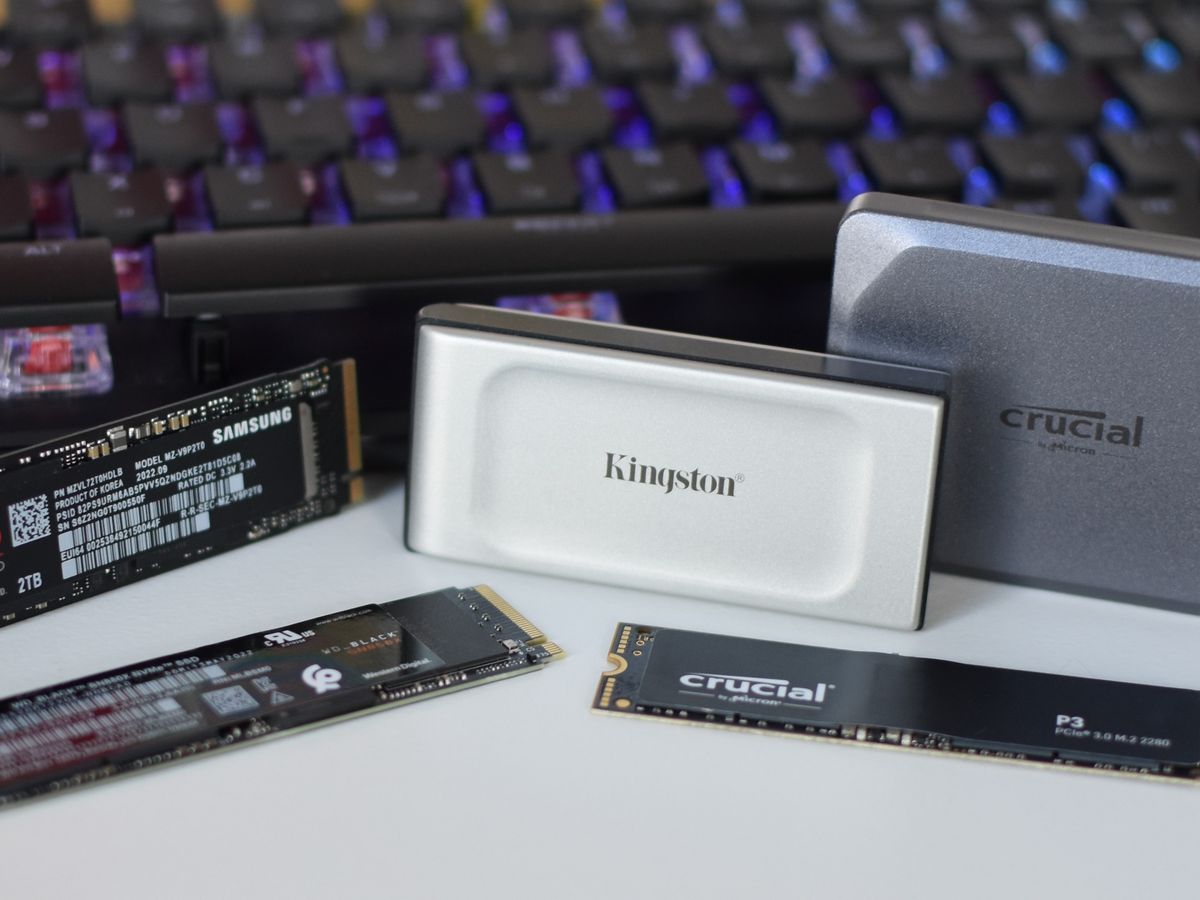
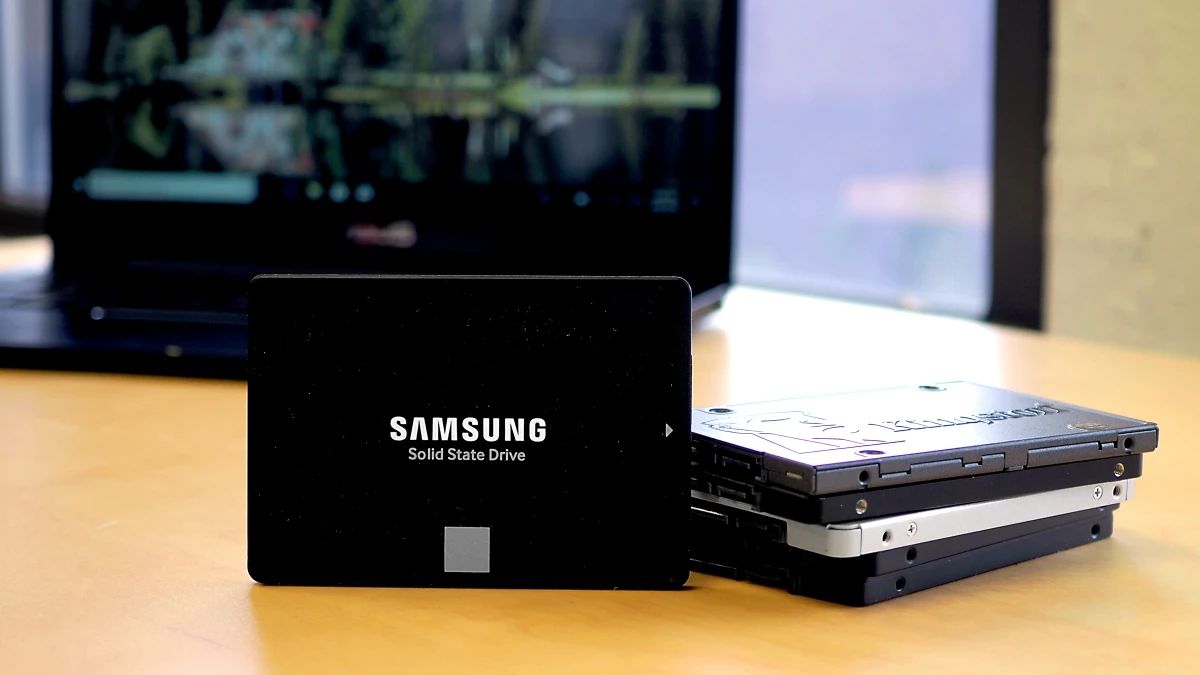
A Solid State Drive (SSD) is a type of storage device that uses flash memory to store data. Unlike traditional hard disk drives (HDDs) that use spinning disks and mechanical components, SSDs have no moving parts. This difference in design provides several advantages that make SSDs a popular choice among computer users.
One of the major benefits of SSDs is their faster read and write speeds compared to HDDs. Since an SSD doesn’t have to wait for a mechanical arm to access data on a spinning disk, it can retrieve and transfer data at significantly faster rates. This means that your computer can boot up faster, applications can load more quickly, and file transfers can occur in a fraction of the time.
Additionally, SSDs are more durable than traditional HDDs. Without any moving parts, SSDs are less prone to physical damage caused by rough handling or accidental drops. The lack of mechanical components also means that SSDs generate less heat, reducing the risk of overheating and improving their overall reliability.
Energy efficiency is another advantage of SSDs. As SSDs don’t rely on moving parts, they require less power to operate, resulting in lower energy consumption. This not only translates to longer battery life for laptops but also reduces the environmental impact of your computer usage.
When it comes to storage capacity, SSDs are available in a wide range of sizes. From smaller capacities such as 128GB for lightweight laptops to larger capacities like 1TB or more for gaming rigs or professional workstations, there is an SSD option to suit every need.
One thing to keep in mind is that SSDs can be more expensive than traditional HDDs, especially when it comes to higher capacities. However, the price difference has decreased significantly in recent years, making SSDs more affordable and accessible to the average user.
In summary, SSDs offer faster performance, increased durability, improved energy efficiency, and a wide range of storage capacities. With these benefits in mind, it’s no surprise that SSDs have become the go-to storage option for many computer users.
Why would you want to replace your SSD?
There are several reasons why you might want to replace your Solid State Drive (SSD). Let’s explore some of the most common situations that would prompt an upgrade:
1. Capacity limitations: Over time, you may find that your current SSD no longer provides enough storage space for your needs. Files and applications continue to grow larger, especially with the rise of multimedia content, and having a larger capacity SSD allows you to store more data without worrying about running out of space.
2. Performance upgrades: Technology advances at a rapid pace, and newer SSD models often come with improved performance features. Upgrading to a faster SSD can significantly enhance your computer’s overall performance, reducing application load times, speeding up file transfers, and providing a smoother user experience.
3. Faulty SSD: Like any electronic device, SSDs can develop faults over time. If you’re experiencing frequent crashes, data corruption, or consistent errors, it could indicate a problem with your current SSD. In such cases, replacing the faulty SSD with a new one can resolve these issues and restore your computer’s functionality.
4. Future-proofing: If you’re planning to keep your computer for the long term, upgrading your SSD can help future-proof your system. As technology advances, software and applications will become more demanding, requiring faster storage solutions. By upgrading to a more advanced SSD, you’ll ensure that your computer can handle these future requirements without any performance bottlenecks.
5. Upgrading to newer technology: SSD technology continues to evolve, bringing new features and capabilities with each generation. For example, newer SSDs may incorporate NVMe (Non-Volatile Memory Express) technology, which offers even faster speeds compared to traditional SATA-based SSDs. Upgrading to a newer technology can unlock these benefits and provide you with the latest innovations in storage.
It’s essential to assess your specific needs and consider these factors when deciding whether to replace your SSD. Whether it’s to meet increased storage demands, enhance performance, resolve issues with a faulty SSD, or keep up with evolving technology, upgrading your SSD can breathe new life into your computer and ensure you’re making the most of its capabilities.
Tools and materials needed
Before you start replacing your Solid State Drive (SSD), it’s important to gather the necessary tools and materials to ensure a smooth and successful upgrade. Here’s a list of items you’ll need:
- Screwdriver: Depending on your Dell LXSP27 model, you may need a Phillips screwdriver or a Torx screwdriver to remove the screws holding the SSD in place. Check the specifications of your computer to determine the type of screwdriver required.
- New SSD: Of course, you’ll need a new SSD to replace the existing one. Make sure to choose an SSD that is compatible with your Dell LXSP27 model and meets your storage needs.
- Backup storage device: Before replacing your SSD, it’s crucial to back up your data to ensure you don’t lose any important files. This can be an external hard drive, a USB flash drive, or a cloud storage service.
- Static wrist strap: To prevent any static electricity from damaging your SSD or other internal components, it’s a good idea to use a static wrist strap while working. This helps to discharge any static buildup on your body and keeps the internal components safe.
- Clean cloth: Having a clean cloth or microfiber cloth on hand can be useful for cleaning any dust or debris from your computer and the SSD slot.
- User manual or online resources: It’s always helpful to have the user manual for your Dell LXSP27 model or access to online resources that provide instructions specific to your computer. These resources can guide you through the process and offer valuable tips.
Make sure to gather all the necessary tools and materials before you begin the SSD replacement process. This will help you work efficiently and ensure that you have everything you need to complete the upgrade successfully.
Step-by-step guide to replacing the SSD
Now that you have all the tools and materials ready, it’s time to dive into the step-by-step process of replacing the Solid State Drive (SSD) in your Dell LXSP27. Follow these instructions carefully:
- Backup your data: Before starting the replacement process, it’s essential to back up all your data to ensure you don’t lose any important files. Transfer your files to an external storage device or use a cloud storage service for safekeeping.
- Power off your computer: Shut down your Dell LXSP27 and unplug it from the power source. It’s important to work on your computer in a safe environment.
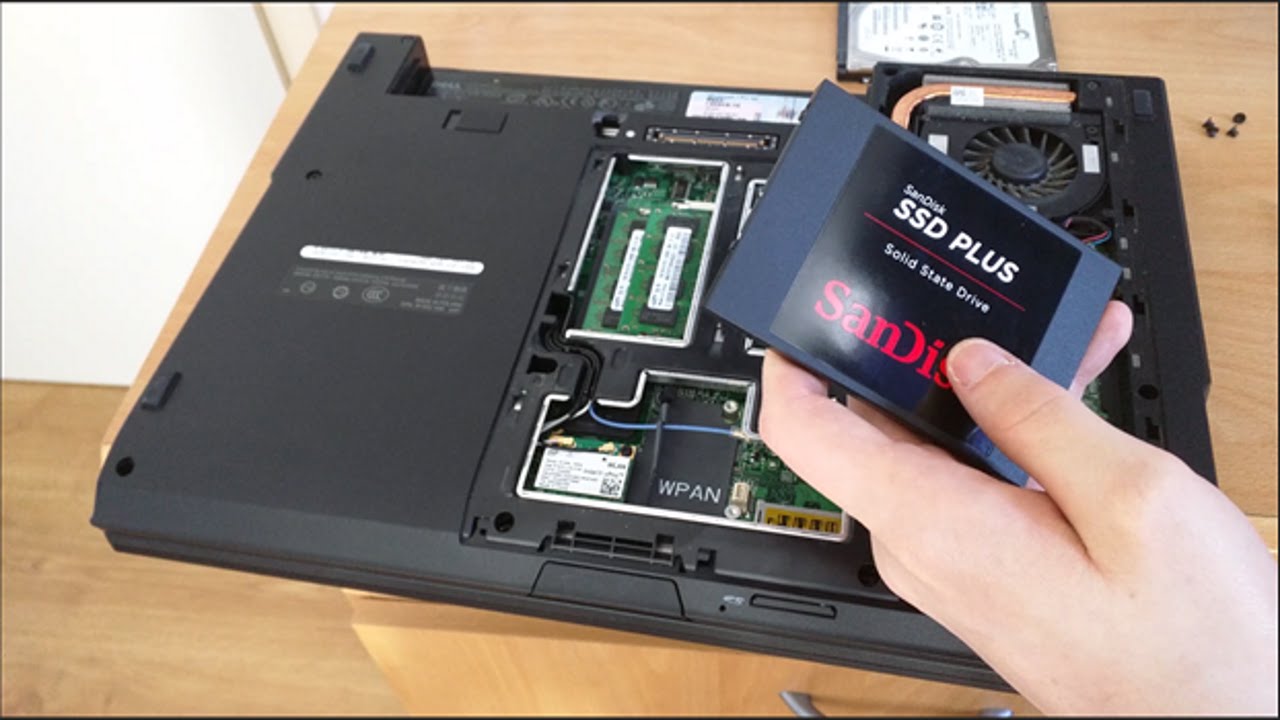
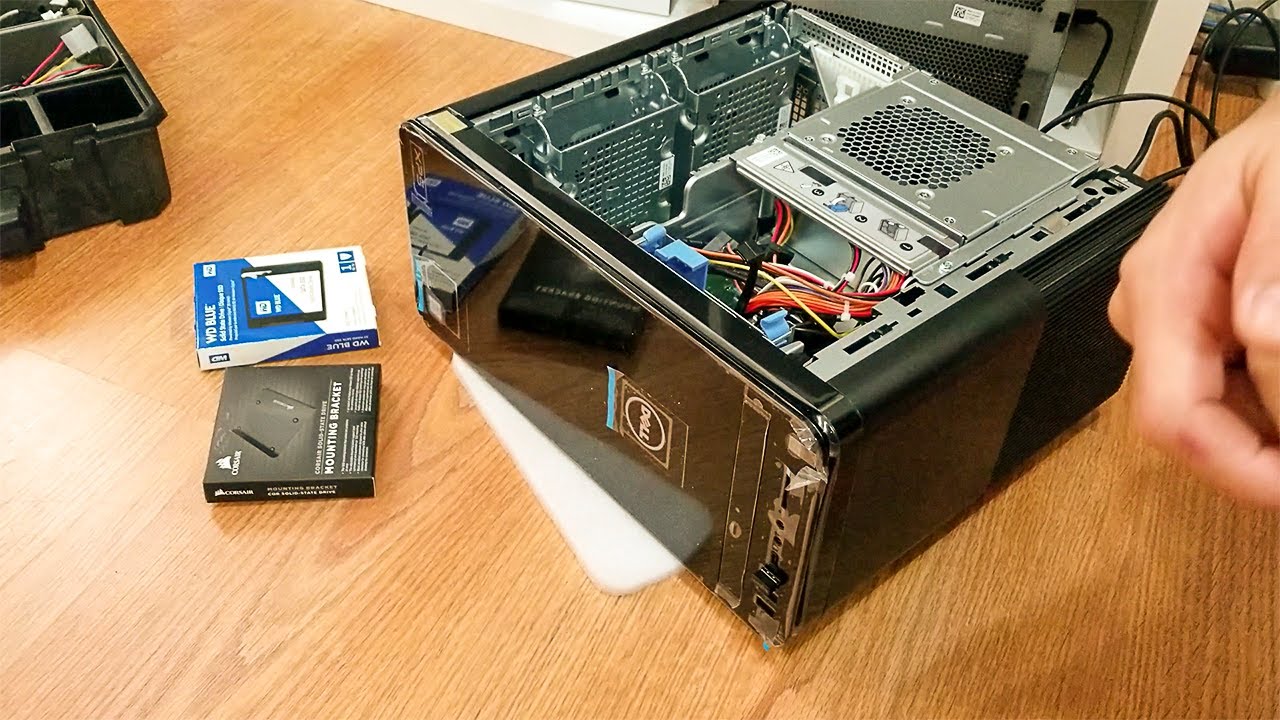
- Open the case: Use a Phillips or Torx screwdriver to remove the screws that secure the computer case. Gently slide off the case to access the internals of your Dell LXSP27.
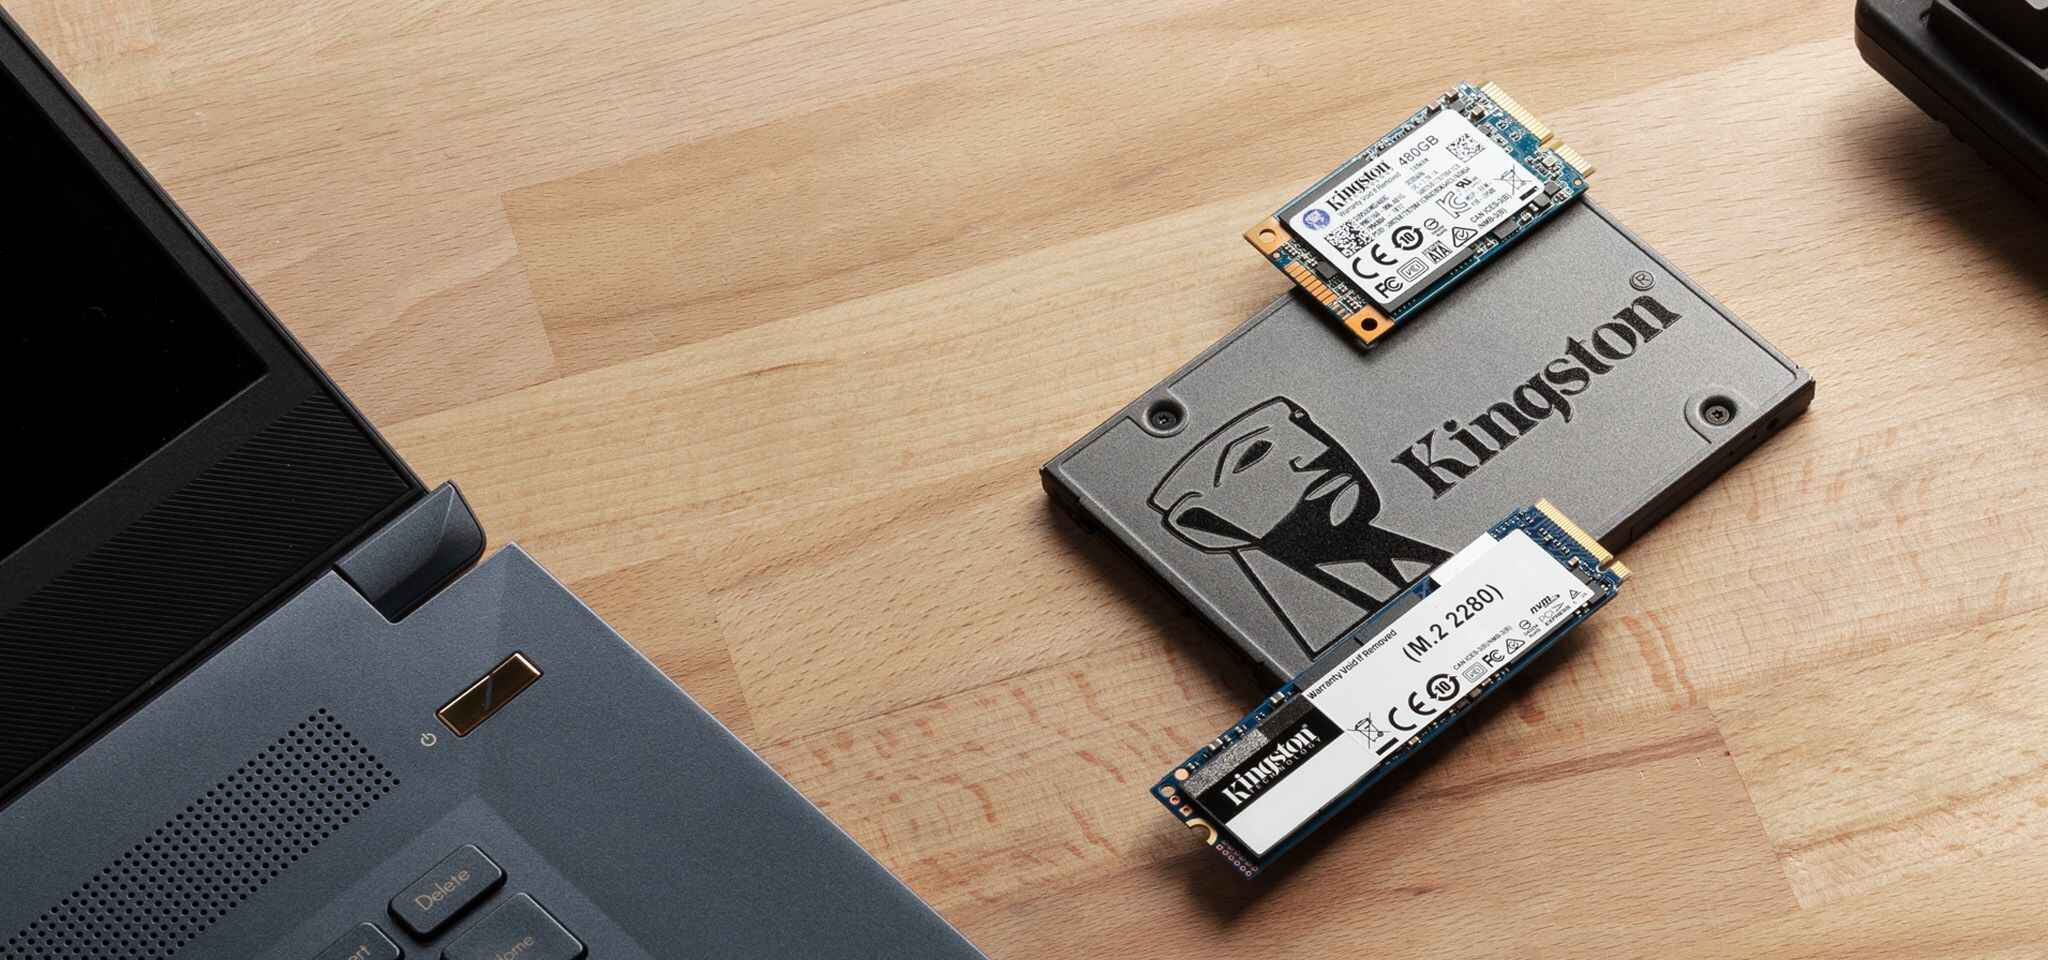
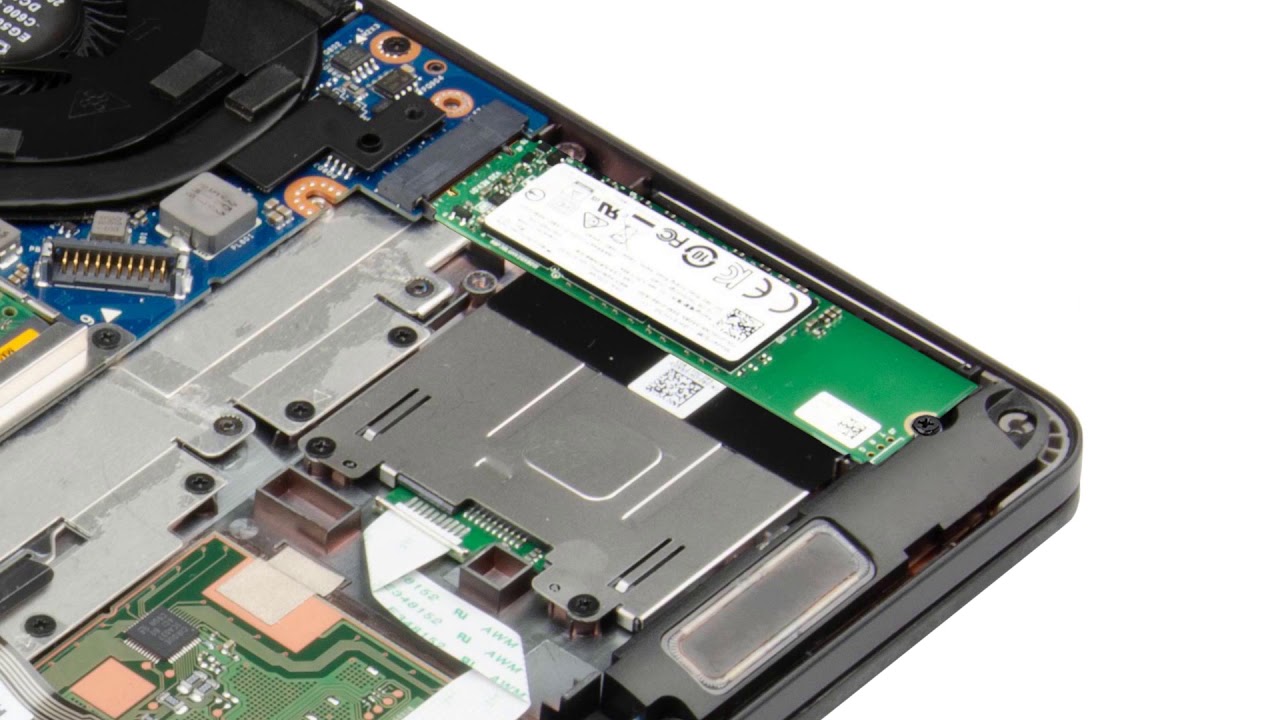
- Locate the SSD: Identify the current SSD in your Dell LXSP27. It is usually located near the memory slots and connected to the motherboard with a SATA cable or an M.2 slot.
- Disconnect the SSD: If your SSD is connected using a SATA cable, gently unplug the cable from the SSD. If it is connected via an M.2 slot, carefully unscrew the SSD and gently lift it from the slot.
- Install the new SSD: Take your new SSD and properly align it with the SATA connectors or the M.2 slot. Make sure it is firmly seated in the slot. If it is a SATA SSD, reconnect the SATA cable securely.
- Reassemble your computer: Once the new SSD is installed, carefully slide the computer case back into place and secure it with the screws you removed earlier.
- Power on your computer: Plug your Dell LXSP27 back into the power source and press the power button to turn it on. The computer should detect the new SSD, and you can proceed with setting it up.
- Restore your data: After setting up the new SSD, restore your data from the backup you created earlier. Transfer your files back onto the new SSD and ensure everything is working properly.
- Test and optimize: Take some time to test your computer’s performance with the new SSD. You should notice faster boot times, improved application loading speeds, and overall smoother operation. If needed, optimize your SSD settings using software provided by the SSD manufacturer or the operating system.
Following these steps will help you replace the SSD in your Dell LXSP27 and unleash the full potential of your computer’s storage capabilities. Take your time, follow the instructions carefully, and enjoy the improved performance and increased storage space!
Common Mistakes to Avoid
Replacing a Solid State Drive (SSD) in a Dell LXSP27 requires attention to detail and careful execution. To ensure a successful SSD replacement, here are some common mistakes to avoid:
- Skipping data backup: One of the biggest mistakes is not backing up your data before replacing the SSD. Always create a backup to avoid losing important files or documents during the upgrade process.
- Not researching compatibility: It’s crucial to check the compatibility of the new SSD with your Dell LXSP27 model. Ensure that the physical dimensions, connection types (SATA or M.2), and capacity are compatible with your computer to prevent any compatibility issues.
- Forgetting to discharge static electricity: Before handling any internal components, make sure to discharge static electricity by wearing a static wrist strap or touching a grounded metal object. Static electricity can damage sensitive components like the SSD and other internal hardware.
- Incorrect installation: When installing the new SSD, make sure it is seated correctly in the SATA connectors or M.2 slot. Improper installation can cause connectivity issues and prevent the computer from detecting the new SSD.
- Tightening screws too much: When securing the new SSD in place, avoid overtightening the screws. Over-tightening can damage the SSD or strip the screw holes in the computer case. Tighten the screws just enough to hold the SSD securely in place.
- Not updating drivers or firmware: After replacing the SSD, it’s important to update the drivers and firmware of the new SSD. This ensures that it functions optimally and takes advantage of any performance enhancements or bug fixes.
- Not optimizing the new SSD: Once the replacement is complete, optimize the new SSD settings. This may involve enabling features like TRIM, enabling AHCI mode, or adjusting power settings. Optimizing the SSD settings improves performance and extends its lifespan.
- Not testing the new SSD: After the upgrade, it’s important to test the new SSD for any issues or performance inconsistencies. Check for proper detection, run benchmarks, and perform basic tasks to ensure everything is working as expected.
By avoiding these common mistakes, you can have a successful SSD replacement in your Dell LXSP27 and enjoy the improved performance and storage capacity without any unnecessary setbacks.
Conclusion
Replacing the Solid State Drive (SSD) in a Dell LXSP27 is a relatively straightforward process that can greatly enhance your computer’s performance and storage capacity. By following the step-by-step guide and avoiding common mistakes, you can successfully upgrade your SSD and enjoy faster boot times, improved application loading speeds, and increased storage space.
Remember to back up your data before starting the replacement process and research the compatibility of the new SSD with your Dell LXSP27 model. Take precautions to discharge static electricity and ensure proper installation of the new SSD, being mindful of not overtightening screws.
After the SSD replacement, updating drivers and firmware, optimizing the settings, and testing the new SSD are crucial steps to ensure optimal performance and functionality. Monitor your computer for any issues and make necessary adjustments to maximize the benefits of the upgraded SSD.
Upgrading your SSD not only improves the overall performance of your computer but also future-proofs it for upcoming advancements in software and technology. With faster read and write speeds, increased durability, and energy efficiency, SSDs continue to be the preferred storage option for many computer users.
By following this guide, you have gained the knowledge and confidence to replace the SSD in your Dell LXSP27 and unlock its true potential. Take the necessary steps to gather the tools and materials, follow the instructions carefully, and enjoy the benefits of a faster and more efficient computer system.
So, go ahead and embark on the exciting journey of replacing your SSD, and experience the difference it can make in enhancing your computing experience!