Introduction
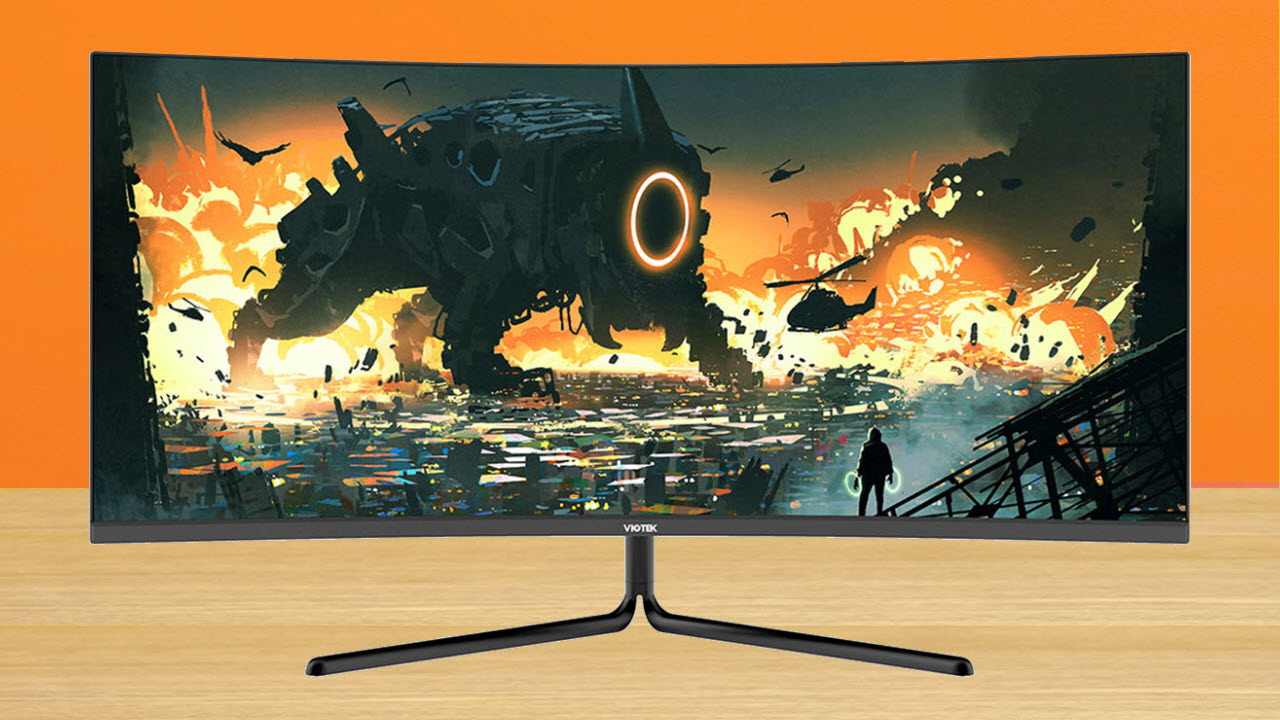
In today’s digital age, having an ultrawide monitor can greatly enhance your productivity and entertainment experience. With its wider aspect ratio and larger screen real estate, an ultrawide monitor provides a more immersive viewing experience, allowing you to multitask efficiently and enjoy movies and games in stunning detail.
However, simply purchasing an ultrawide monitor is not enough. To truly maximize its potential, you need to mount it properly. Mounting your ultrawide monitor not only saves space on your desk but also enables you to adjust its position for optimal viewing comfort.
In this article, we will guide you through the process of mounting an ultrawide monitor, discussing the different mounting options available and providing step-by-step instructions to help you set it up. Whether you prefer wall mounting, desk mounting, or stand mounting, we’ve got you covered.
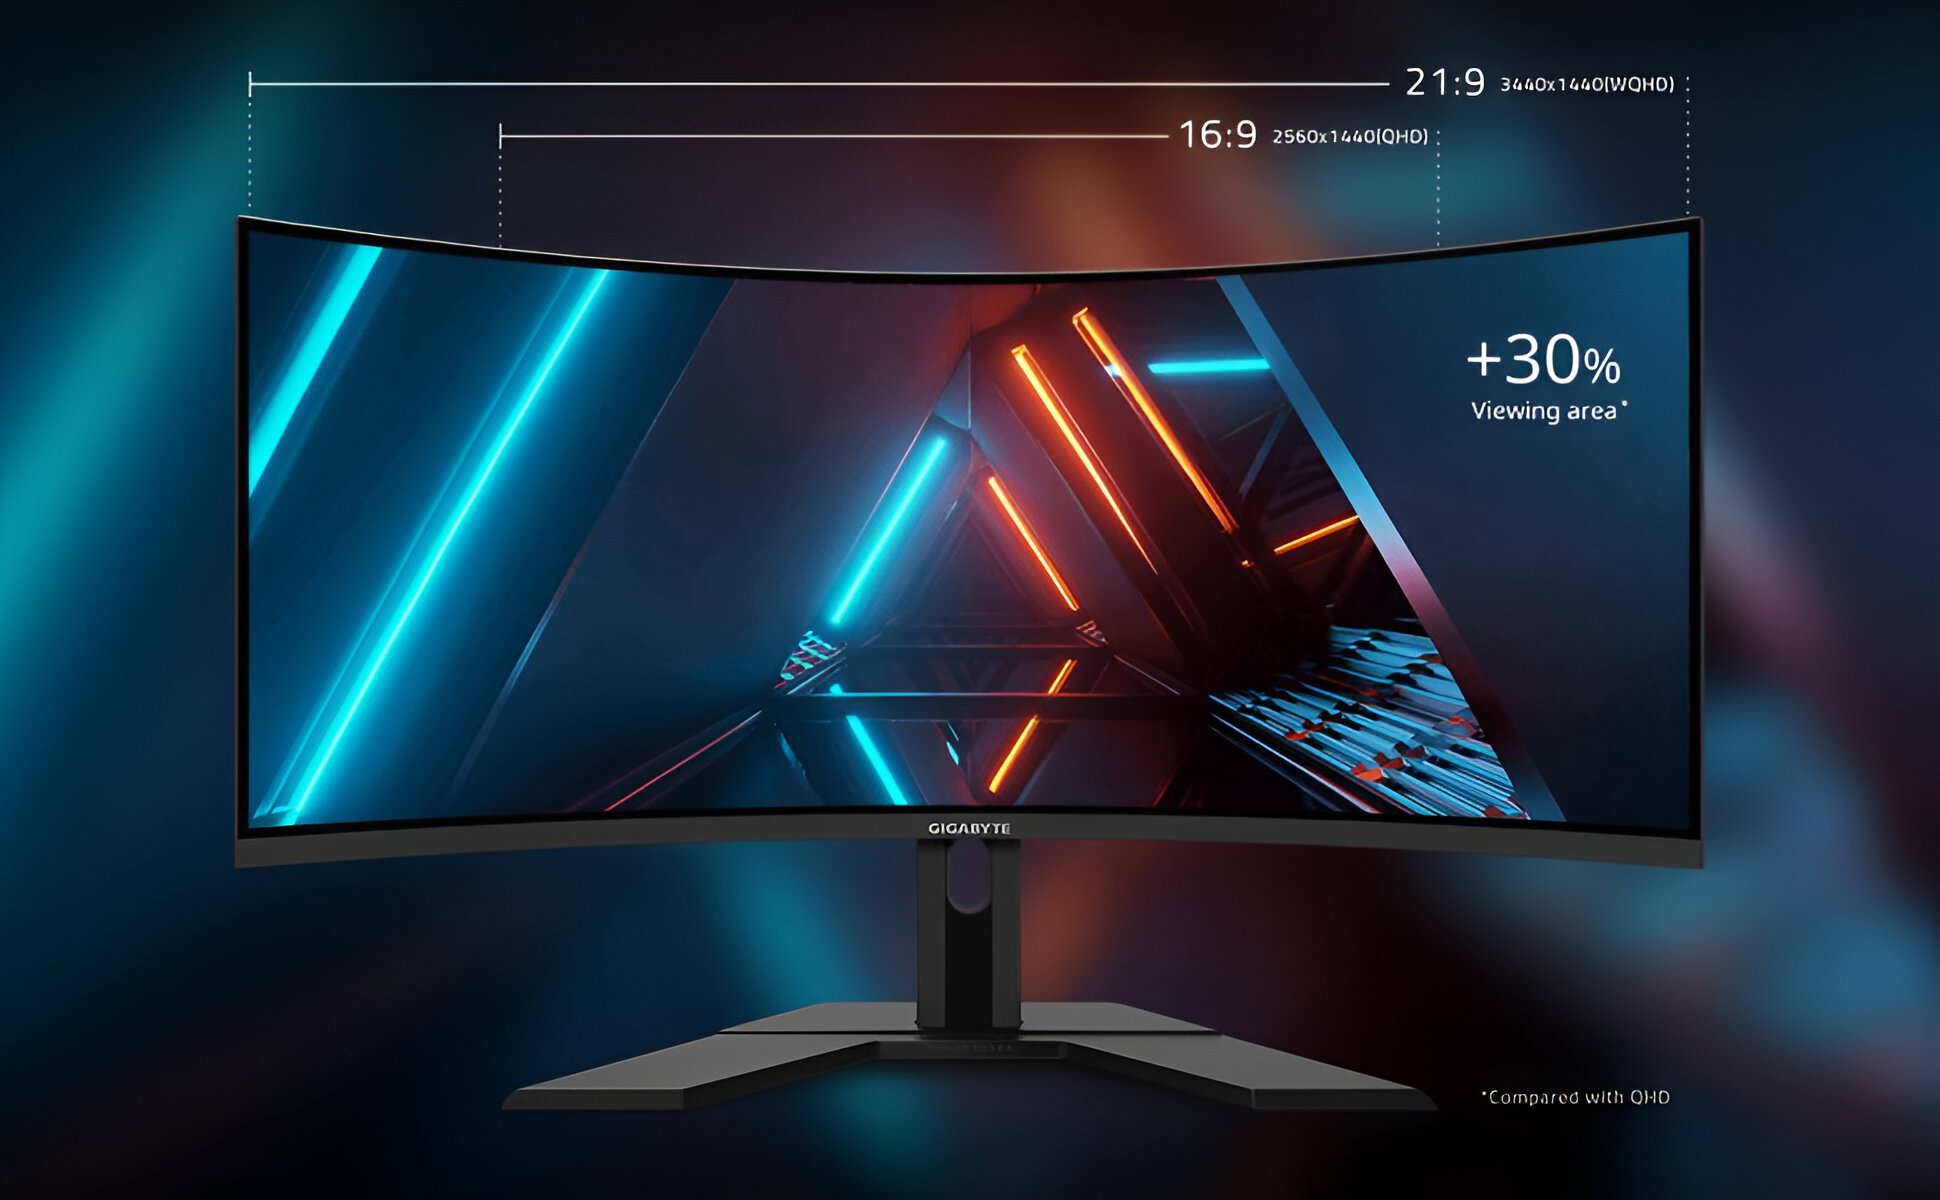
Before delving into the specifics of mounting, it’s important to understand the different types and sizes of ultrawide monitors. Ultrawide monitors typically have an aspect ratio of 21:9, offering a wider viewing area compared to the standard 16:9 monitors. They come in various sizes, ranging from 29 inches to a whopping 49 inches, catering to different needs and preferences.
Now, let’s dive into the world of ultrawide monitors and discover how to mount them for an enhanced computing and entertainment experience.
What is an Ultrawide Monitor?
An ultrawide monitor is a type of display that offers a wider aspect ratio compared to traditional monitors. While standard monitors typically have a 16:9 aspect ratio, ultrawide monitors boast an aspect ratio of 21:9 or even higher. This wider aspect ratio provides users with a more immersive and panoramic viewing experience.
One of the main advantages of an ultrawide monitor is the increased screen real estate it offers. With more horizontal space, you can have multiple windows open side by side, making multitasking a breeze. Whether you’re working on a complex project, editing videos, or simply browsing the web, having the ability to see more content at once can greatly improve your efficiency and productivity.
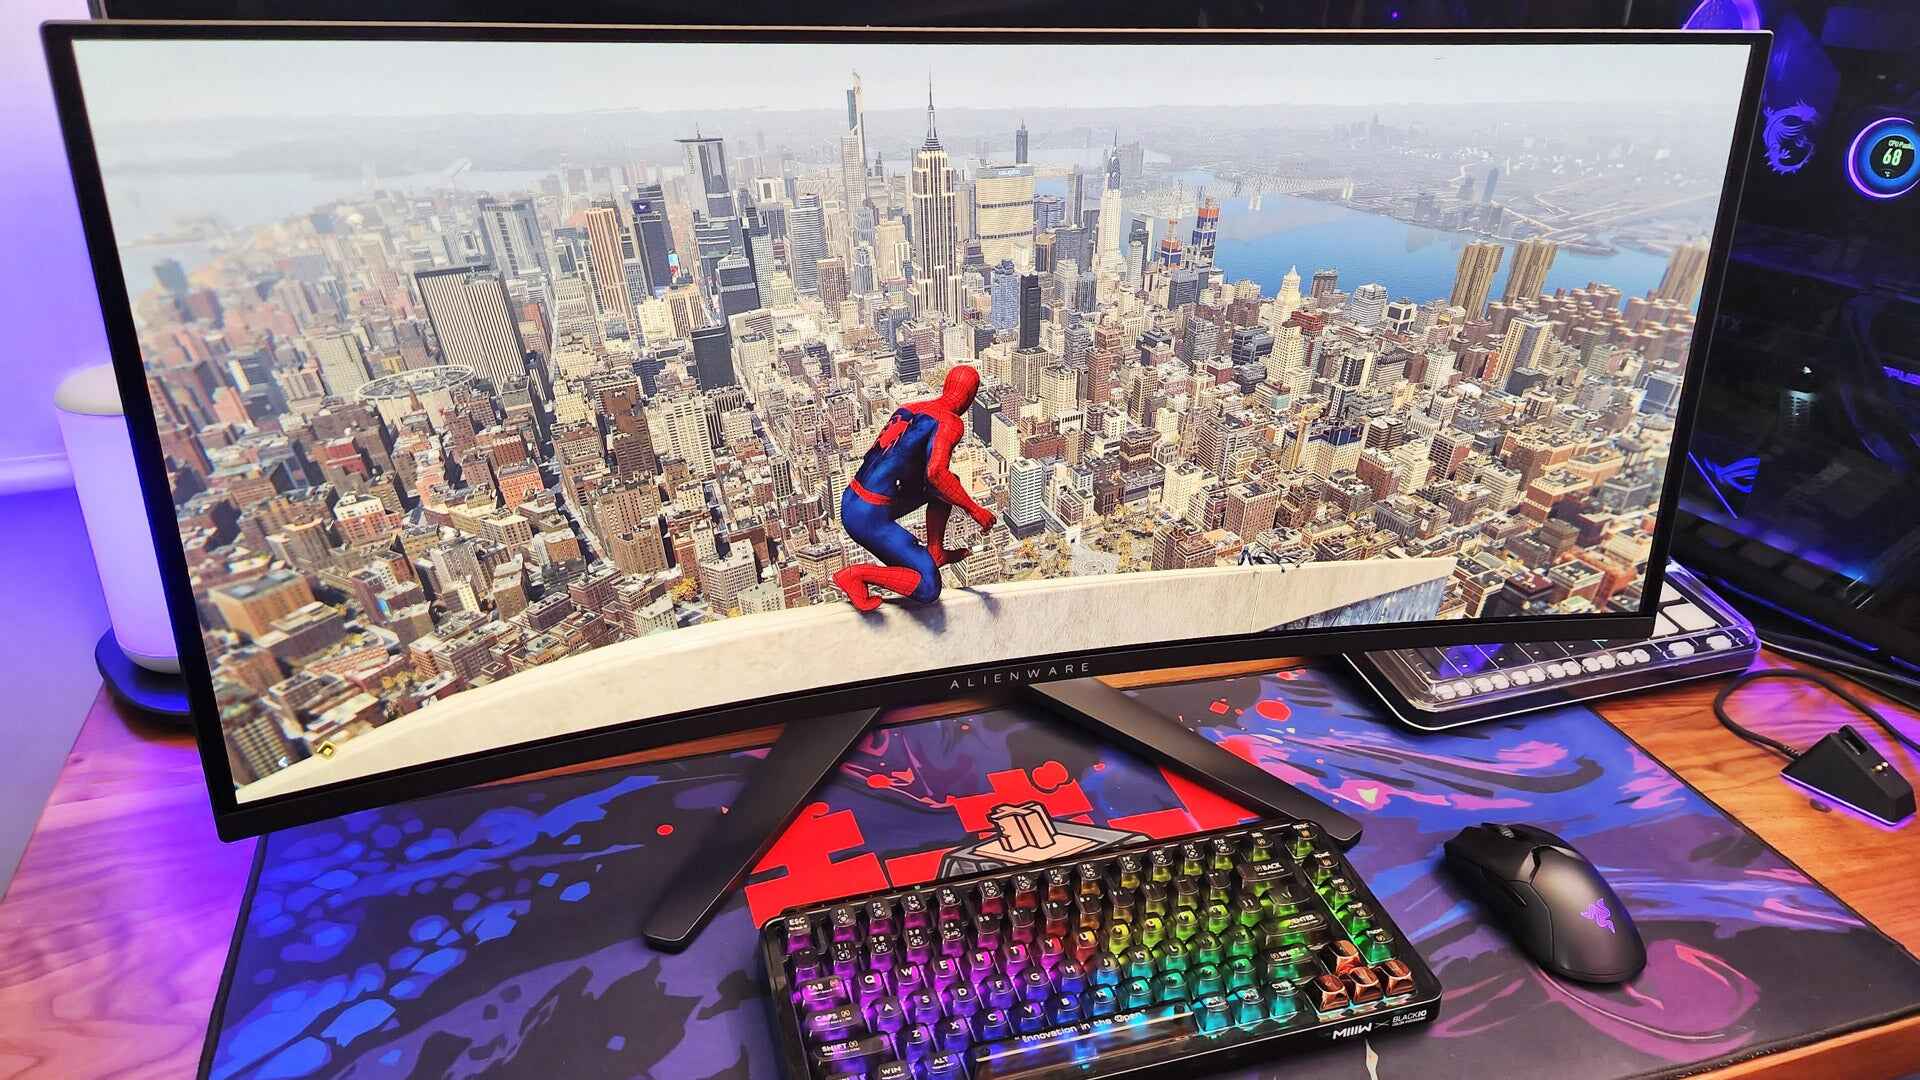
Another benefit of ultrawide monitors is their ability to enhance the visual experience of movies, games, and other multimedia content. The wider aspect ratio allows for a more cinematic viewing experience, as it closely matches the dimensions of a movie theater screen. This makes ultrawide monitors an ideal choice for gamers and movie enthusiasts who want to immerse themselves in their favorite entertainment.
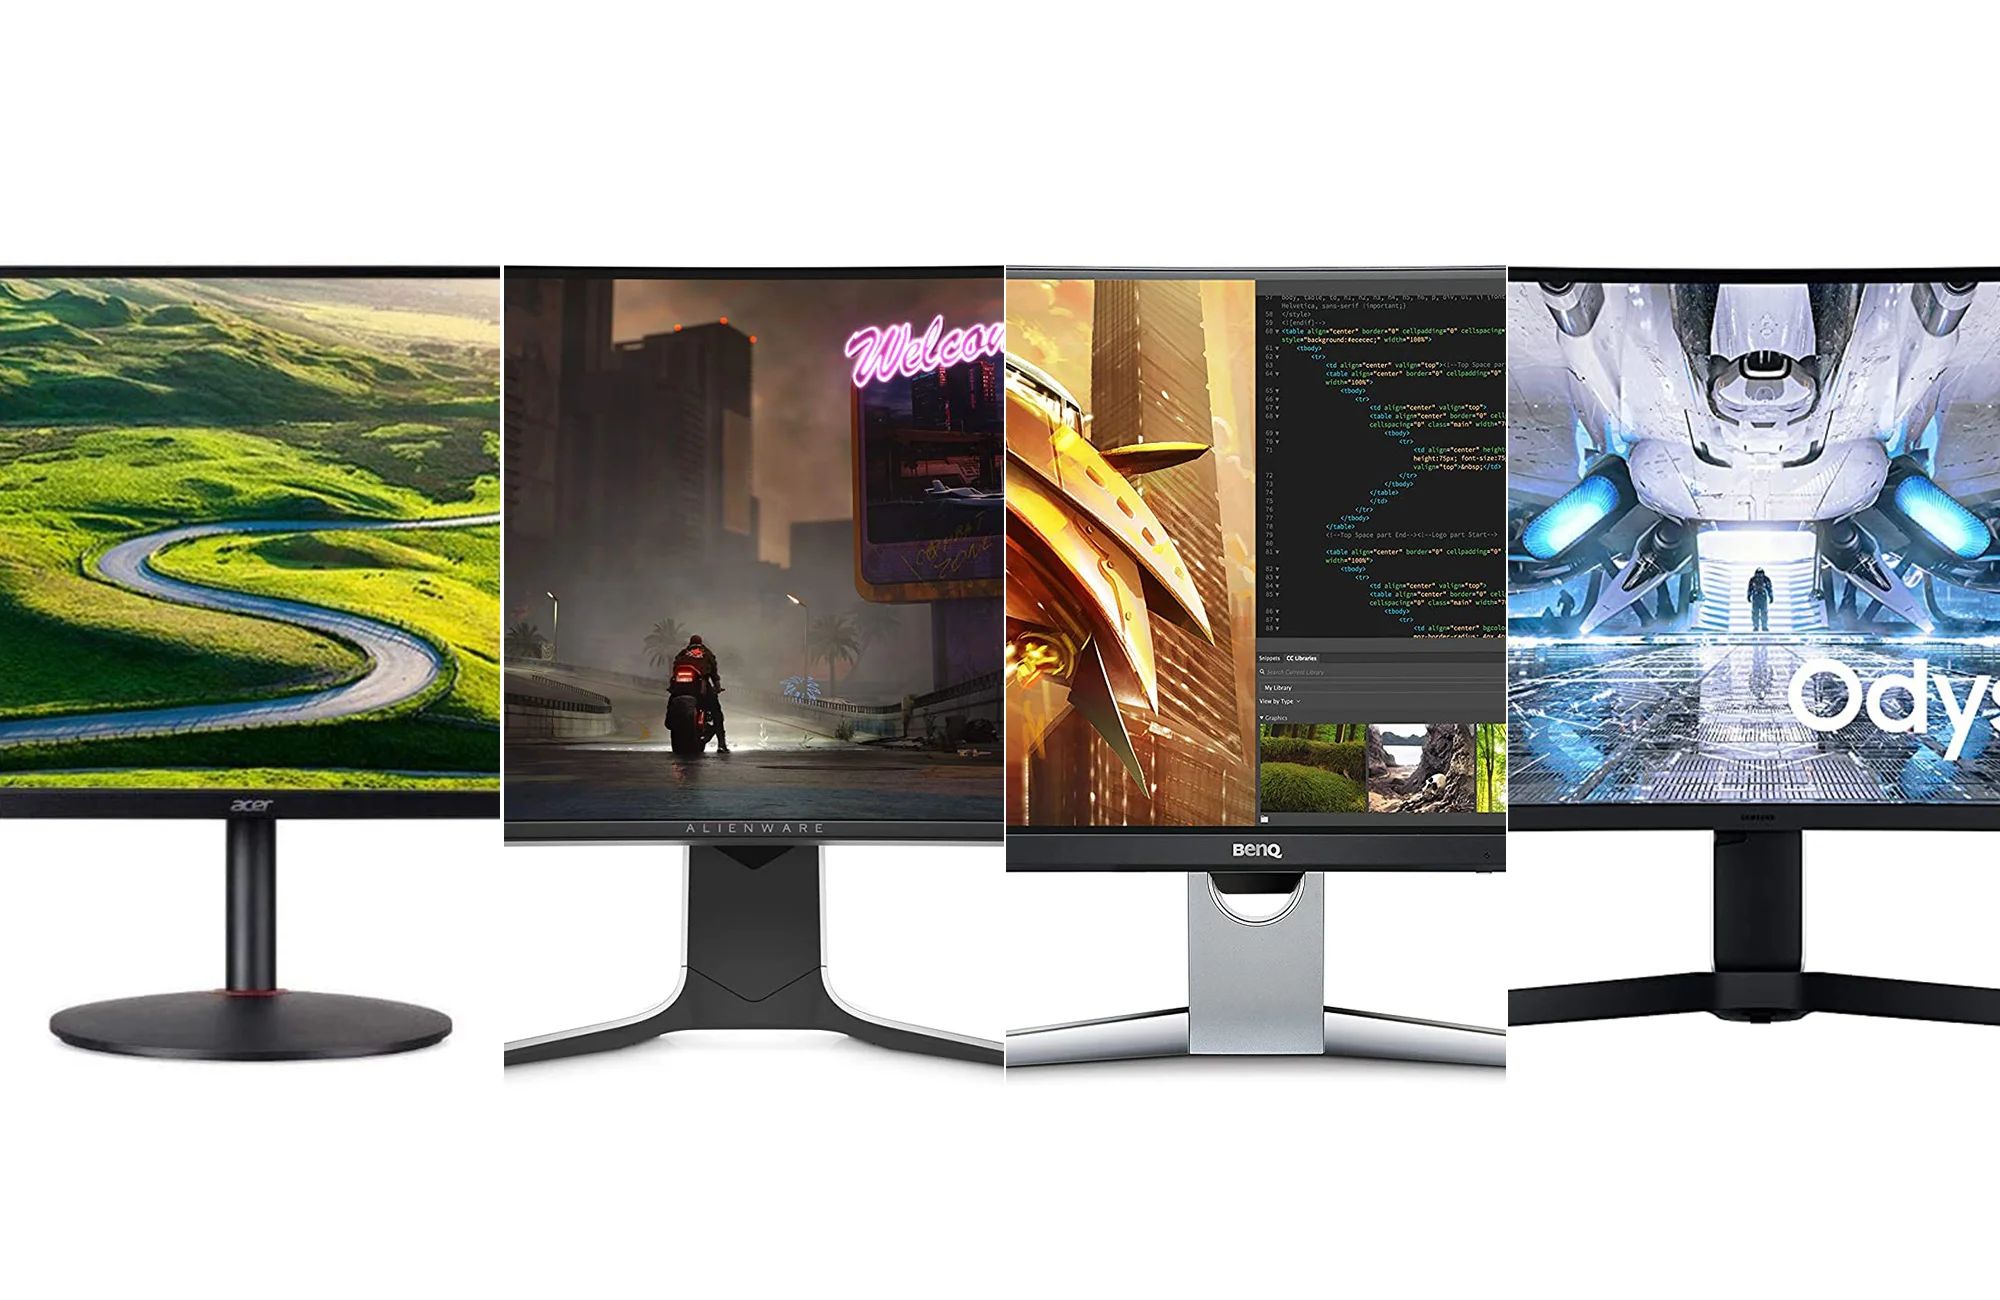
It’s important to note that ultrawide monitors come in various sizes, ranging from 29 inches to 49 inches or more. The larger sizes provide even more screen space, making them perfect for creative professionals, content creators, and anyone who requires a larger workspace.
When considering an ultrawide monitor, it’s also crucial to pay attention to the resolution. Higher resolutions, such as 3440×1440 (QHD) or 5120×1440 (UWQHD), offer sharper and more detailed images. This is especially important if you work with graphics, edit videos, or enjoy high-resolution gaming.
In summary, an ultrawide monitor offers a wider aspect ratio, increased screen real estate, and a more immersive viewing experience. Whether you’re a professional looking to boost productivity or a gamer seeking a more engaging gaming environment, an ultrawide monitor can provide the perfect solution.
Selecting the Right Mounting Option
When it comes to mounting an ultrawide monitor, you have several options to choose from. The ideal mounting option for you will depend on your workspace setup, personal preferences, and the type of monitor you have. Let’s explore the different mounting options available:
1. Wall Mounting: If you want to save desk space and achieve a clean and minimalist look, wall mounting is a popular choice. By attaching a wall mount bracket to a sturdy wall surface, you can securely hang your ultrawide monitor at a desired height and enjoy optimal viewing angles. However, make sure to check the weight capacity and VESA compatibility of the wall mount to ensure it can support your monitor’s size and weight.
2. Desk Mounting: If you prefer to have your monitor directly attached to your desk, desk mounting is a convenient option. Desk mounts typically use a clamp or grommet system to secure the monitor stand to the desk’s edge or through a drilled hole. This option allows for easy adjustment and repositioning of the monitor to suit your viewing preferences.
3. Stand Mounting: Some ultrawide monitors come with a stand that allows for height adjustment, tilt, and swivel capabilities. If your monitor’s stand meets your needs, you may choose to use it as a standalone mounting option. However, keep in mind that a stand might take up more desk space compared to wall or desk mounting.
When selecting a mounting option, it’s important to consider factors such as monitor weight and size, flexibility of adjustment, ease of installation, and the stability and durability of the mount. Additionally, make sure to measure your available workspace and assess any potential limitations or restrictions.
By choosing the right mounting option for your ultrawide monitor, you can optimize your viewing experience and create a comfortable and efficient workspace.
Wall Mounting
Wall mounting is a popular choice for those looking to save desk space and achieve a sleek and clutter-free workspace. Mounting your ultrawide monitor on the wall not only provides a clean and minimalist look but also offers a range of customizable viewing angles and heights. Here’s how you can successfully wall mount your ultrawide monitor:
1. Choose the Right Wall Mount: Begin by selecting a wall mount that is compatible with your ultrawide monitor’s size and weight. Make sure to check the VESA mount compatibility specifications of your monitor and find a wall mount that matches. The VESA mount is a standardized pattern of mounting holes on the back of the monitor.
2. Prepare the Workspace: Clear the area around the chosen wall where you intend to mount the monitor. Ensure that there are no obstacles or obstructions that may hinder the installation process or your viewing experience.
3. Locate Studs or Use a Wall Anchor: Find the wall studs using a stud finder or locate them manually by tapping the wall and listening for a solid sound. If you can’t find studs in the desired location, you may need to use wall anchors or toggle bolts to secure the wall mount.
4. Mark the Mounting Holes: Hold the wall mount against the wall in the desired position and use a pencil to mark the mounting holes. Double-check the measurements and ensure that the mount is level before proceeding.
5. Drill and Install: Begin drilling pilot holes at the marked locations using a drill and an appropriate-sized drill bit. Once the pilot holes are drilled, attach the mount securely using screws or bolts provided with the wall mount. Carefully follow the instructions provided by the manufacturer for proper installation.
6. Attach the Monitor: Once the mount is securely attached to the wall, it’s time to attach the monitor. Most wall mounts have a bracket that attaches to the VESA mount on the back of the monitor. Align the bracket with the VESA mount and secure it using the provided screws.
7. Adjust the Viewing Angles: Depending on the type of wall mount you’ve chosen, you may have options for adjusting the tilt and swivel angles of the monitor. Take the time to adjust the angles to your preferred viewing position and tighten any adjustment screws to ensure stability.
By following these steps, you can successfully mount your ultrawide monitor on the wall and enjoy an organized and efficient workspace.
Desk Mounting
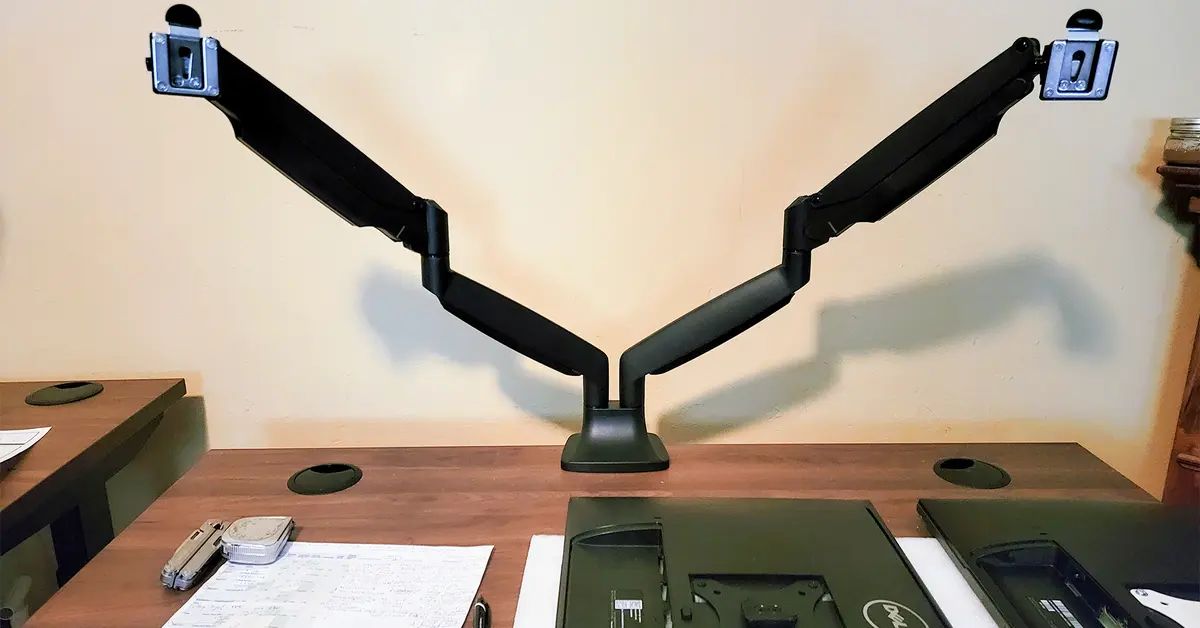
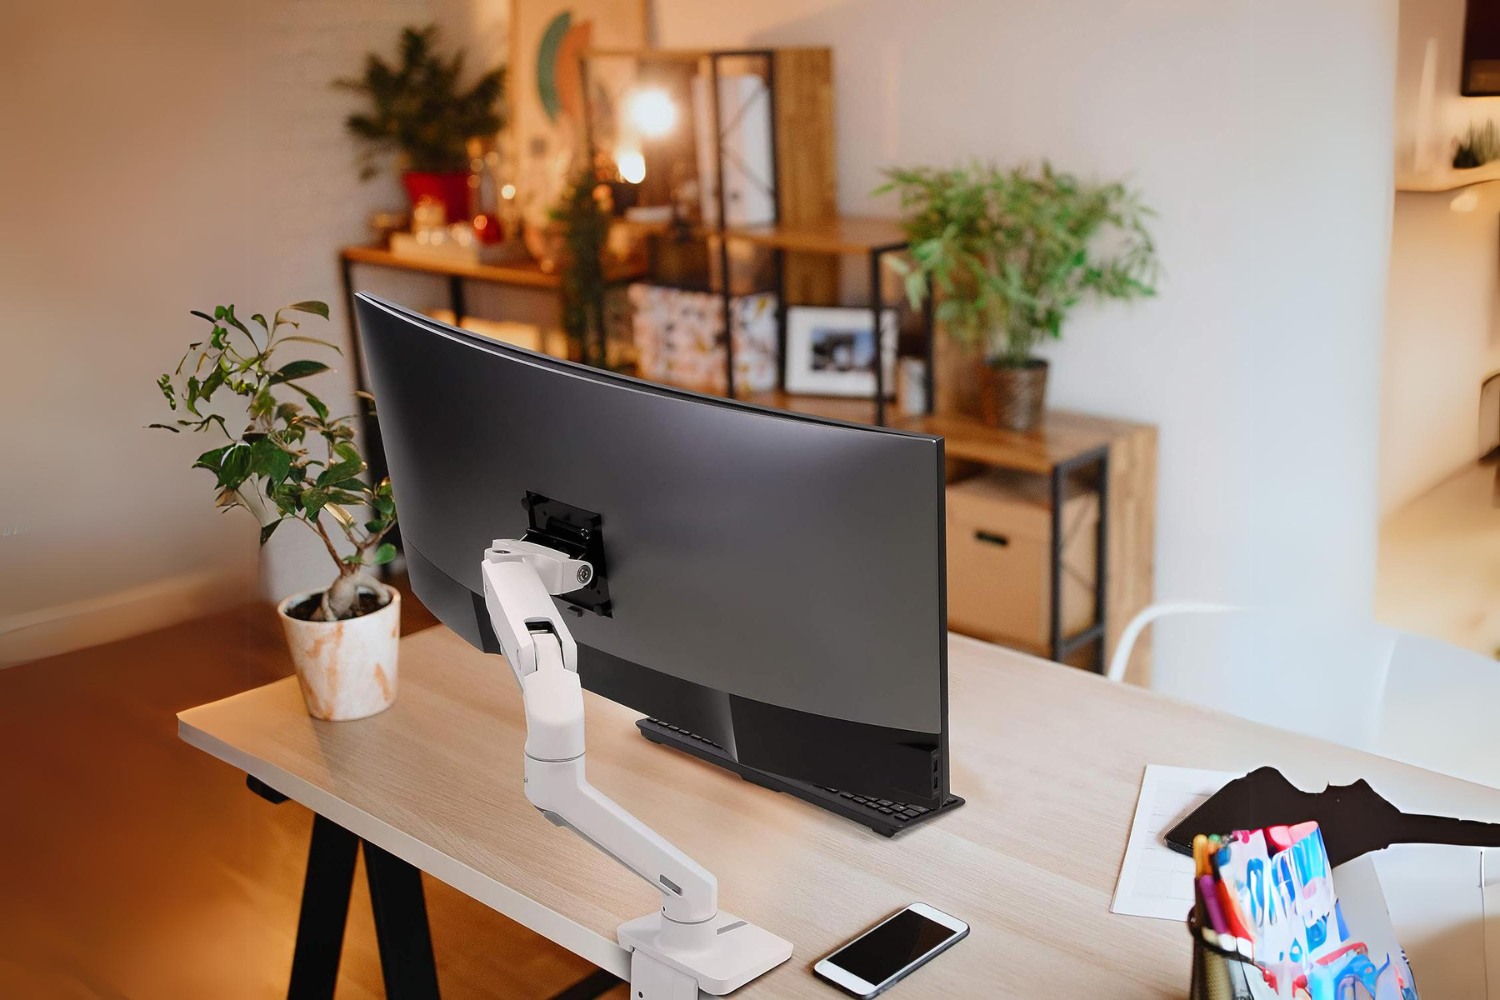
If you prefer to have your ultrawide monitor directly attached to your desk, desk mounting is a convenient and flexible option. This allows for easy adjustment and repositioning of the monitor to suit your viewing preferences. Follow these steps to successfully desk mount your ultrawide monitor:
1. Choose the Right Desk Mount: Start by selecting a desk mount that is compatible with your monitor’s size and weight. Consider the range of adjustability, such as height, tilt, and swivel options, to ensure it meets your needs. Make sure the desk mount is suitable for your desk’s thickness and construction.
2. Prepare the Workspace: Clear your desk surface and make sure there is enough space for both the monitor and the desk mount. Measure and mark the desired position for the mount, ensuring that it is convenient for your viewing comfort.
3. Attach the Mounting Plate: Most desk mounts come with a mounting plate that attaches to the underside of the desk. Place the mounting plate at the marked position and use screws or bolts to secure it tightly. Make sure the mounting plate is centered and aligned properly.
4. Install the Monitor Stand: Attach the arm or stand of the desk mount to the mounting plate using the provided screws or mechanisms. Make sure it is securely fastened, as it will be holding the weight of the ultrawide monitor.
5. Adjust the Height and Position: Depending on the desk mount you have chosen, you can easily adjust the height, tilt, and swivel angles of the monitor. Adjust the monitor to your preferred viewing height and angle, ensuring it is comfortable and aligned with your line of sight. Tighten any necessary screws or knobs to lock the position in place.
6. Cable Management: To maintain a clean and organized workspace, consider using cable management solutions to route and hide the cables. This will prevent them from tangling or becoming a visual distraction on your desk.
Desk mounting allows for easy adjustments and flexibility, letting you position your ultrawide monitor at the ideal height and angle. This promotes ergonomic posture and reduces strain on your neck and eyes during prolonged use.
With the appropriate desk mount, a stable surface, and proper adjustment, you can enjoy the benefits of a mounted ultrawide monitor while optimizing your workspace efficiency.
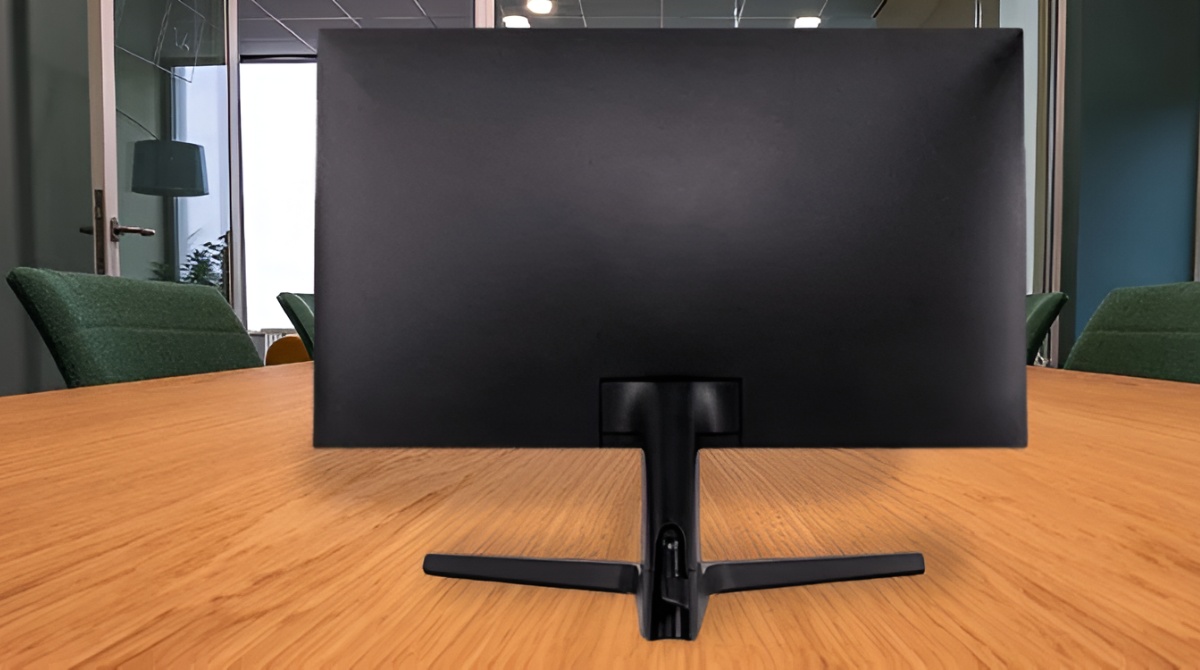
Stand Mounting
If your ultrawide monitor comes with a stand that offers height adjustment, tilt, and swivel capabilities, you may choose to use it as a stand-alone mounting option. Stand mounting provides stability and convenience, allowing you to easily position and adjust your monitor. Here’s how you can successfully mount an ultrawide monitor using its stand:
1. Assess the Stability: Before proceeding with stand mounting, ensure that your monitor’s stand is stable and can support the weight of the monitor. Check the specifications provided by the manufacturer to ensure compatibility with your monitor’s size and weight.
2. Clear the Workspace: Remove any objects or clutter from your desk to create an open and clutter-free area. Make sure there is enough space to place the monitor and maneuver it comfortably.
3. Position the Monitor: Place the monitor stand on your desk in the desired location. Take into account factors such as ergonomic positioning, viewing distance, and glare reduction when selecting the monitor’s position.
4. Adjust the Height: Most monitor stands offer height adjustment options. Locate the height adjustment mechanism on the stand and adjust the monitor’s height to align with your eye level. This will help reduce strain on your neck and promote a comfortable viewing experience.
5. Tilt and Swivel Adjustment: Determine the optimal tilt and swivel angles for your monitor. Adjust the tilt angle to reduce glare and achieve the best viewing position. Swivel the monitor left or right to enhance collaboration or improve your viewing angle.
6. Monitor Stability: Once you’ve positioned and adjusted the monitor to your preference, ensure that it is stable and securely locked into place. Ensure that all locking mechanisms, screws, or knobs are tightened properly to maintain the desired position.
7. Cable Management: To keep the desk area neat and organized, consider using cable management solutions to route and conceal the cables. This will help prevent tangling, minimize visual distractions, and maintain a clean workspace.
Using the stand provided with your ultrawide monitor allows for easy installation and adjustment of the monitor’s height, tilt, and swivel angles. It offers stability and flexibility, making it a convenient option for mounting your ultrawide monitor on a desk.
Remember to periodically review and adjust the monitor’s position to ensure optimal comfort and viewing experience over time.
Tools and Equipment
Before you begin the process of mounting your ultrawide monitor, it is important to gather the necessary tools and equipment. Having the right tools on hand will ensure a smooth and successful installation. Here are the essential tools and equipment you may need:
1. Screwdriver: A screwdriver is a must-have tool for most mounting options. Make sure you have the appropriate size and type of screwdriver for the screws included with your mount or stand.
2. Stud Finder: If you are wall mounting your ultrawide monitor, a stud finder can help you locate the wall studs for secure attachment. This is especially important for ensuring stability and preventing damage to the wall.
3. Drill and Drill Bits: If you need to drill pilot holes for your wall mount or desk mount, a drill and appropriate-sized drill bits are necessary. Ensure that the drill bit is suitable for the material of your wall or desk surface.
4. Level: To ensure that your mount or stand is properly aligned and straight, a level is essential. This tool helps you achieve a balanced and professional-looking installation.
5. Measuring Tape: Accurate measurements are crucial when marking the position of your mount. A measuring tape allows you to determine the correct spacing and alignment for a precise installation.
6. Wall Anchors and Screws: If you are wall mounting and cannot attach the mount directly into wall studs, wall anchors and screws are necessary for secure installation. Choose the appropriate size and weight capacity based on the specifications provided by the mount manufacturer.
7. Cable Management Solutions: To keep your cables organized and prevent a messy look, cable management solutions such as cable clips, zip ties, or cable sleeves can be beneficial. These tools help route and secure your cables neatly.
It’s important to check the specific requirements and recommendations provided by the manufacturer of your wall mount, desk mount, or stand. They may provide additional tools or equipment that are necessary for a successful installation.
By having the right tools and equipment readily available, you can ensure a smooth installation process and achieve a secure and professional mount for your ultrawide monitor.
Step-by-Step Guide to Mounting an Ultrawide Monitor
Mounting an ultrawide monitor may seem like a daunting task, but with the proper guidance, it can be a straightforward process. Follow this step-by-step guide to successfully mount your ultrawide monitor:
1. Preparing the Workspace:
– Clear your desk or wall area from any obstructions or clutter.
– Ensure you have enough space to position and adjust the monitor.
2. Attaching the Mounting Bracket:
– Based on your chosen mounting option (wall, desk, or stand), attach the appropriate mounting bracket to the back of your ultrawide monitor.
– Most monitors come with VESA mounting holes, so align the bracket with these holes and secure them using the provided screws.
3. Adjusting the Tilt and Swivel:
– If your mount or stand allows for tilt and swivel adjustment, set the desired angles according to your preference.
– Consider avoiding glare by tilting the monitor slightly downwards or adjusting it to eliminate reflections.
4. Connecting Cables and Powering On:
– Connect the necessary cables, including the power cable and any video or audio cables, to the back of the monitor.
– If using a wall mount, ensure the cables are properly routed and managed for a clean look.
– Connect the other ends of the cables to your computer or other video/audio sources.
– Double-check all connections to ensure they are secure.
– Power on your monitor and verify that it is functioning correctly.
5. Troubleshooting and Common Issues:
– If you encounter any issues, such as the monitor not displaying correctly or the mount feeling unstable, refer to the troubleshooting section of your monitor’s user manual.
– Check all connections to ensure they are secure and properly seated.
– If using a wall mount, confirm that it is securely attached to the wall or that the desk/stand mount is stable and tightened properly.
By following these step-by-step instructions, you can successfully mount your ultrawide monitor and enjoy an optimized viewing experience.
Remember to refer to the specific instructions provided by the manufacturer of your monitor and mounting hardware to ensure a safe and proper installation.
Preparing the Workspace
Before you begin the process of mounting your ultrawide monitor, it is crucial to properly prepare your workspace. Creating an organized and clutter-free environment will make the installation process much easier and ensure a successful outcome. Follow these steps to prepare your workspace:
1. Clear the Area: Start by clearing the area where you plan to mount your ultrawide monitor. Remove any objects, papers, or other items that may be obstructing the space or could potentially be damaged during the installation process.
2. Clean the Surface: Wipe down the surface of your desk, wall, or any other area where the monitor mount or stand will be placed. Remove dust, dirt, or any other debris to ensure a clean and secure attachment.
3. Organize Cables: Take the time to organize any cables and cords that will be connected to your ultrawide monitor. Use cable management solutions such as cable clips, zip ties, or cable sleeves to keep the cables neatly routed and prevent tangling or clutter.
4. Measure the Space: Measure the available space on your desk or wall to determine the ideal position for mounting the monitor. Consider factors such as eye level, viewing distance, and potential glare from external light sources. Use a measuring tape to ensure precise measurements and alignment.
5. Consider Ergonomics: Pay attention to ergonomics when positioning your mounted monitor. Adjust the height and tilt to ensure that the top of the screen is at or slightly below eye level. A comfortable viewing position will reduce strain on your neck and eyes during prolonged use.
6. Check for Stability: If you are wall mounting your ultrawide monitor, ensure that the wall surface is sturdy and capable of supporting the weight of the monitor. Use a stud finder to locate the wall studs for secure attachment. If desk or stand mounting, ensure that the desk or stand is stable and can support the weight of the monitor.
By taking the time to prepare your workspace before mounting your ultrawide monitor, you can create an organized and optimized environment for installation. This will help ensure a smooth and successful process, resulting in a secure and visually appealing mount or stand for your monitor.
Attaching the Mounting Bracket
Attaching the mounting bracket to your ultrawide monitor is a crucial step in the mounting process. The mounting bracket serves as the connection point between the monitor and the wall mount, desk mount, or stand. Follow these steps to successfully attach the mounting bracket:
1. Identify the Mounting Holes: Examine the back of your ultrawide monitor to locate the mounting holes. These holes are usually arranged in a pattern known as the VESA mount, which is a standardized pattern used for mounting monitors.
2. Select the Correct Bracket: Choose the appropriate mounting bracket that matches the VESA mount pattern on your monitor. The bracket should align perfectly with the mounting holes, ensuring a secure and stable connection.
3. Align the Bracket: Hold the mounting bracket against the back of your monitor, aligning it with the VESA mounting holes. Ensure that the bracket is centered and properly positioned for a balanced attachment.
4. Secure the Bracket: Once aligned, secure the mounting bracket to the back of the monitor using the provided screws. Insert the screws into the VESA mounting holes and tighten them using a screwdriver, ensuring they are snug but not overly tight.
5. Double-Check: After attaching the bracket, double-check the stability and alignment. Make sure the bracket is securely fastened and the monitor is level.
6. VESA Adapter (if needed): In some cases, your monitor may have a unique VESA pattern that requires an adapter plate. If this is the case, attach the adapter to the back of the monitor using the provided screws, and then attach the mounting bracket to the adapter plate following the same steps outlined above.
It is important to refer to the specific instructions provided by the manufacturer of your ultrawide monitor and mounting bracket. They may have additional guidance or specific requirements for attaching the mounting bracket.
By properly attaching the mounting bracket, you ensure a secure and stable connection between your ultrawide monitor and the mount or stand, allowing you to confidently enjoy your monitor in its mounted position.
Adjusting the Tilt and Swivel
Once you have successfully attached the mounting bracket to your ultrawide monitor and mounted it, you can take advantage of the tilt and swivel adjustments. These adjustments allow you to customize the viewing angles for optimal comfort and visibility. Here’s how to adjust the tilt and swivel of your mounted ultrawide monitor:
1. Tilt Adjustment:
– Locate the tilt adjustment mechanism, typically located near the junction between the mounting bracket and the monitor.
– Depending on the specific design, you may need to loosen a screw or unlock a lever to adjust the tilt.
– Gently tilt the monitor forward or backward to achieve the desired angle. Consider reducing glare and ensuring the screen is aligned with your line of sight.
– Once you have set the desired tilt angle, tighten the screw or lock the lever to secure the position.
2. Swivel Adjustment:
– Swivel adjustments allow you to horizontally rotate the mounted monitor from side to side.
– Look for the swivel adjustment mechanism on the mount or stand, typically located near the joint between the monitor and the mounting bracket.
– Loosen any screws or unlock any levers that may be restricting the swivel movement.
– Rotate the monitor left or right to adjust the viewing angle according to your preference.
– Once you have positioned the monitor at the desired swivel angle, tighten the screws or lock the levers to secure the position.
3. Fine-tuning and Comfort:
– Adjust the tilt and swivel angles to your personal comfort and optimal viewing experience.
– Take breaks and experiment with different angles to find the most comfortable position for you, minimizing strain on your neck and eyes.
– Keep in mind that different tasks, such as gaming or working, may require different tilt and swivel angles for optimal performance.
It is important to note that the adjustment mechanisms may vary depending on the specific mounting bracket or stand you are using. Always refer to the manufacturer’s instructions for your specific monitor and mounting hardware to ensure proper adjustment procedures.
By taking advantage of the tilt and swivel adjustments, you can customize the viewing angles of your mounted ultrawide monitor to suit your personal preferences, enhance productivity, and reduce strain on your neck and eyes.
Connecting Cables and Powering On
Once you have successfully mounted your ultrawide monitor and adjusted the tilt and swivel angles, the next step is to connect the necessary cables and power on the monitor. Here’s how to properly connect the cables and power on your mounted ultrawide monitor:
1. Identify the Ports: Locate the ports on the back of your ultrawide monitor. These ports can include HDMI, DisplayPort, USB, audio, and power ports.
2. Connect the Power Cable: Start by connecting the power cable to the appropriate power port on the back of the monitor. Make sure the power cable is securely inserted and properly seated. Then, plug the other end of the power cable into a nearby power outlet or surge protector.
3. Video and Audio Cables: Depending on your setup and requirements, connect the necessary video and audio cables. Common options include HDMI and DisplayPort cables for video transmission and audio cables if you want to utilize the monitor’s built-in speakers or connect external audio devices.
4. Secure the Connections: Ensure that all cable connections are secure by gently tugging on each cable. Verify that they are fully inserted and locked into place to prevent accidental disconnection. This will guarantee a stable and uninterrupted signal.
5. Powering On: Once the cables are connected, power on your computer or other video source. Then, press the power button on the ultrawide monitor to turn it on. Wait for a few moments while the monitor initializes and detects the video signal.
6. Adjust Display Settings: After powering on the monitor, access the display settings on your computer or video source to ensure that the resolution and refresh rate are correctly configured to match the capabilities of your ultrawide monitor. Adjust the settings as necessary for optimal performance.
7. Test and Verify: After connecting the cables and powering on the monitor, verify that the screen displays the expected content. Check for any abnormalities, such as flickering or artifacts, and adjust settings if necessary.
It’s important to consult the user manual or manufacturer’s instructions for your specific monitor to ensure proper cable connections and settings adjustment.
By properly connecting the cables and powering on your mounted ultrawide monitor, you can enjoy a high-quality visual and audio experience while maximizing the potential of your ultrawide display.
Troubleshooting and Common Issues
While mounting an ultrawide monitor can be a straightforward process, you may encounter some common issues along the way. It’s important to be aware of these issues and understand how to troubleshoot them effectively. Here are some common troubleshooting tips for mounting an ultrawide monitor:
1. No Display or Blank Screen:
– Ensure that all cables are securely connected at both ends.
– Check that the monitor is powered on and receiving a signal from the connected video source.
– Verify that the correct input source is selected on the monitor.
– Double-check the display settings on your computer or video source to ensure the resolution and refresh rate are compatible with your ultrawide monitor.
2. Image Quality Issues:
– If the image appears distorted or stretched, check the display settings on your computer or video source. Make sure the resolution is set to match the recommended or native resolution of your ultrawide monitor.
– Adjust the display settings to reduce or eliminate any flickering, blurred images, or other image quality issues.
3. Monitor Stability:
– If your monitor feels unstable or wobbly after mounting, double-check that all screws, bolts, or levers are tightened securely.
– Make sure the mounting bracket or stand is properly attached and aligned according to the manufacturer’s instructions.
– Consider using a desk clamp or adding additional support to the wall mount if needed.
4. Cable Management:
– If cables are hanging loosely or causing a cluttered appearance, consider using cable management solutions such as cable clips, zip ties, or cable sleeves to route and secure the cables neatly.
– Ensure that cables are properly connected and not damaged, as this can affect signal transmission and overall performance.
5. Compatibility Issues:
– Verify that your ultrawide monitor is compatible with your computer’s hardware and operating system.
– Ensure that the graphics card on your computer supports the resolution and refresh rate of your ultrawide monitor.
6. Refer to the User Manual:
– When encountering any issues or difficulties, consult the user manual or manufacturer’s instructions for your ultrawide monitor, wall mount, desk mount, or stand for specific troubleshooting guidance.
If troubleshooting on your own does not resolve the issue, consider seeking assistance from the manufacturer’s customer support or a professional technician.
By being aware of common issues and utilizing troubleshooting techniques, you can overcome challenges and ensure a smooth and successful mounting experience for your ultrawide monitor.
Conclusion
Mounting an ultrawide monitor can greatly enhance your workspace and viewing experience. Whether you choose to wall mount, desk mount, or use a stand, the process of mounting your ultrawide monitor requires careful consideration and proper execution.
We discussed the different mounting options available, including wall mounting, desk mounting, and stand mounting. Each option offers its own advantages, and you should select the one that best suits your workspace and preferences.
We provided a step-by-step guide to help you through the mounting process, from preparing the workspace to attaching the mounting bracket, adjusting the tilt and swivel, and connecting cables for powering on. Following these instructions will ensure a secure and optimized mounting for your ultrawide monitor.
In addition, we covered some common troubleshooting tips for addressing issues you may encounter during the mounting process.
Remember to consult the user manual or manufacturer’s instructions specific to your ultrawide monitor and mounting hardware for any specific requirements or troubleshooting guidance.
By mounting your ultrawide monitor properly, you can enjoy an immersive viewing experience, optimize your workspace, and enhance productivity. Take pride in your mounted setup and enjoy the benefits of a beautifully displayed ultrawide monitor for all your work and entertainment needs.